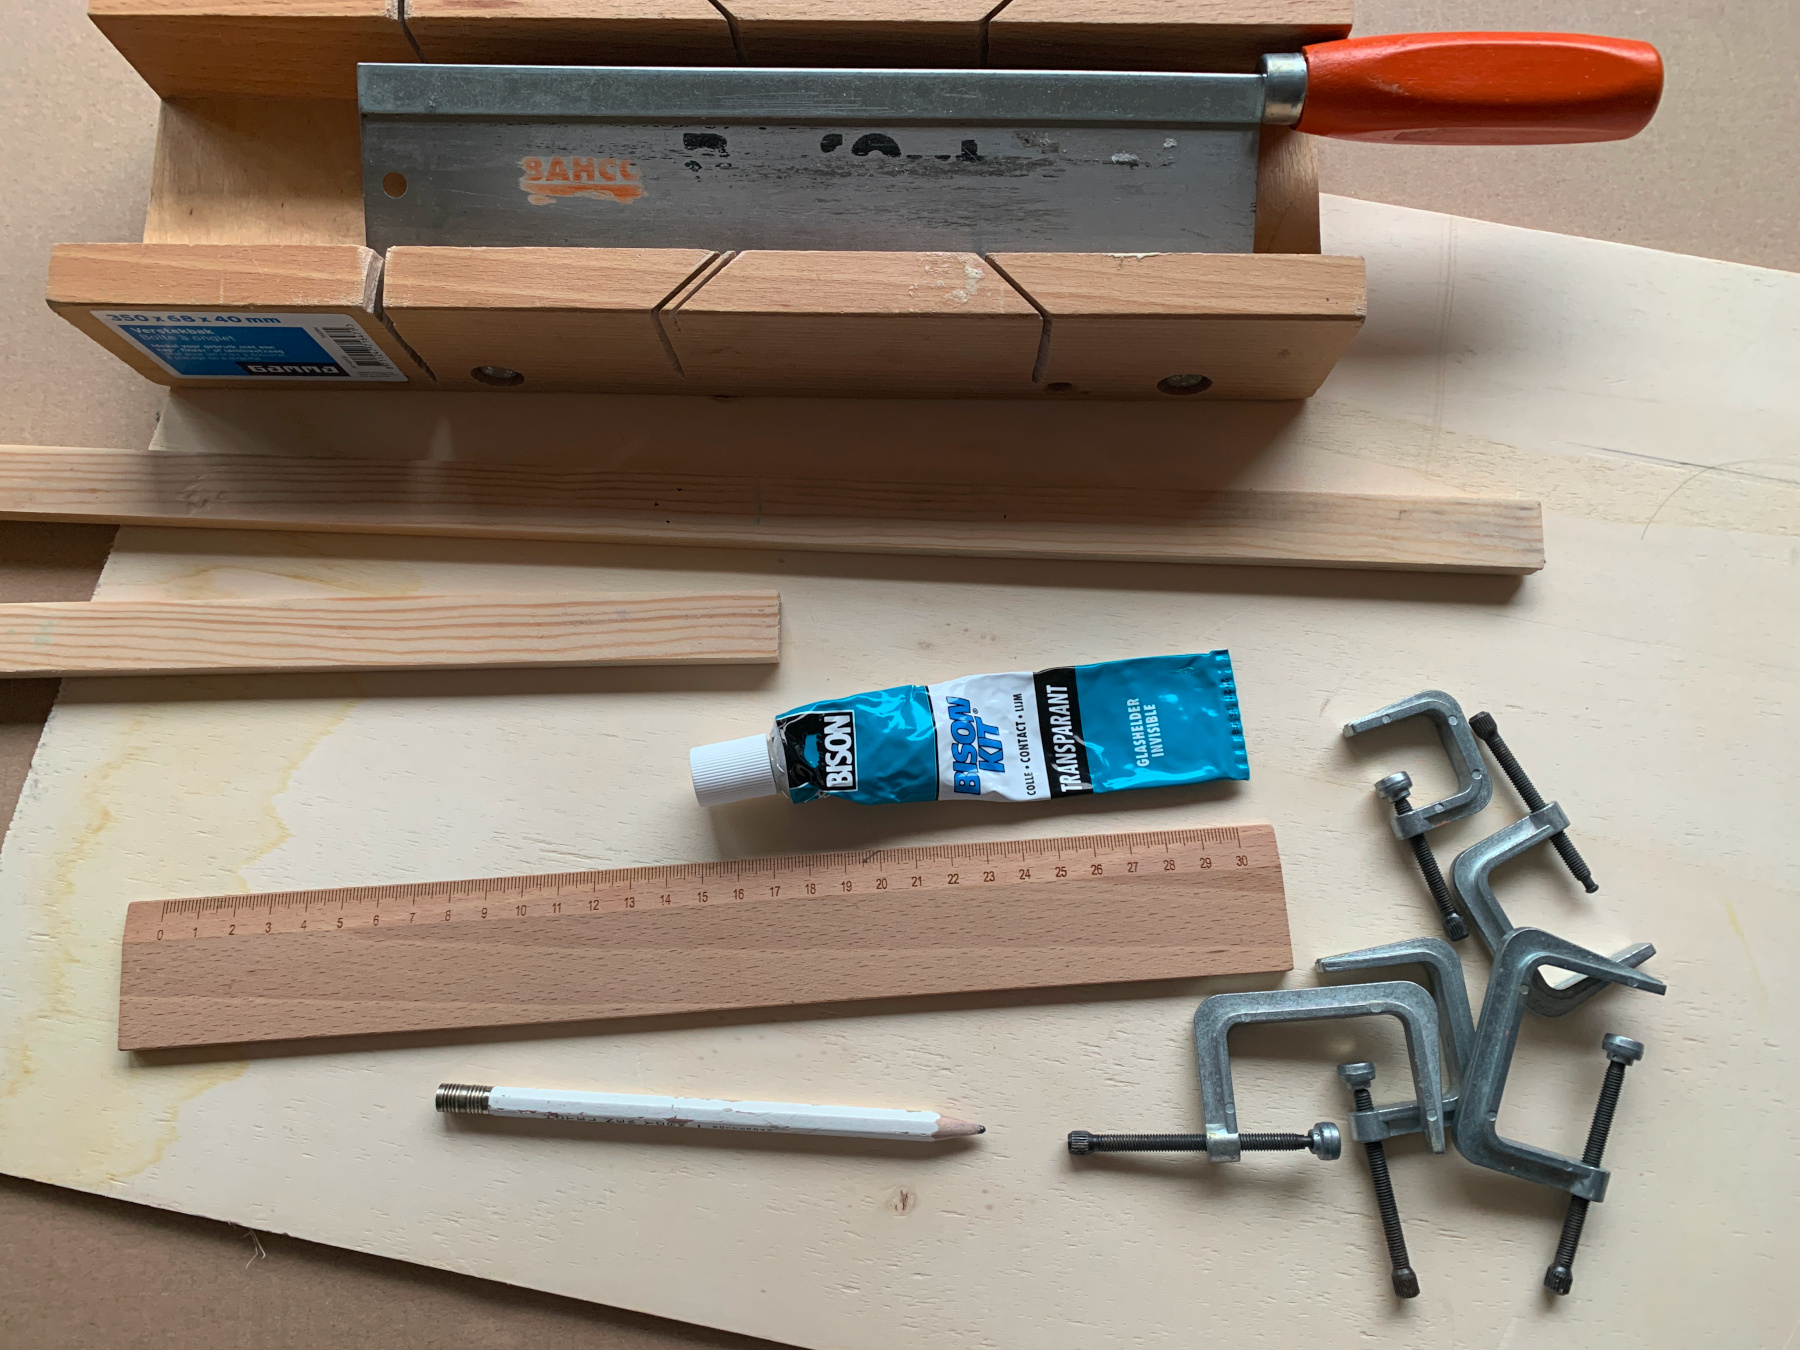
What do you need?
a piece of plywood
pencil and ruler
a small handsaw
a slat of 20x10mm
saw and miter box
piece of sandpaper
bison glue
glue clamps
Optional:
varnish
paintbrush
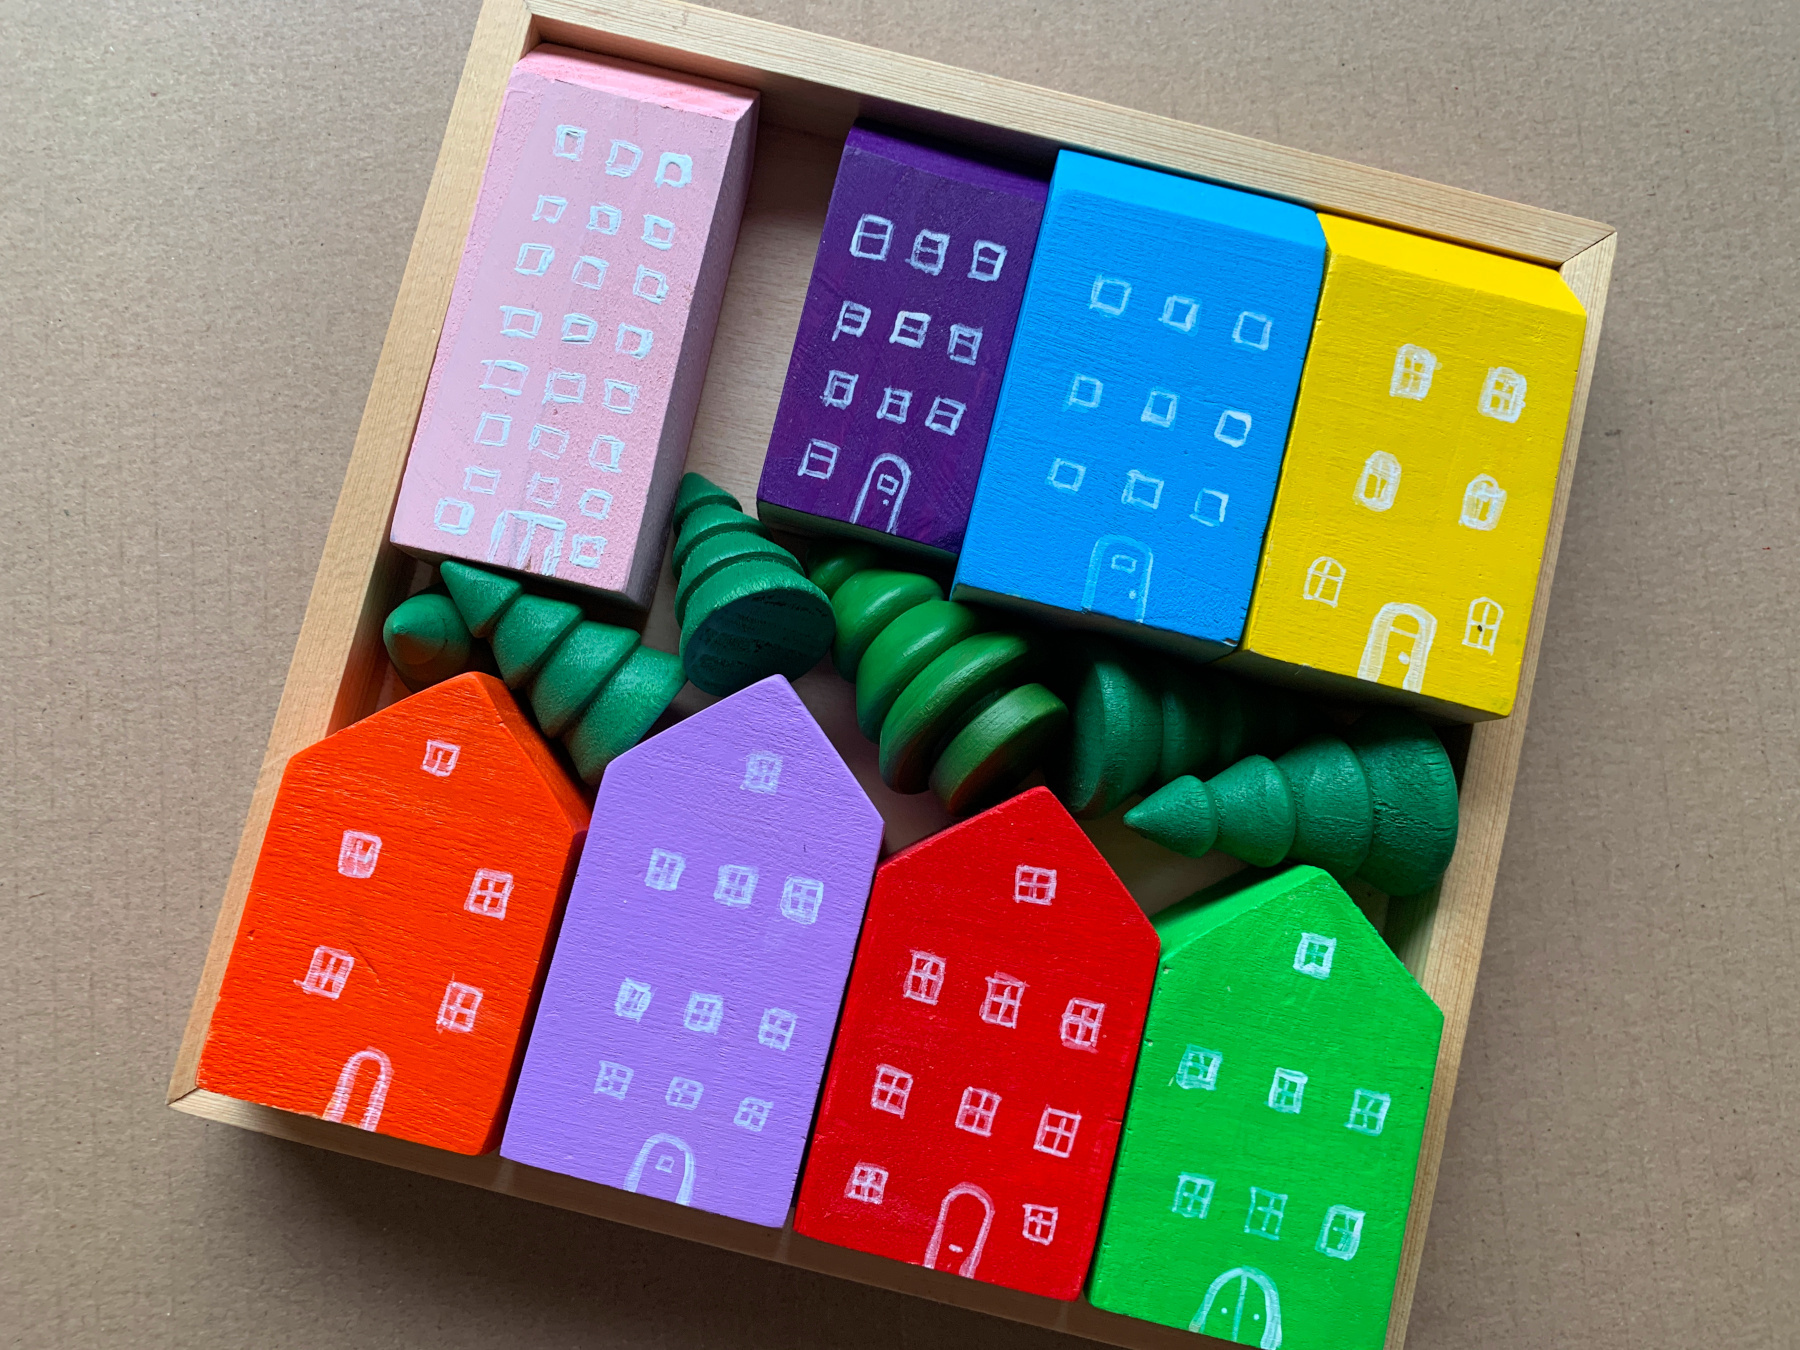
Our little monsters are collectors, they bring all kinds of things home. If they don't find a pretty stone on the way to school, there is a special feather (which we are not crazy about, feathers!), but it could just as easily be a piece of coloured glass. Everything comes home with them and must be kept. At the Montessori school they have baskets and wooden trays for all kinds of learning materials and other things. We have now started doing that at home :))
This is how you make a handy wooden tray
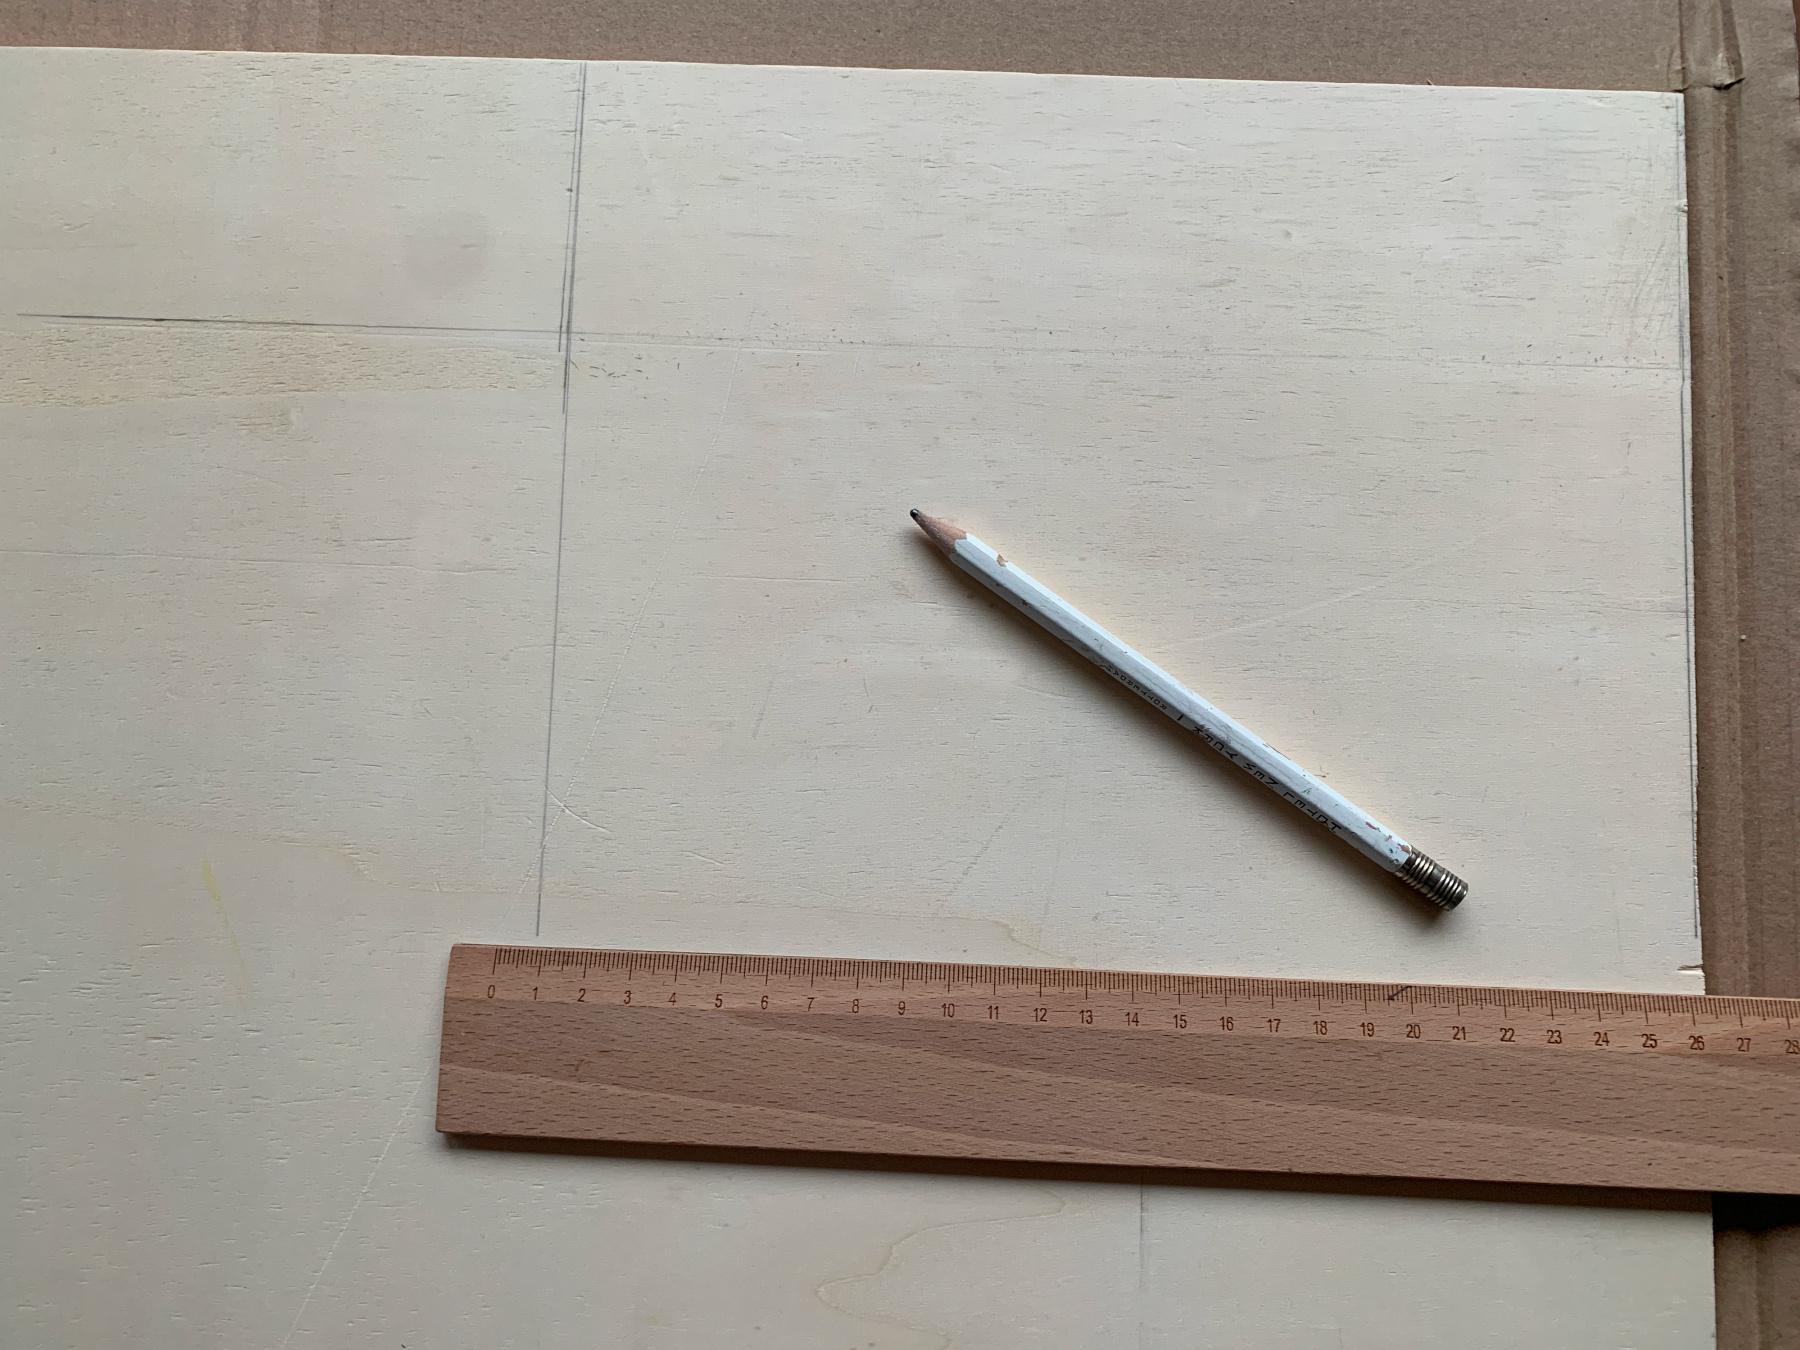

Draw a 20x20cm square on the ply wood.
Saw it out neatly and sand until smooth.
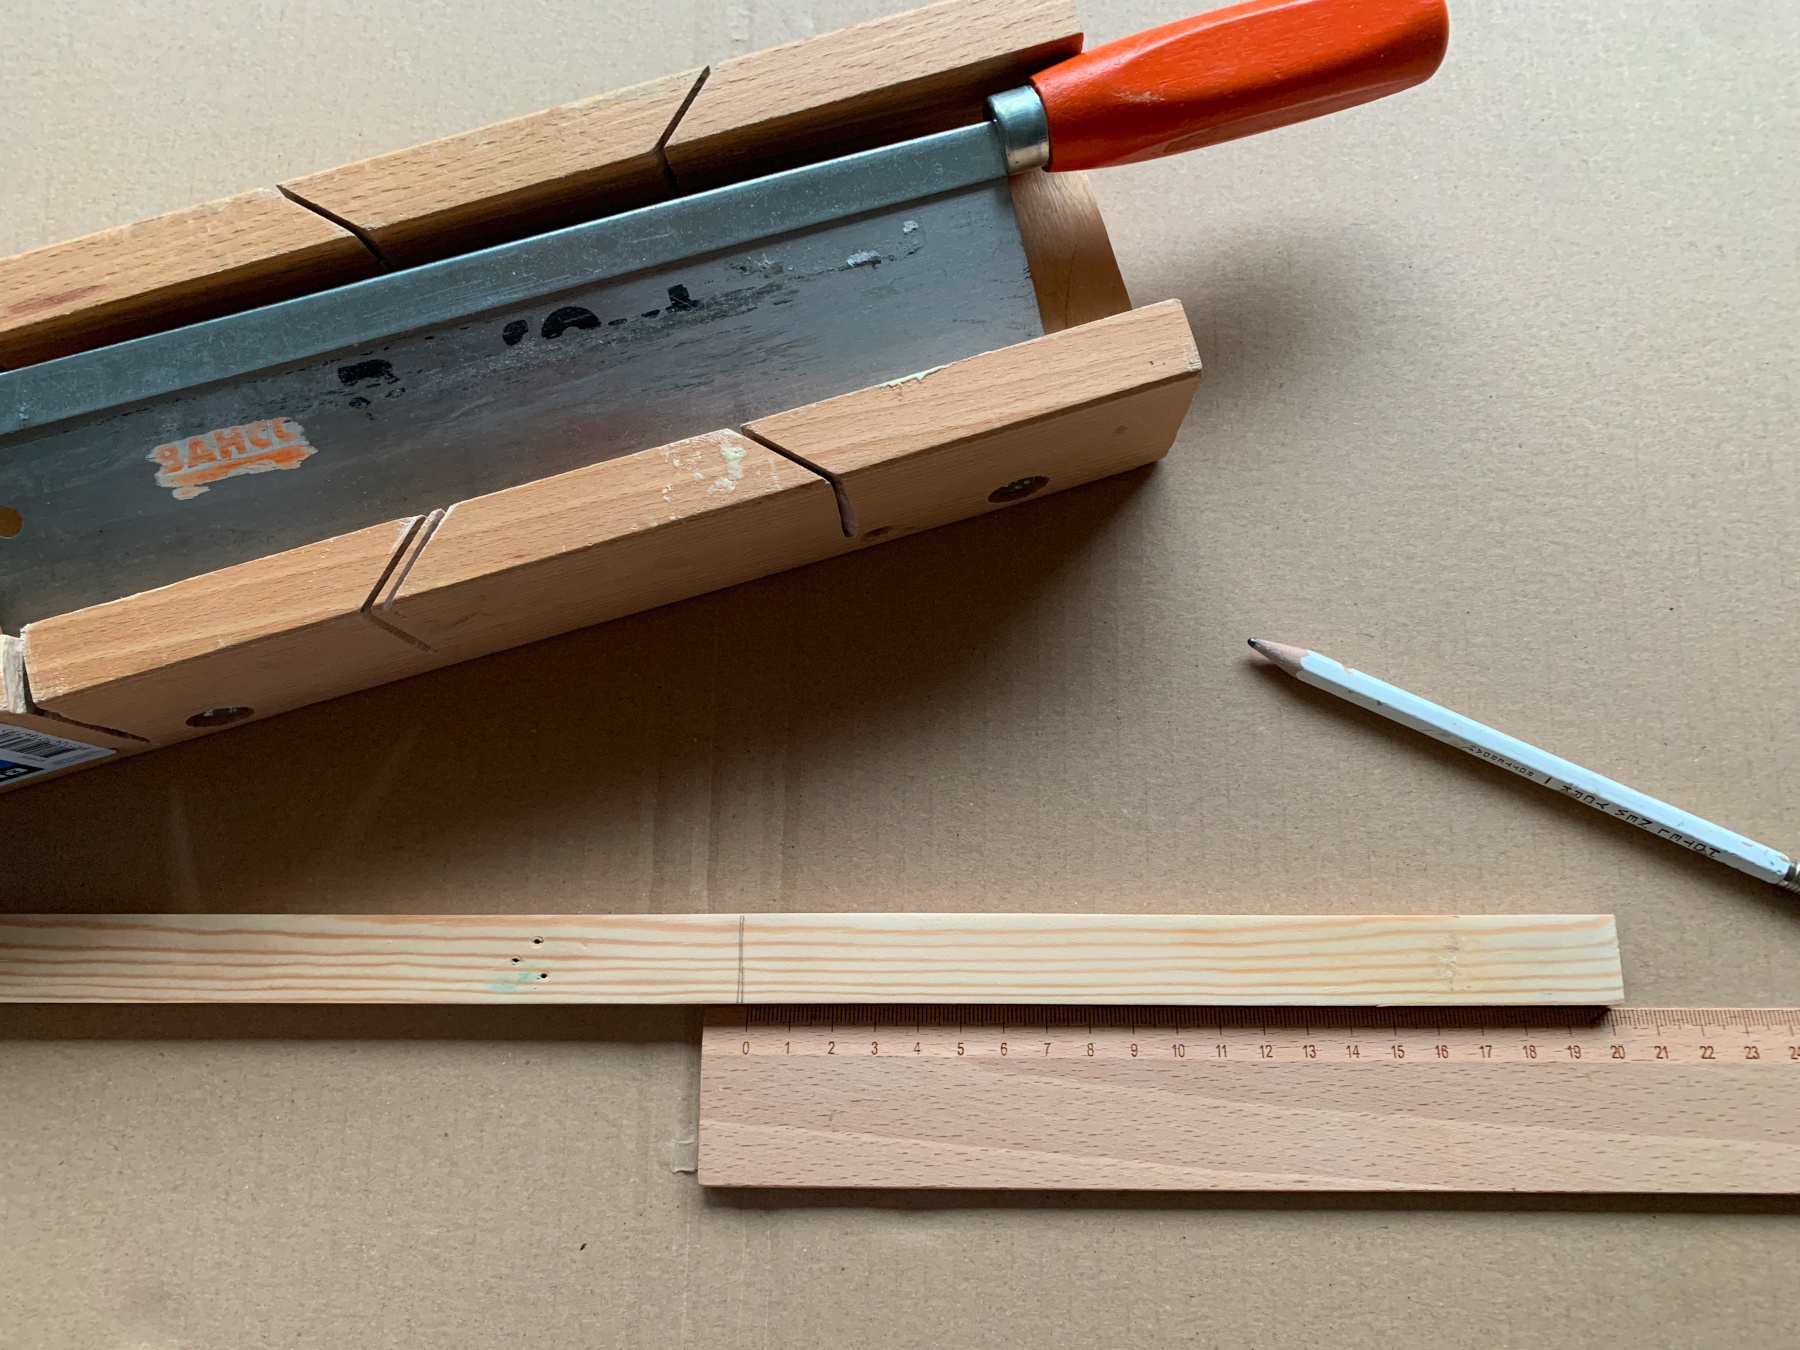
Measure and then mark on a long slat 4 slats of 20x20cm.
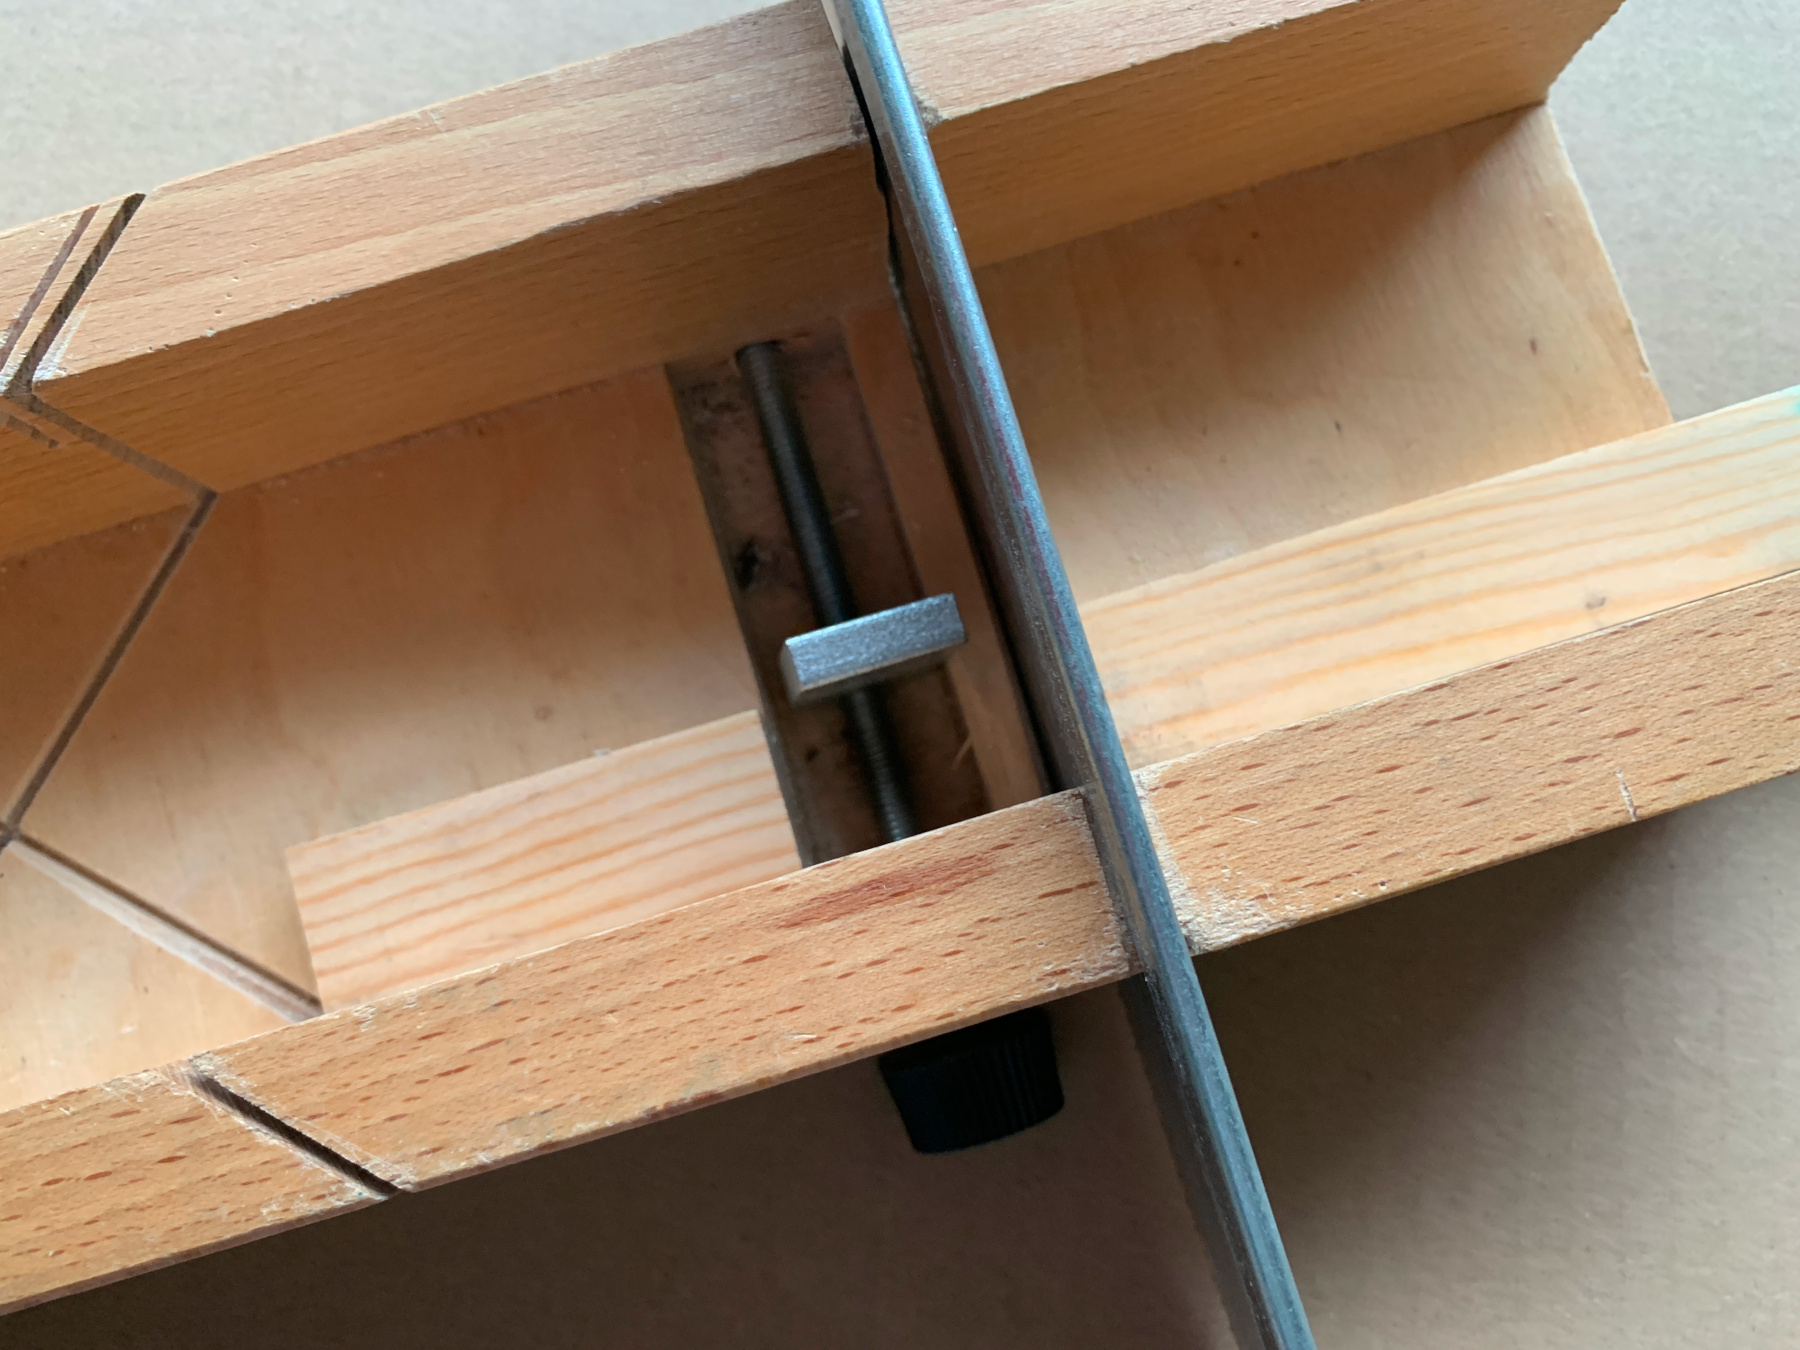
Neatly saw off the 4 pieces in the mitre box.
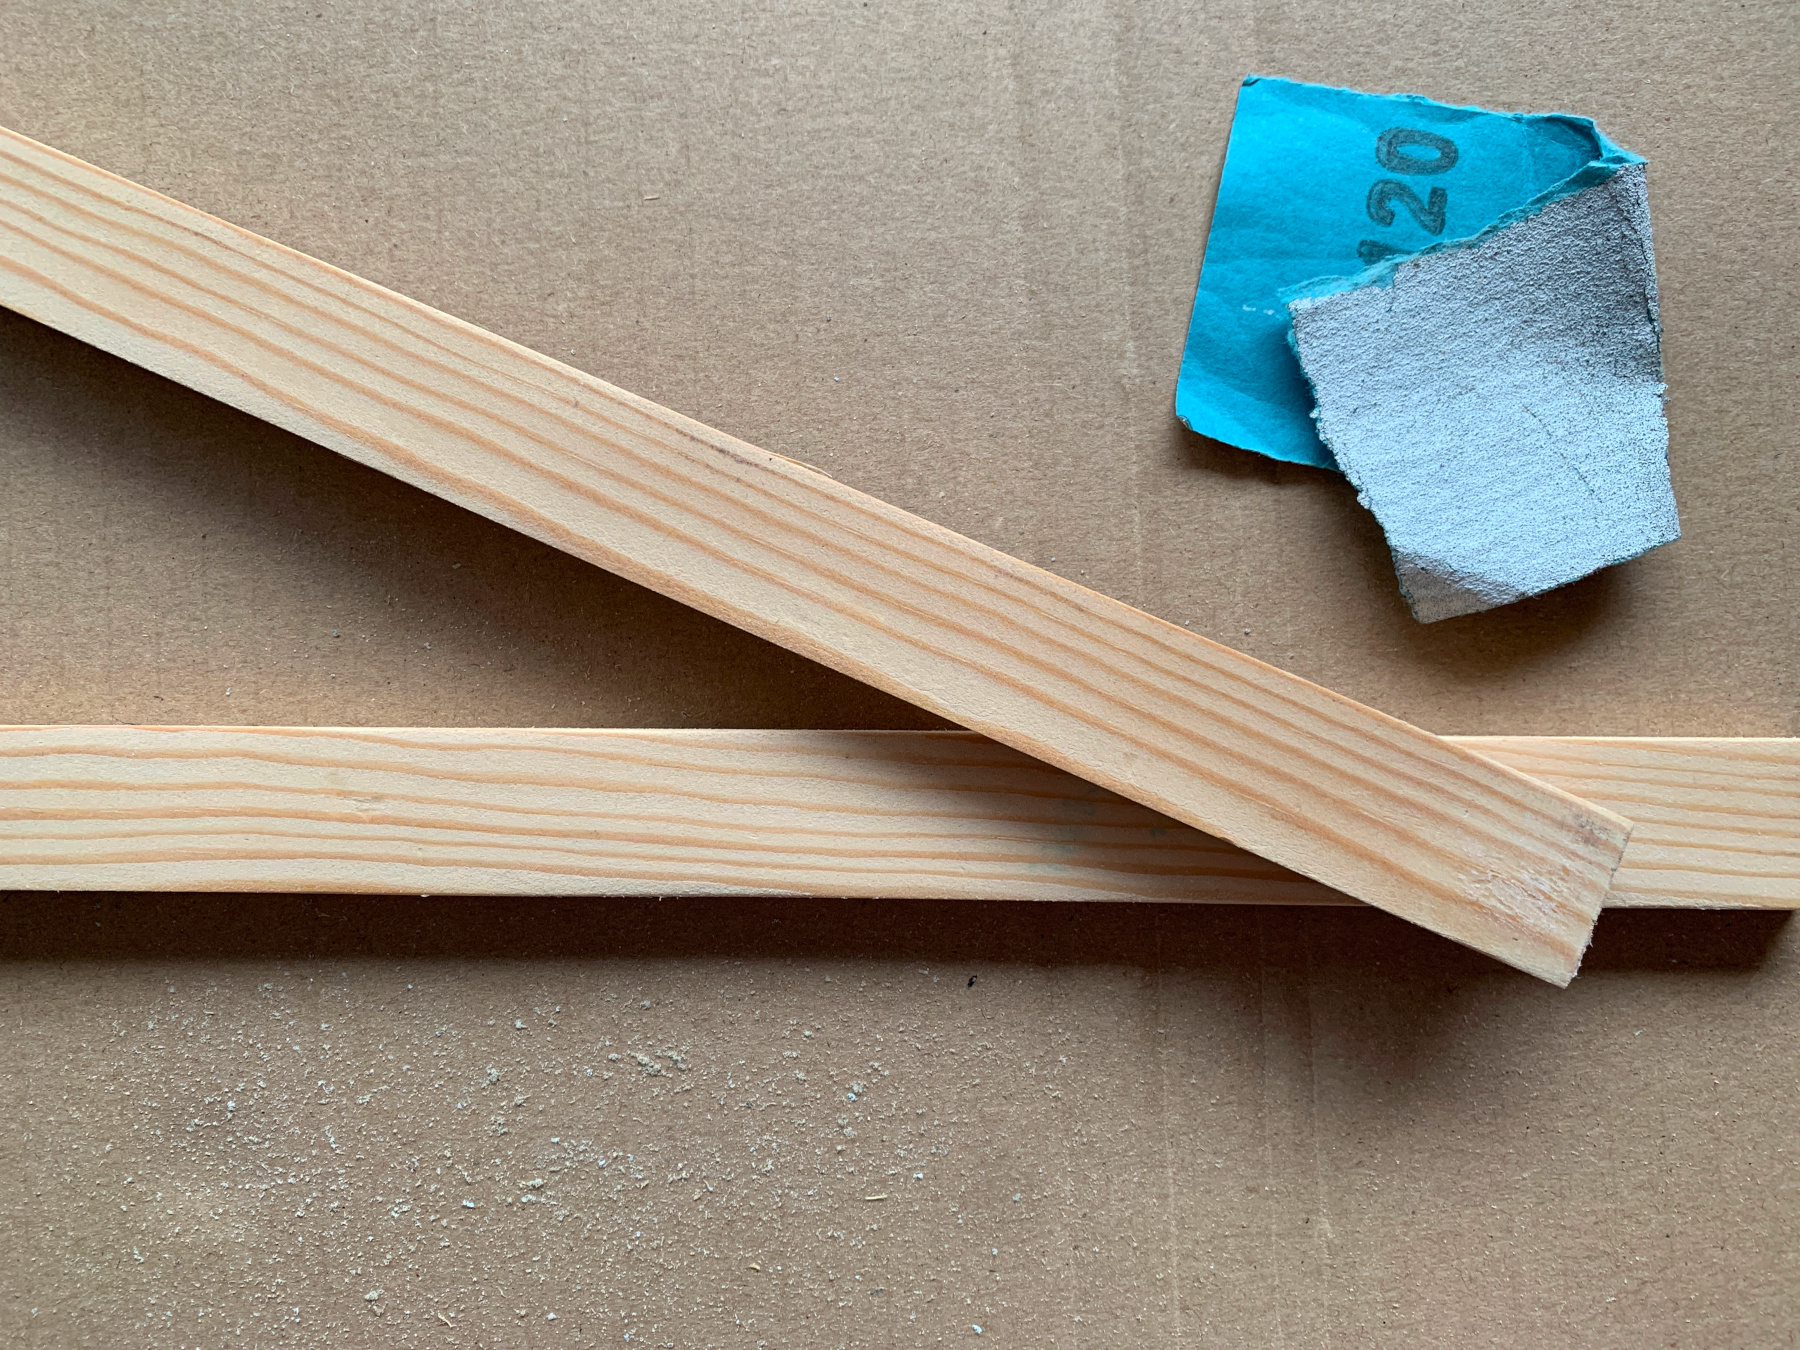

Sand the 4 slats nicely smooth.
Saw off the ends slanted (miter).
All the loose parts are sawed.
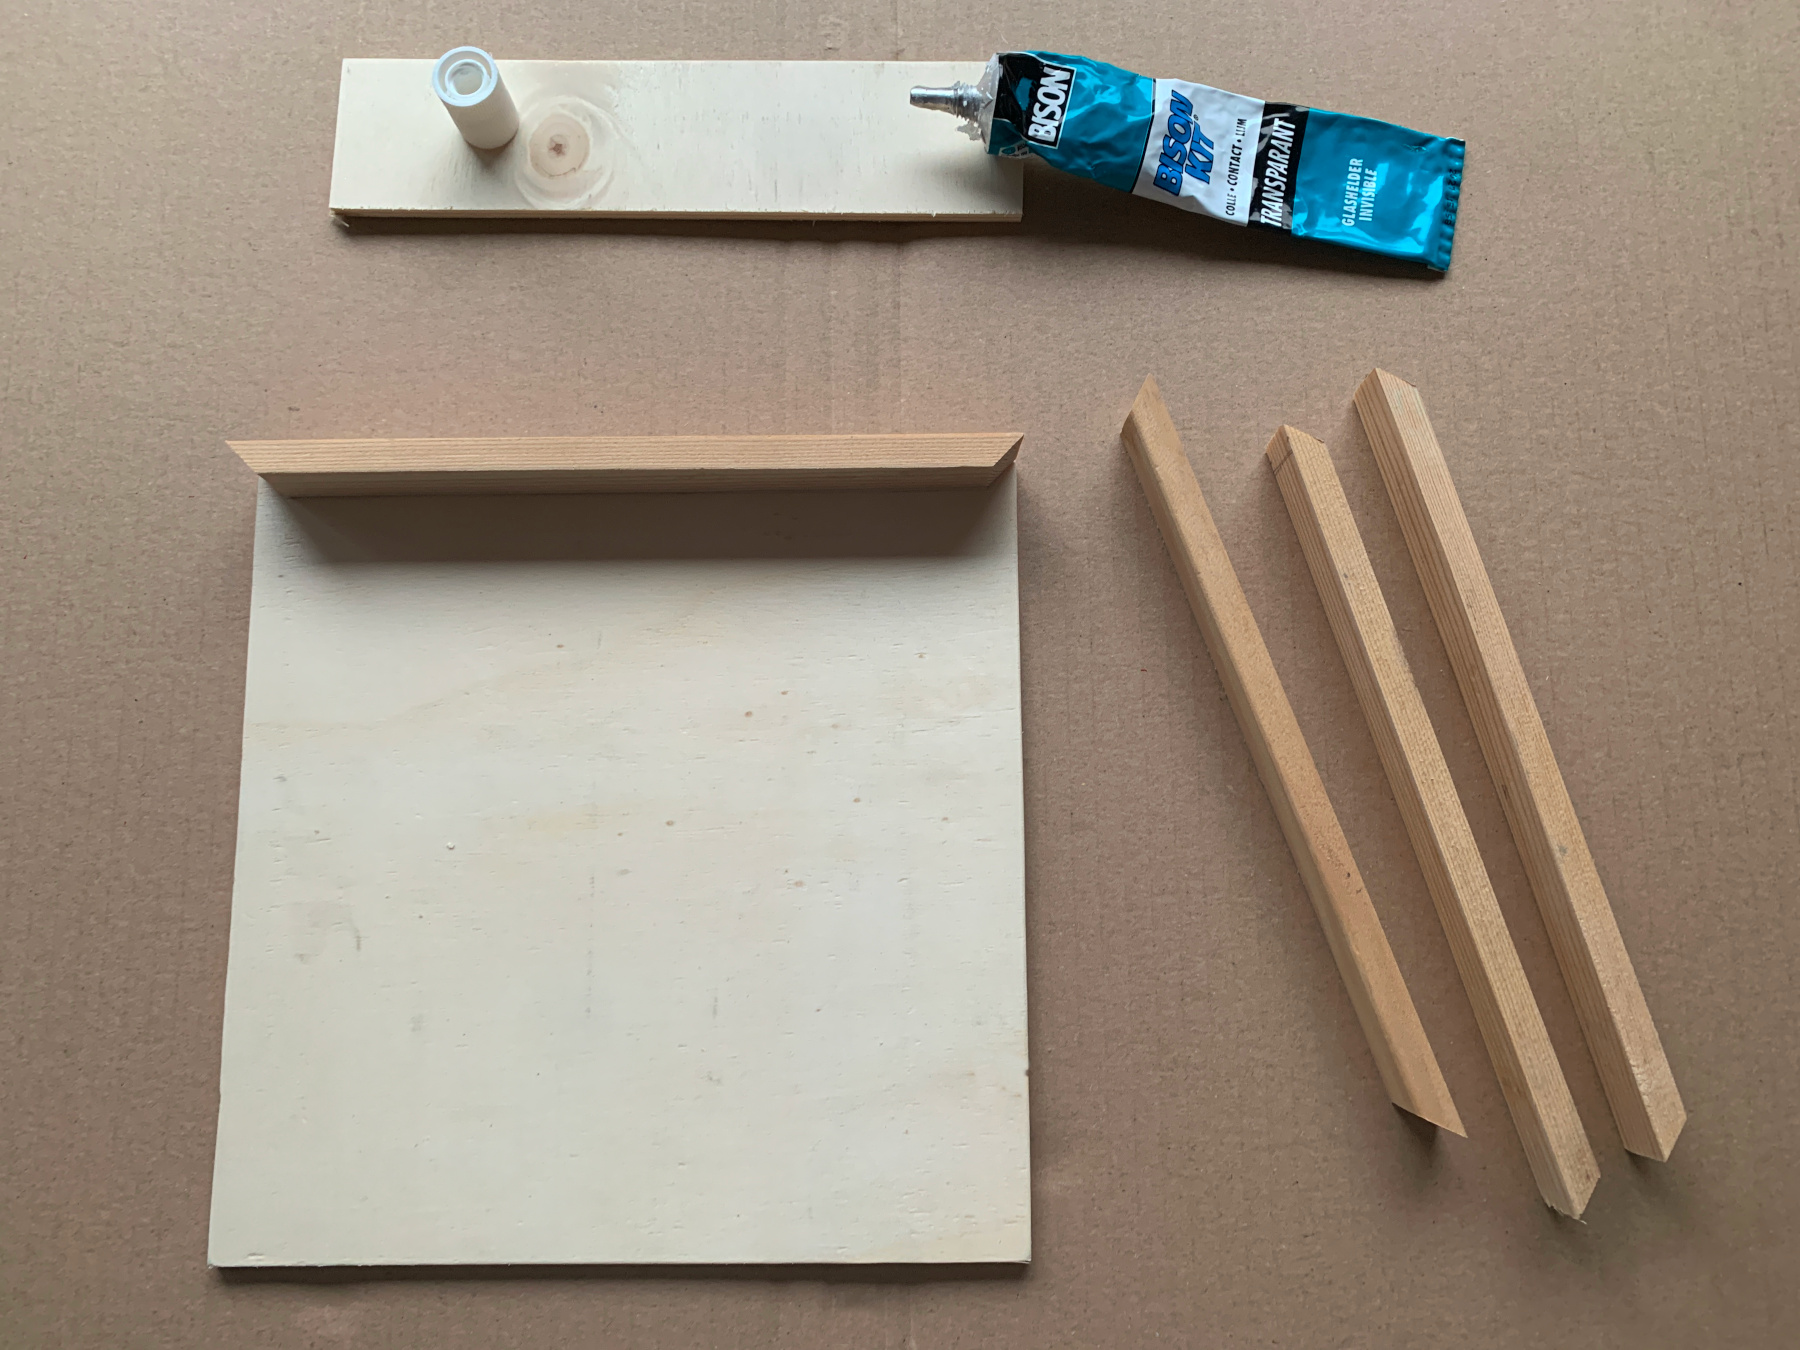
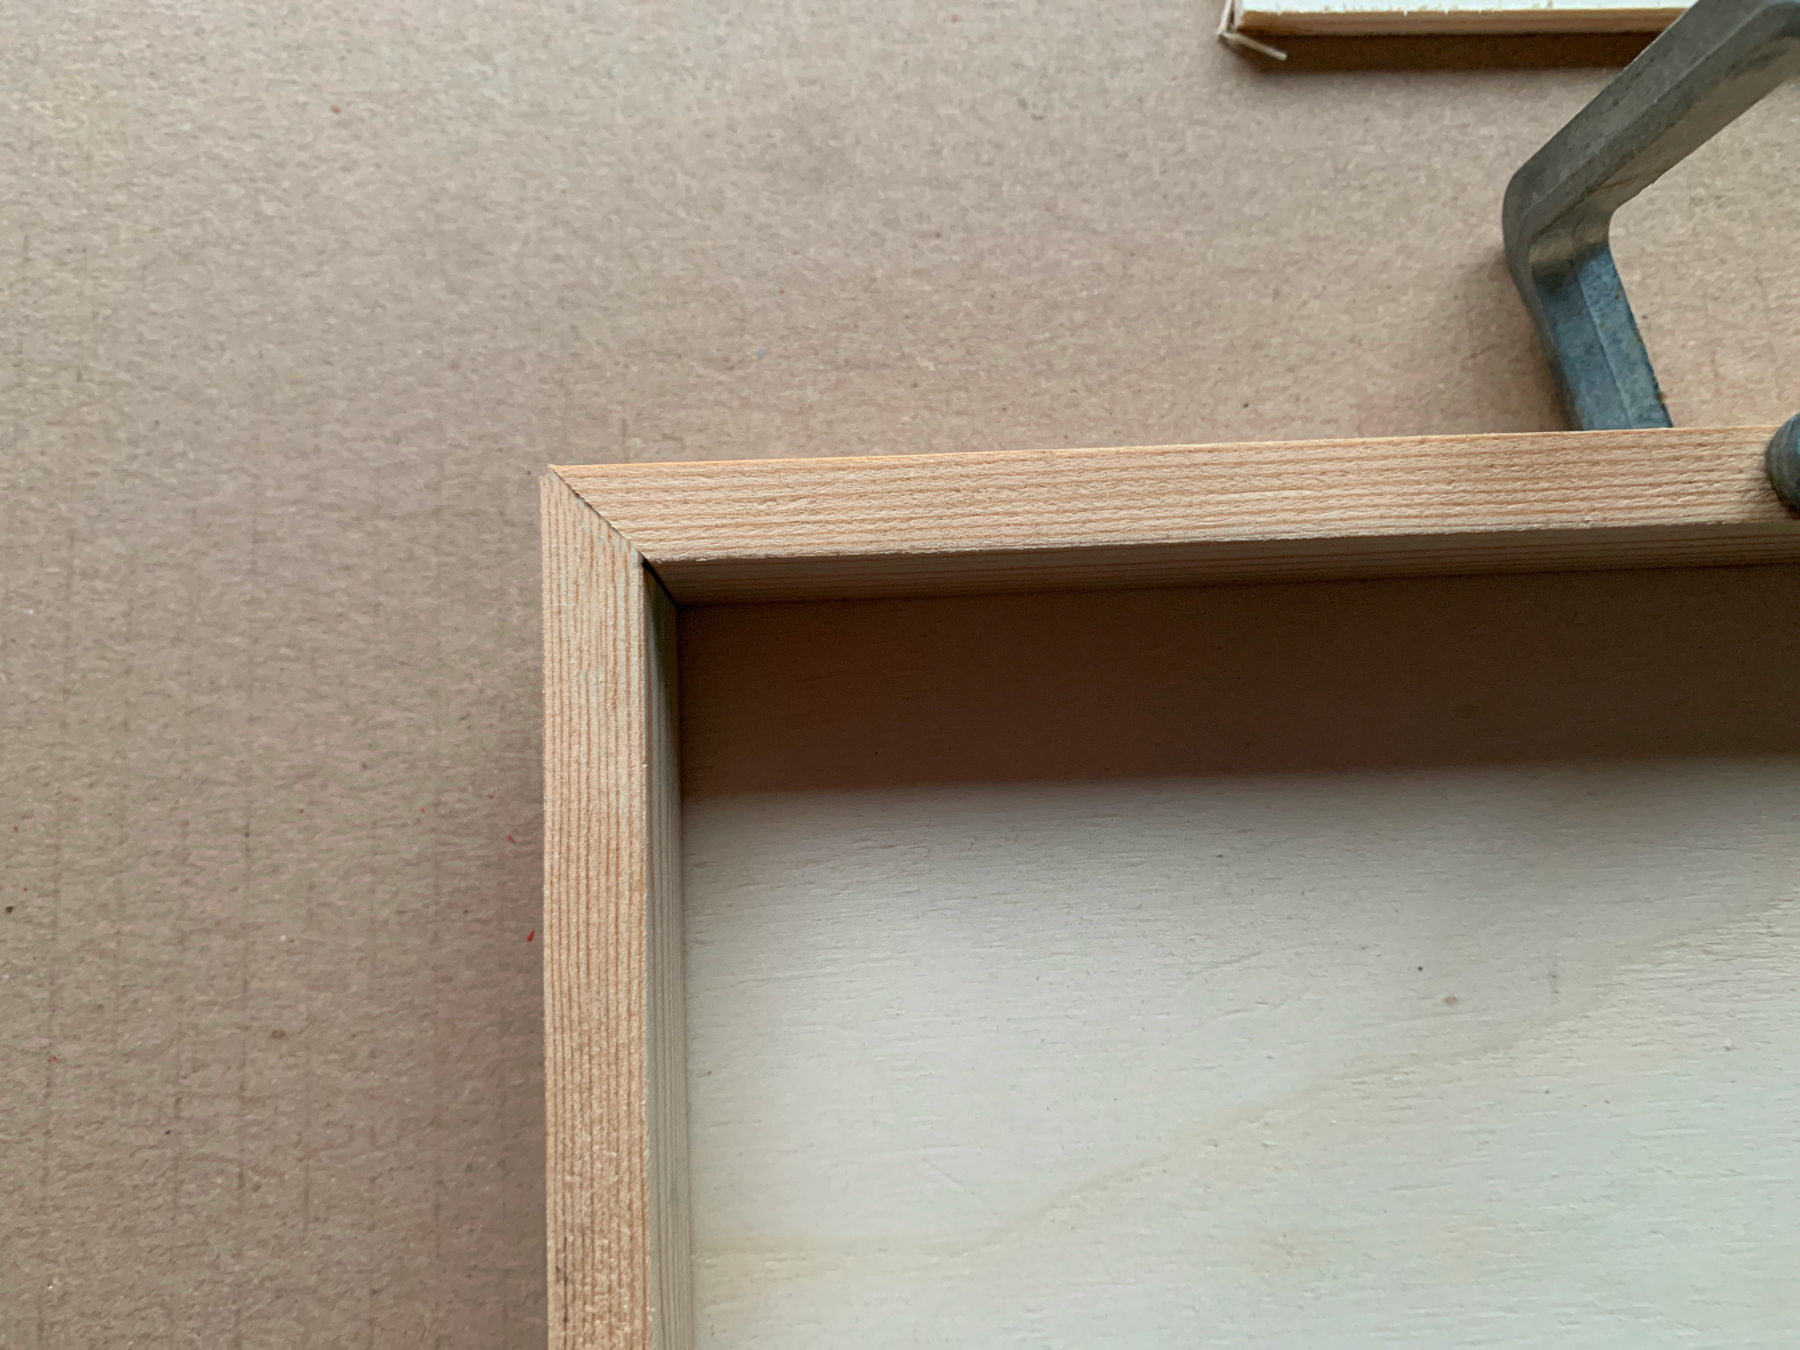
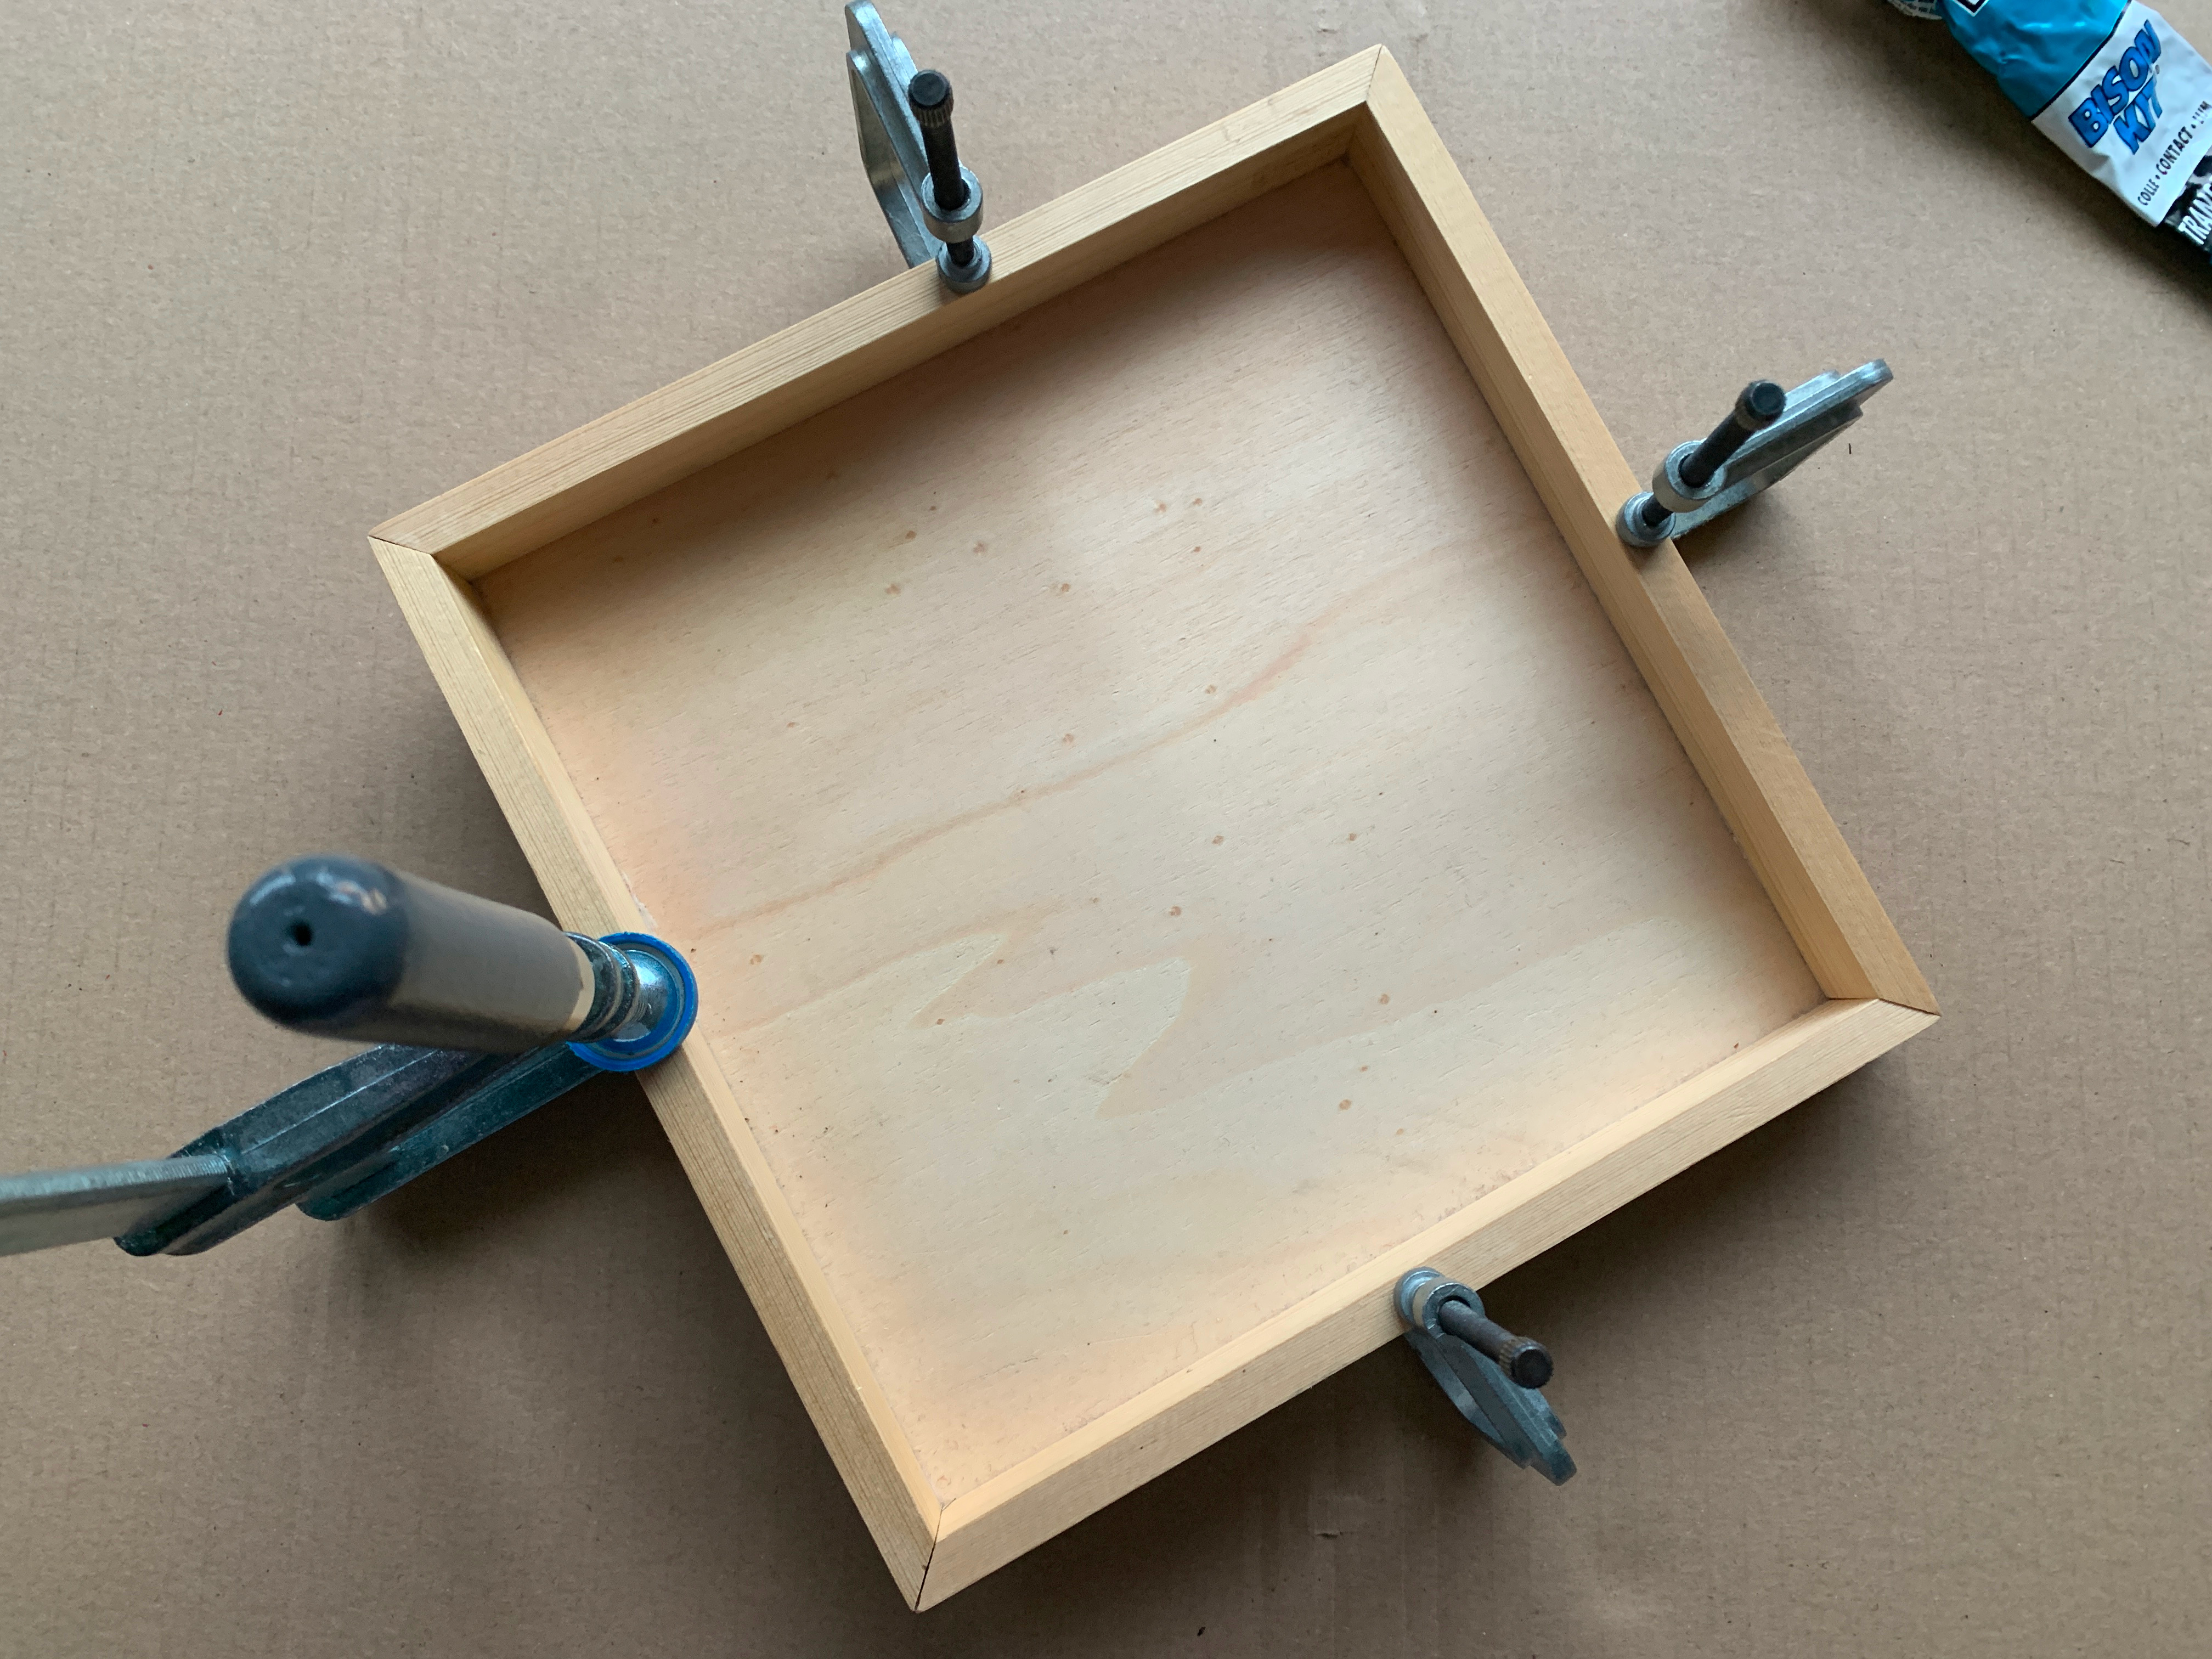
Stick the sides on the bottom.
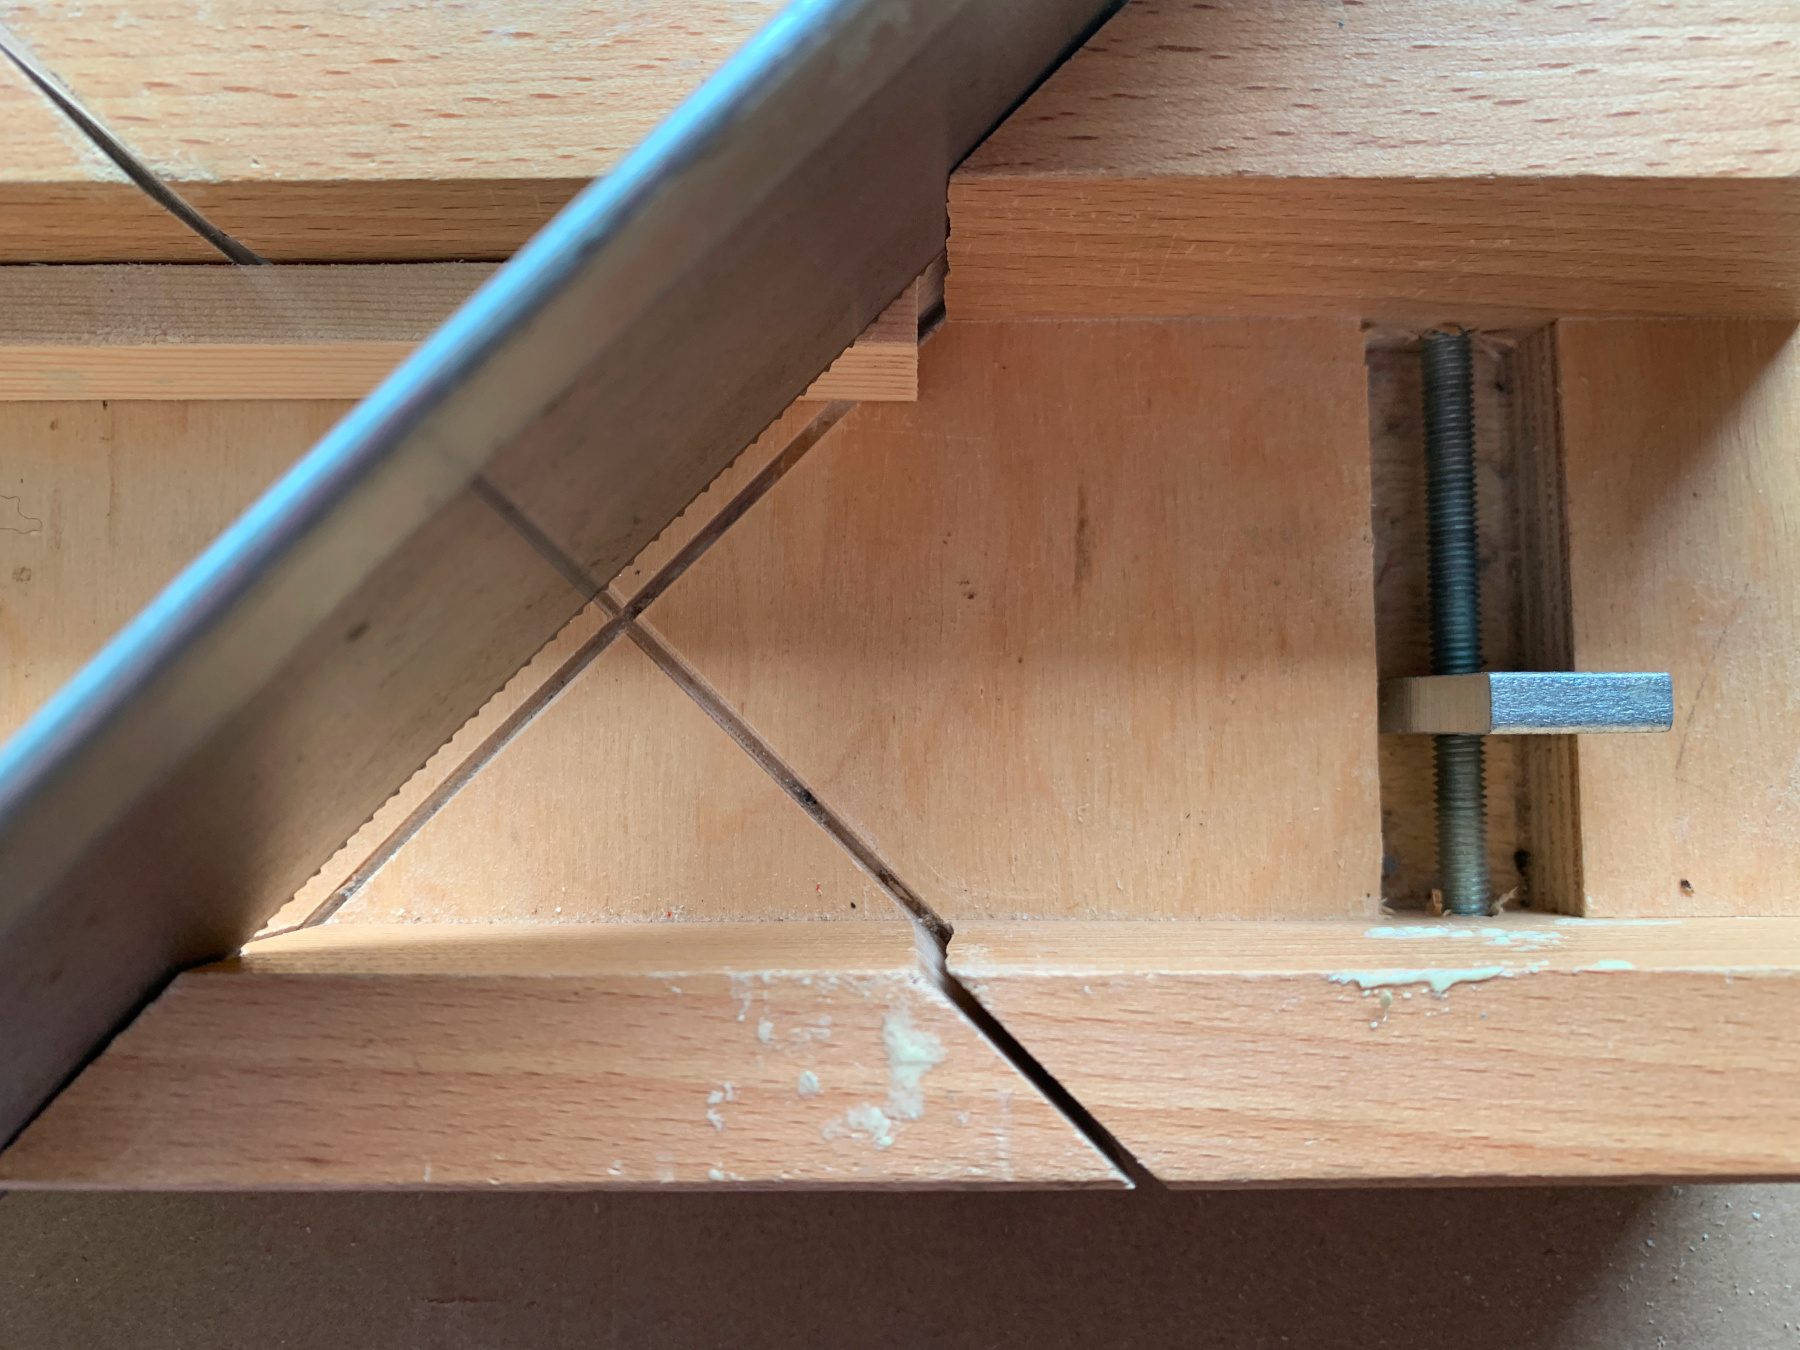
Stick the corners together.
Place glue clamps on the 4 slats.
Set your tray aside and let the glue dry overnight
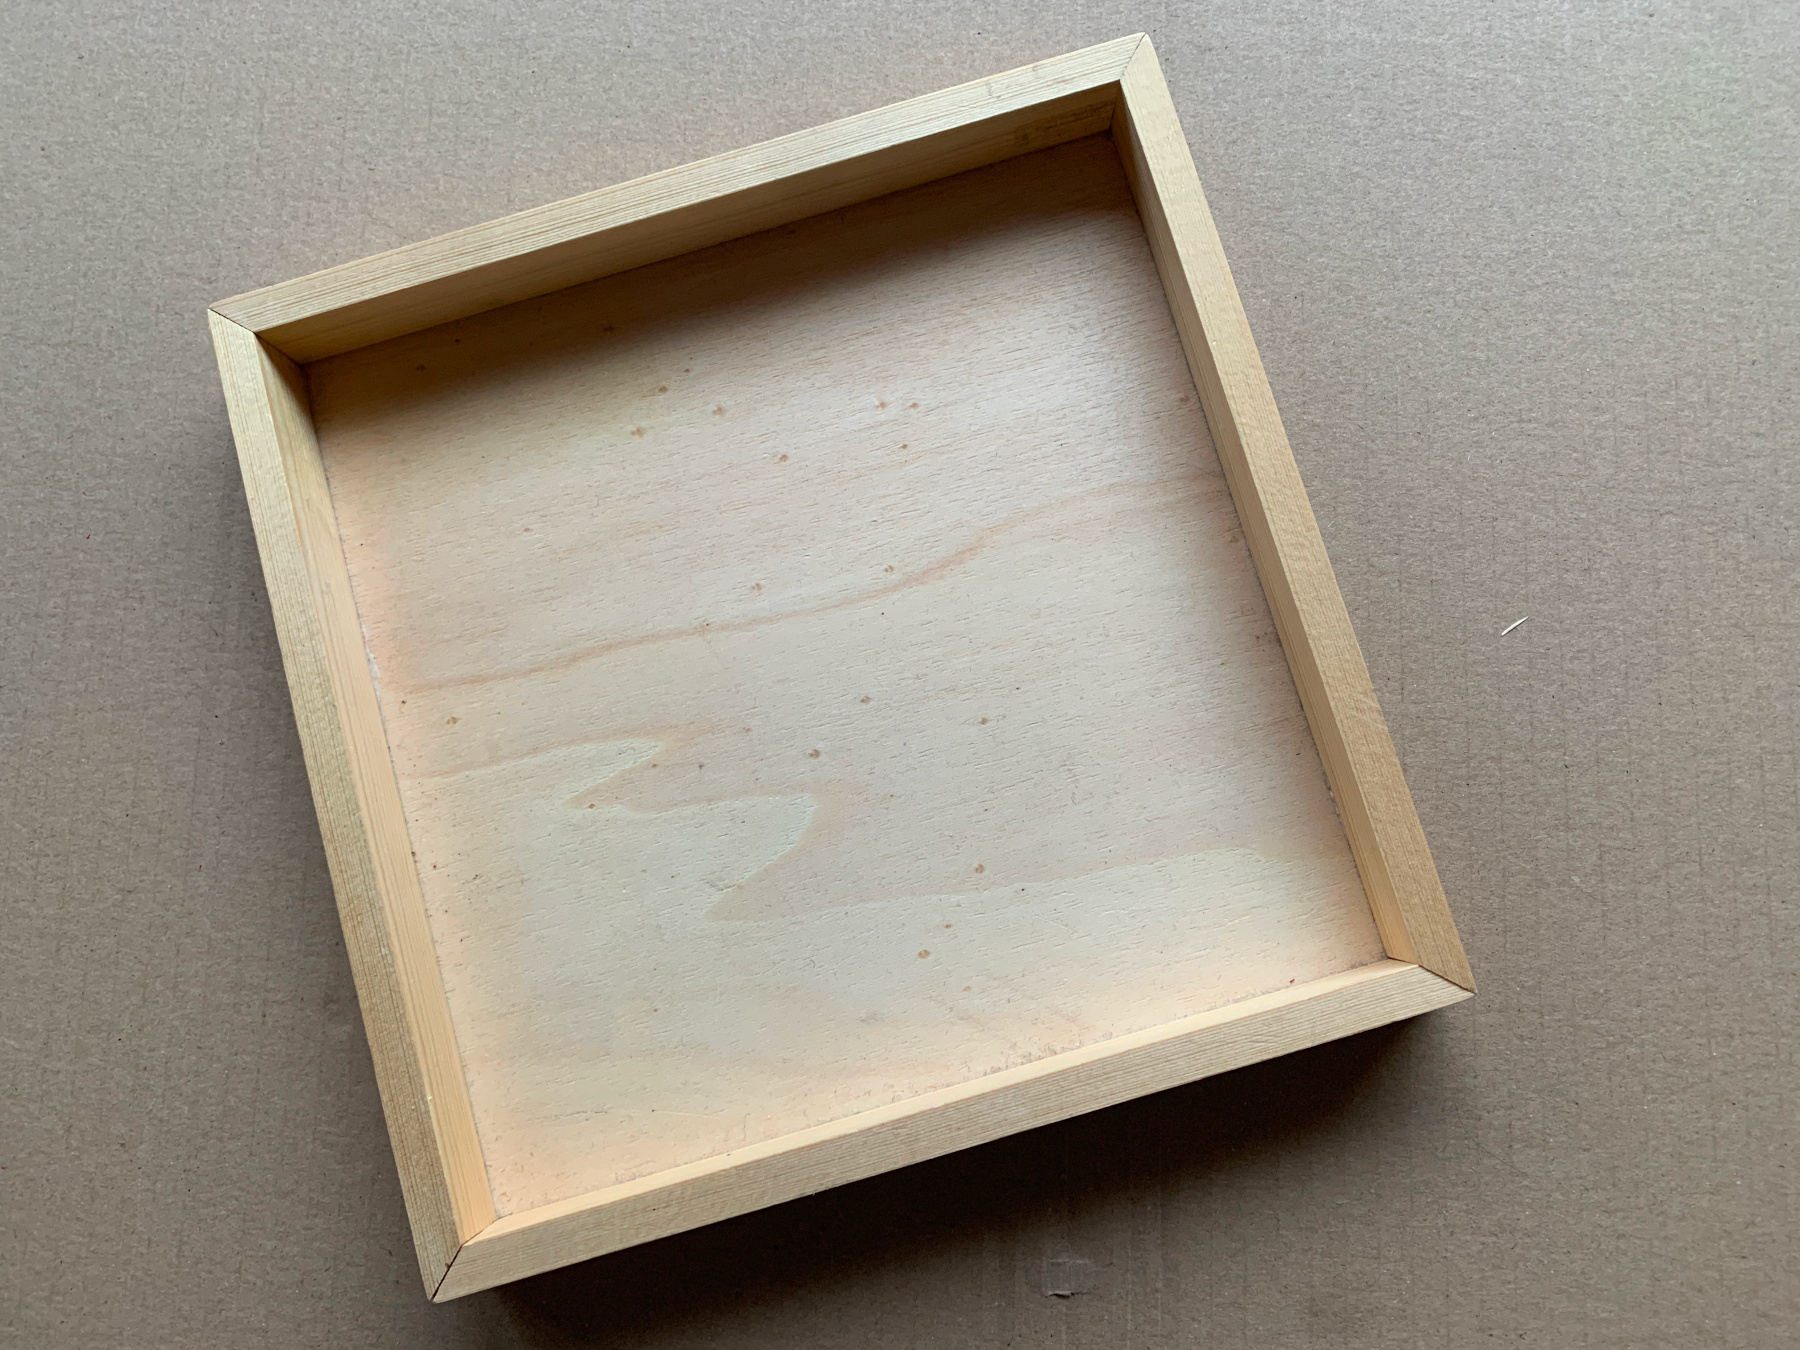
The tray turned nice and sturdy.
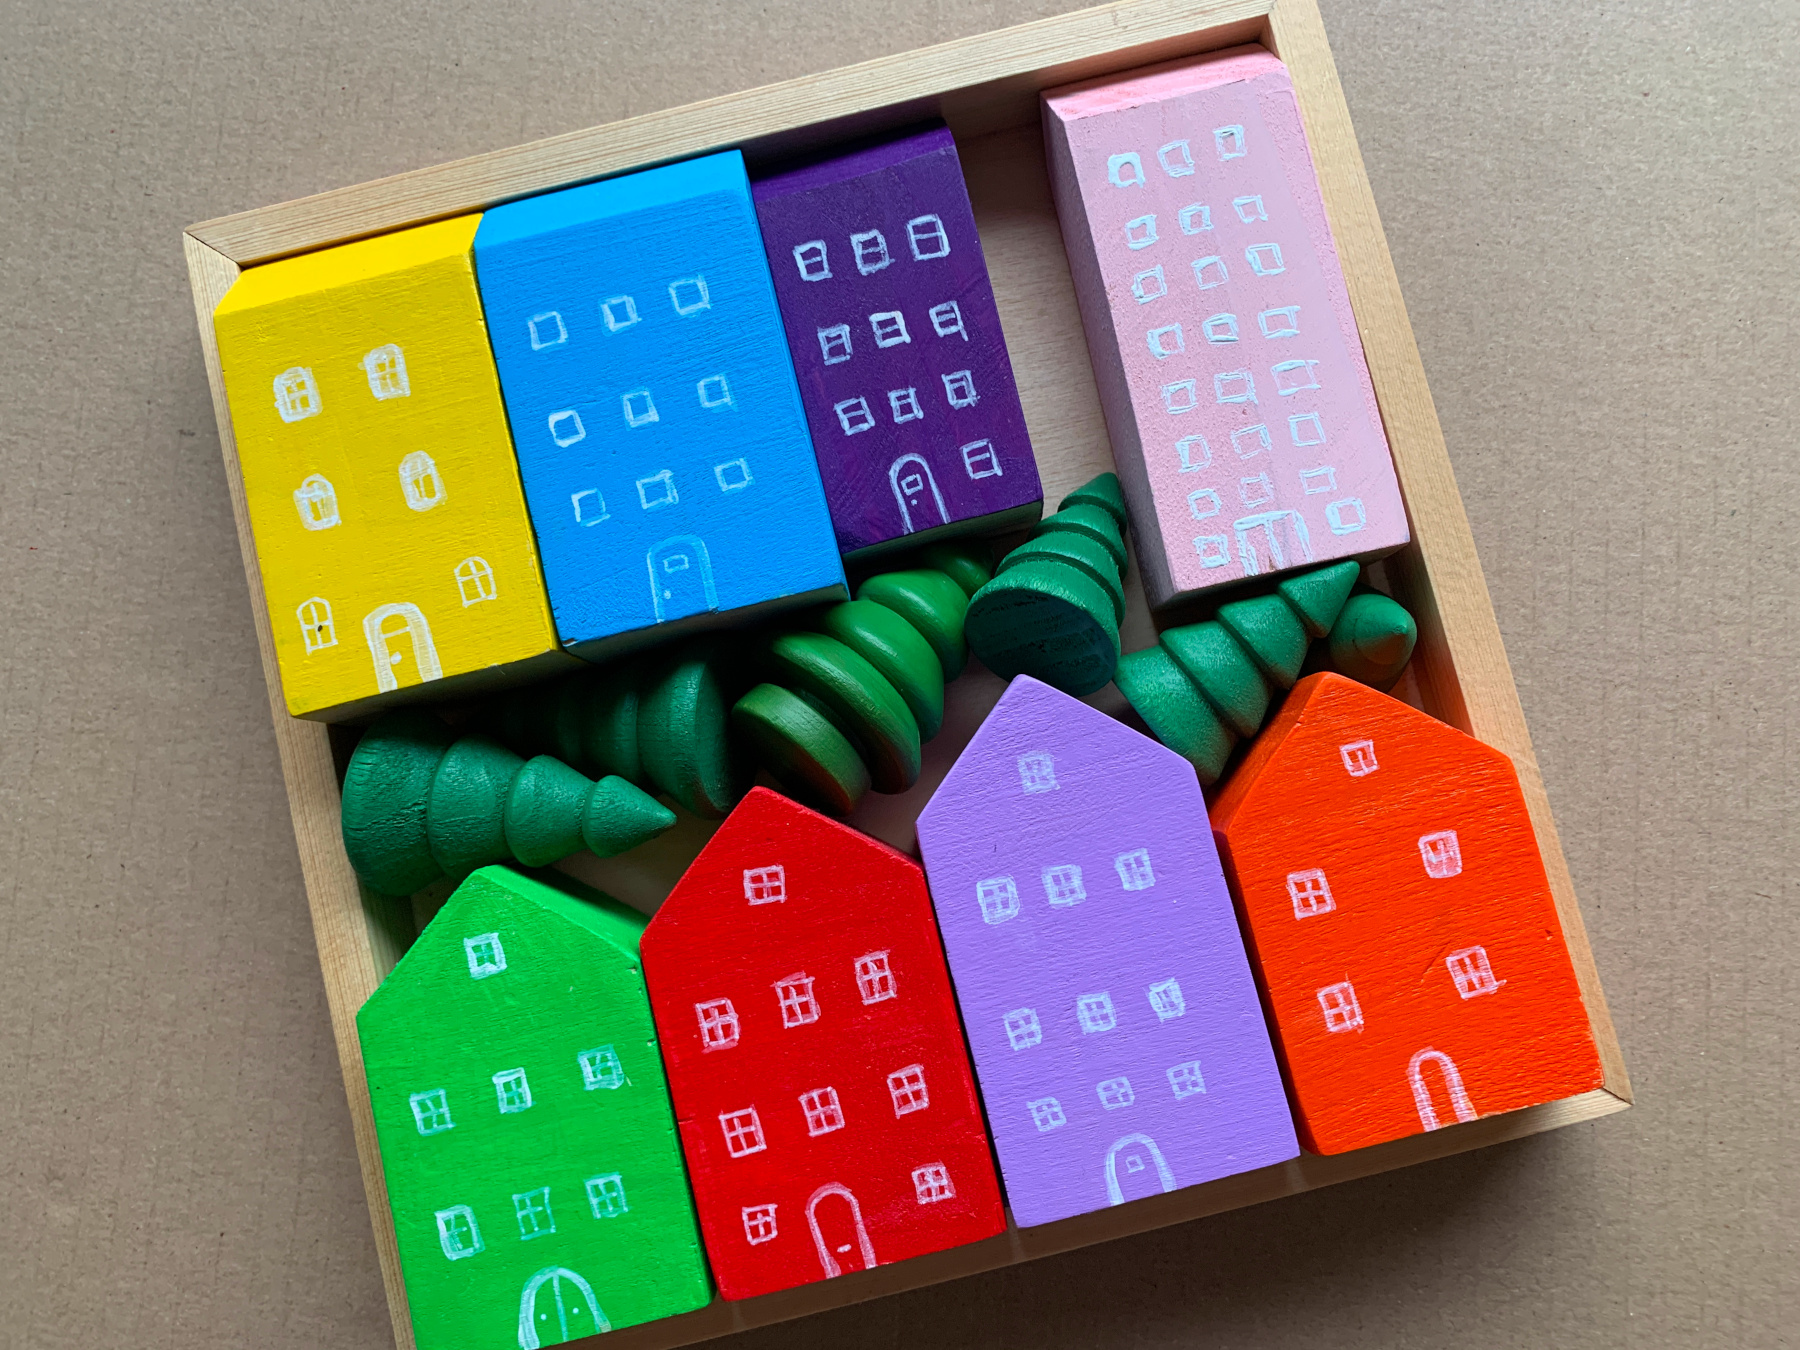
The little monsters put their toys in the trays ;))
You can also paint your tray with a colourless matt varnish or in a beautiful wood colour