What do you need?
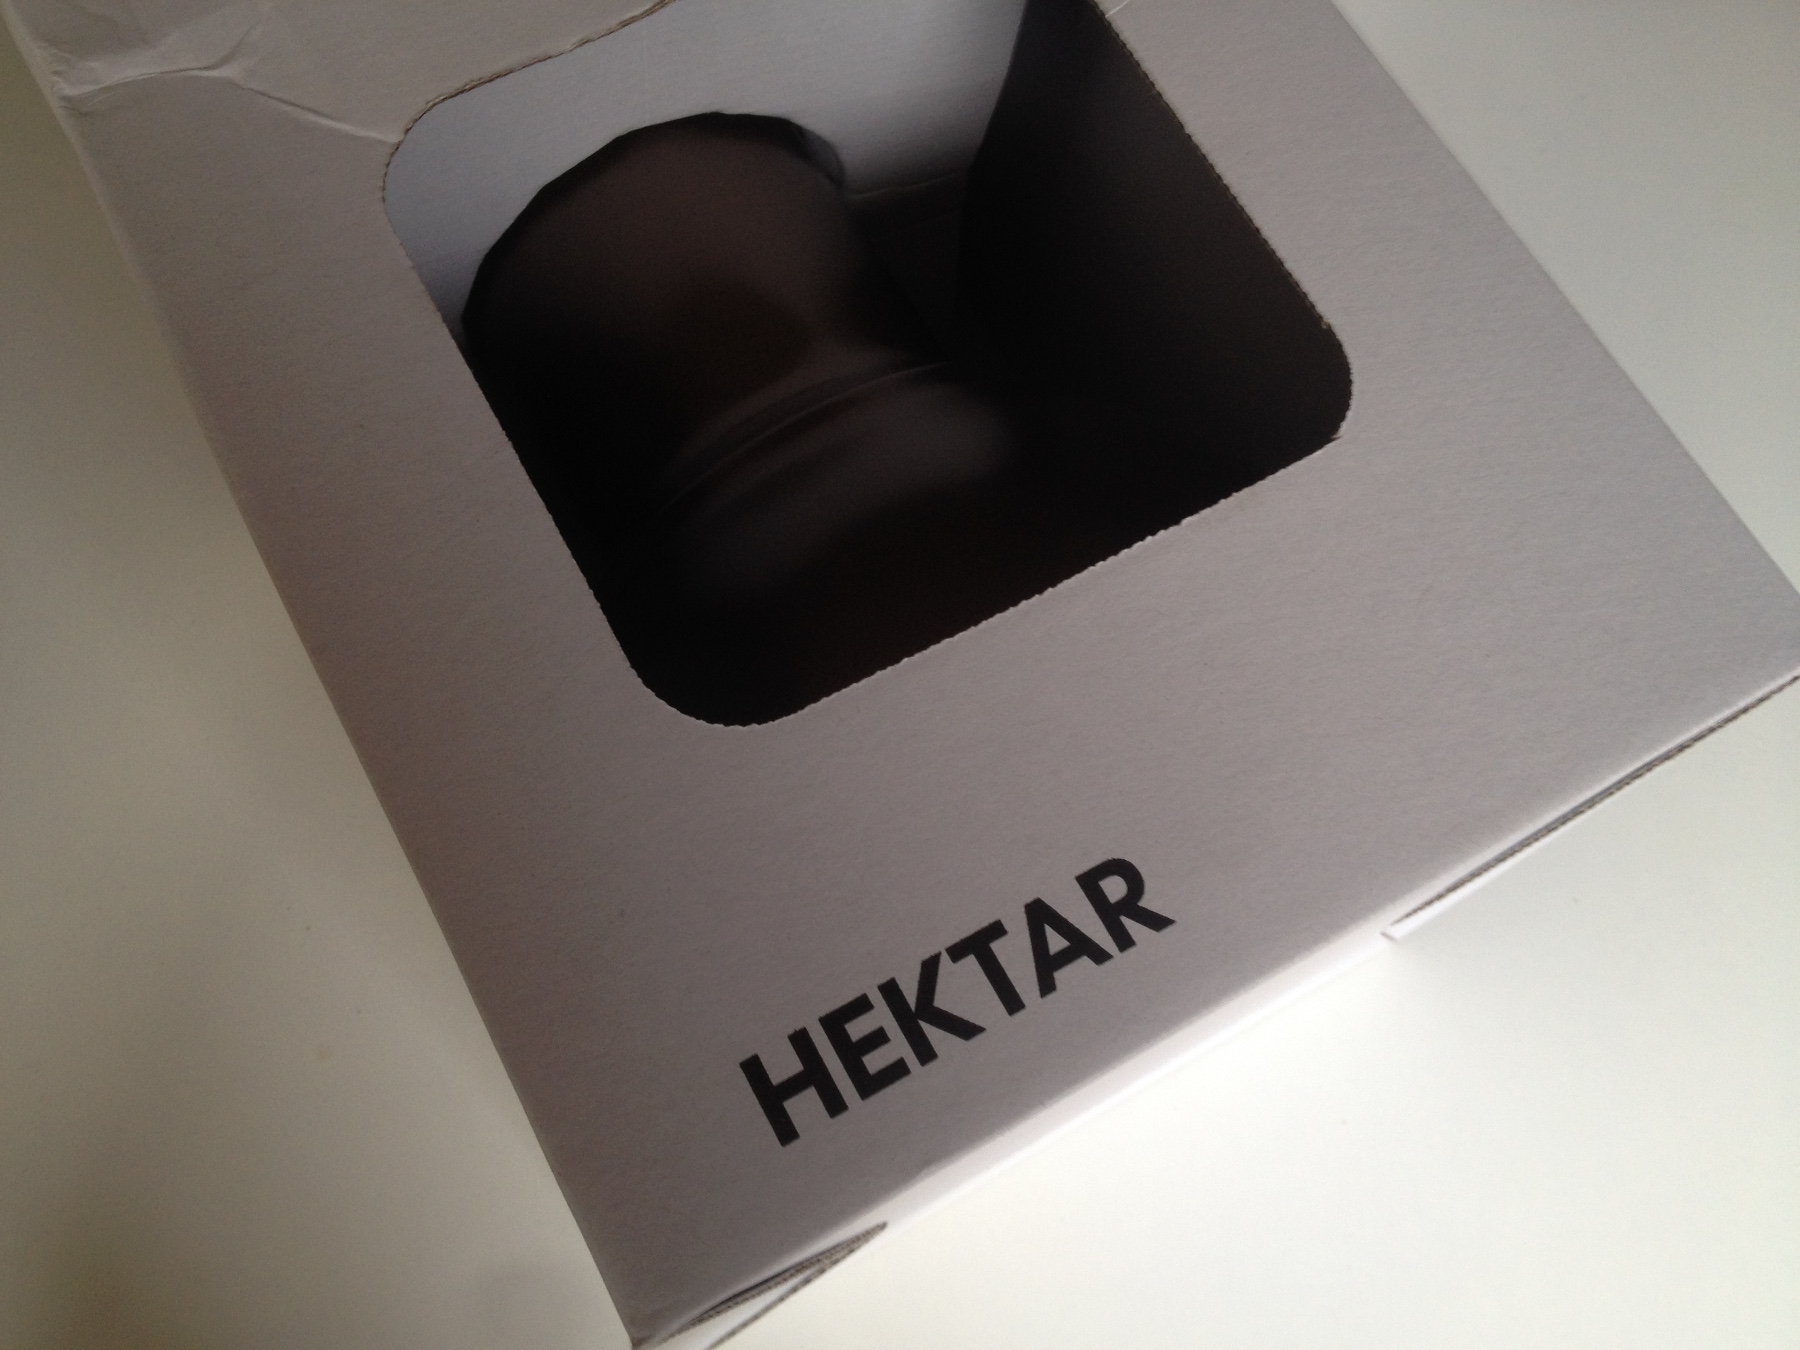
the cardboard of a HEKTAR box
strong glue
transparent printer sheet
extra long skewer
black fineliner
corks (Xenos)
nuts and bolts
wooden slat 9x9mm
wooden slat 9x20mm
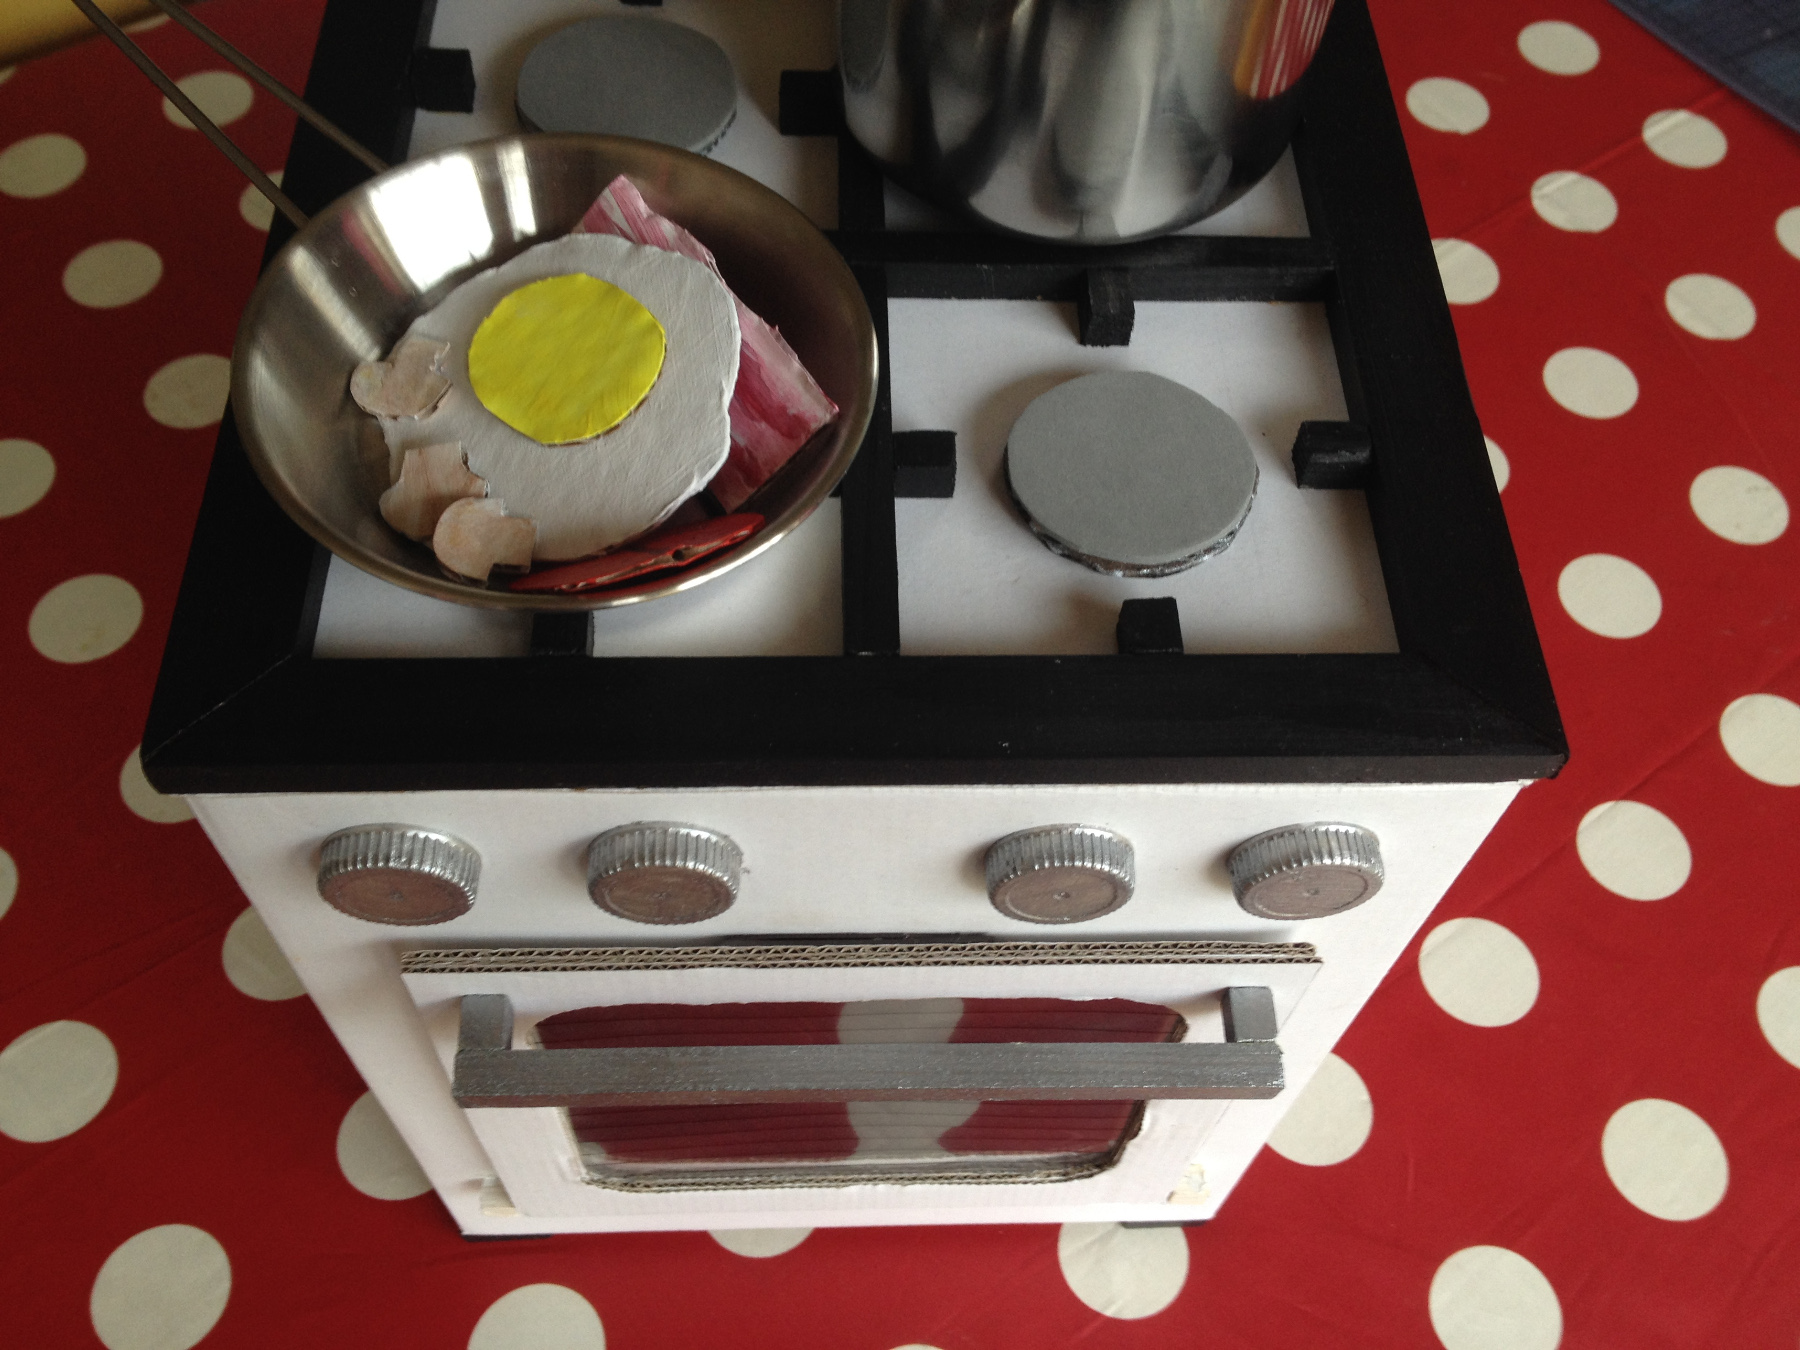
Today we make the oven door, the rack on top for the pots and pans with the gas burners and we attach the knobs.
How to finish the stove
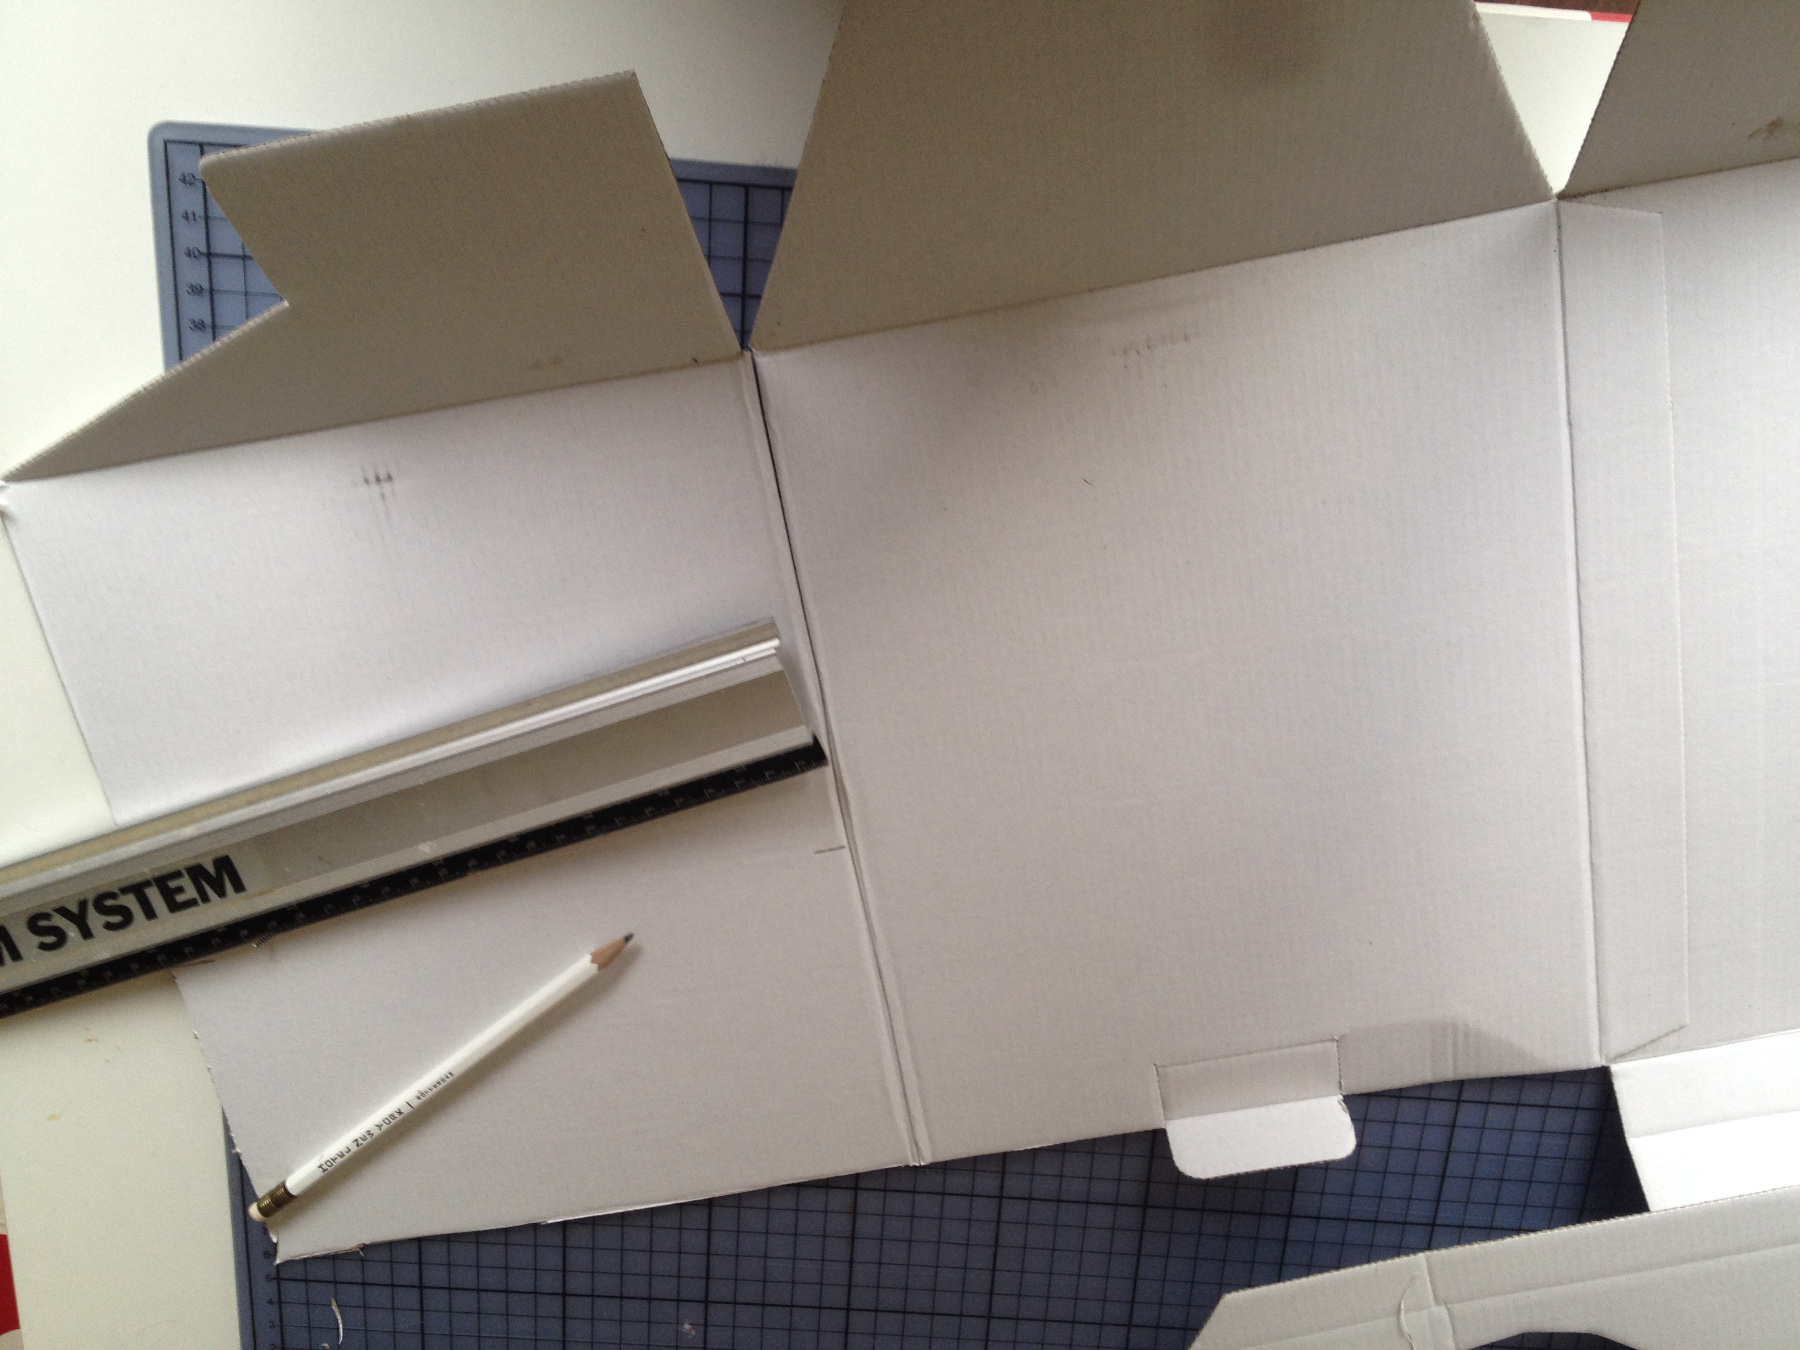
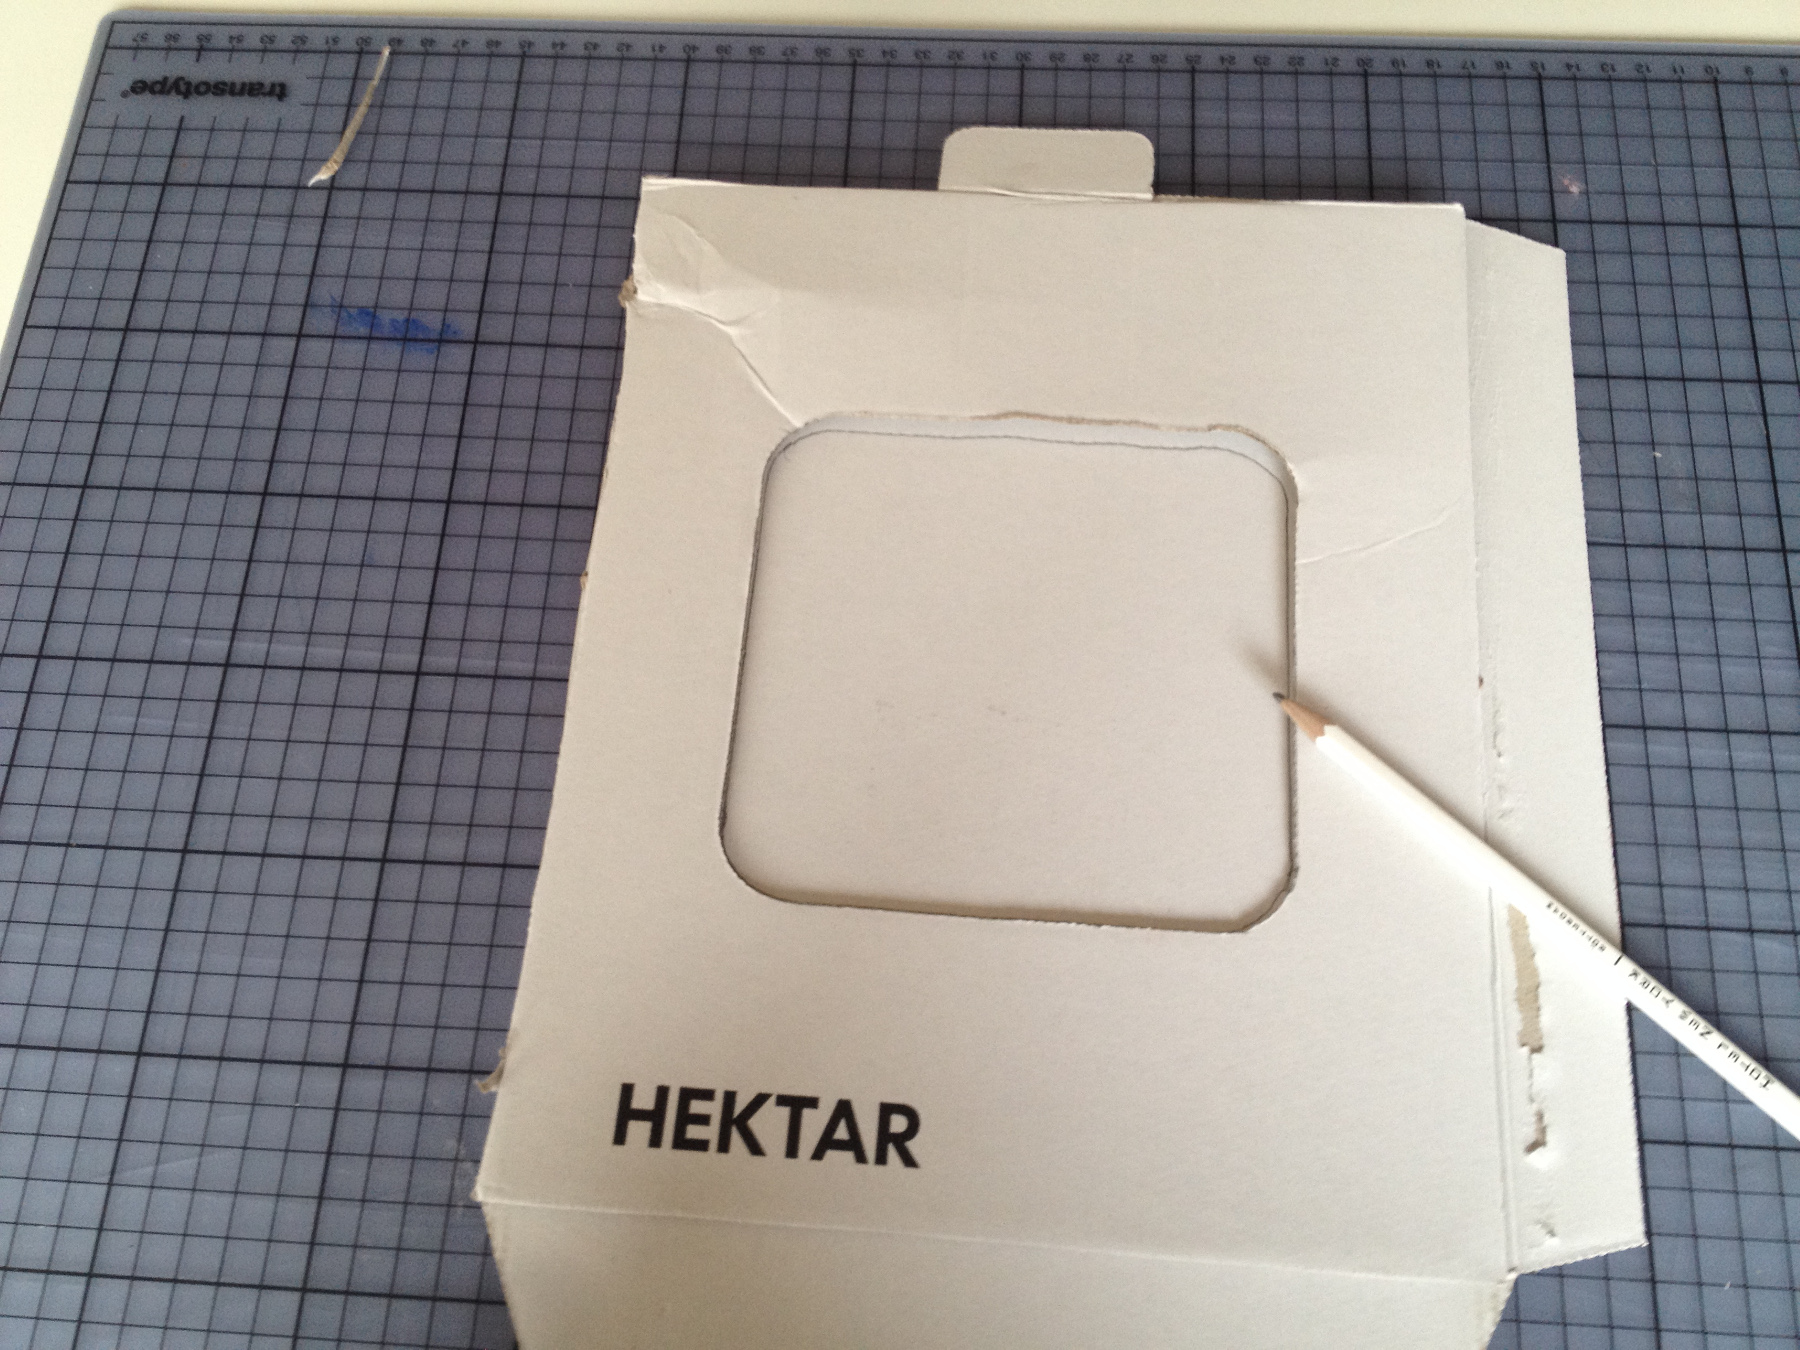
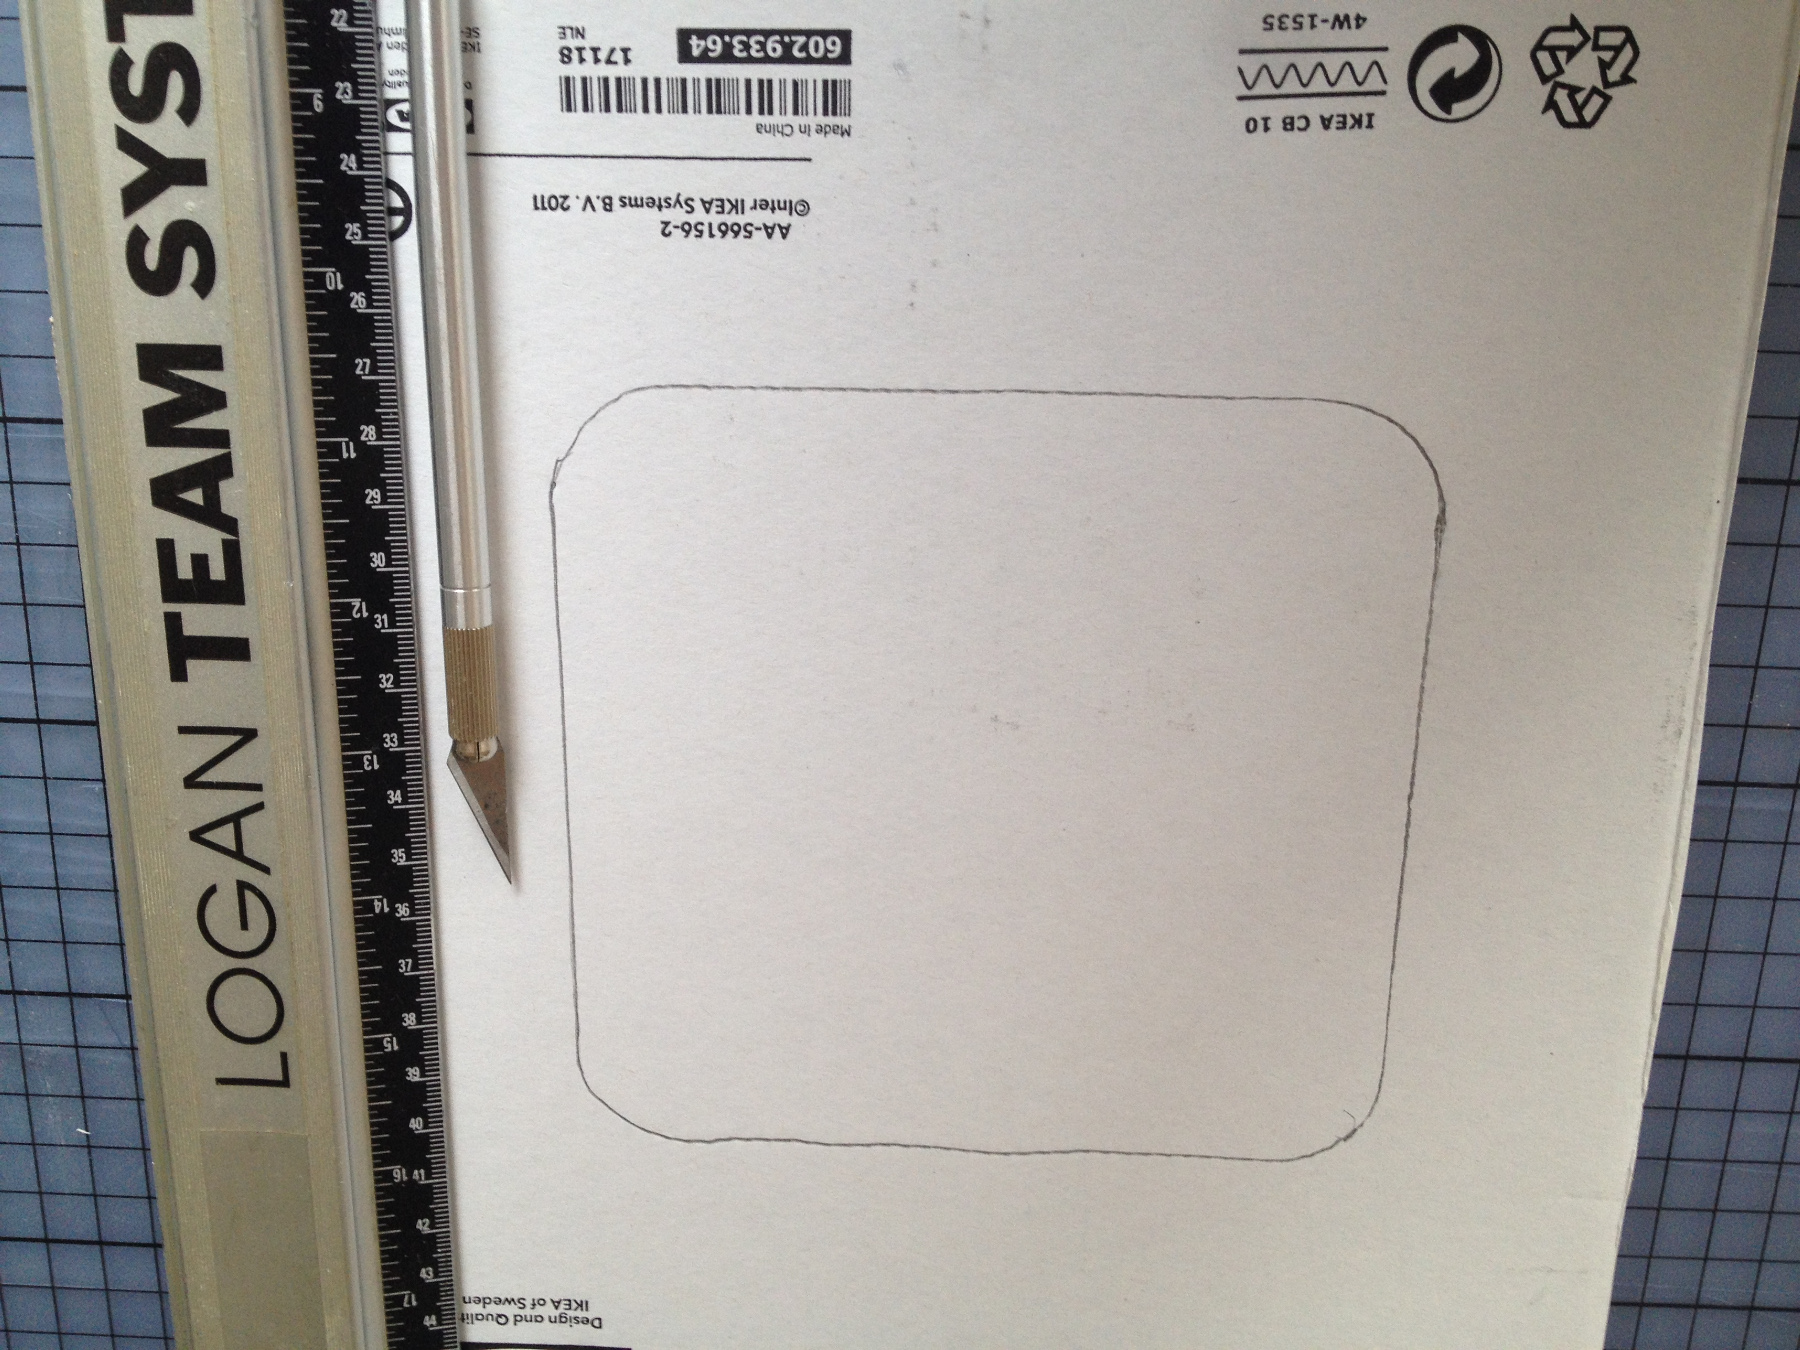
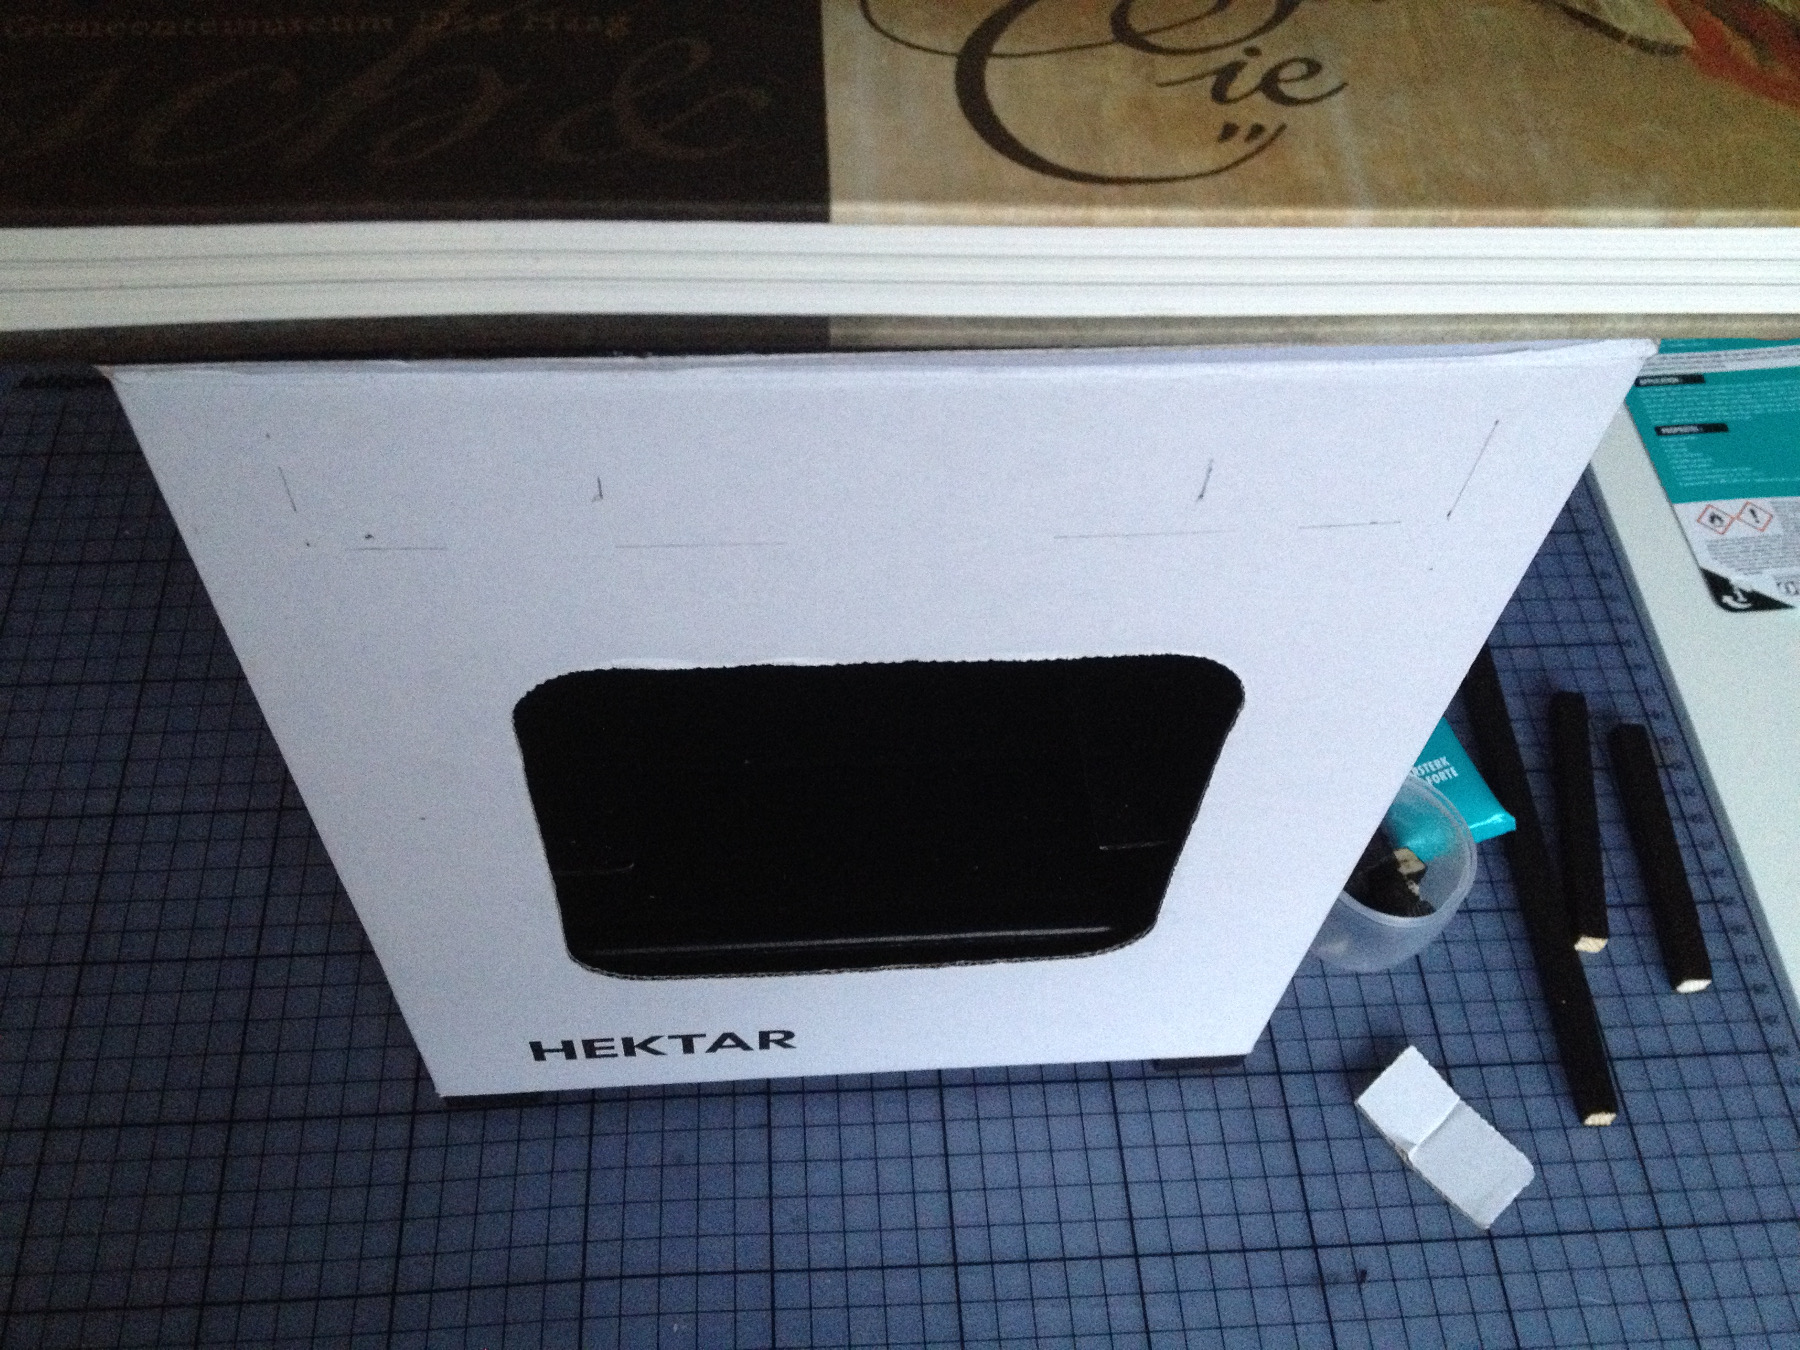
Cut a side panel from the box.
Trace the hole from the front.
Cut out the drawed shape.
Cut off the edges until 18x17.5cm.
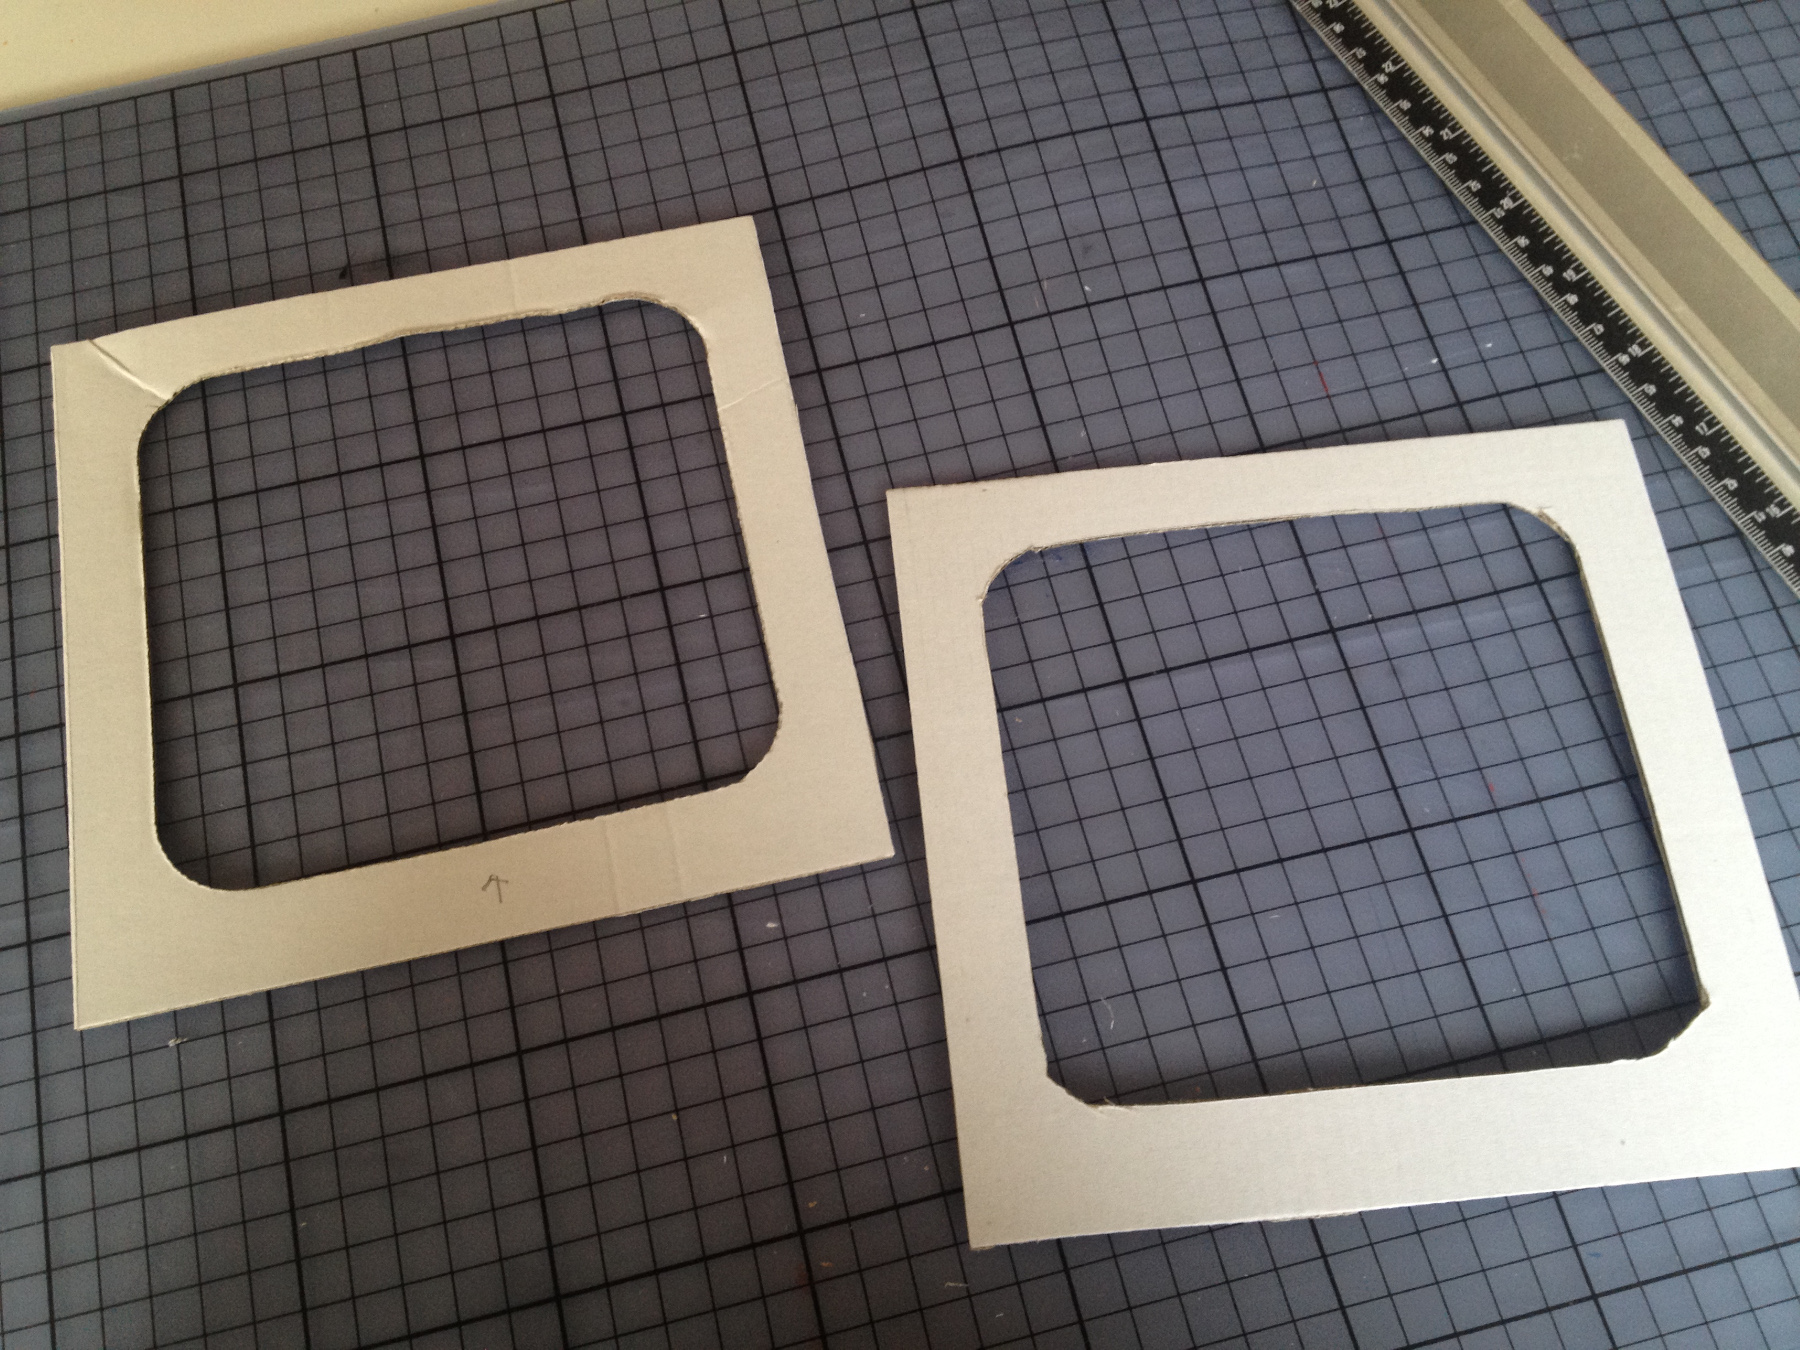
Make another door the same way, with the 3 parts glued together the door will be firm.
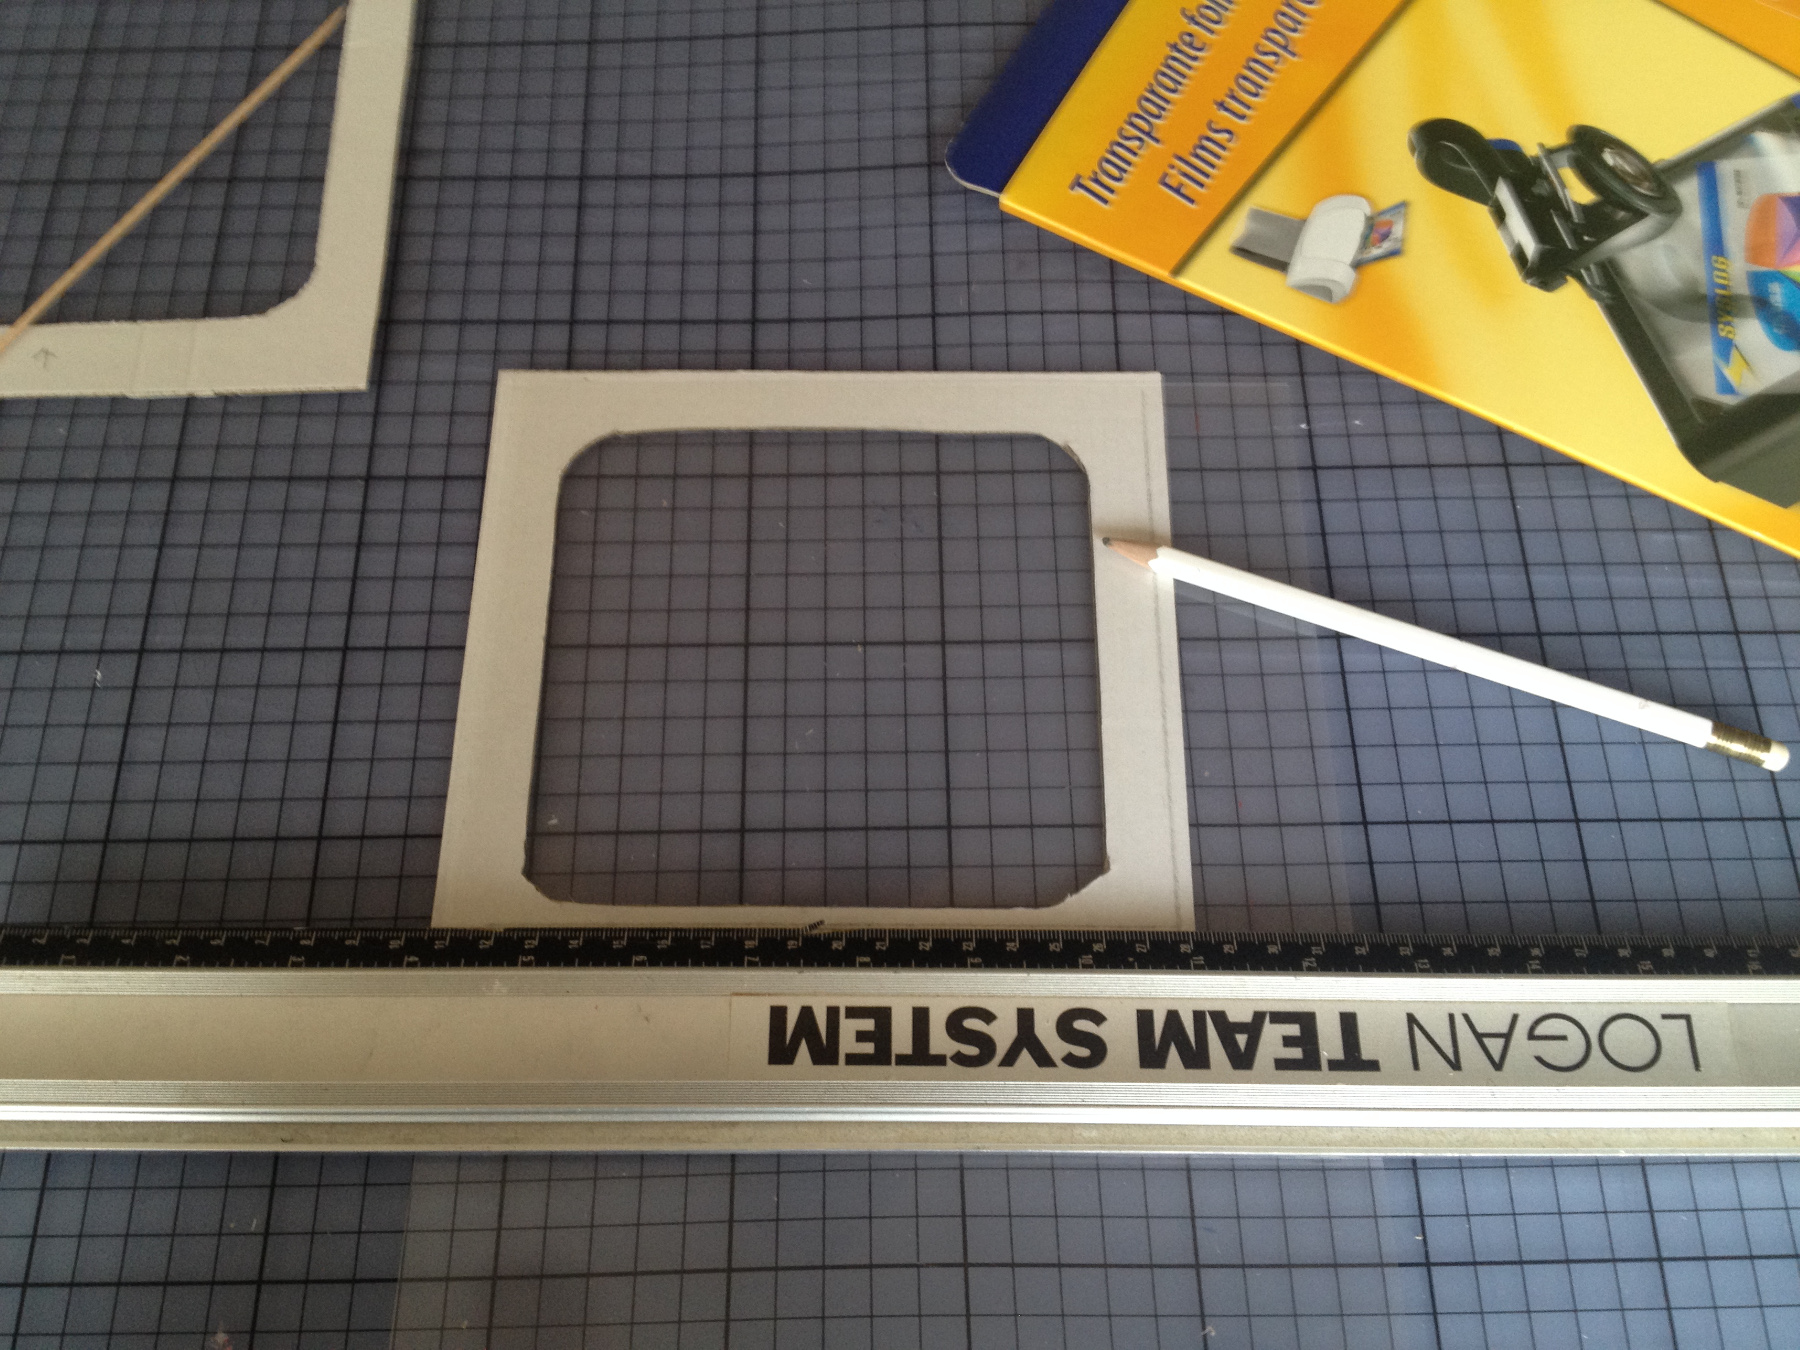
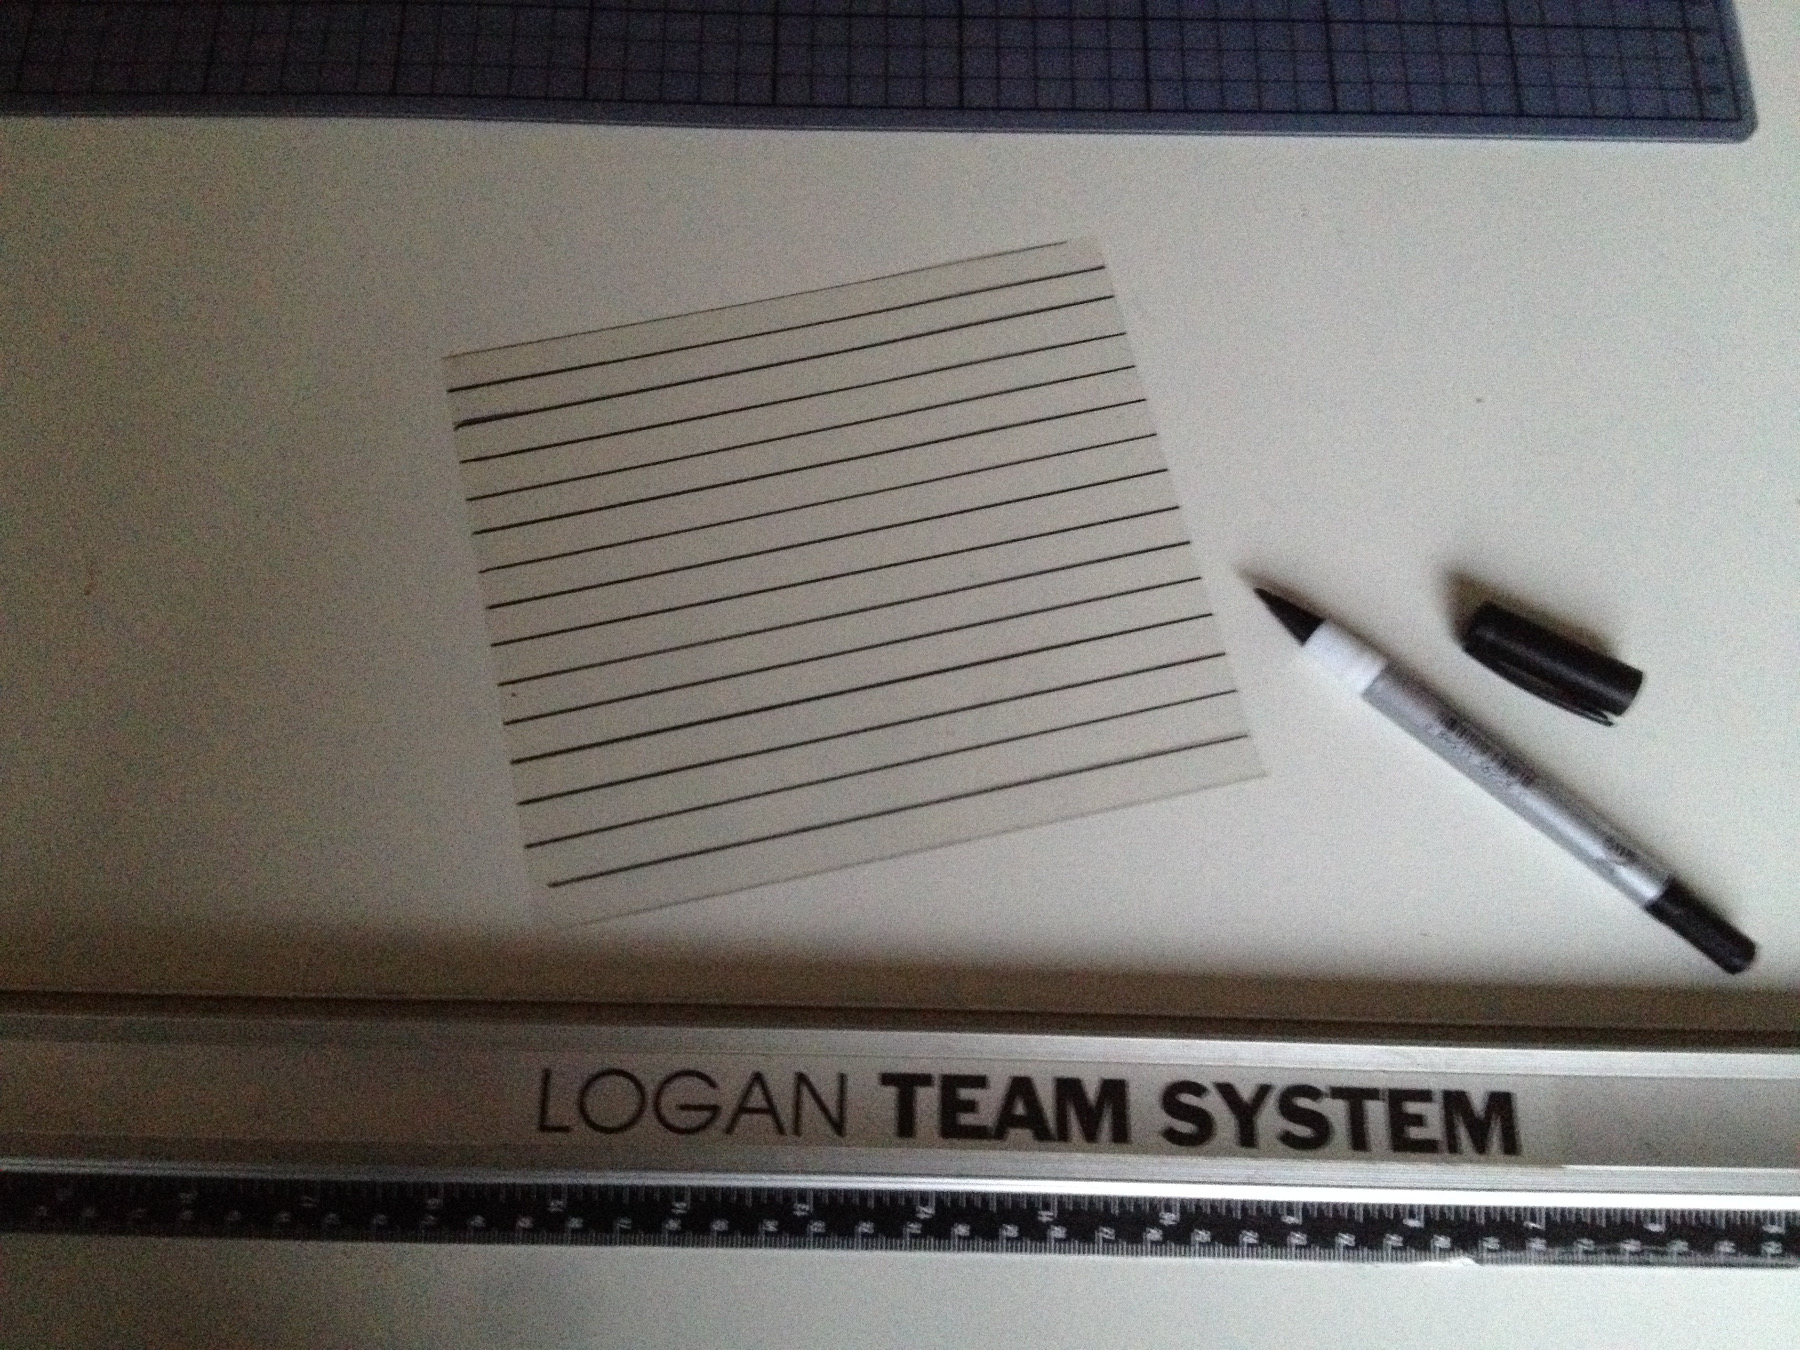
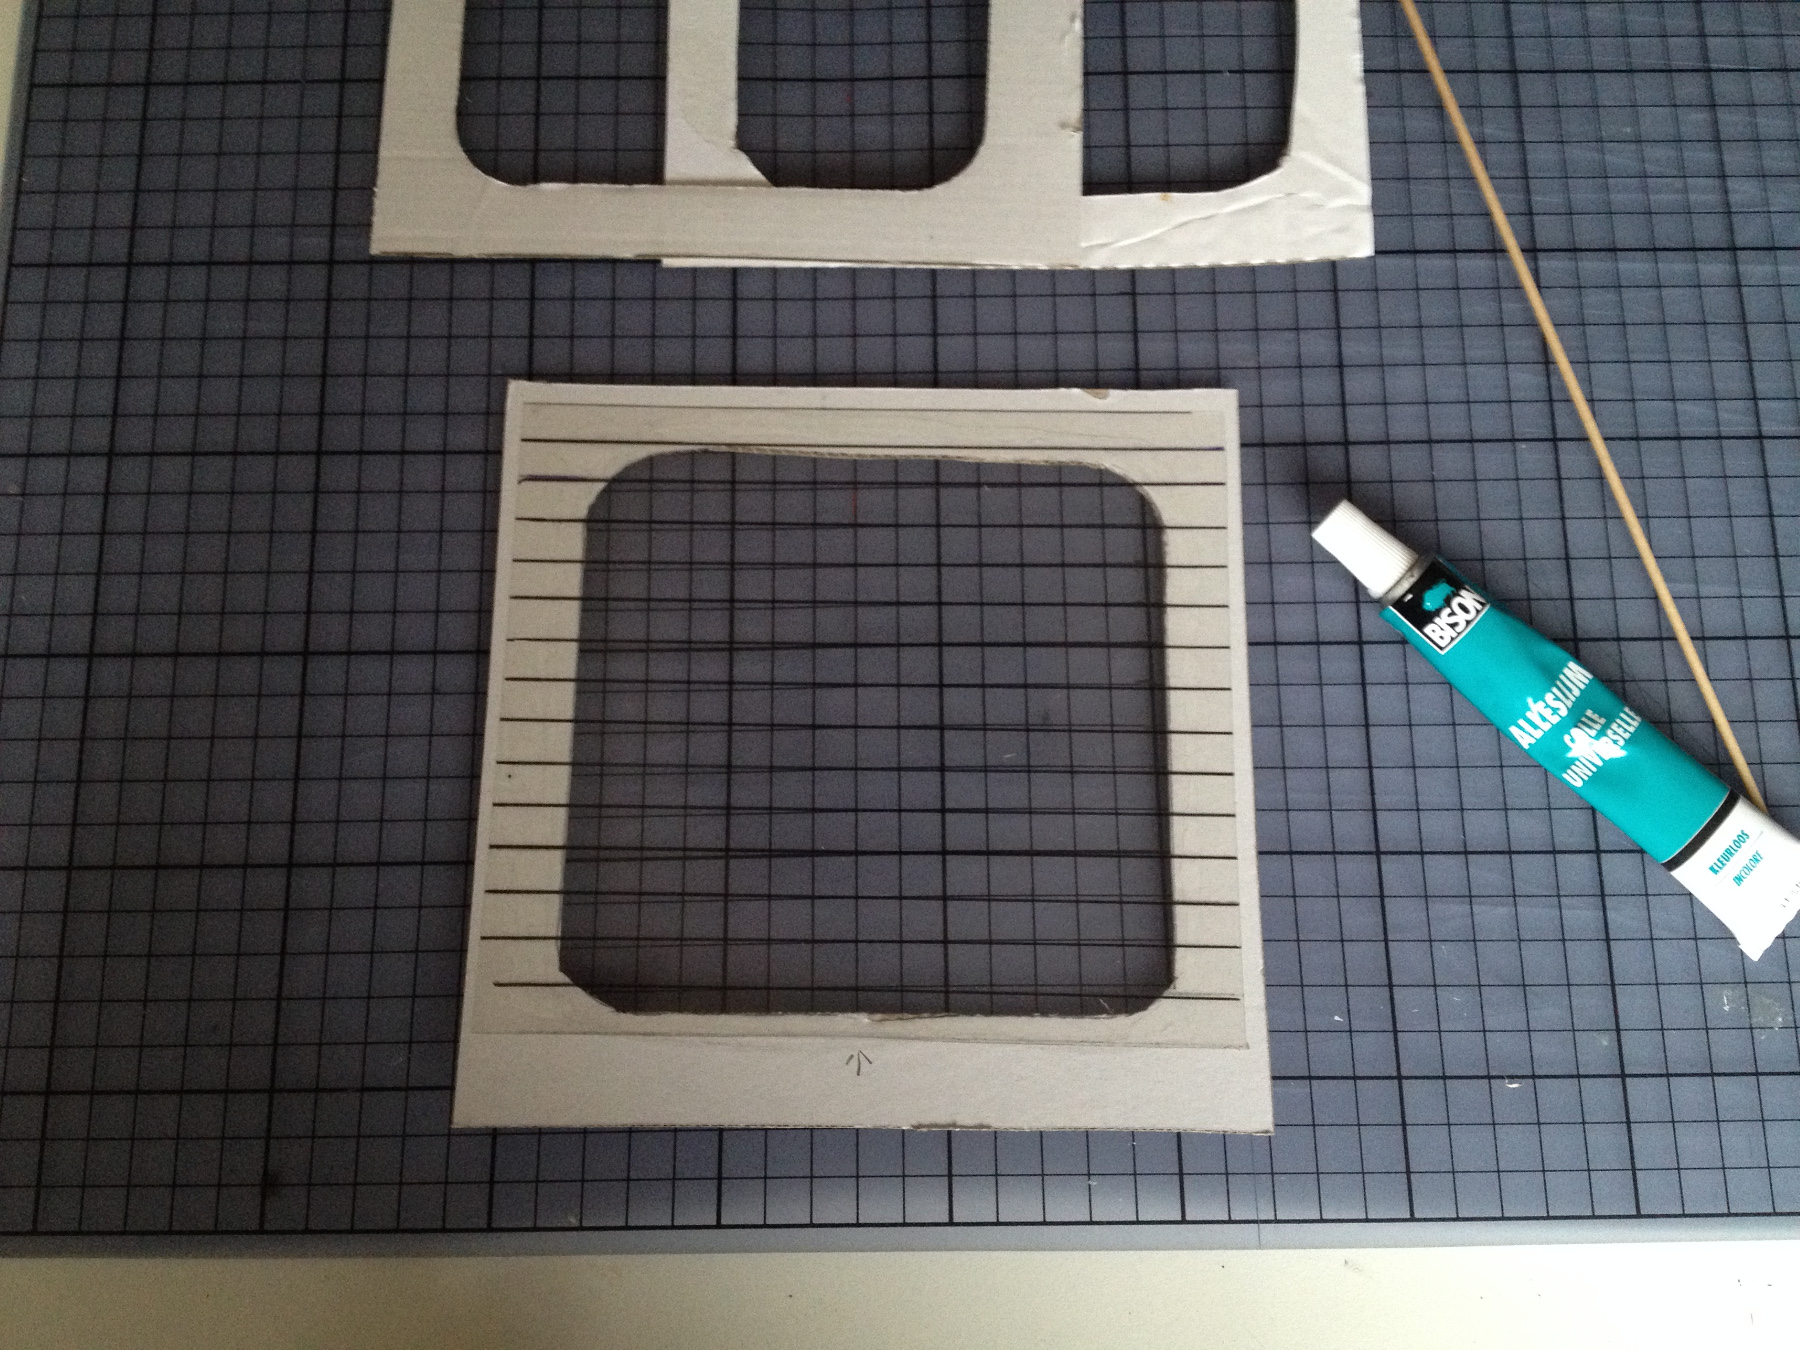
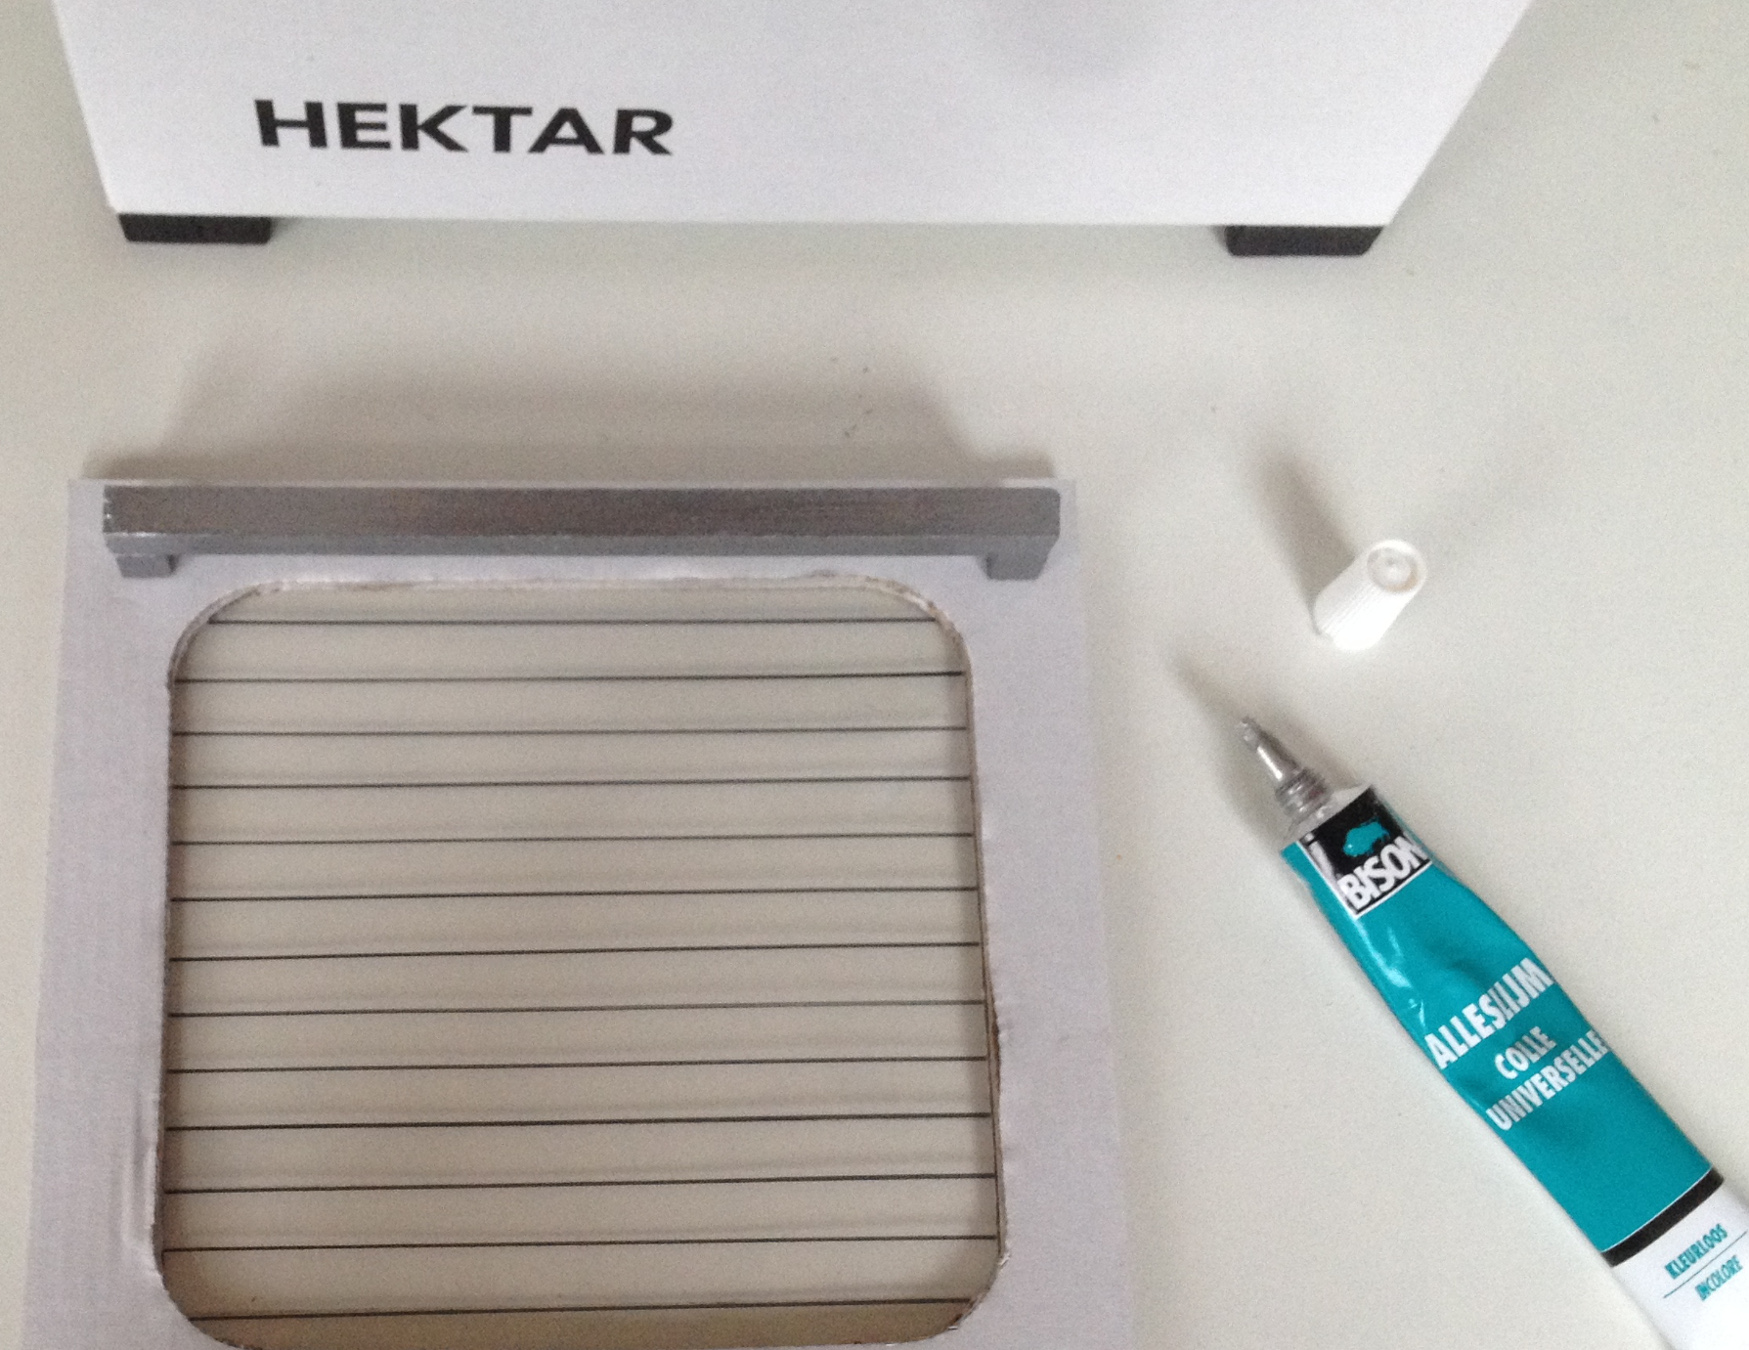
Cut a transparent sheet wide around the hole.
Fasten the window with tape and draw lines.
Stick the window on the inside of the door.
The tape keeps the window from shifting, use a permanent black marker to make the lines. Draw the lines 1 cm apart along a ruler.
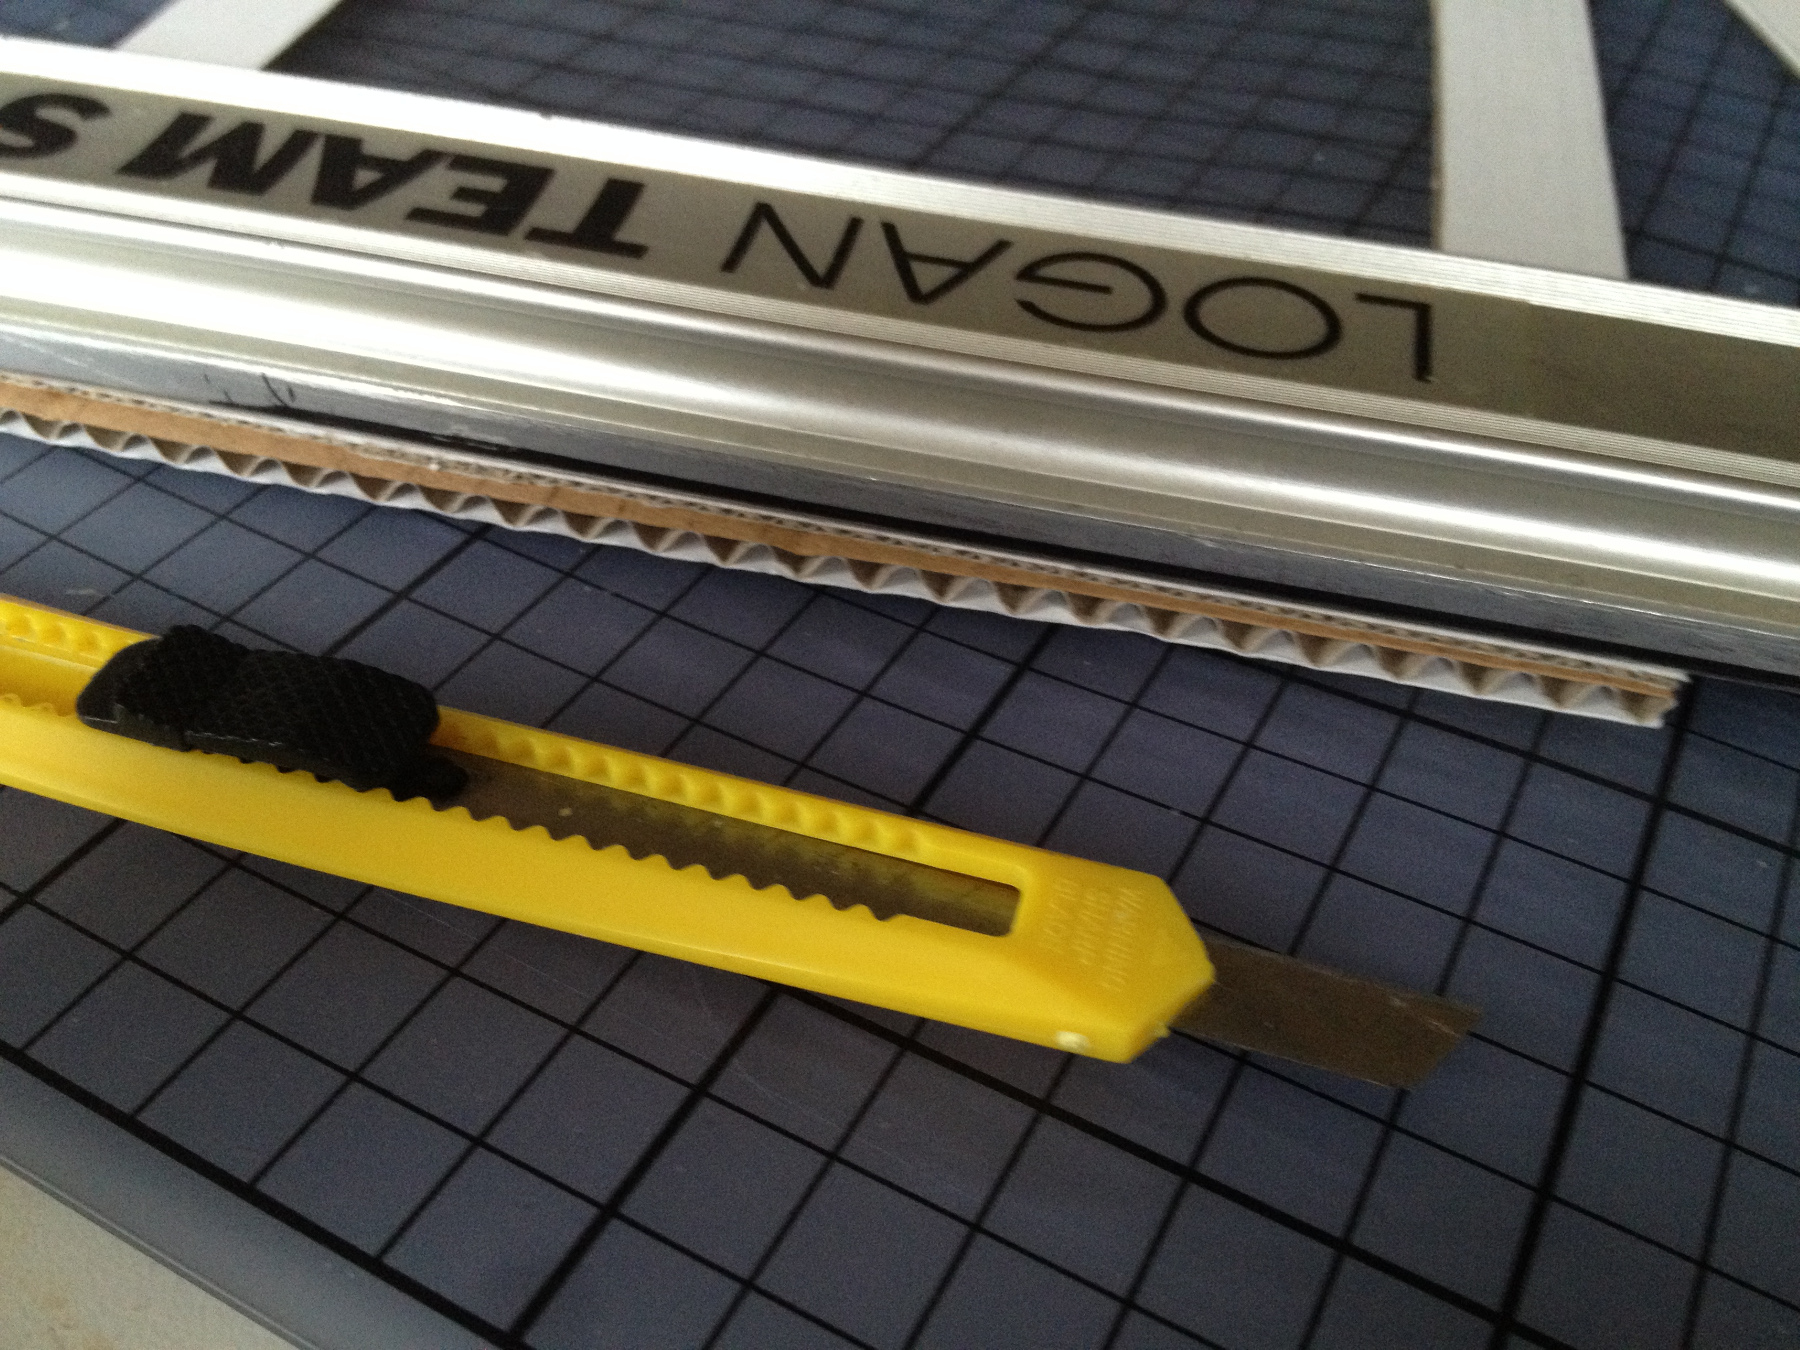
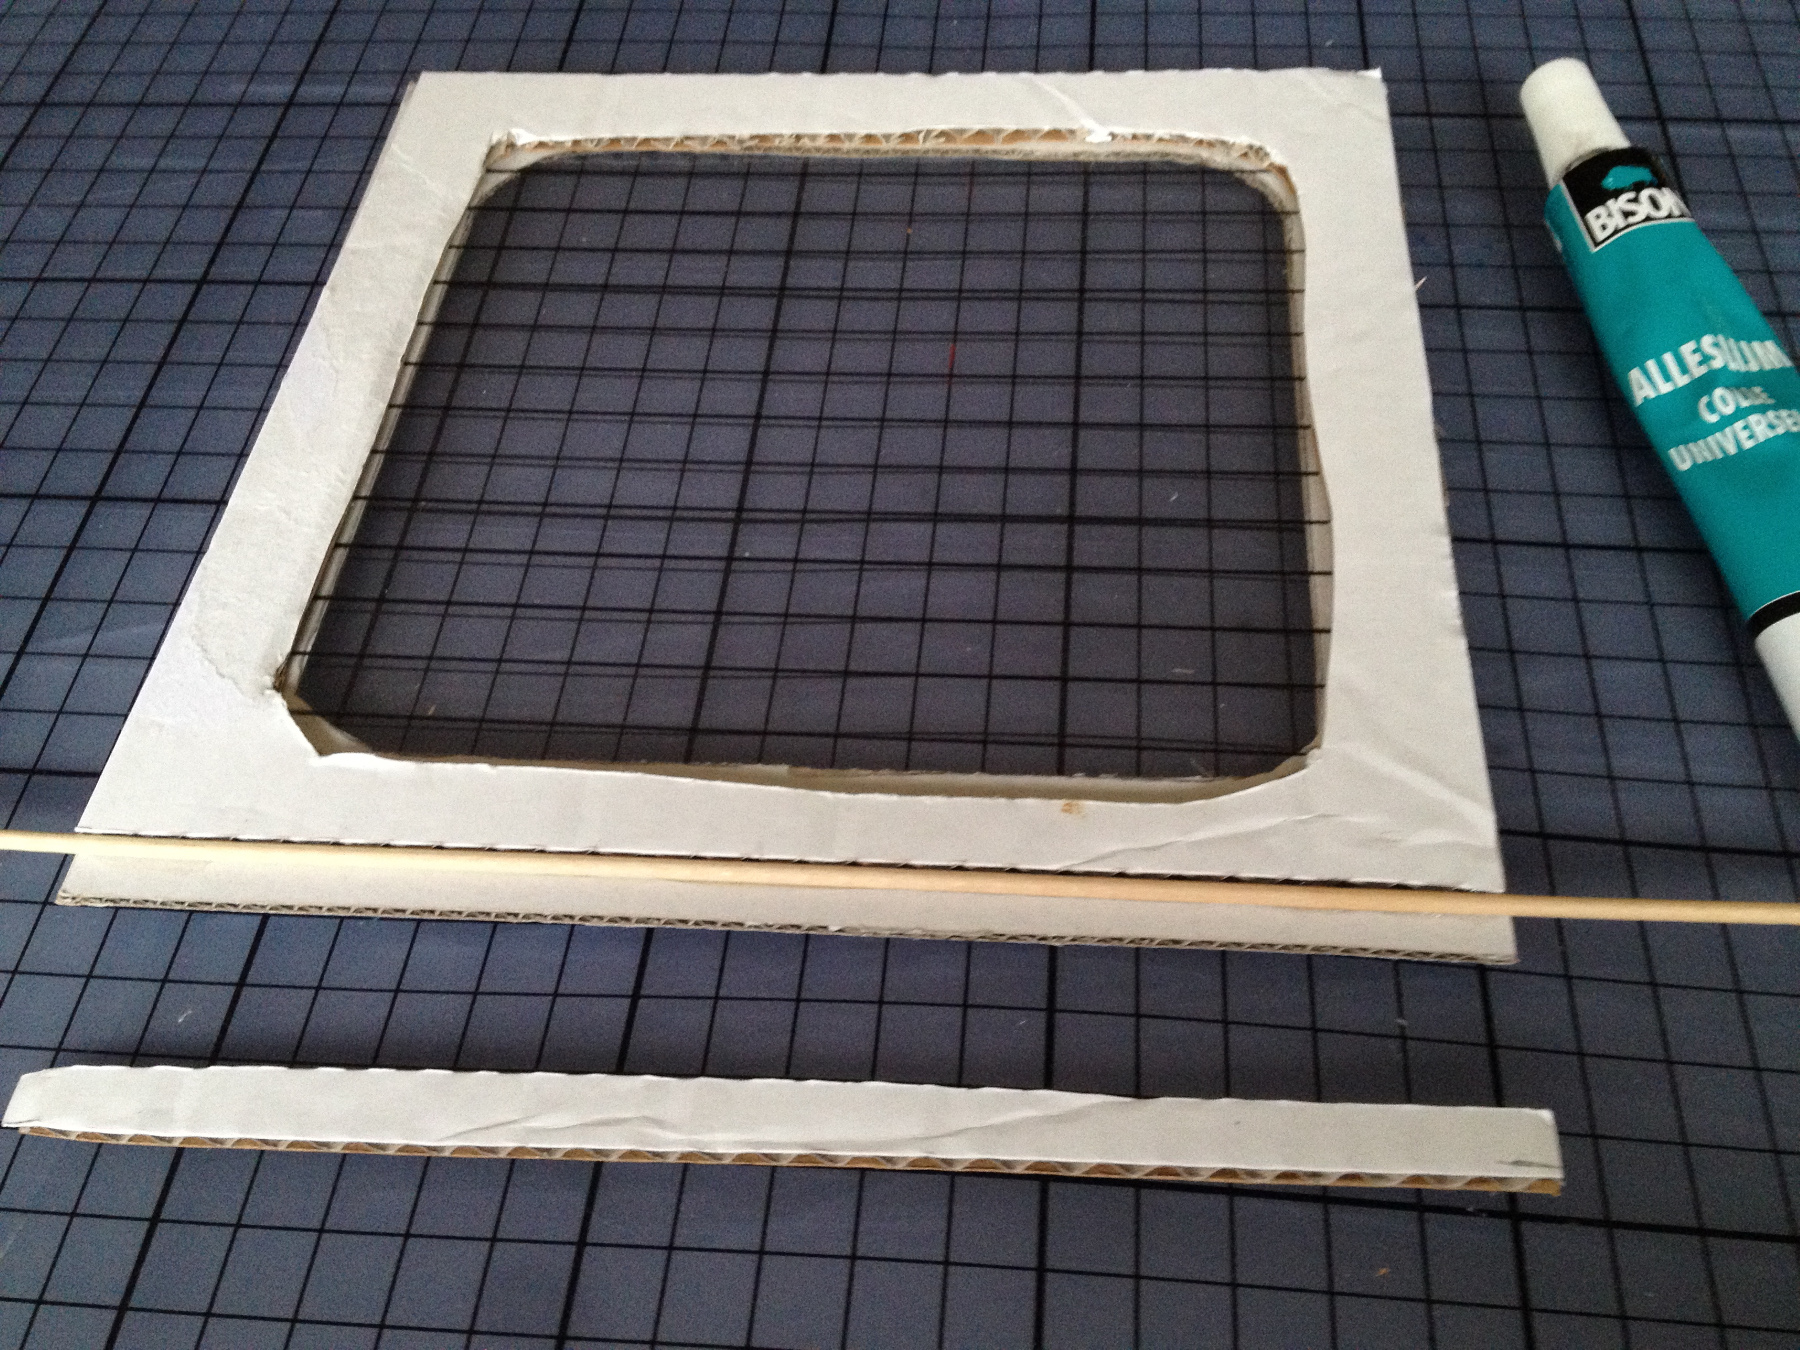
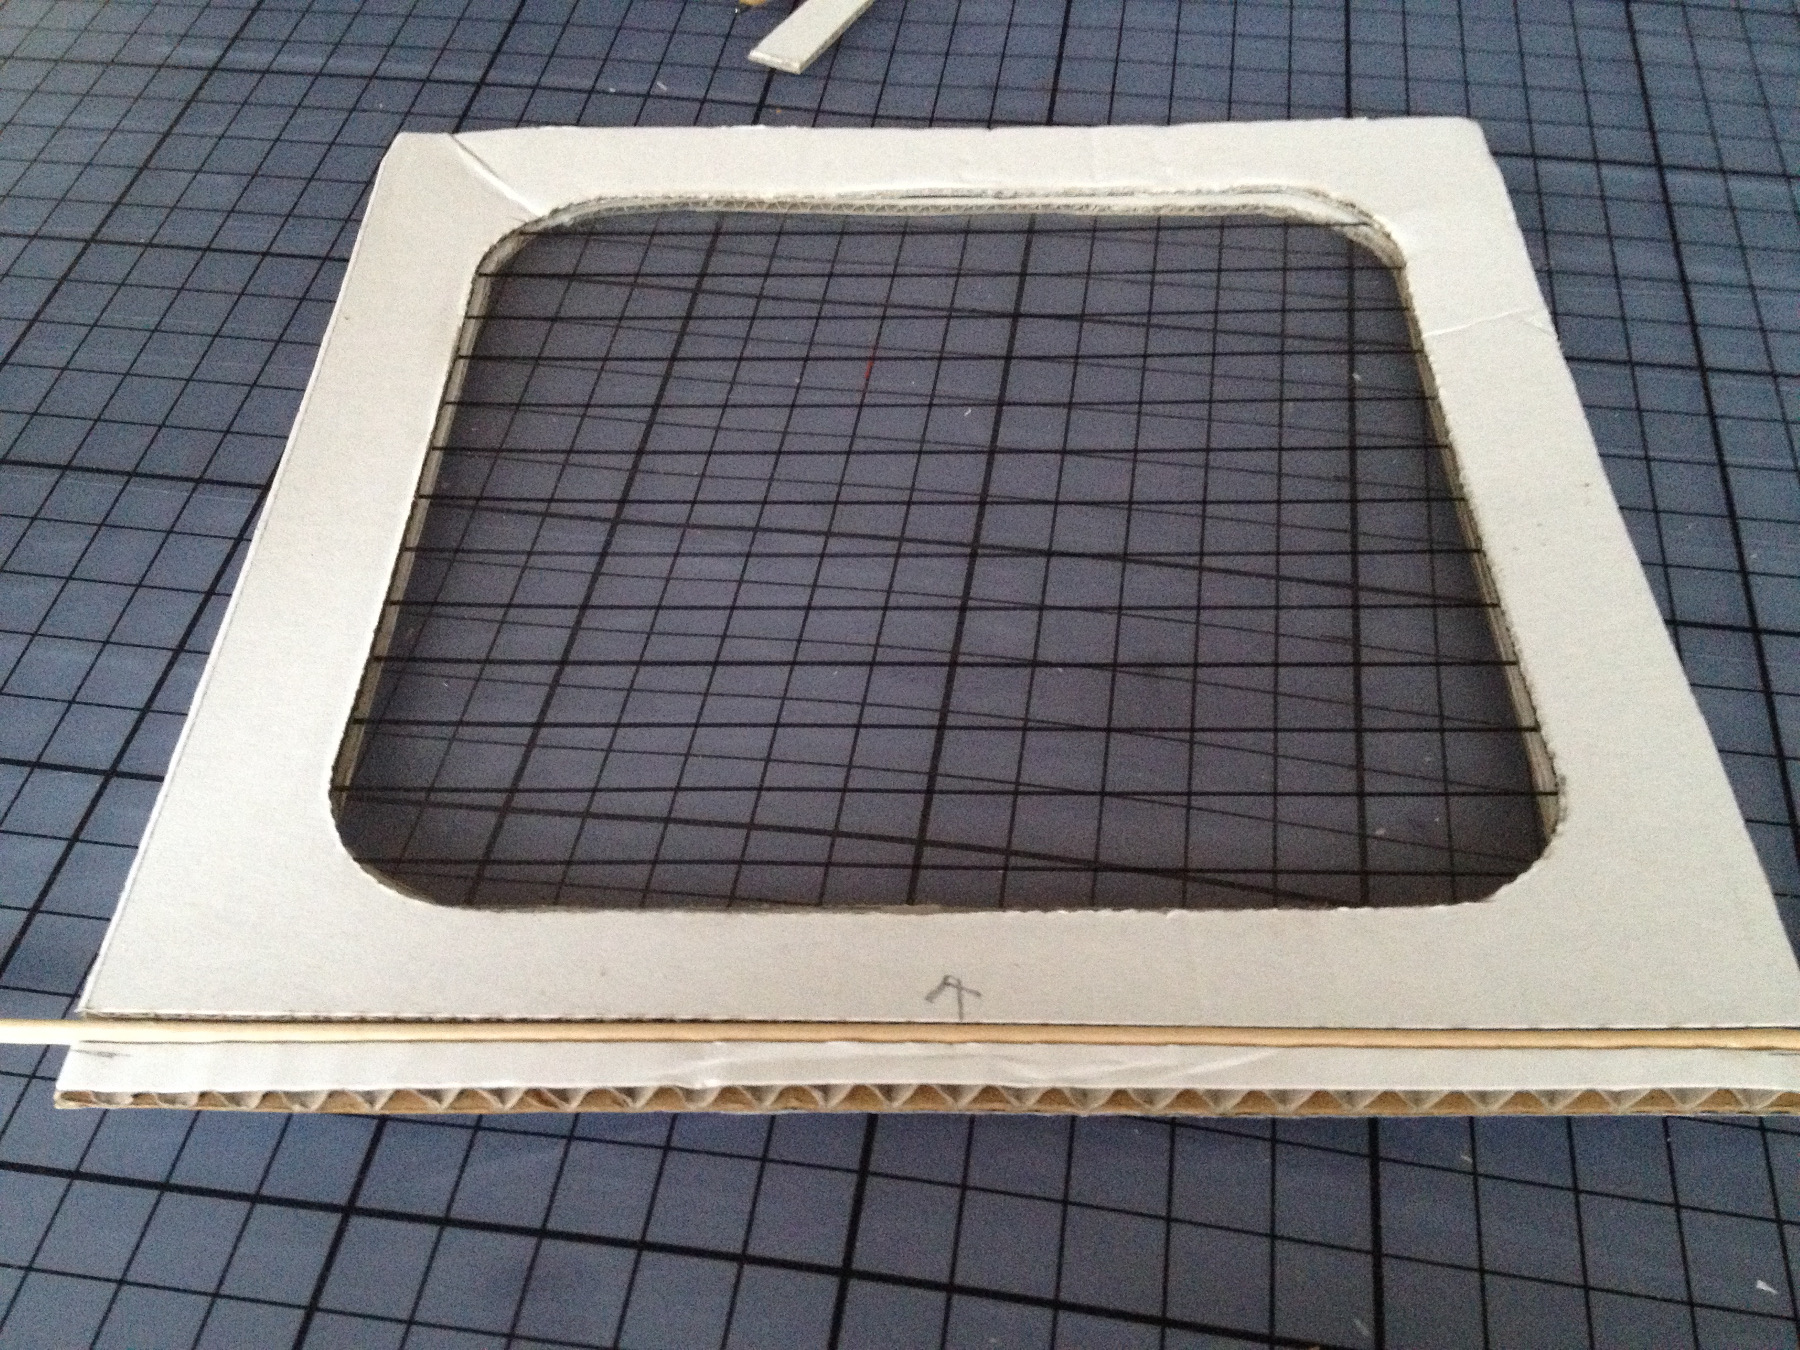
Stick the window between 2 doors. Cut off 1cm from the third.
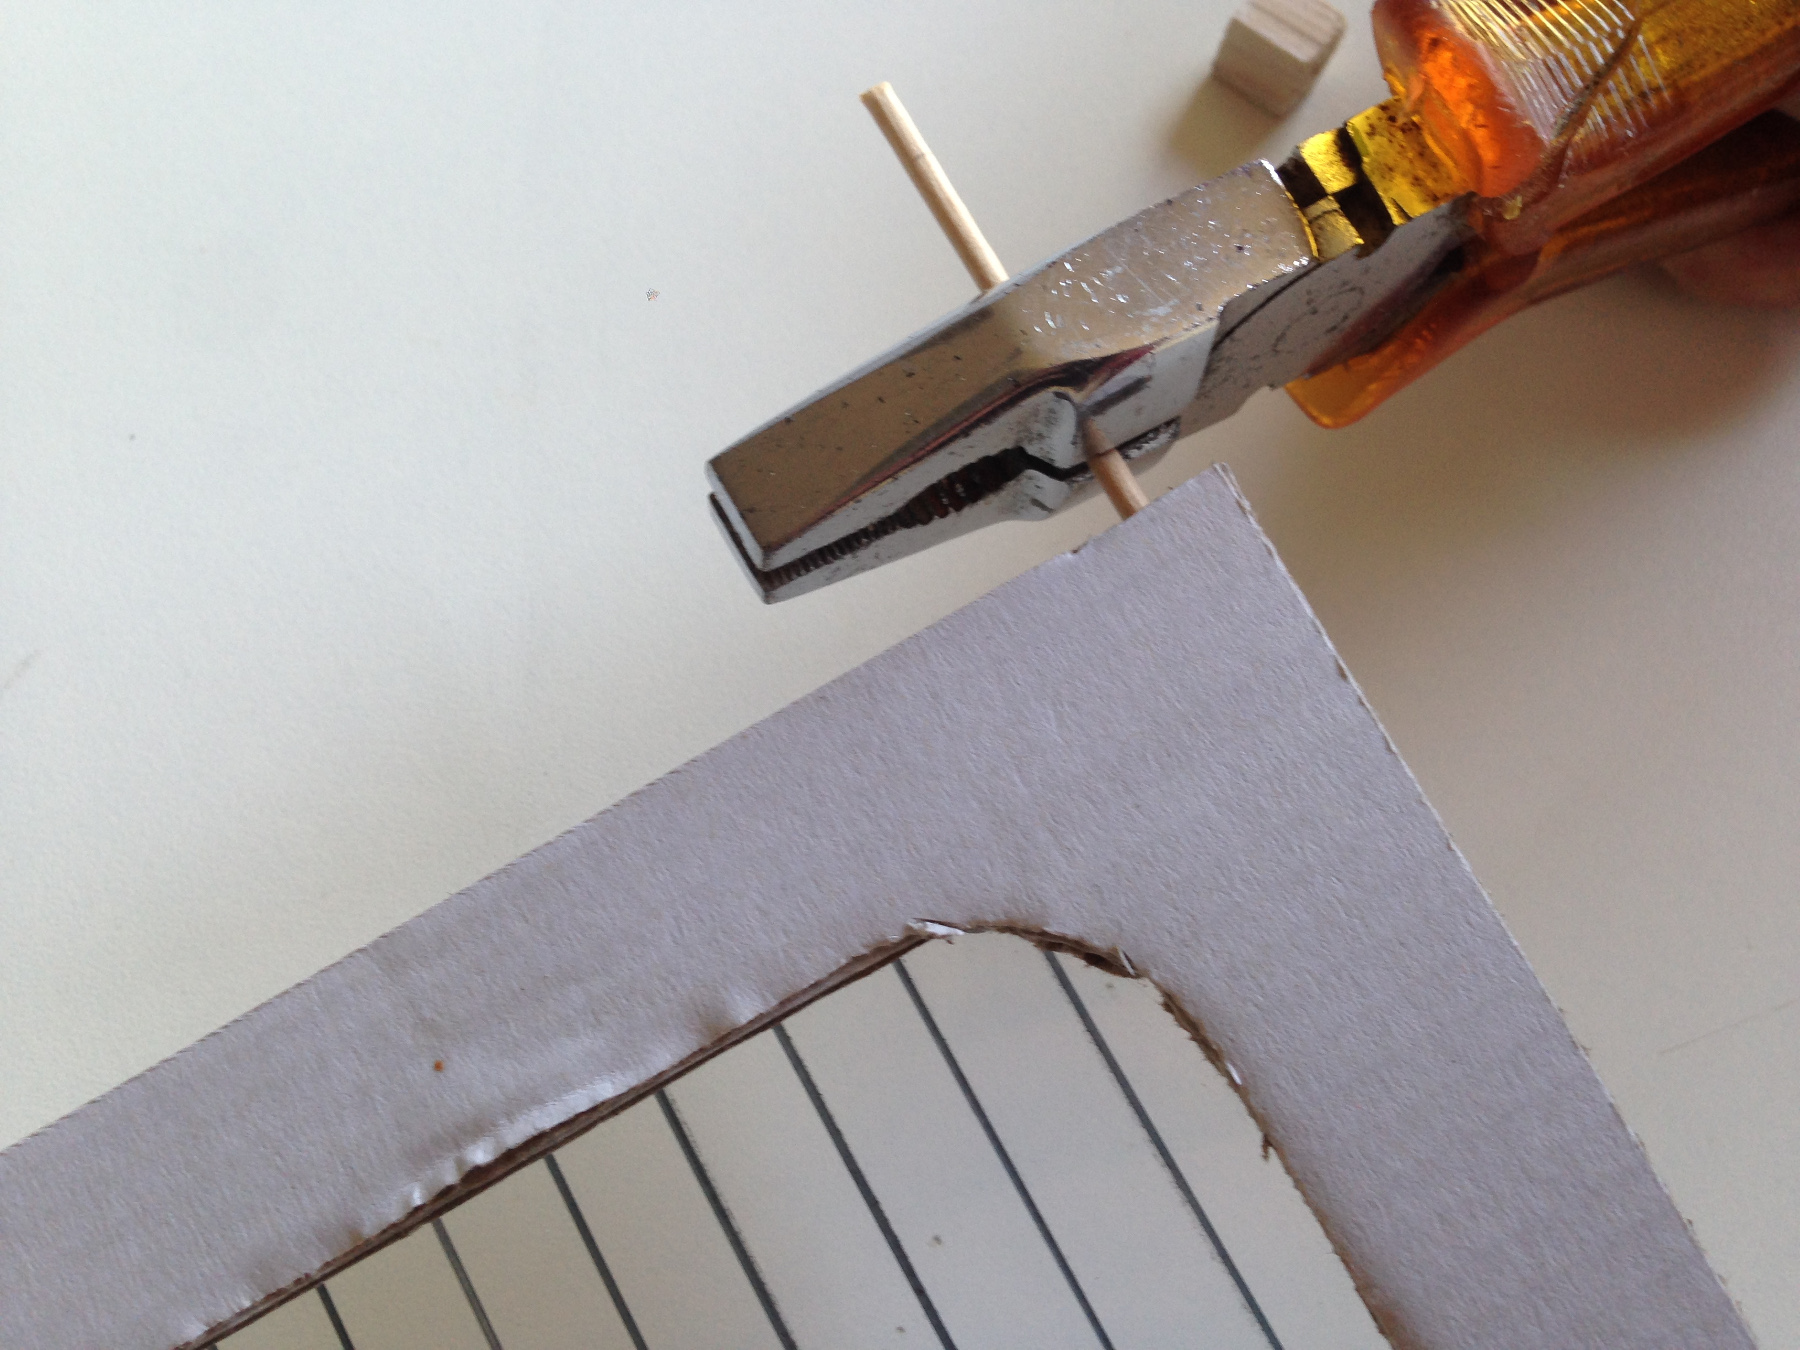
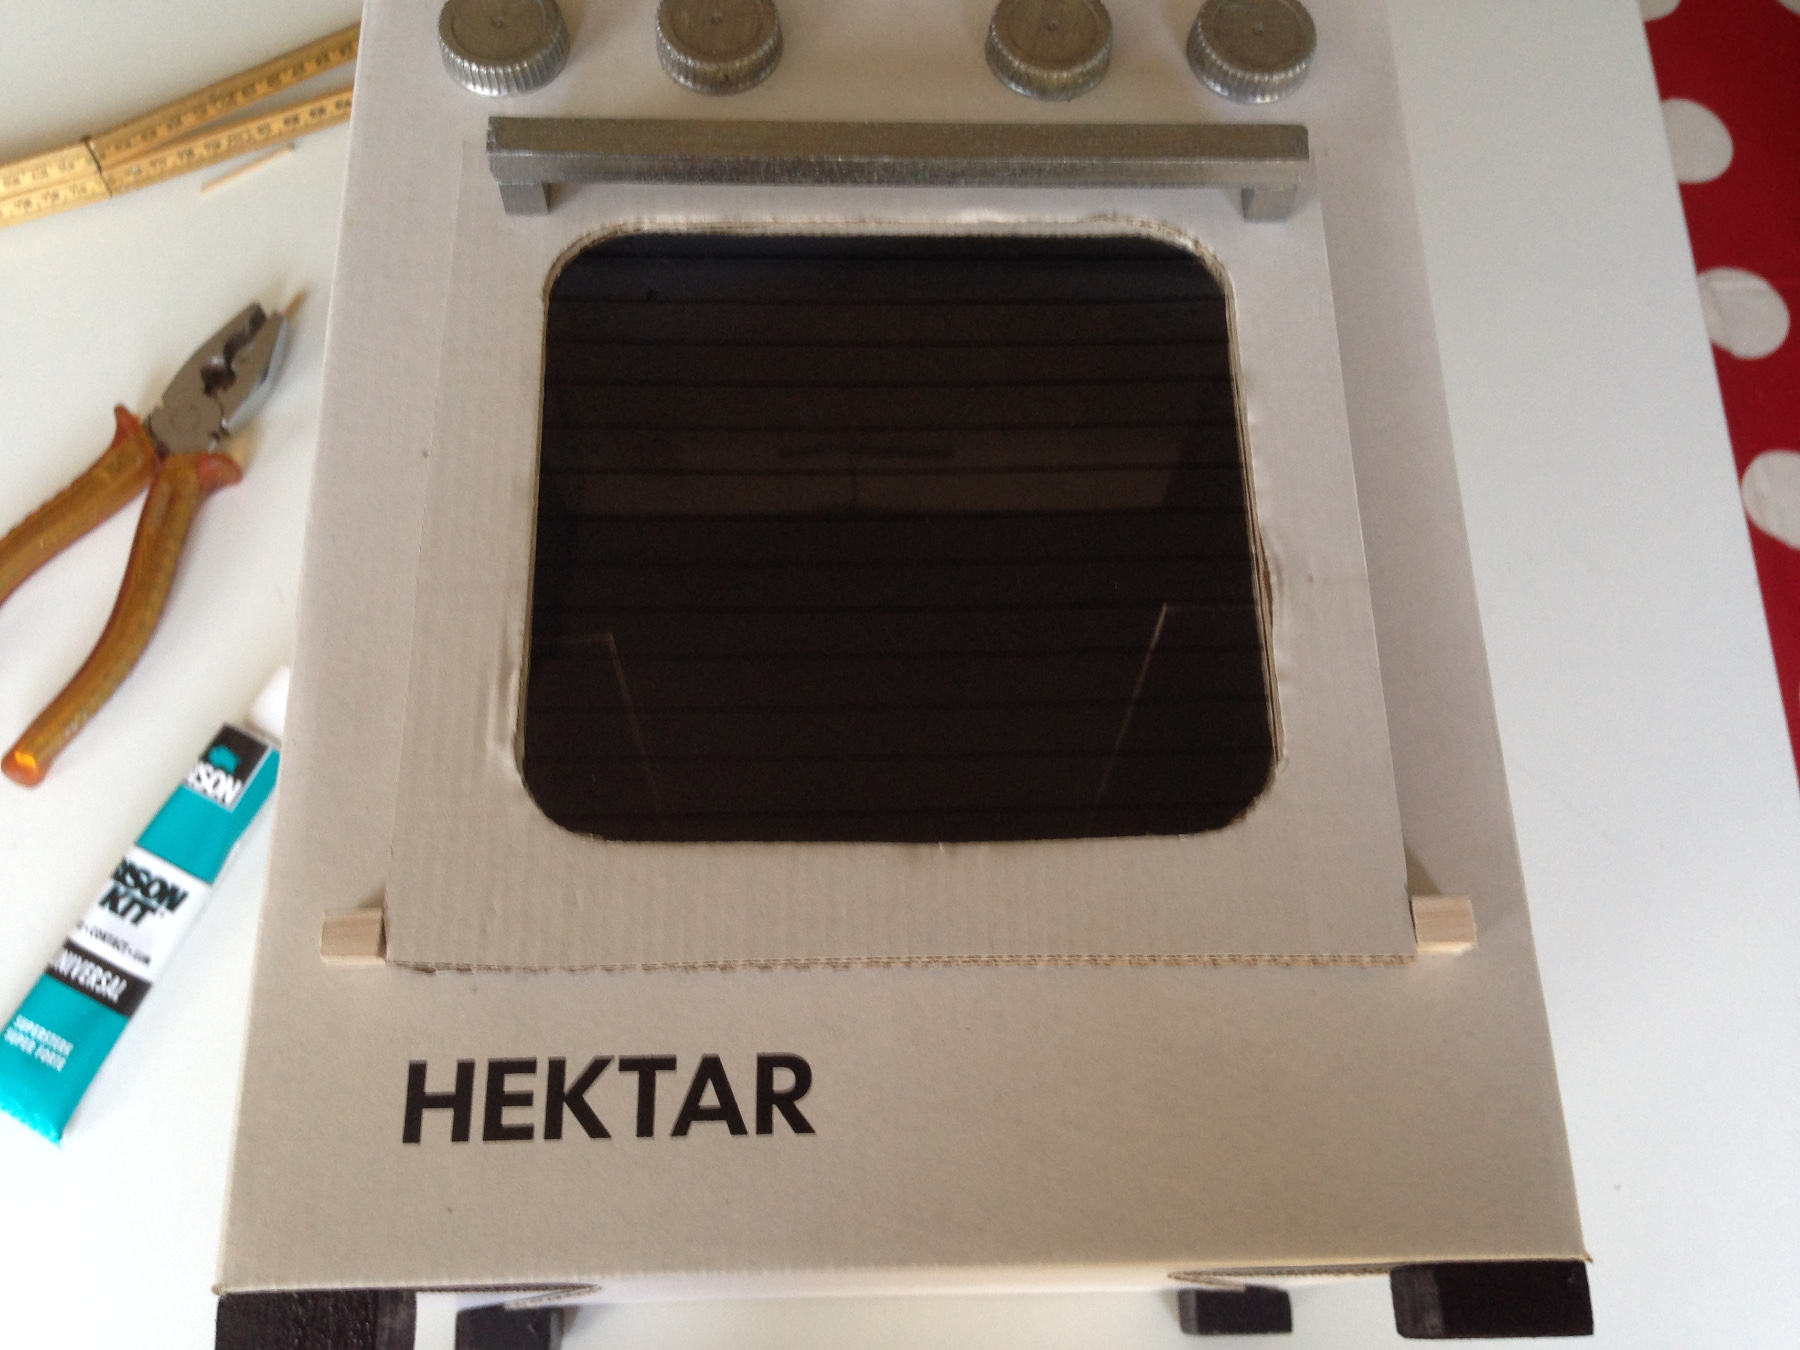
Stick the skewer on the door and glue the strip back on.
Cut off the strip so the doors will be the same size again.
Cut off the wooden skewer to 1 cm from the door.
While the glue dries we saw and paint first two cubes of 9x9mm and we drill a hole in them to fit the wooden skewer in the oven door.
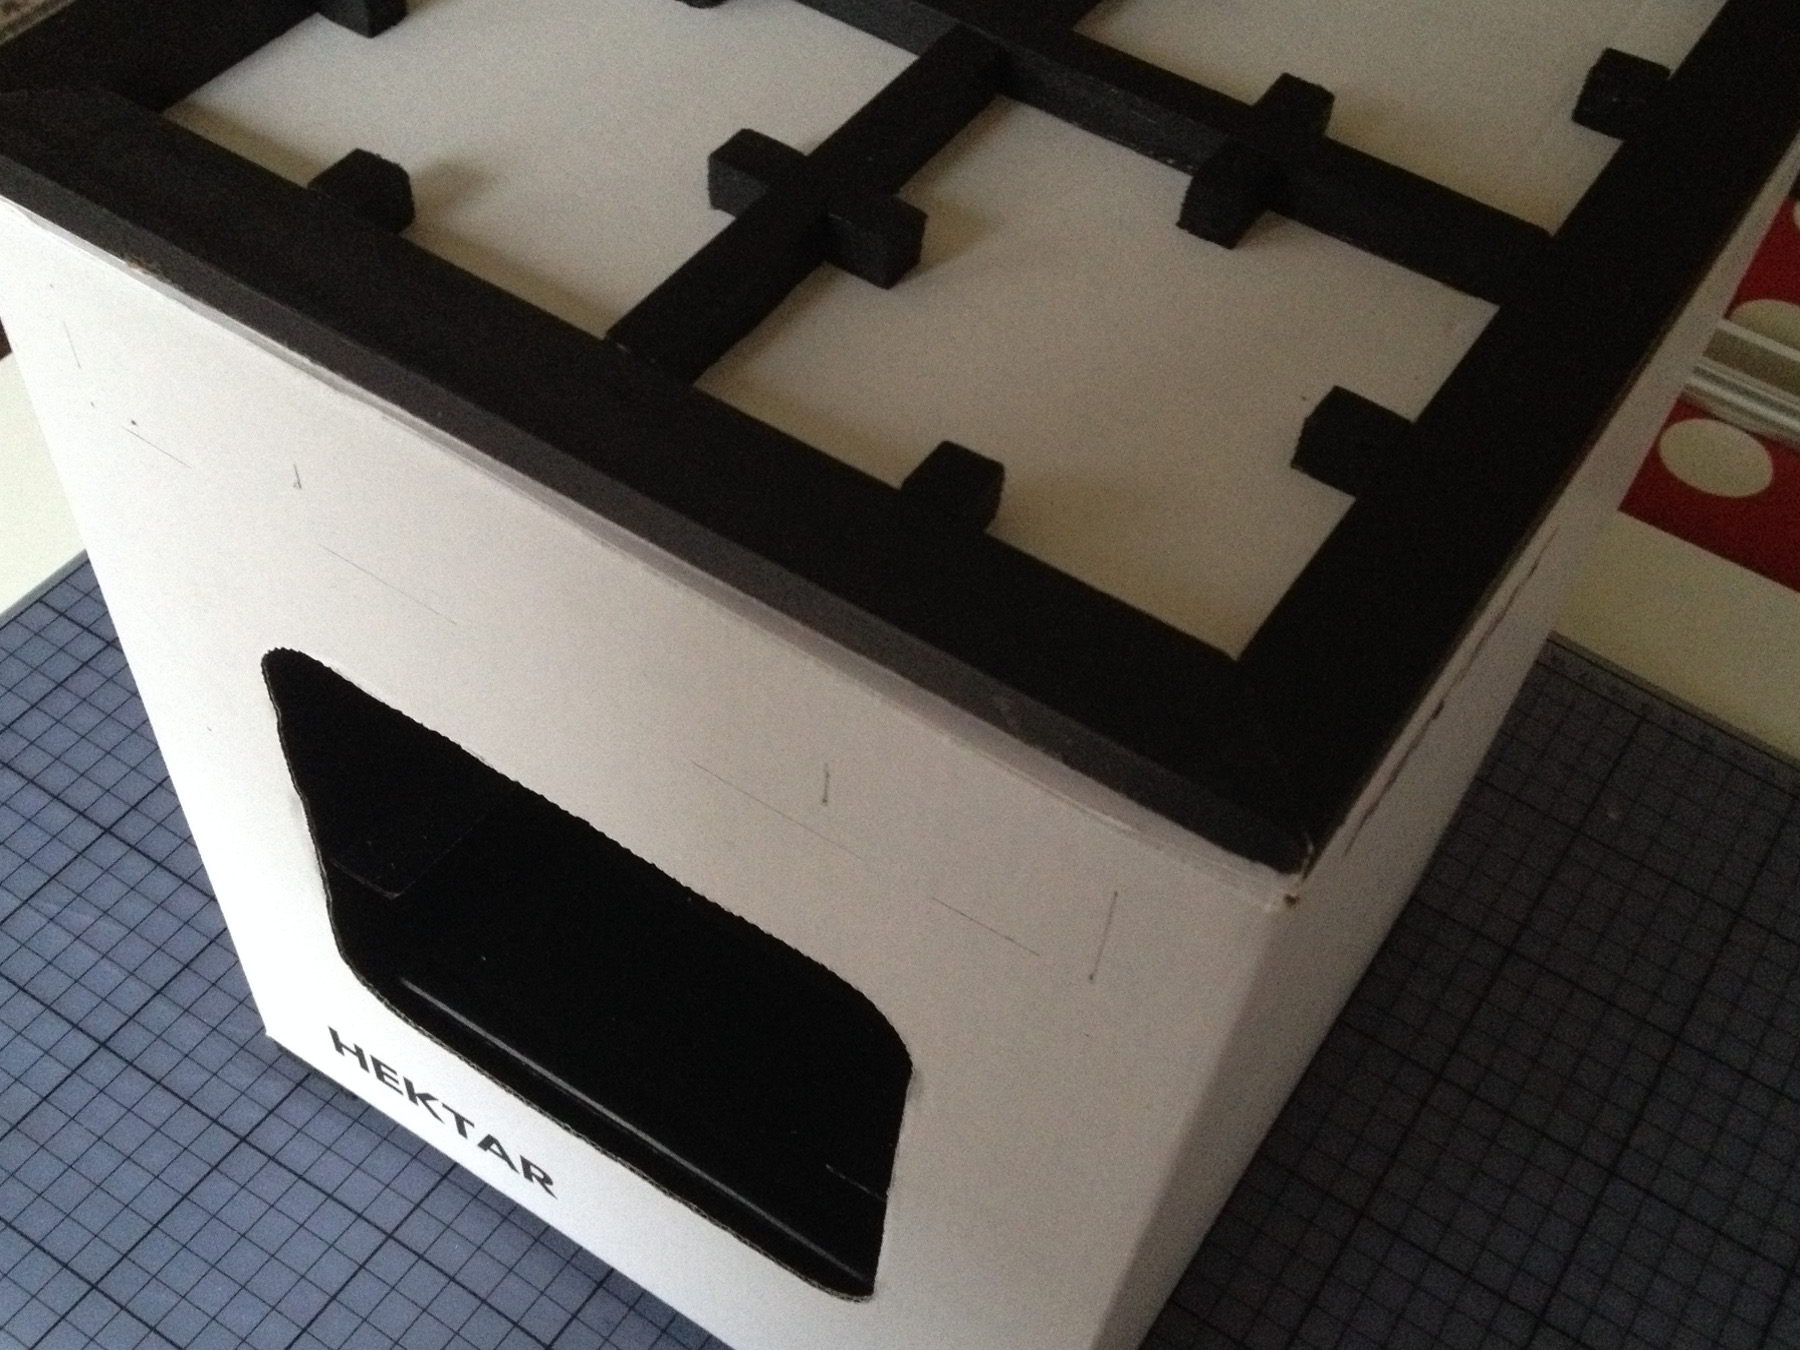
Then we saw and paint the wooden slats for the pot rack. The two cubes are painted white, the slats black.
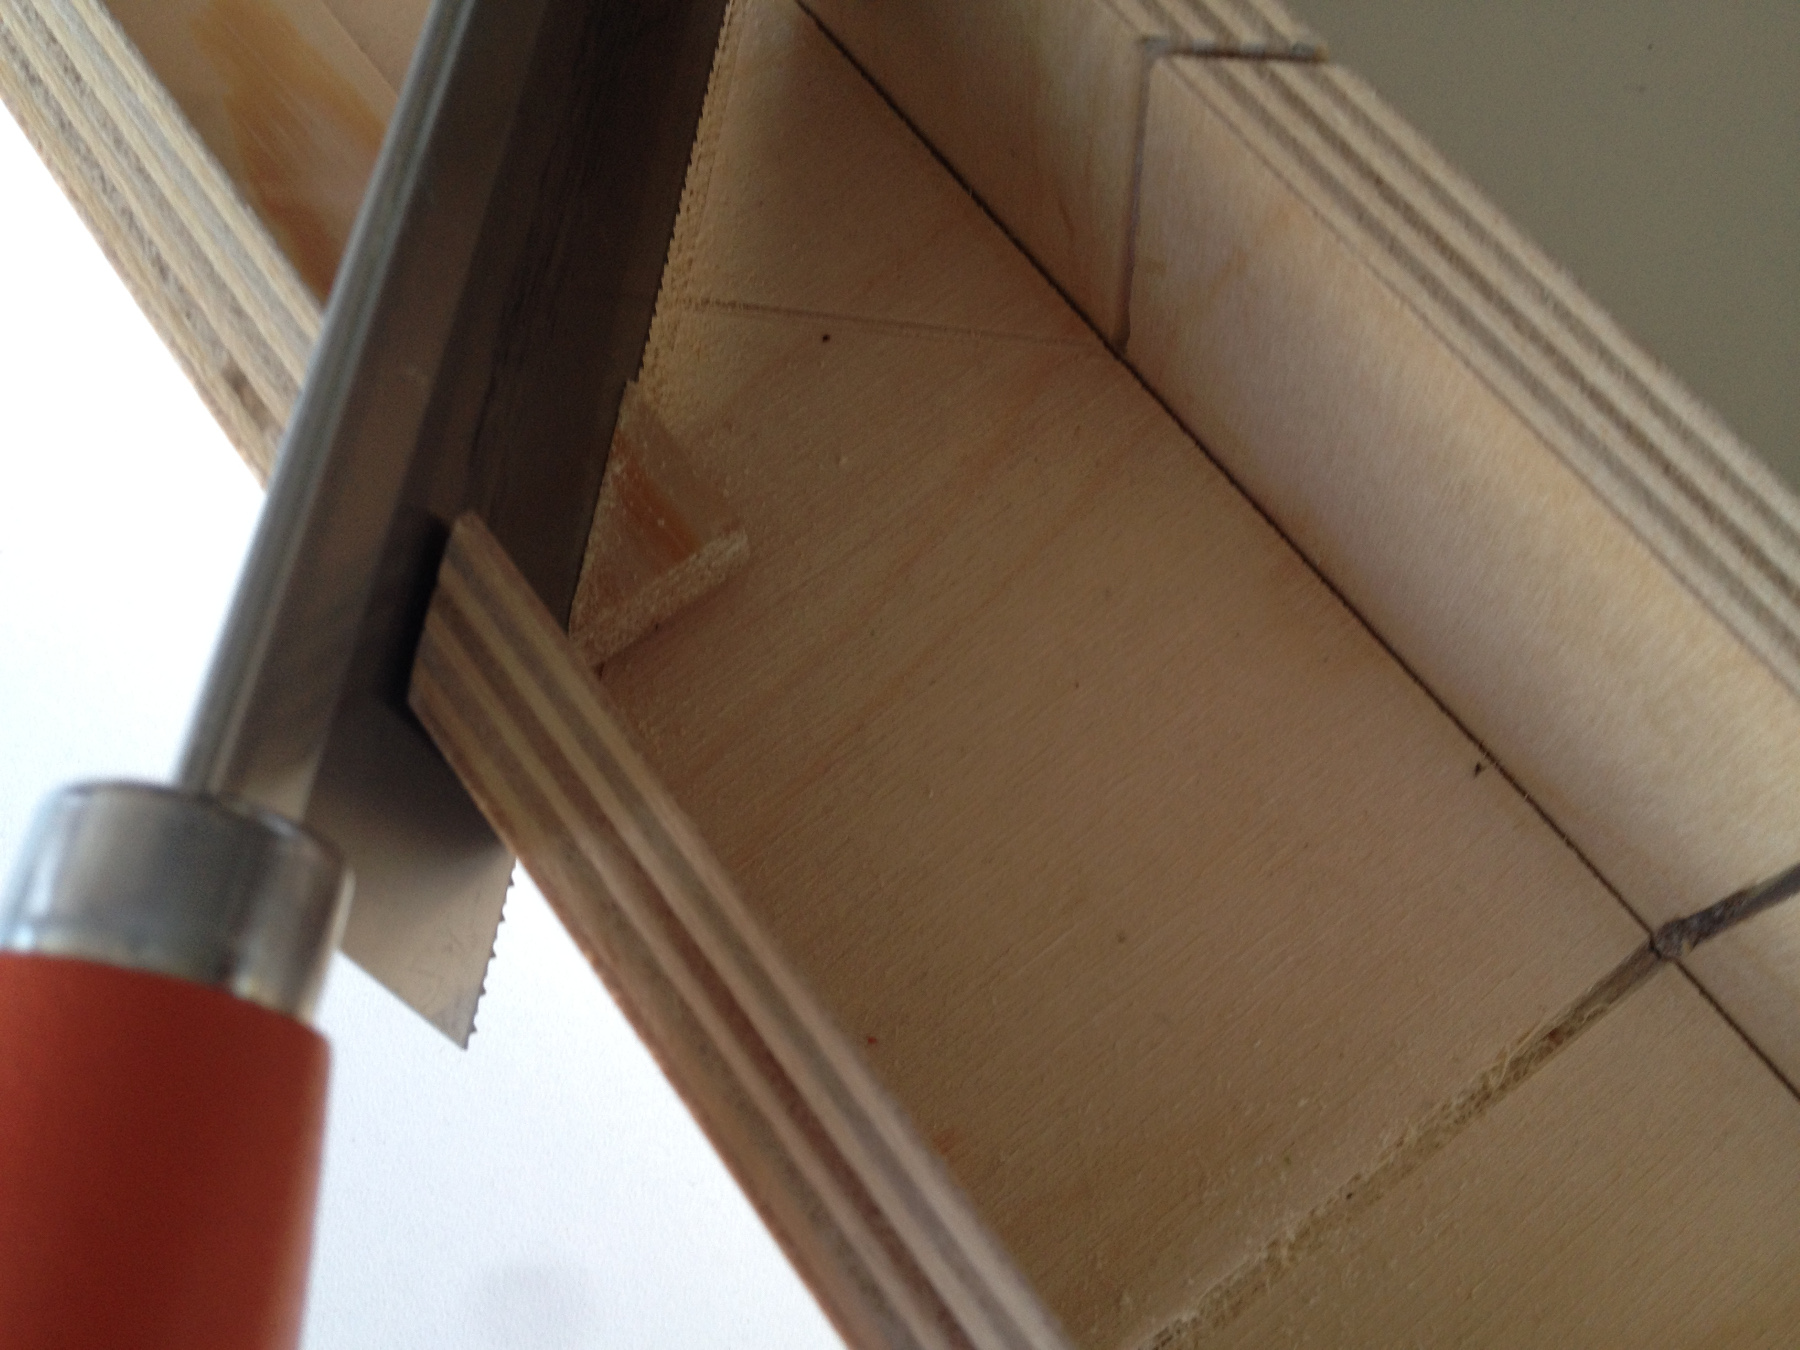
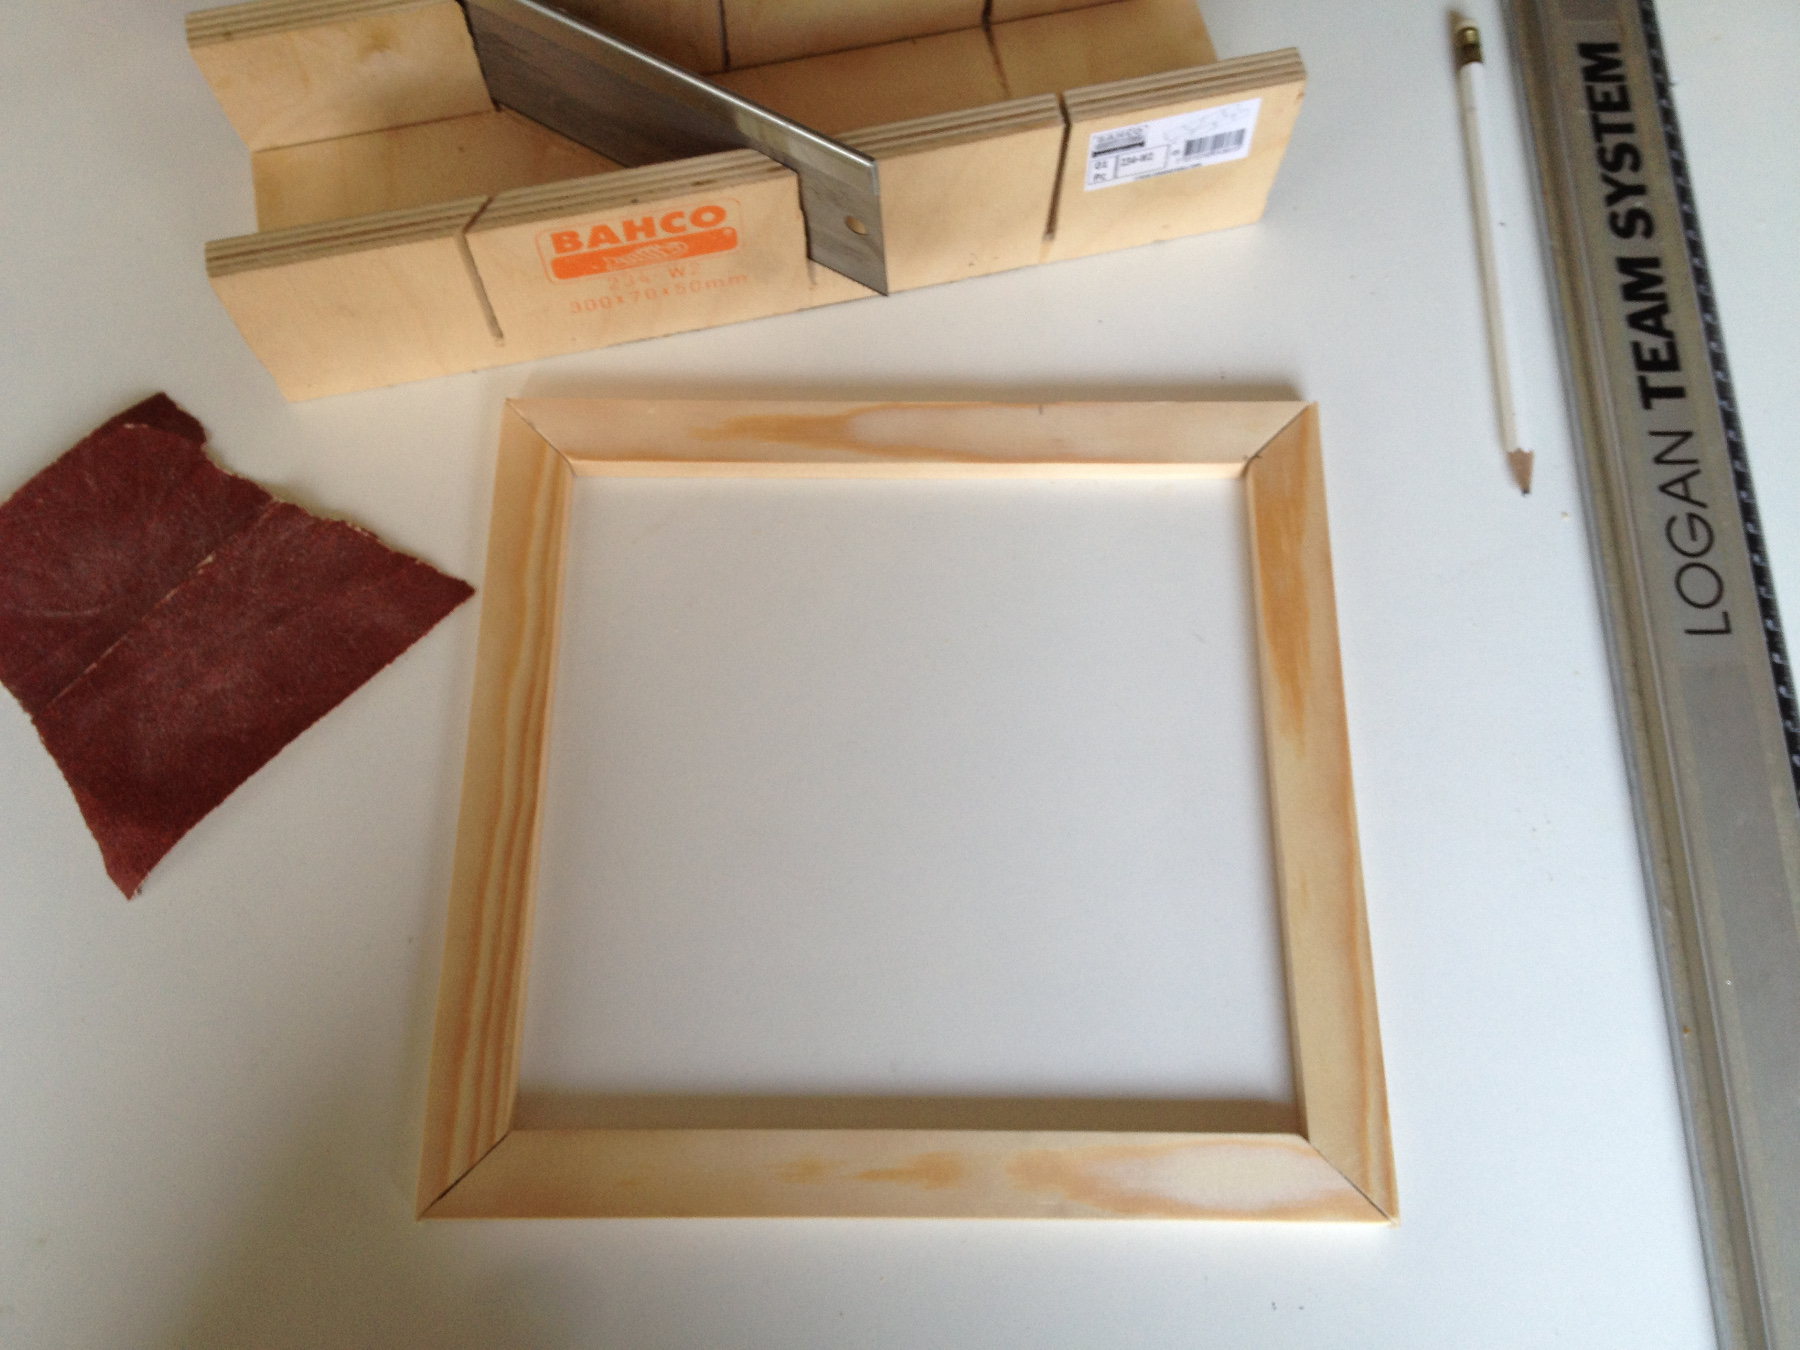

Saw from the 20x9 mm slat 23 cm miter, in the miter tray.
Saw 4 pieces of 23 cm, by sawing miter they fit neatly together.
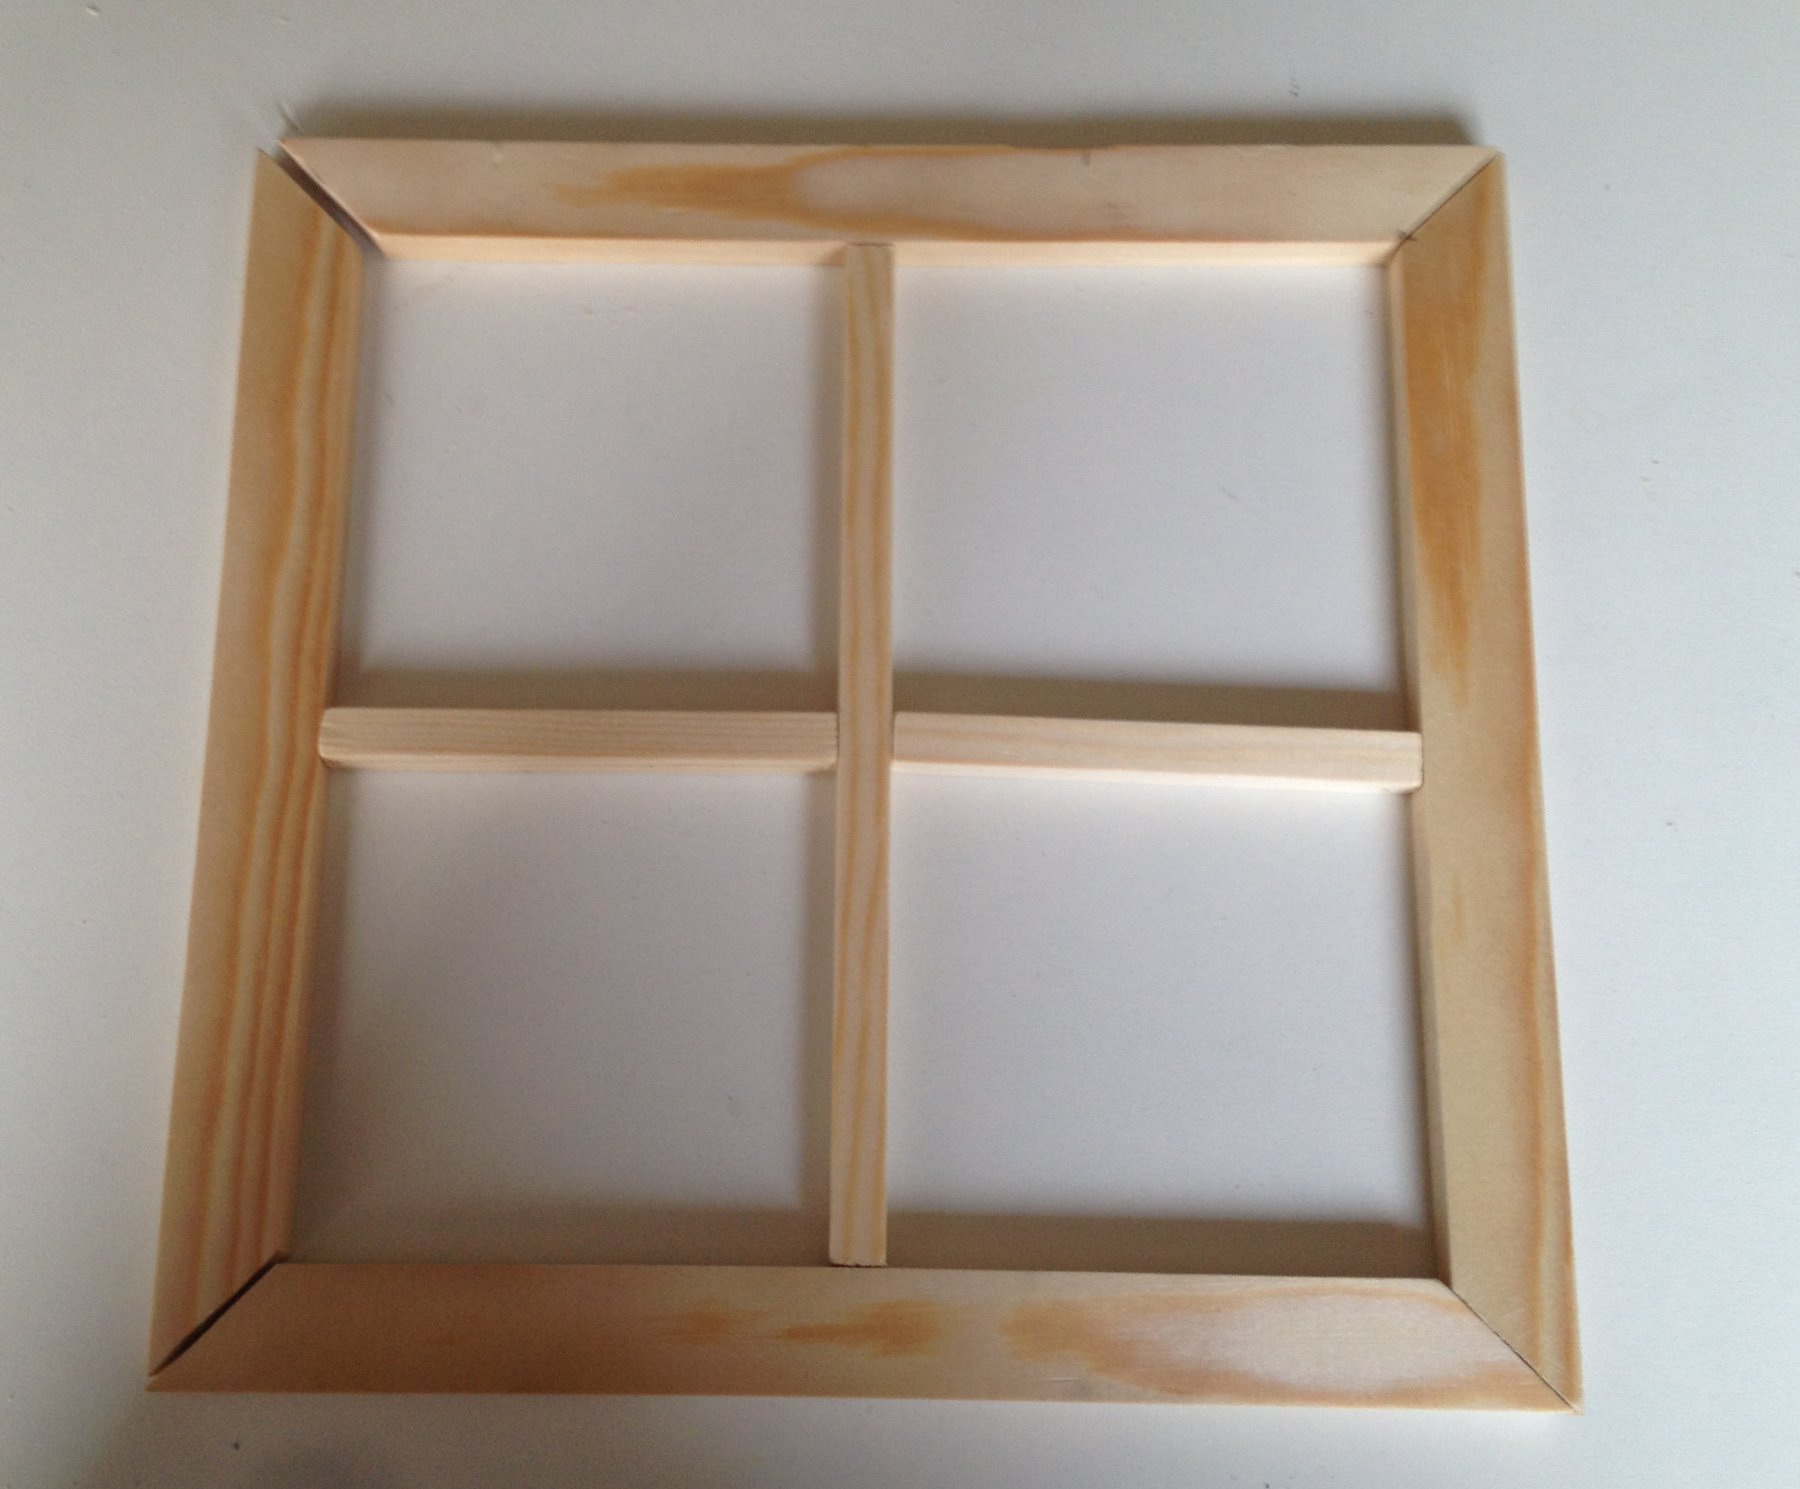
Saw from the 9x9 mm slat 19 cm straight.
Saw two pieces of 10.2 cm from the 9x9 mm slat.
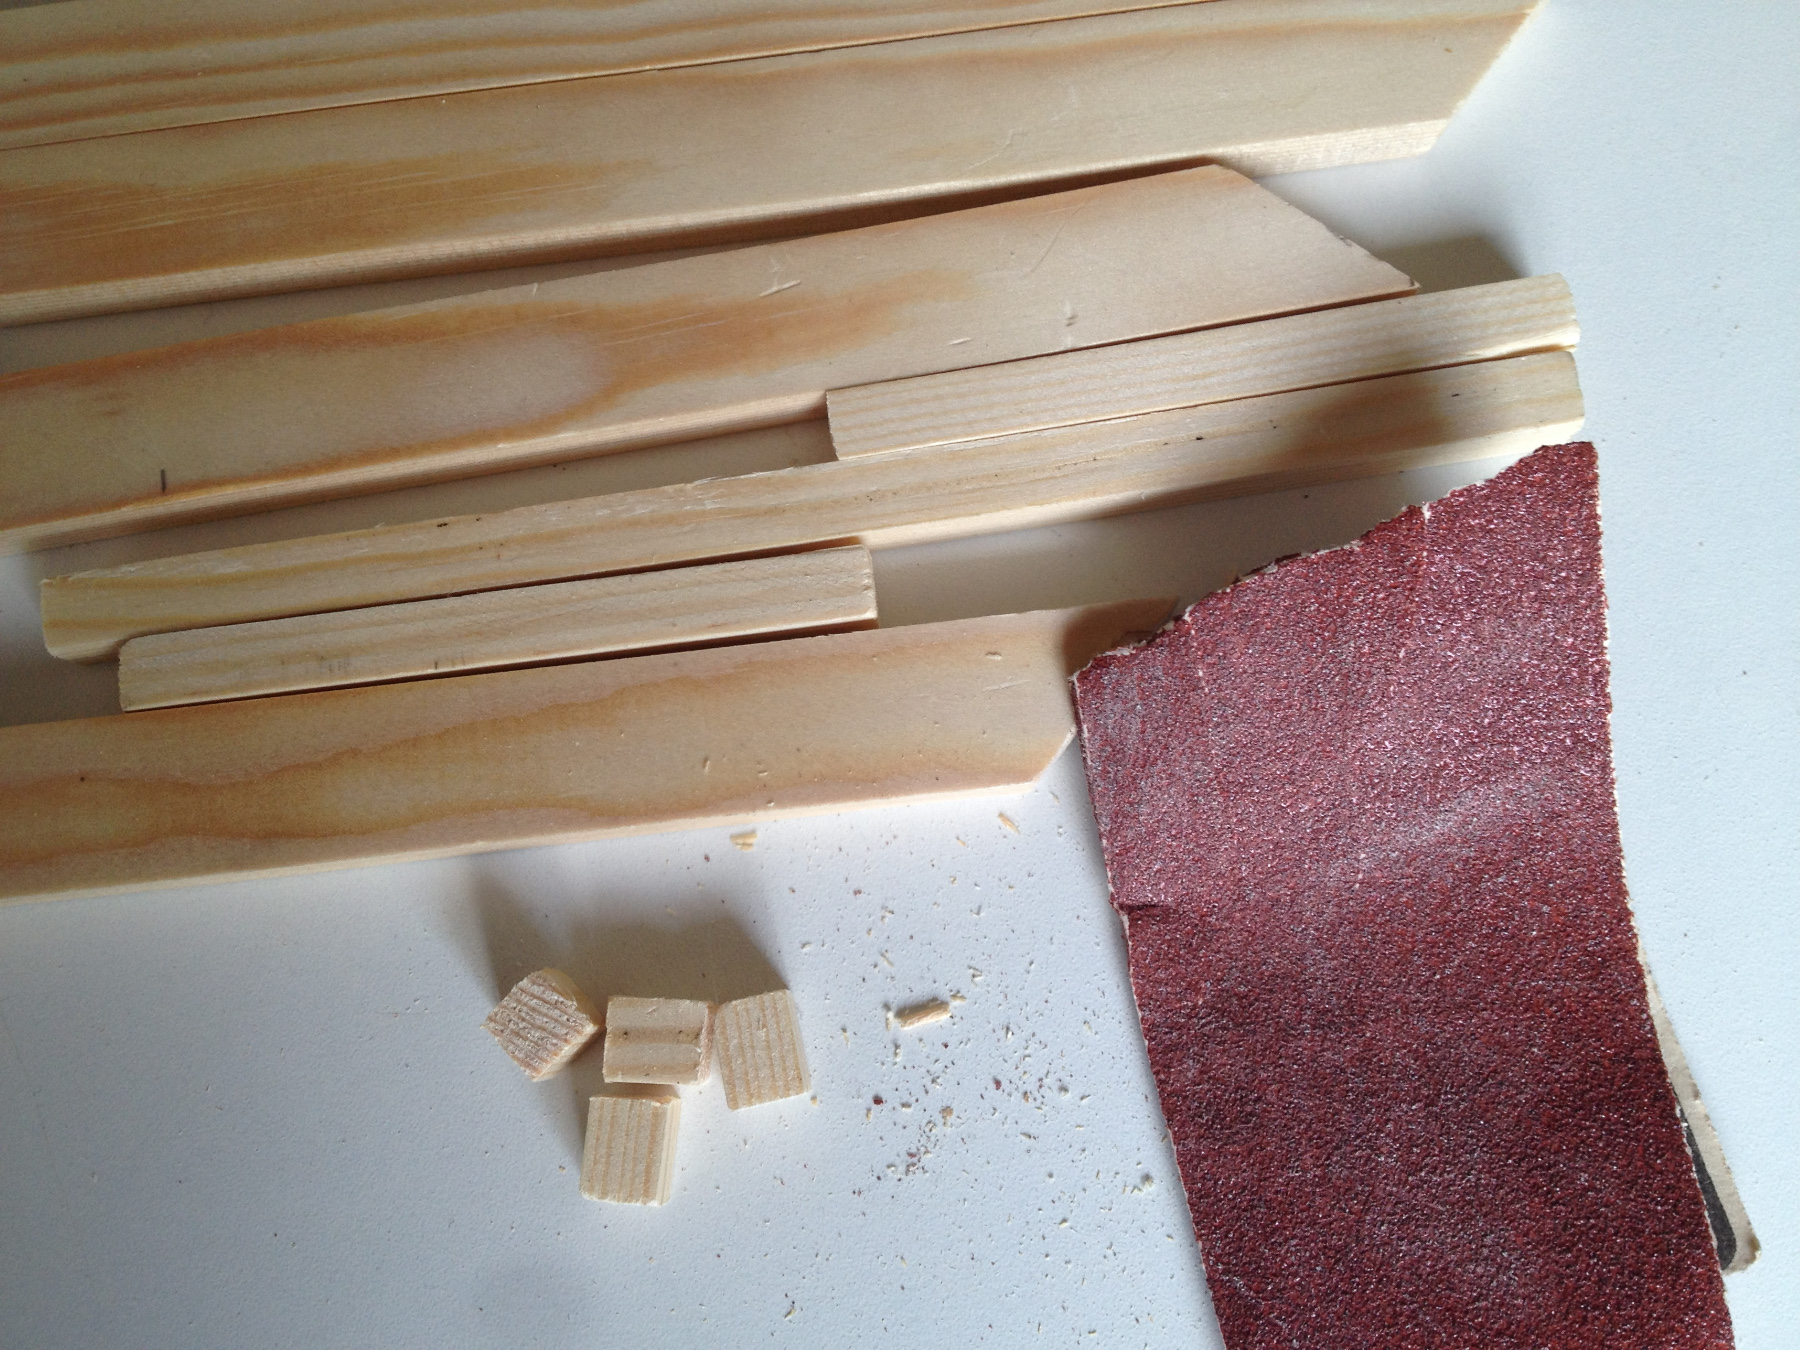
Saw 16 pieces of 12x9 mm from the 9x9 slat.
Sand the rough saw edges smooth.
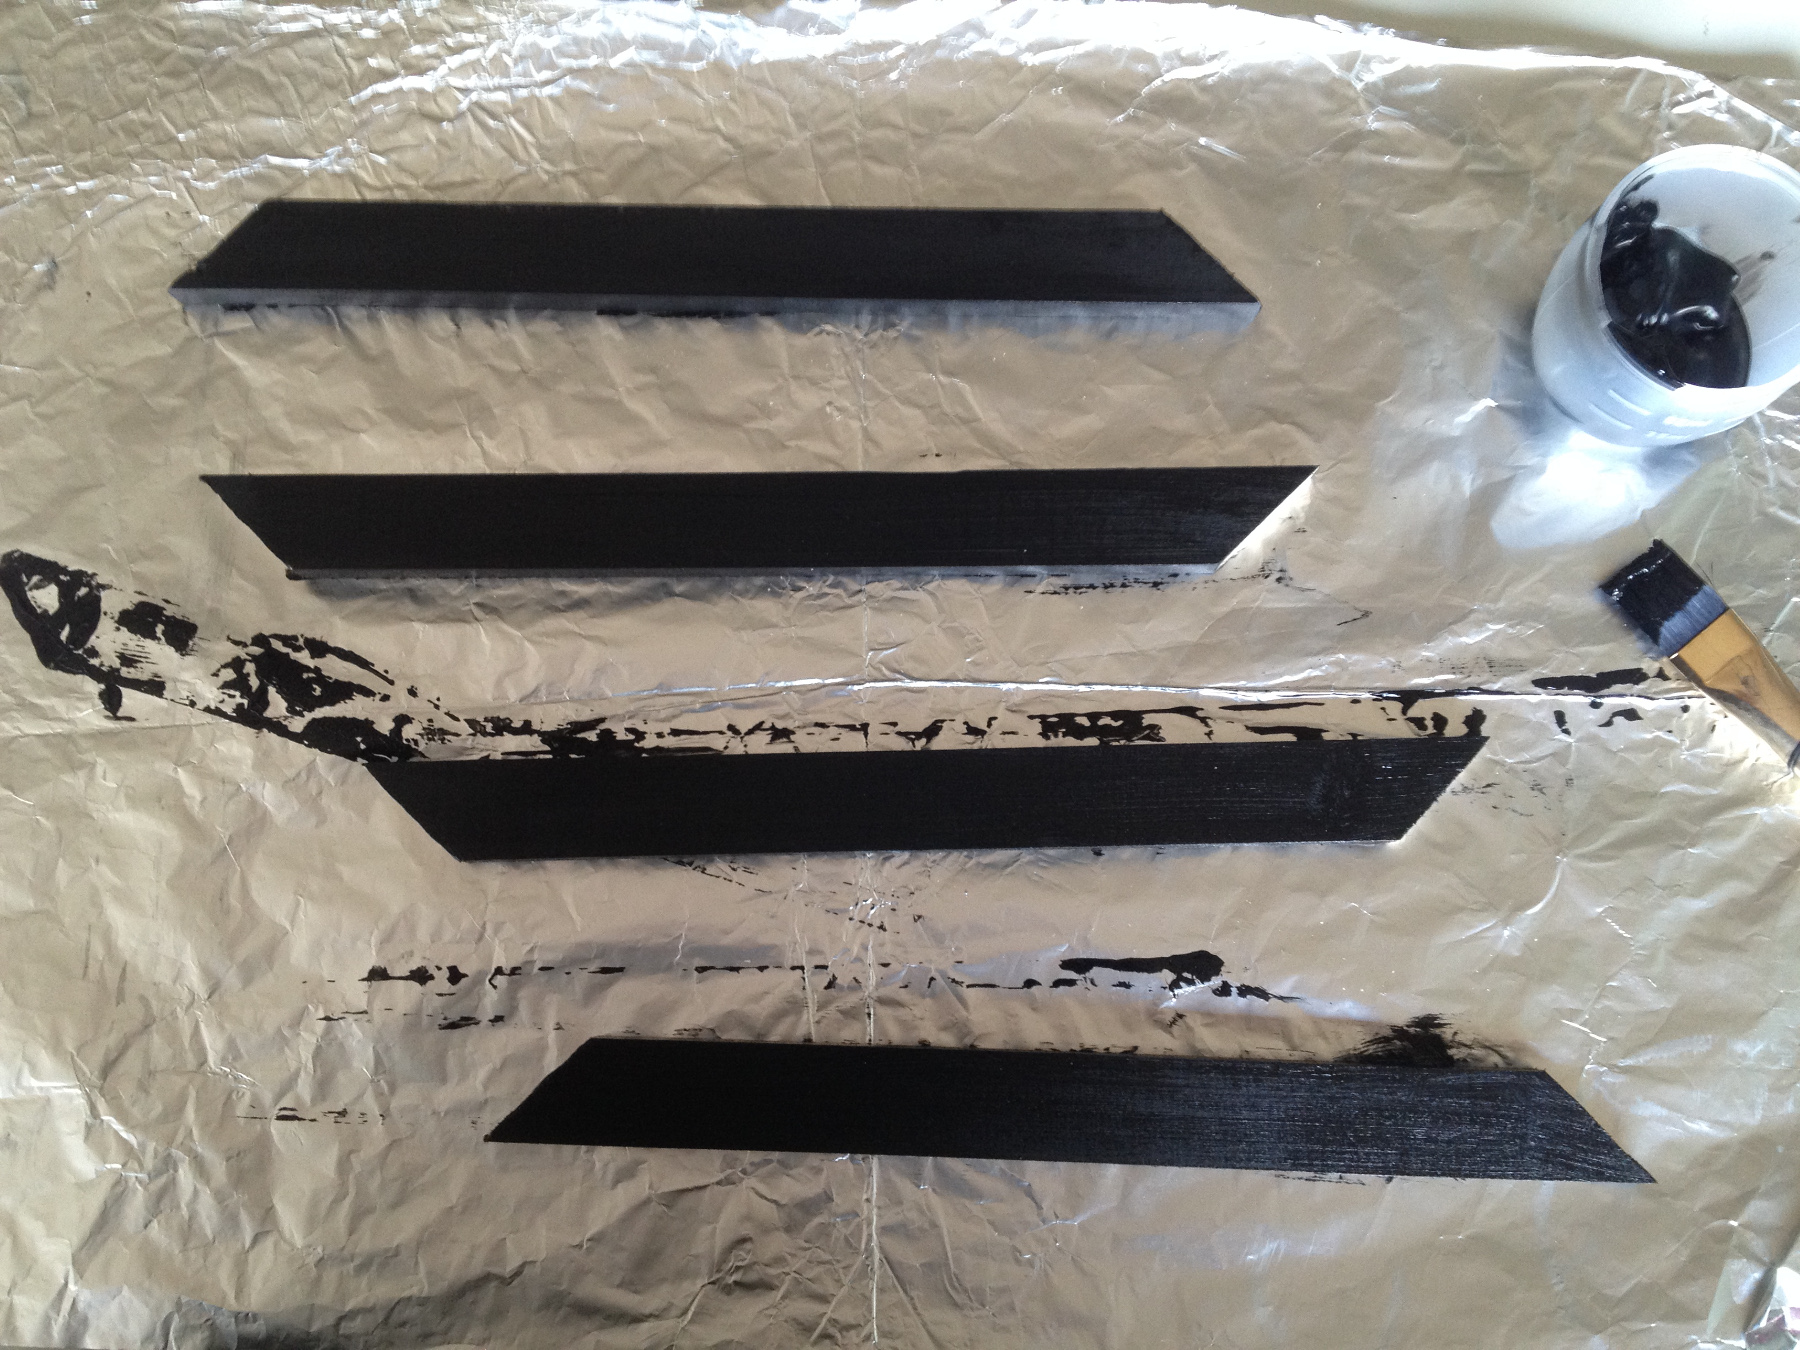
Paint all the pieces black.
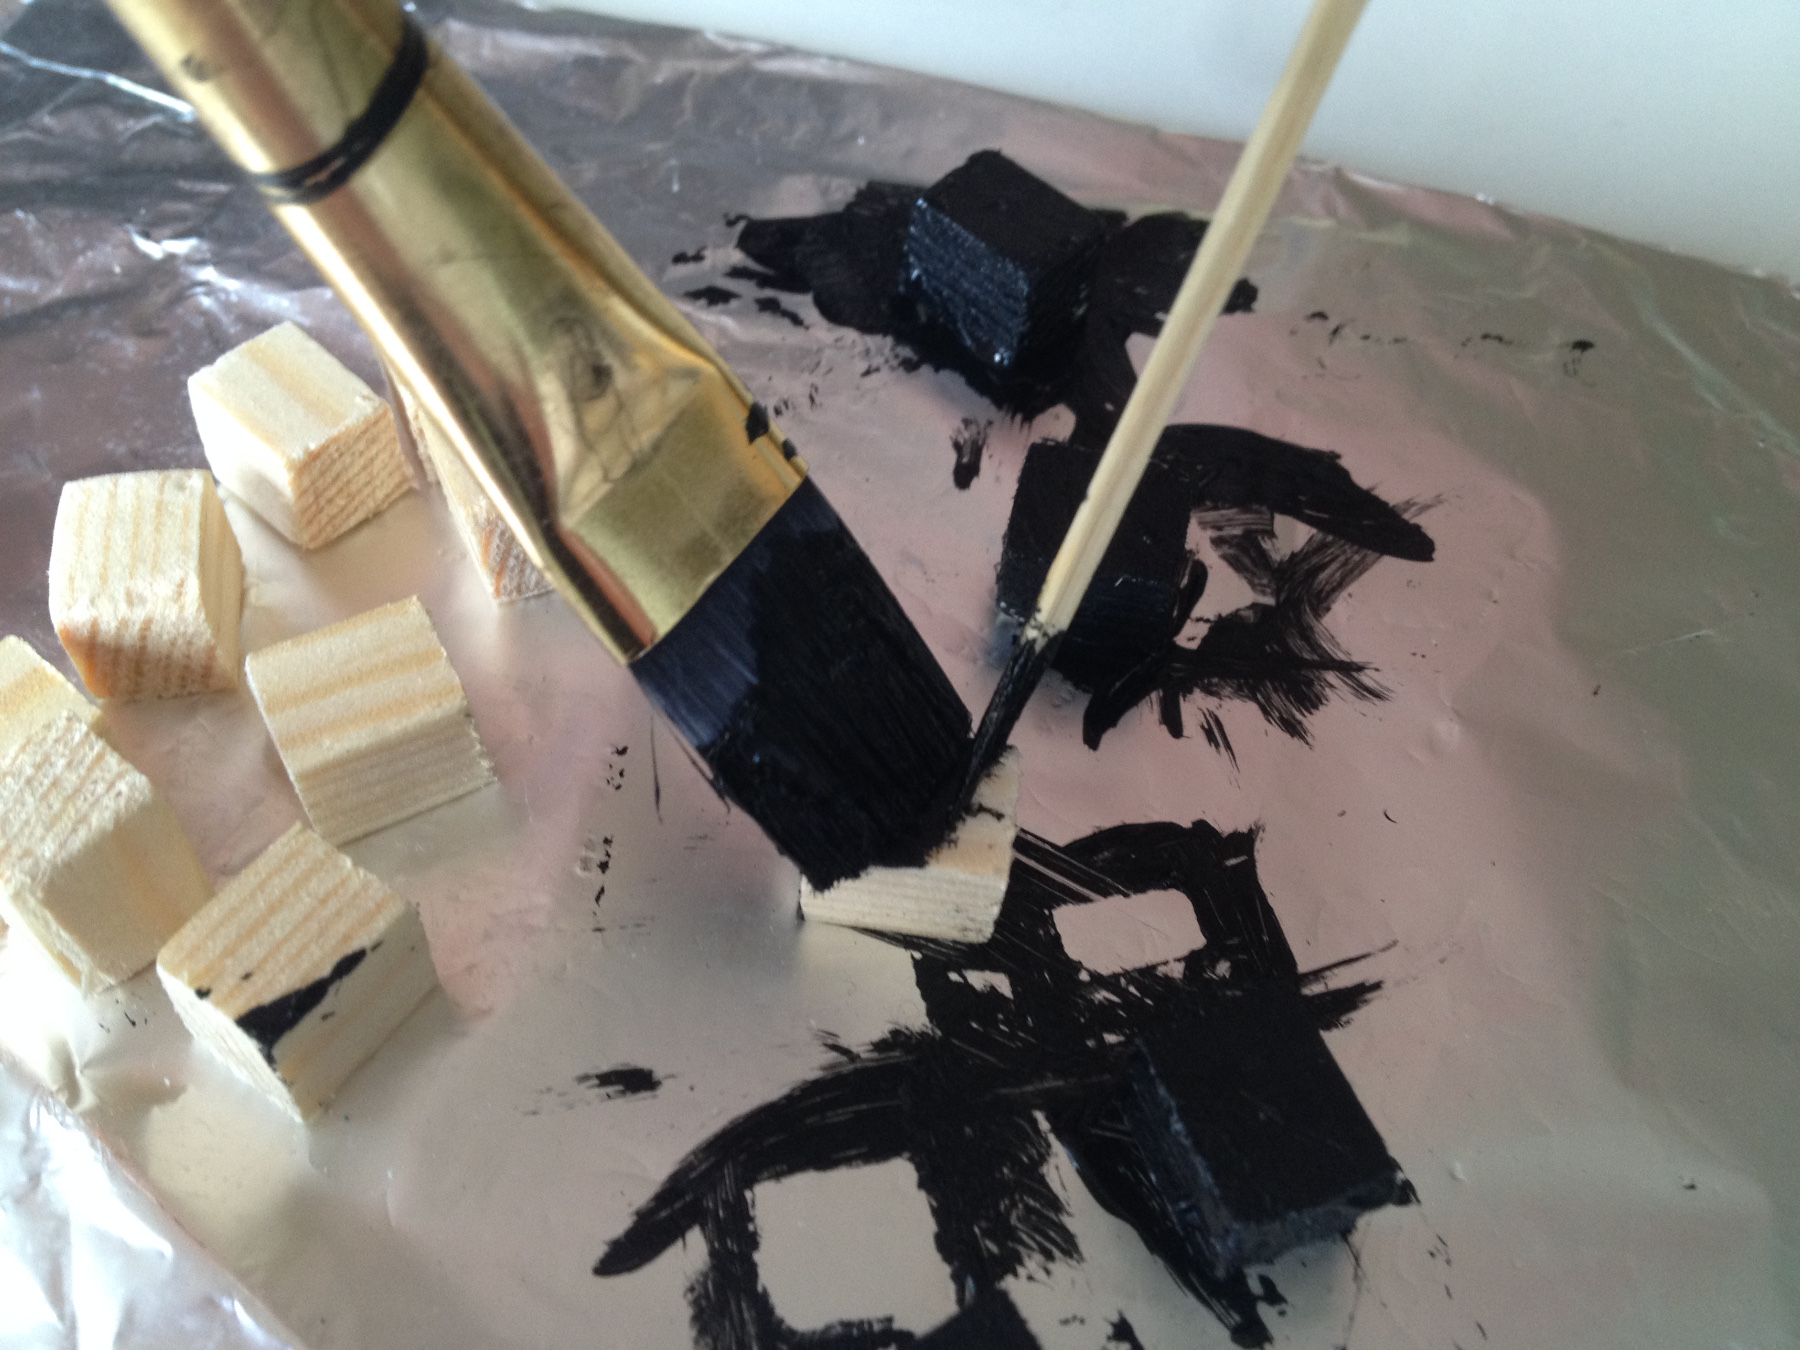

With a skewer you keep tiny pieces in check while painting.
Leave the painted pieces to dry thoroughly before you glue them on.
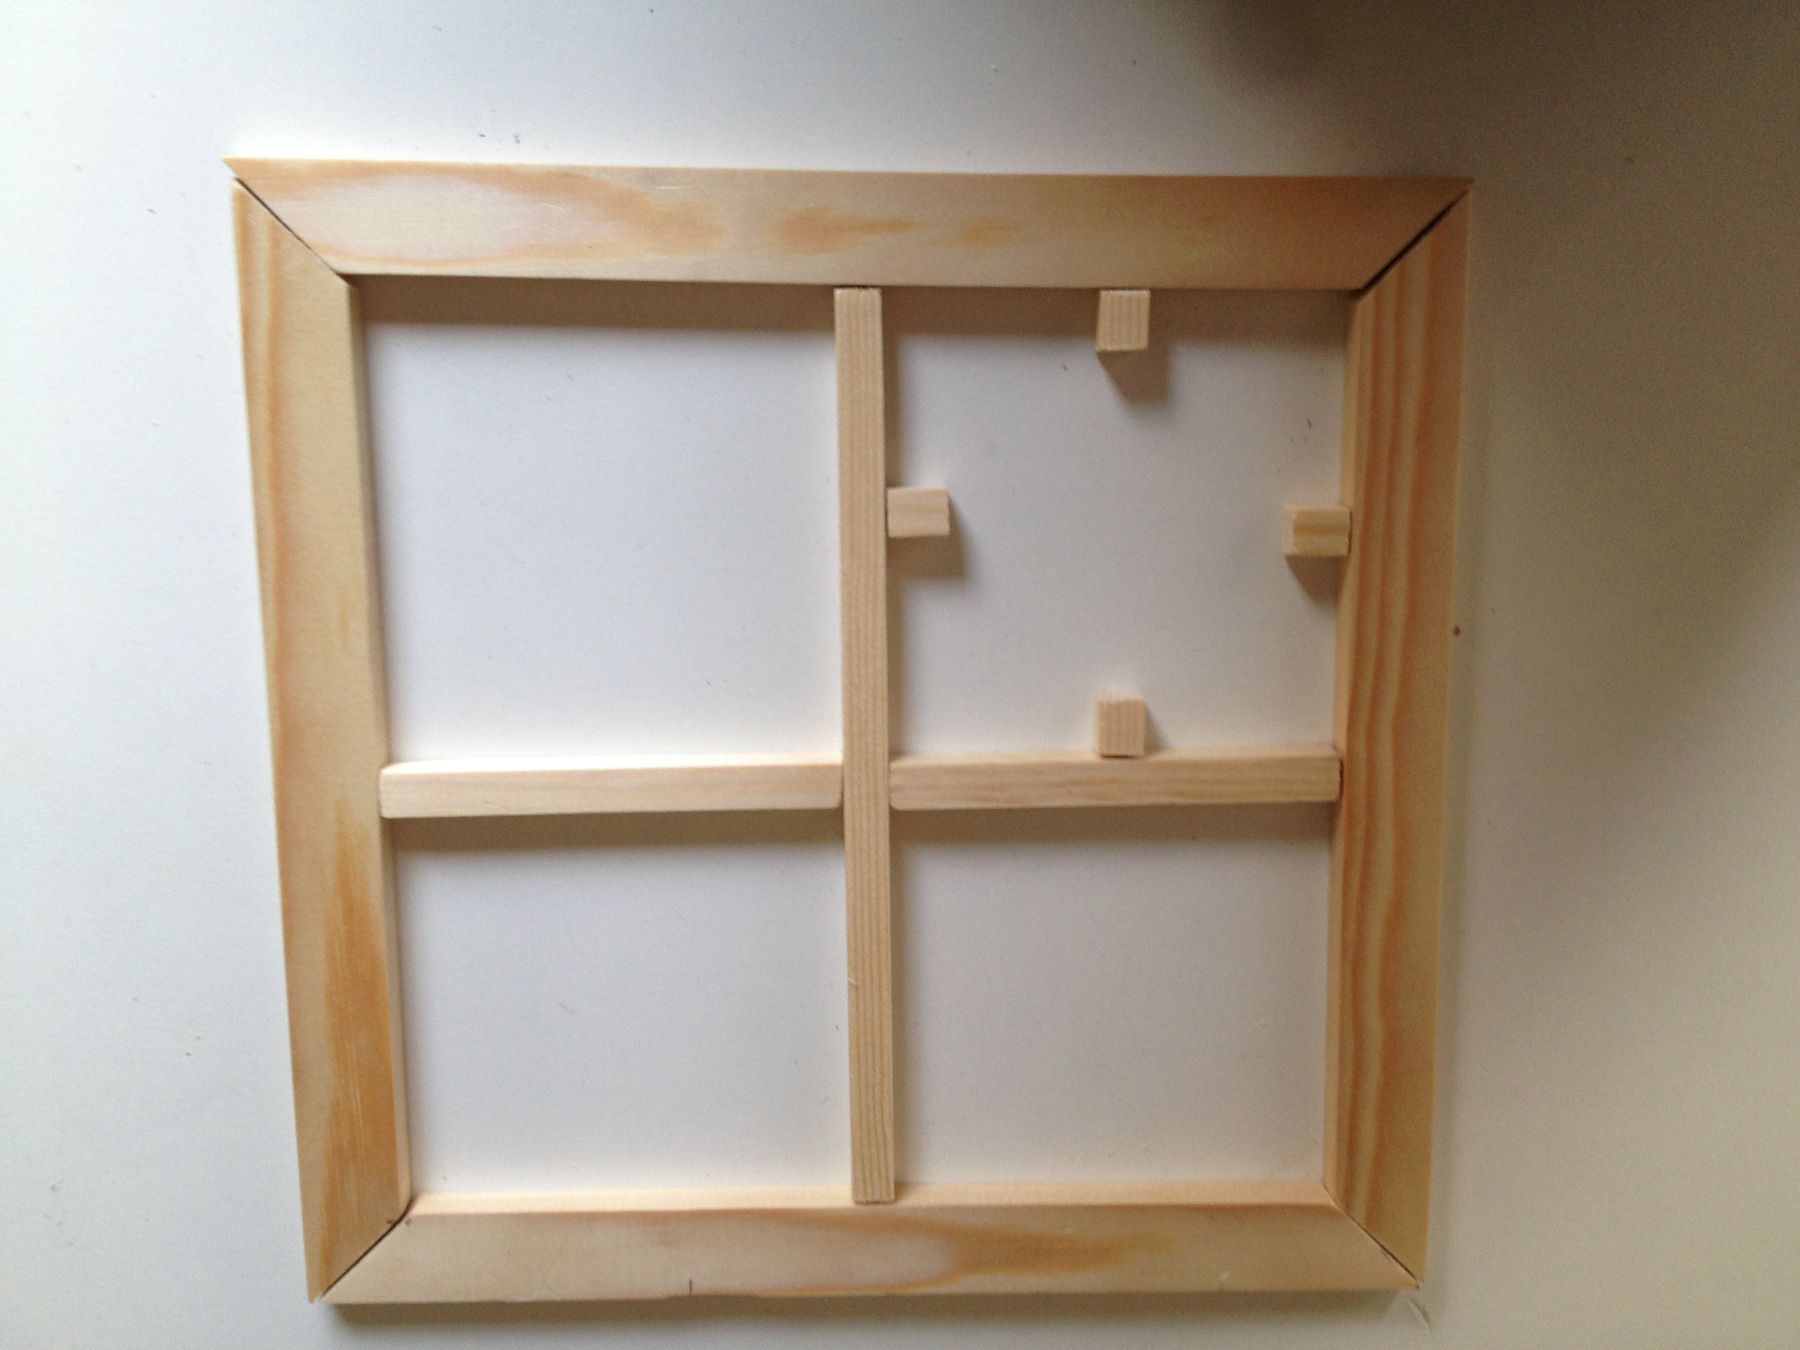
Stick all loose parts on the top of the stove.
Place a heavy book on top until the glue has dried.
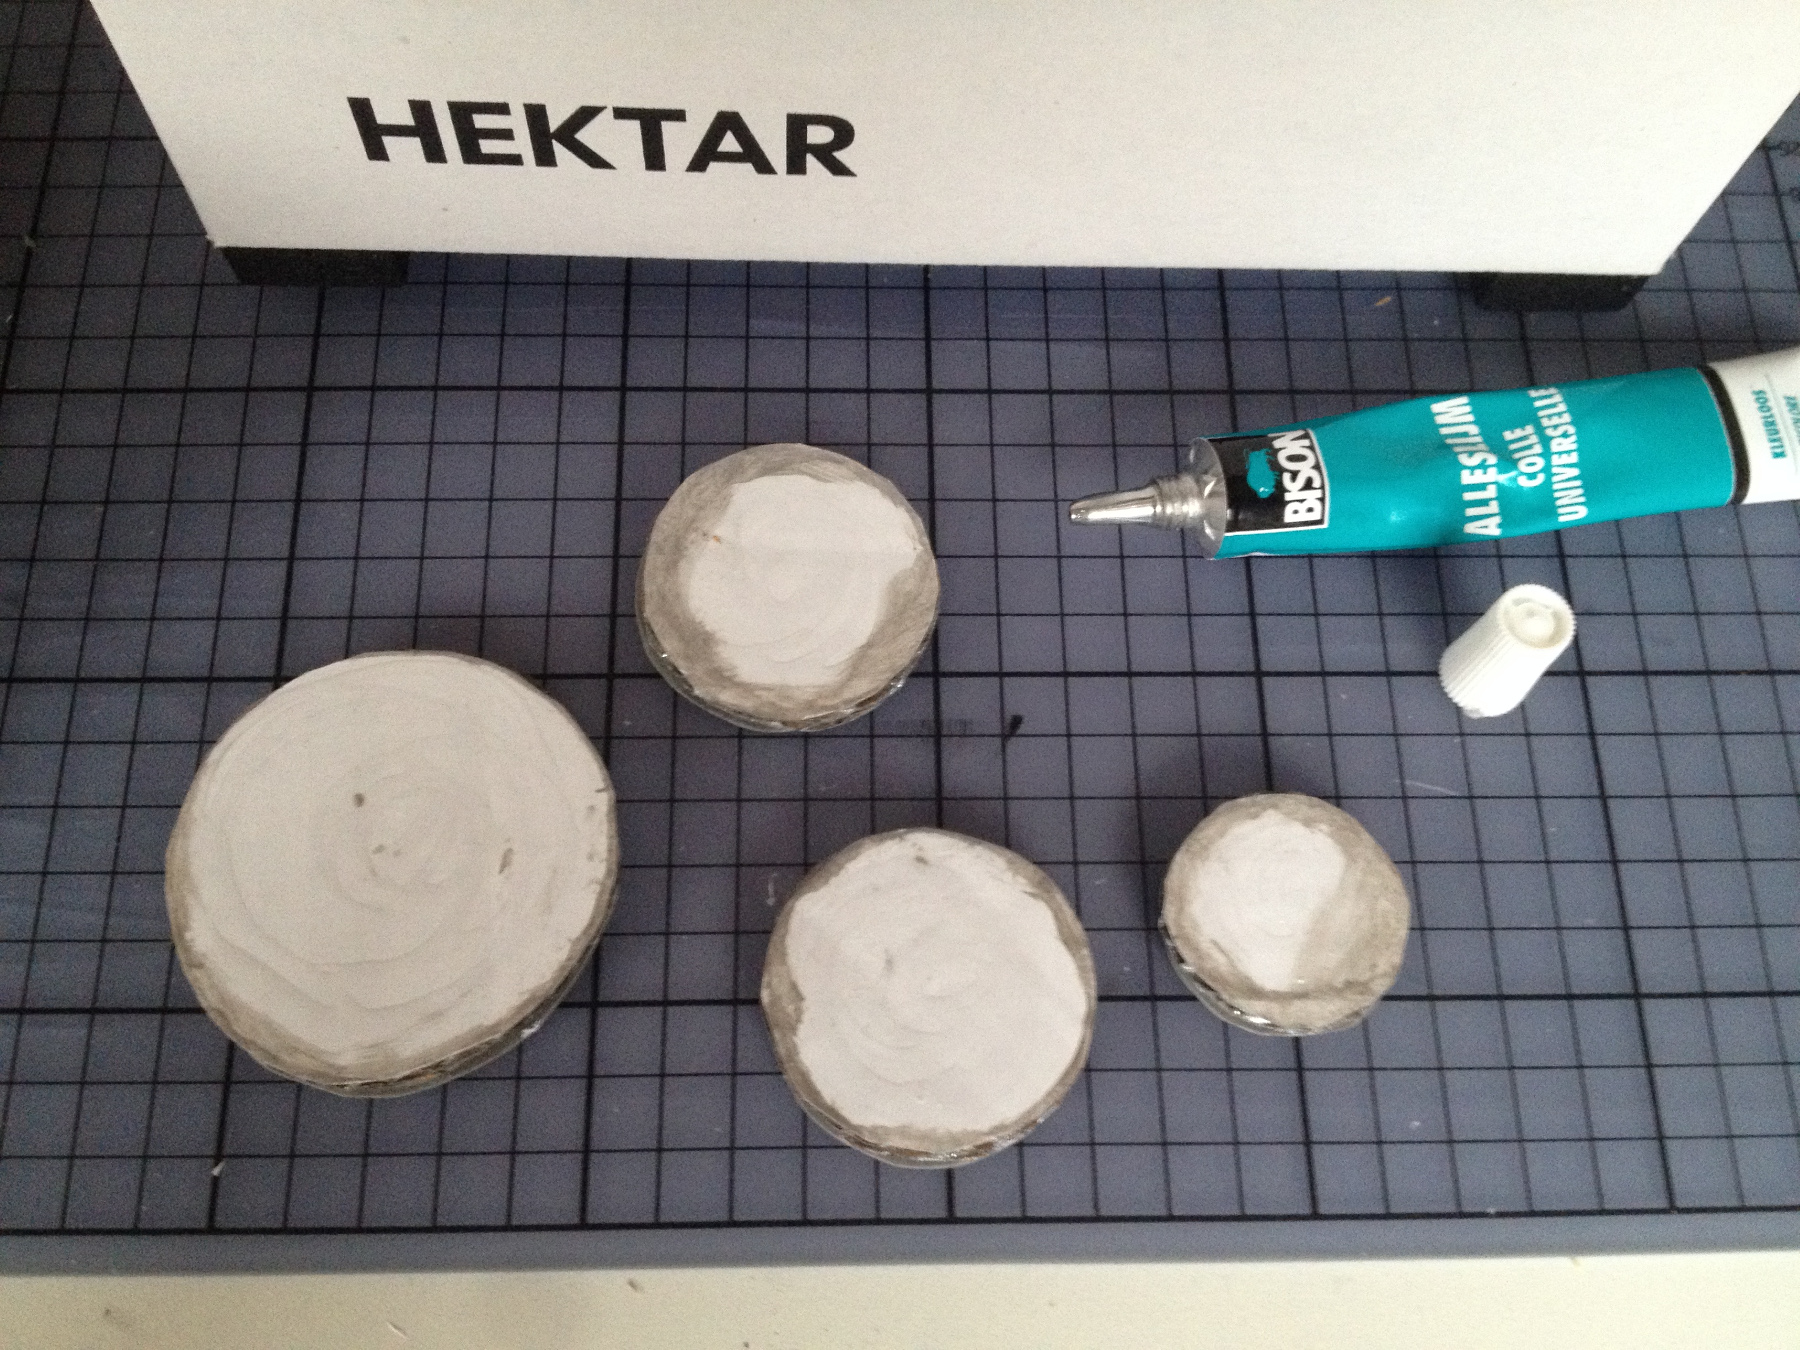
We finish the knobs
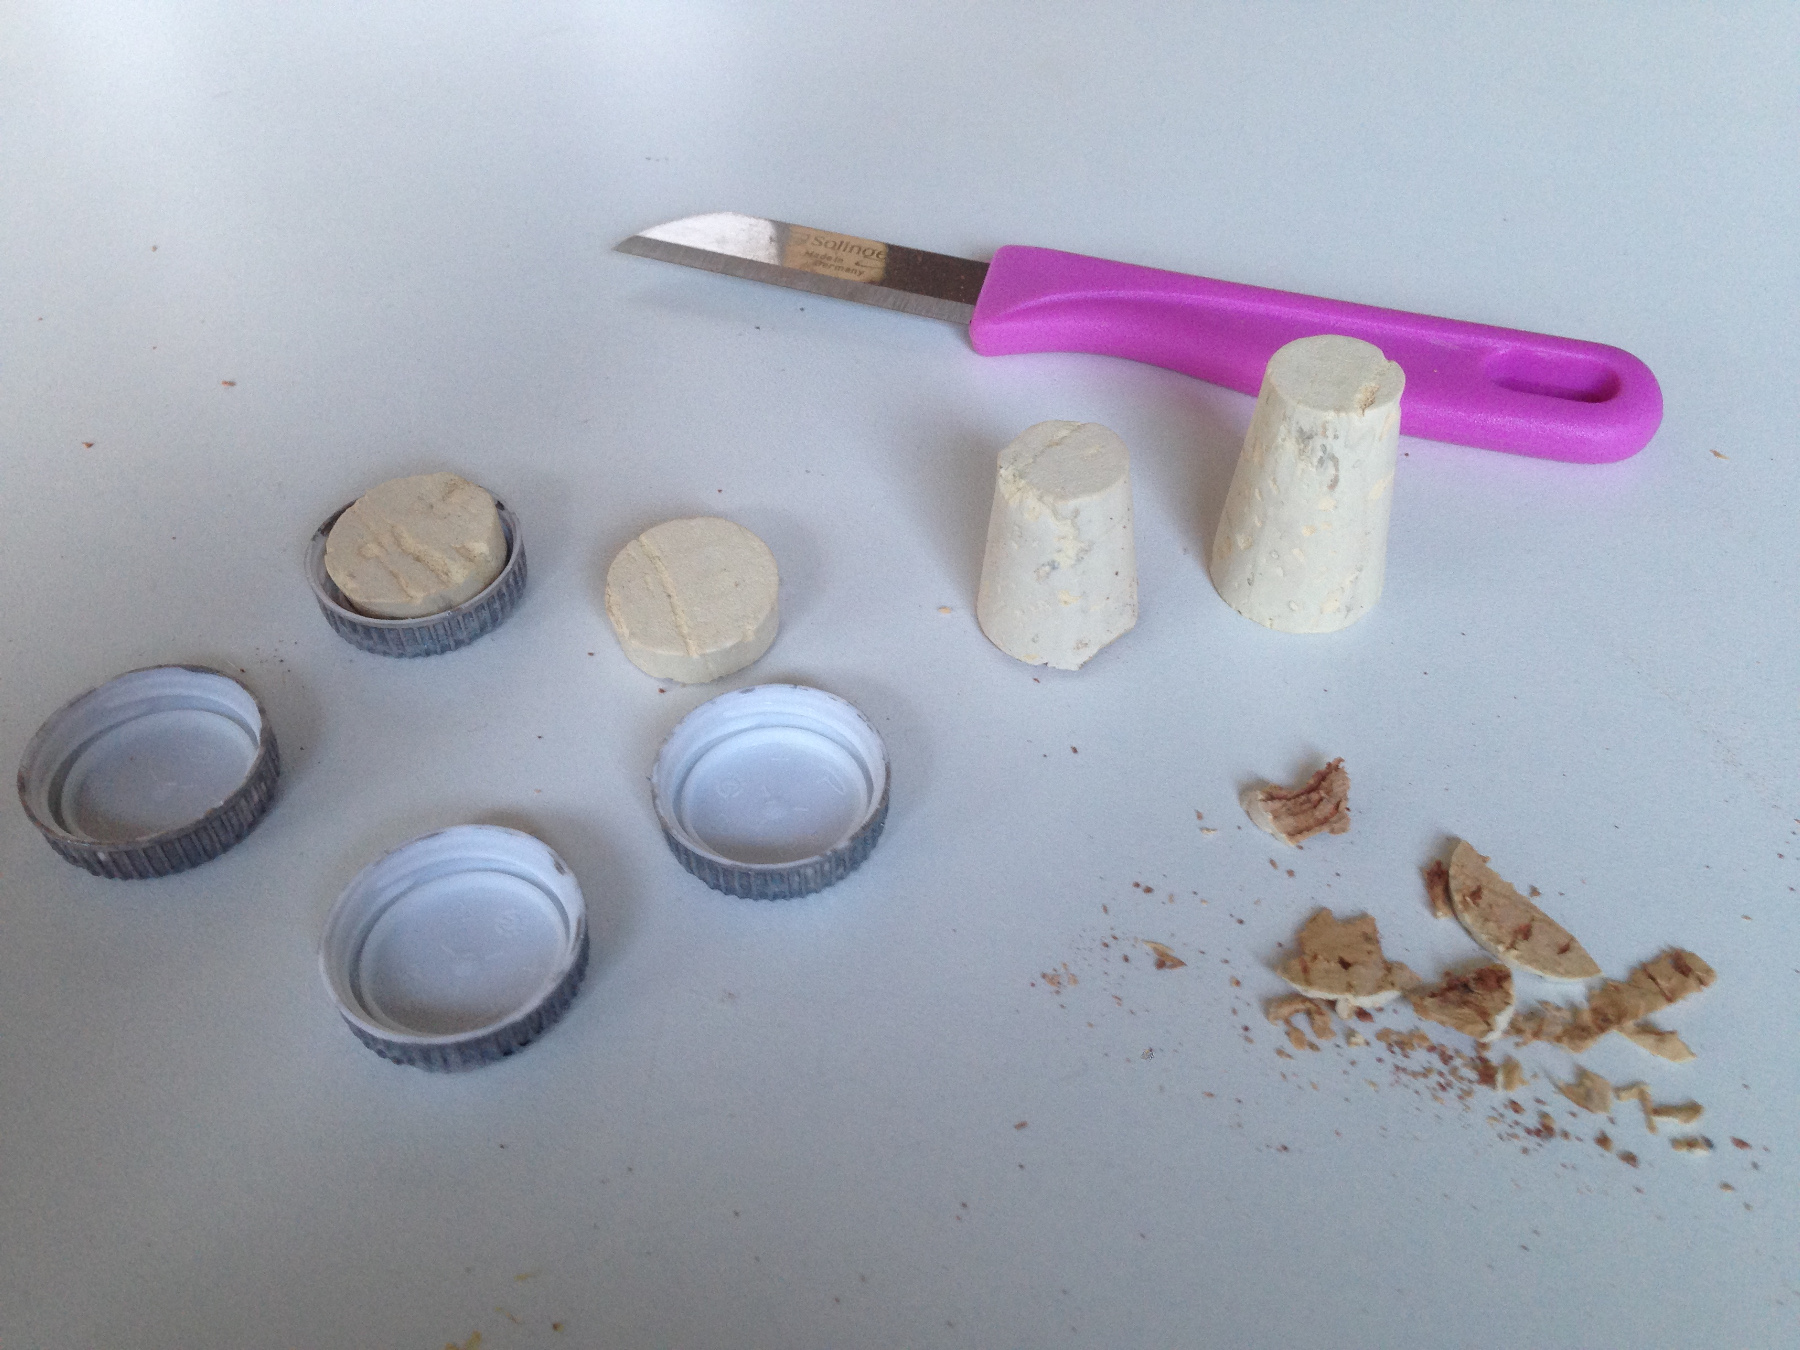
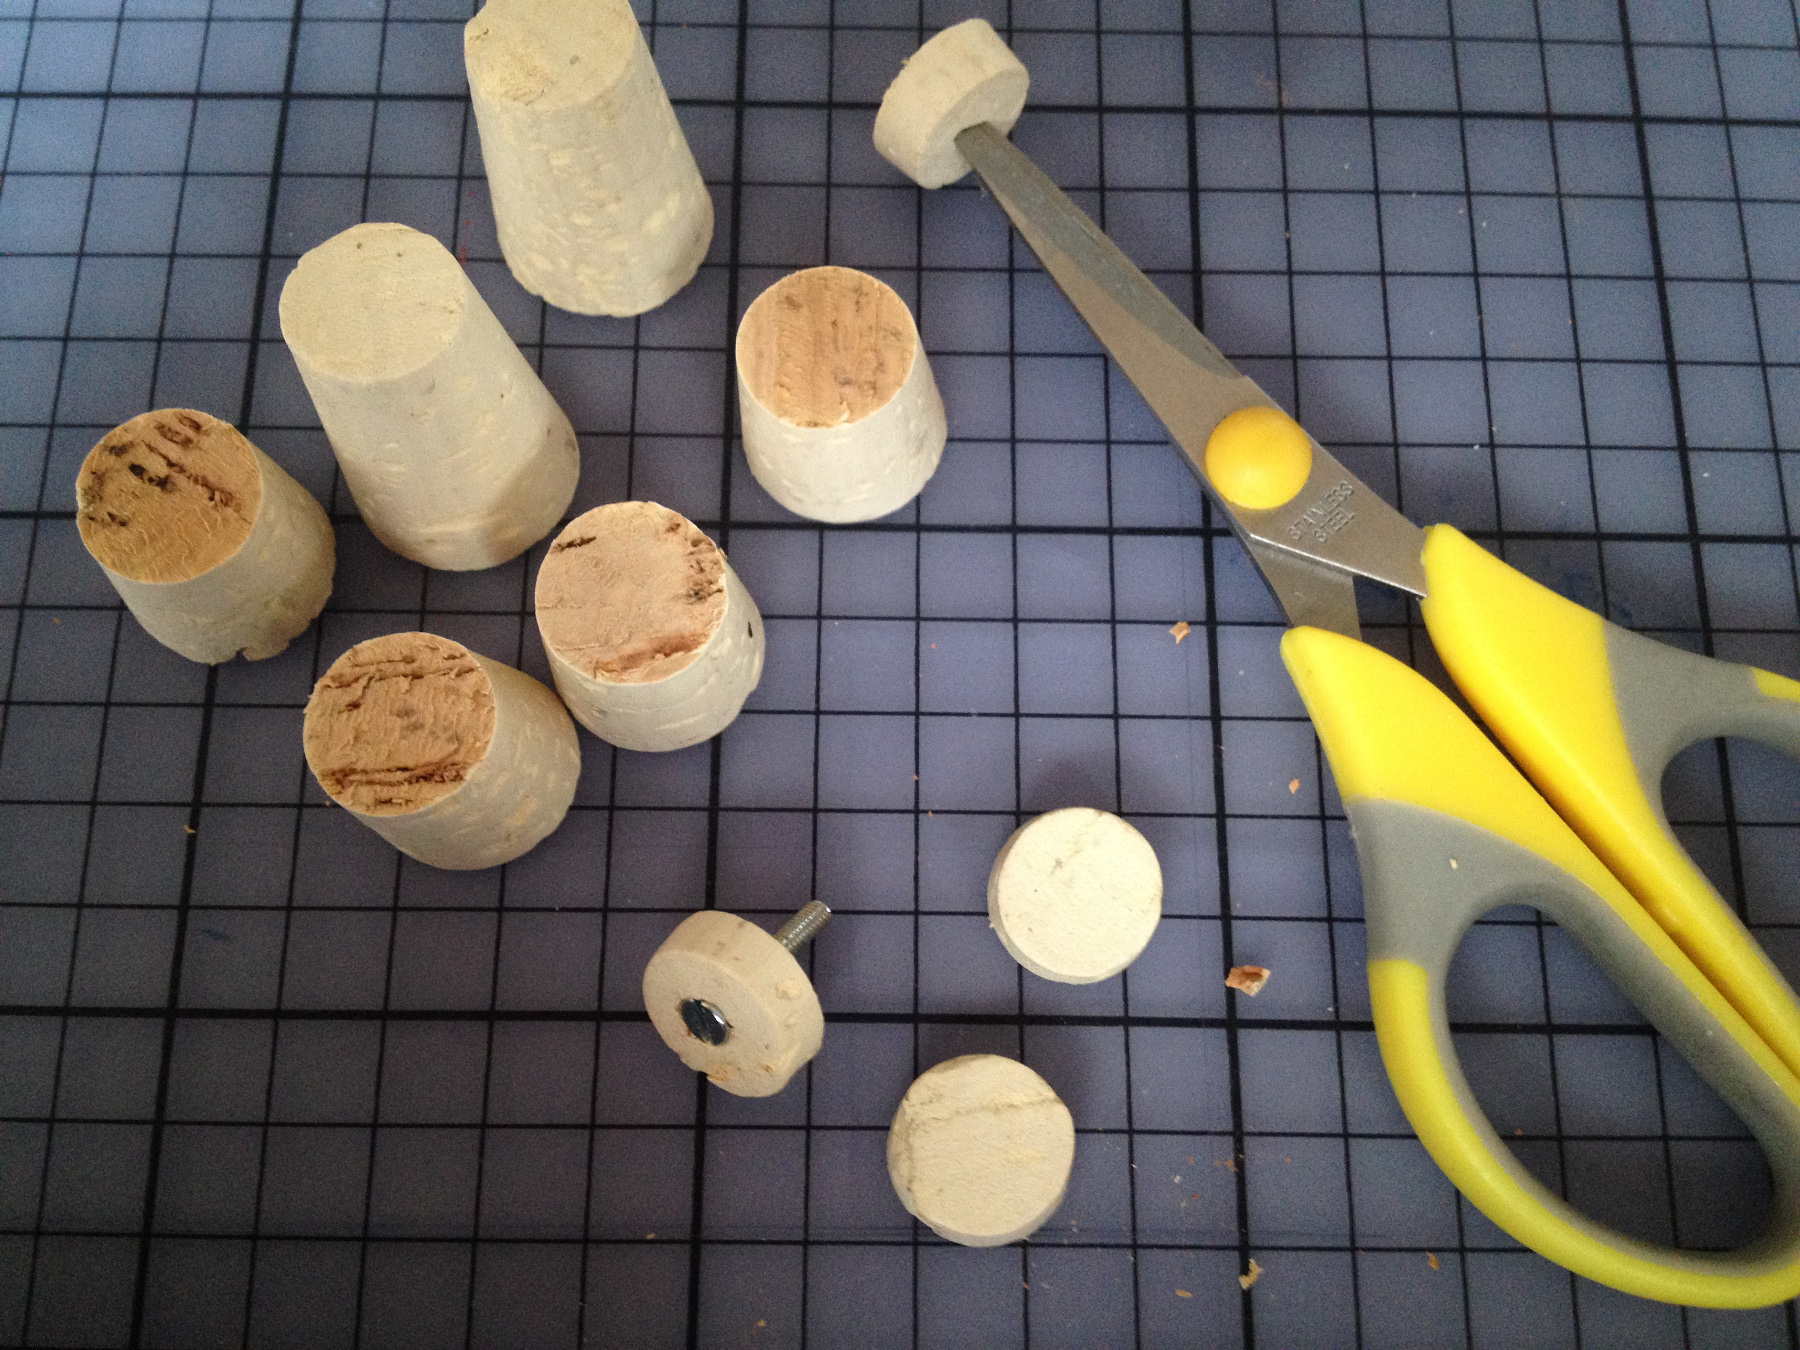
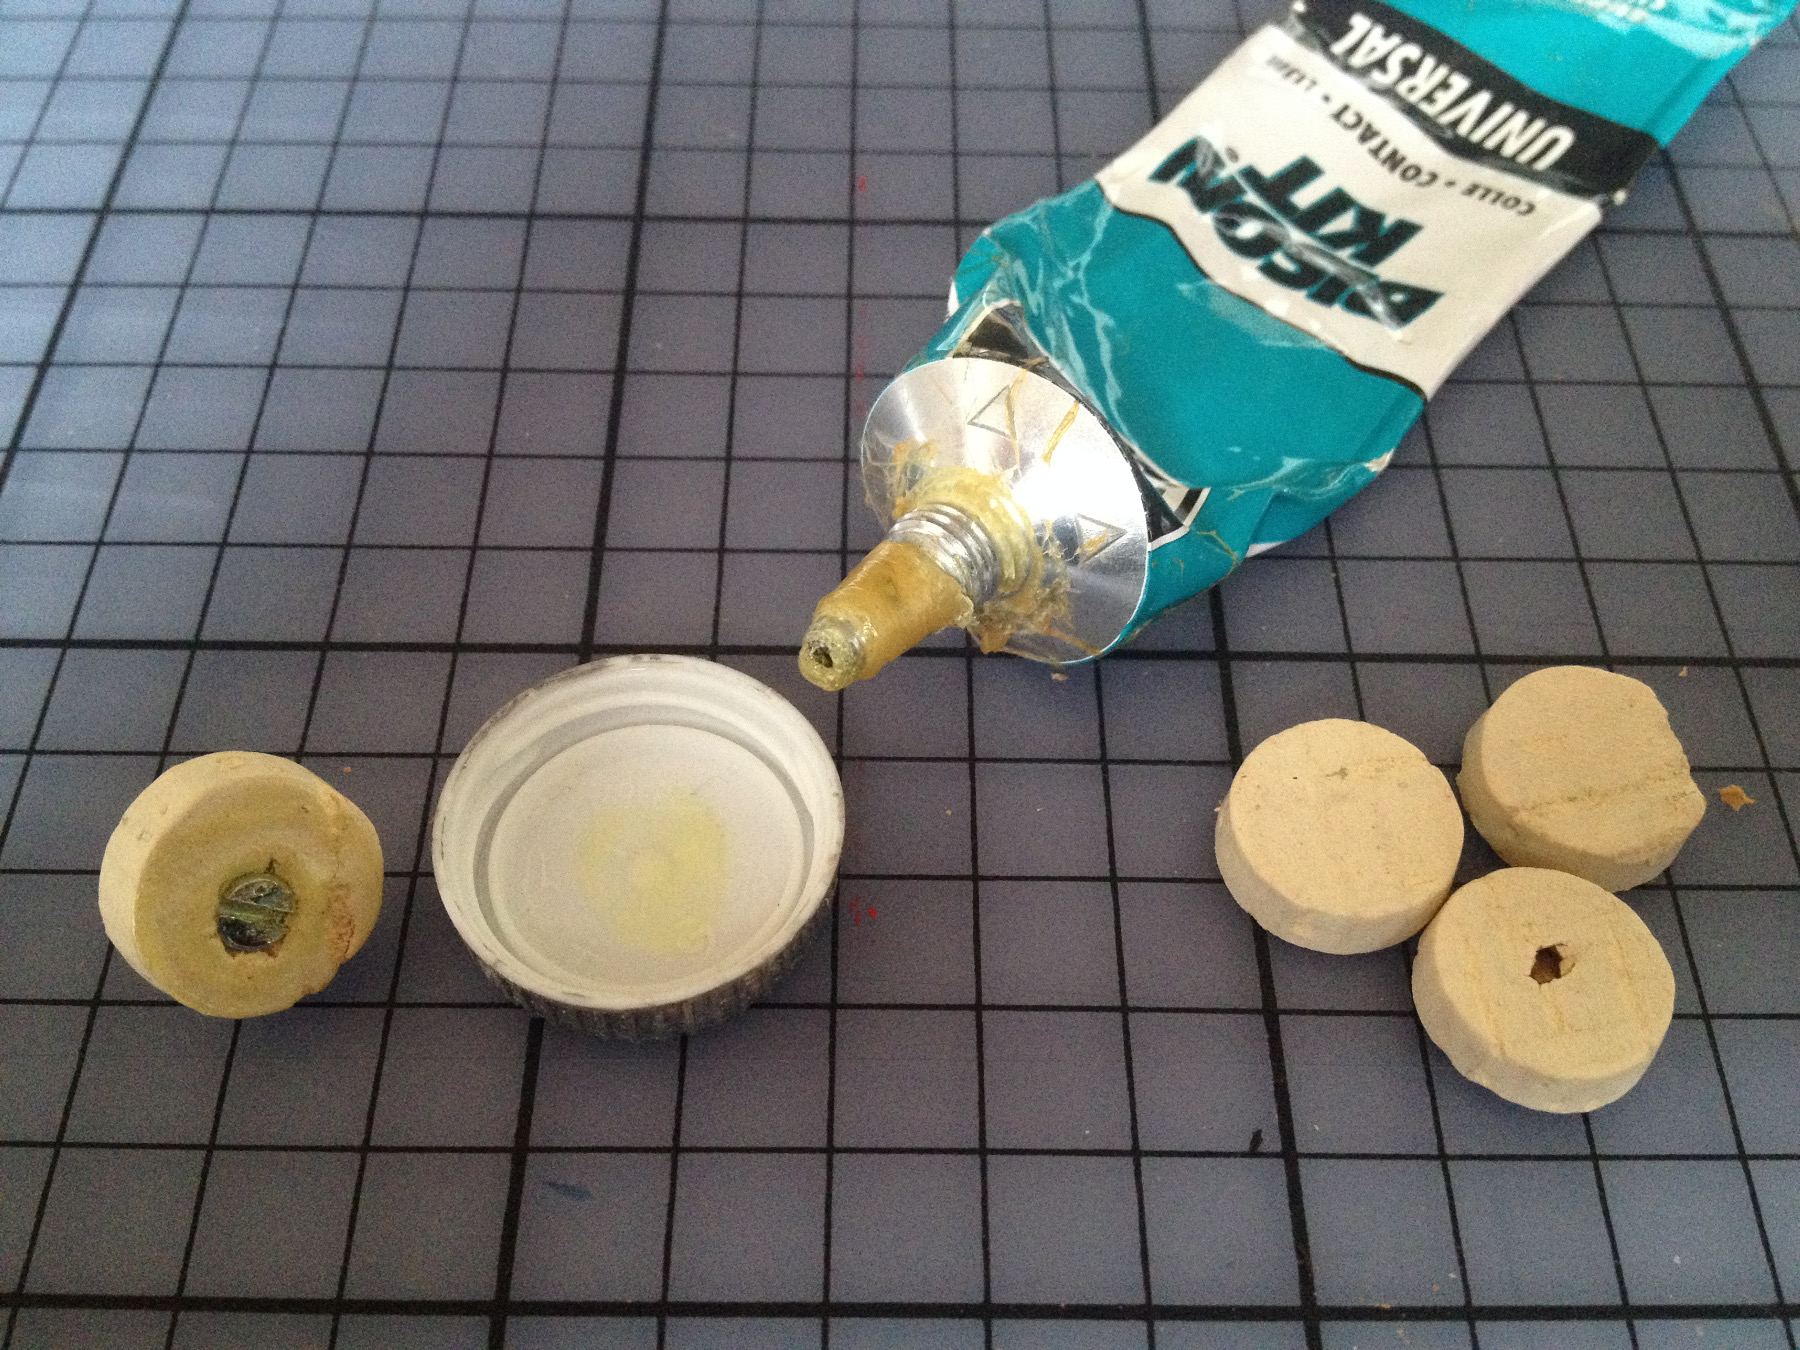
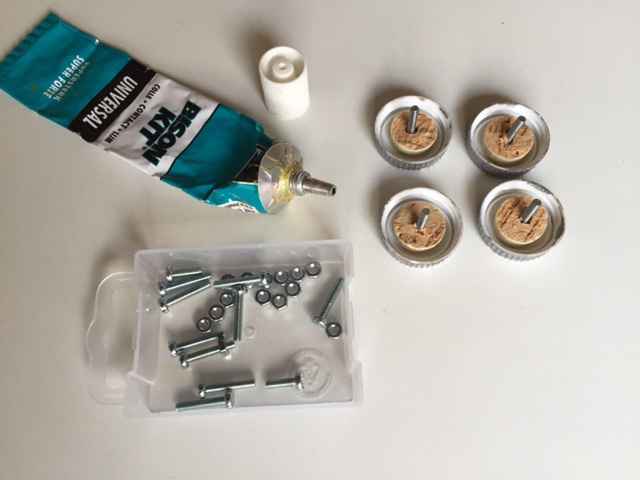
We make the knobs turnable with a tiny nut and bolt.
We cut a piece of cork and twist a hole in it to fit the bolt.
Stick the cork with the bolt in it on the inside of the knobs.
Leave the glue to dry thoroughly again.
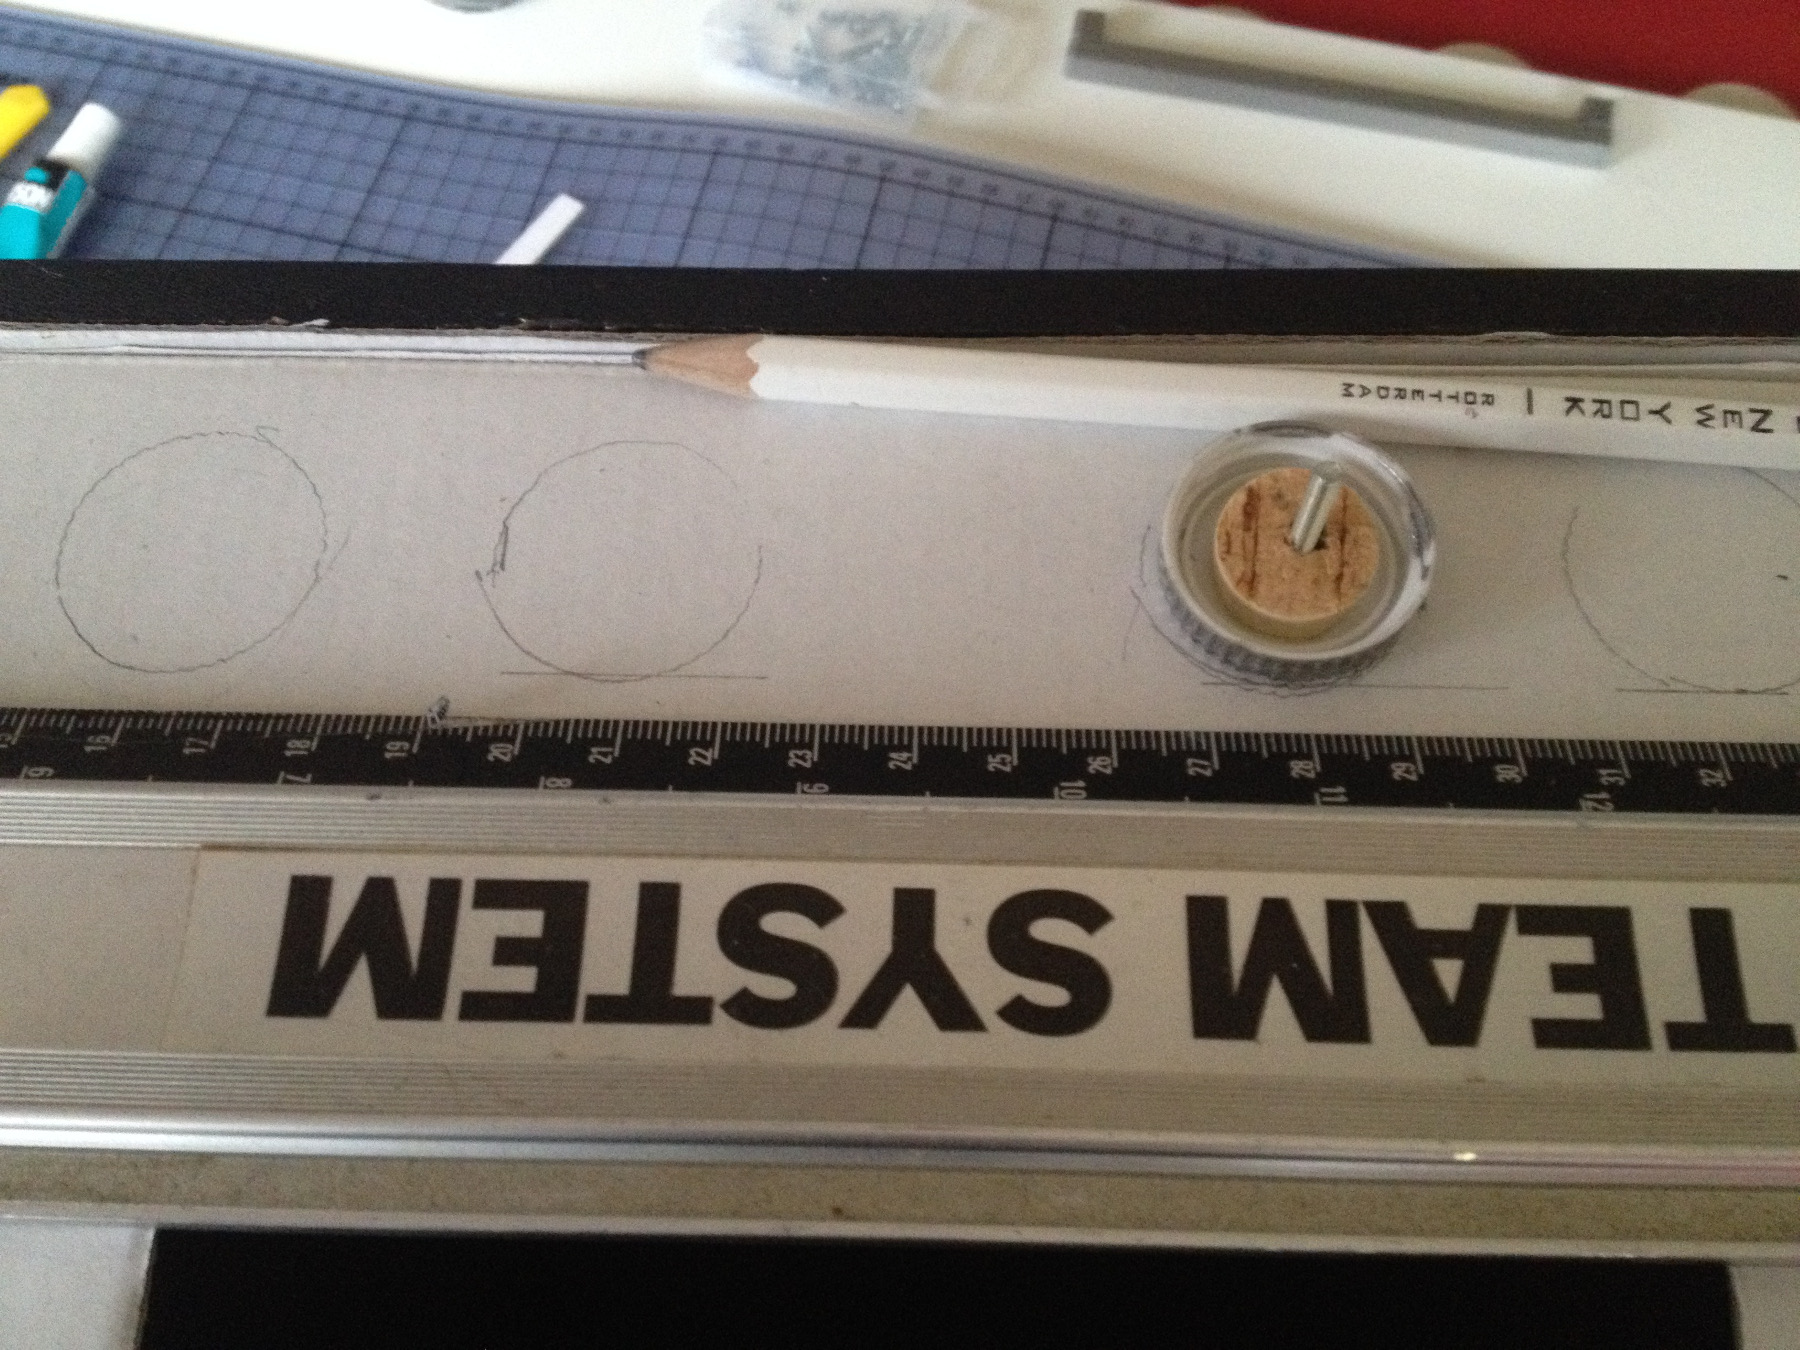
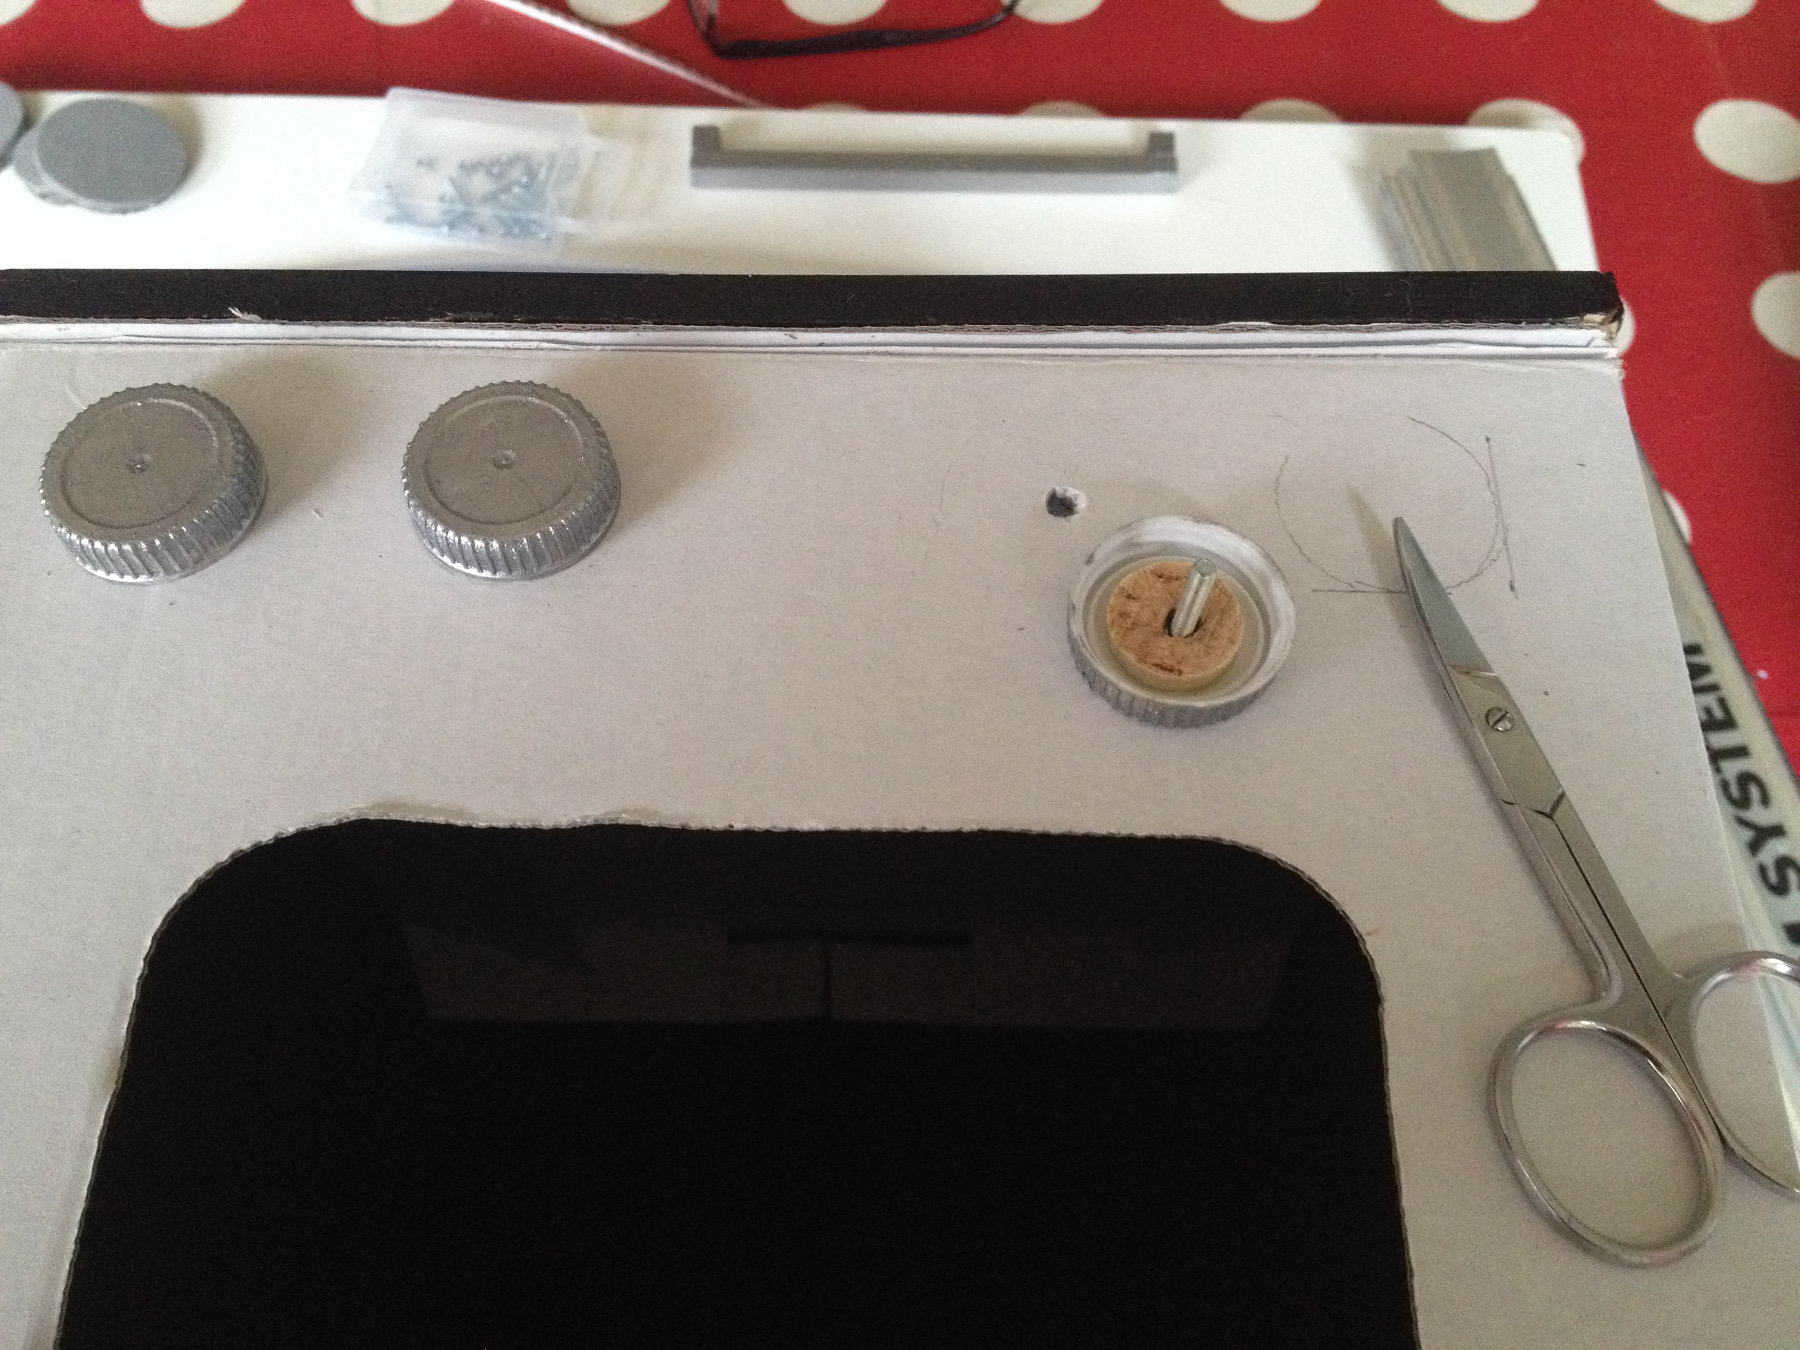
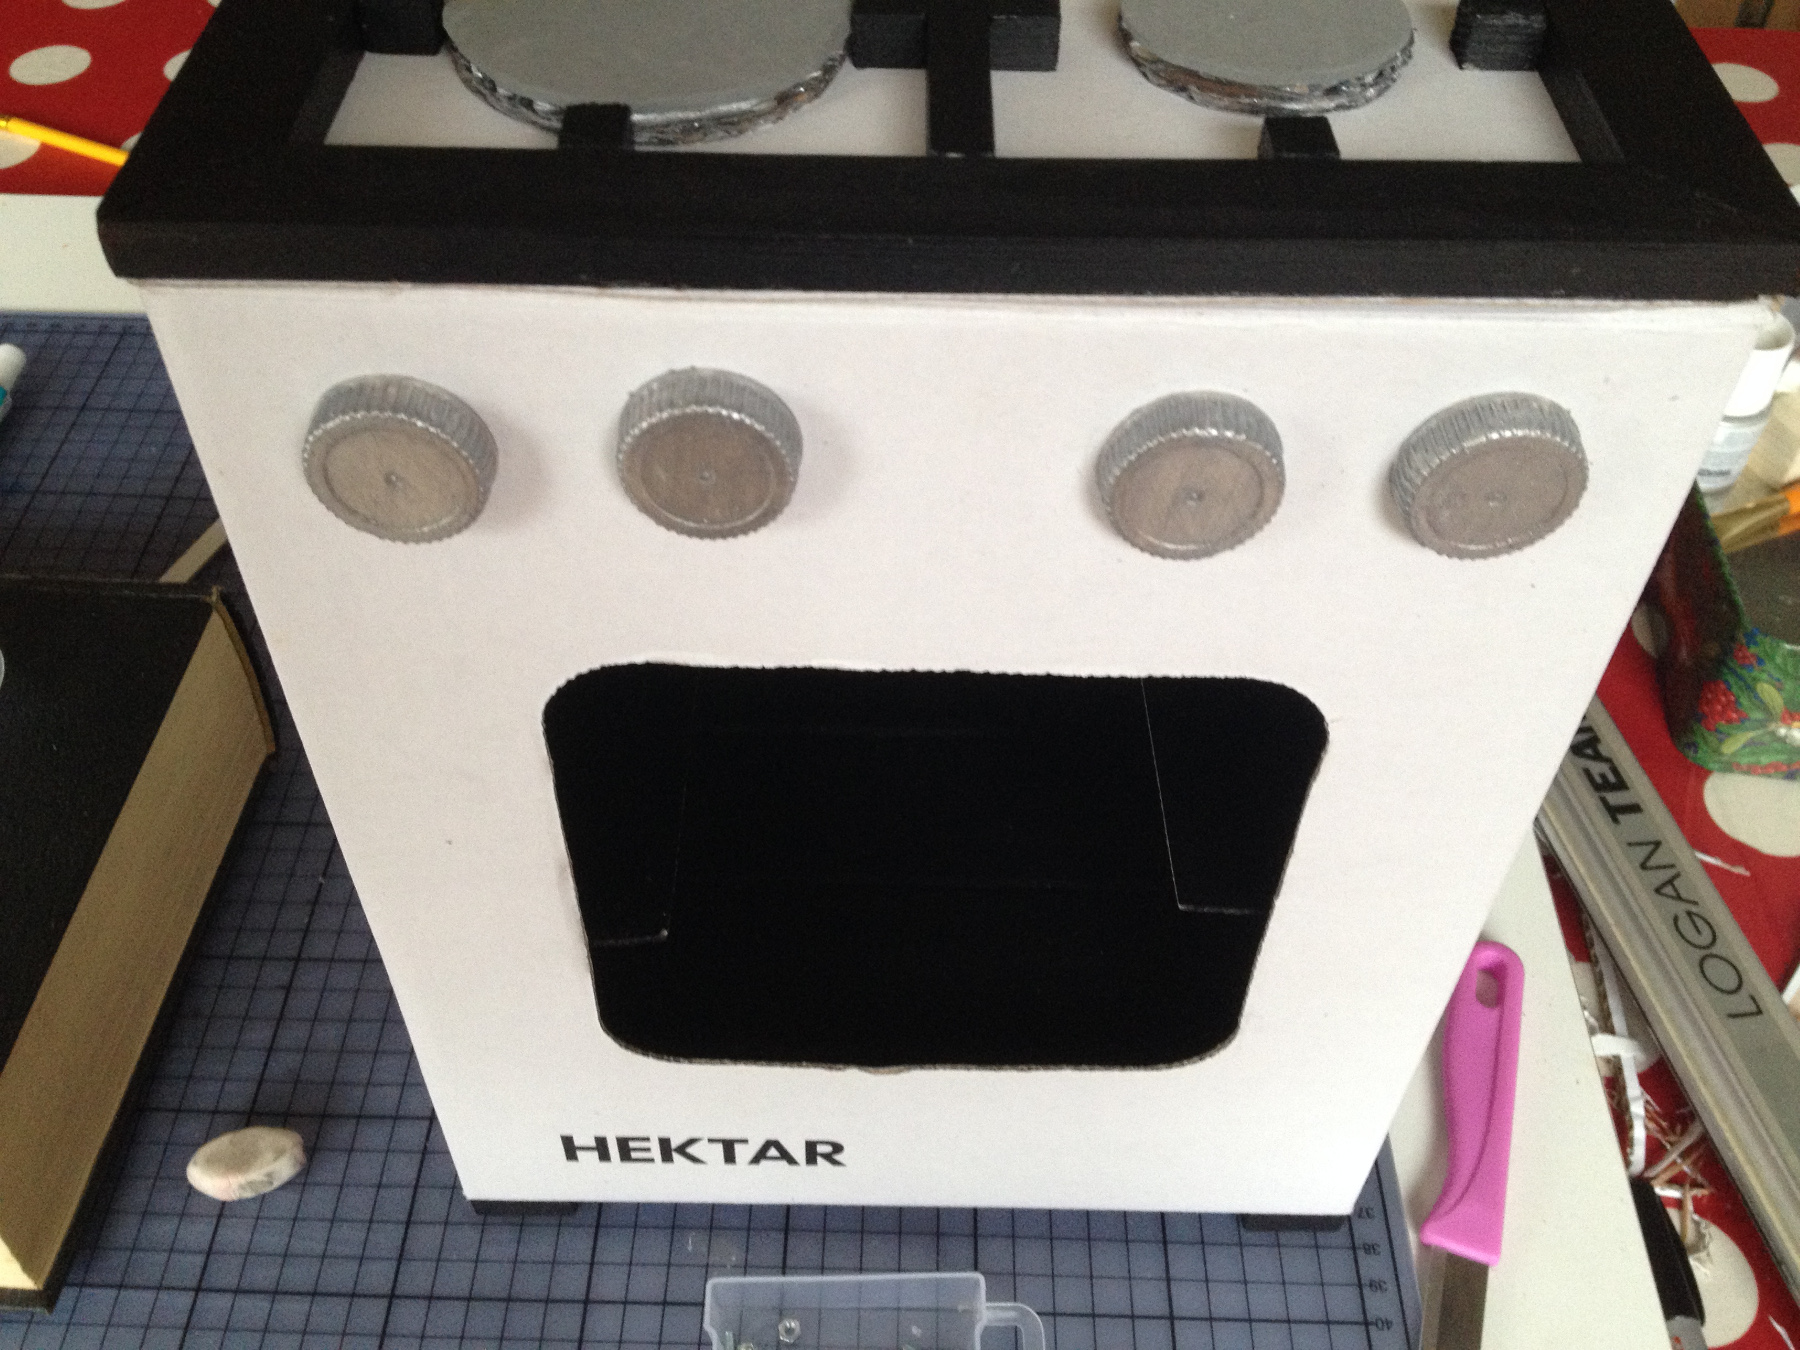
Divide the 4 knobs on the front with the help of a ruler.
Trace the knobs on the front and make an light indent with the bolts.
Carefully prick a hole and twist the nuts onto the bolts.
Assemble the oven door with some glue and attach it to the stove
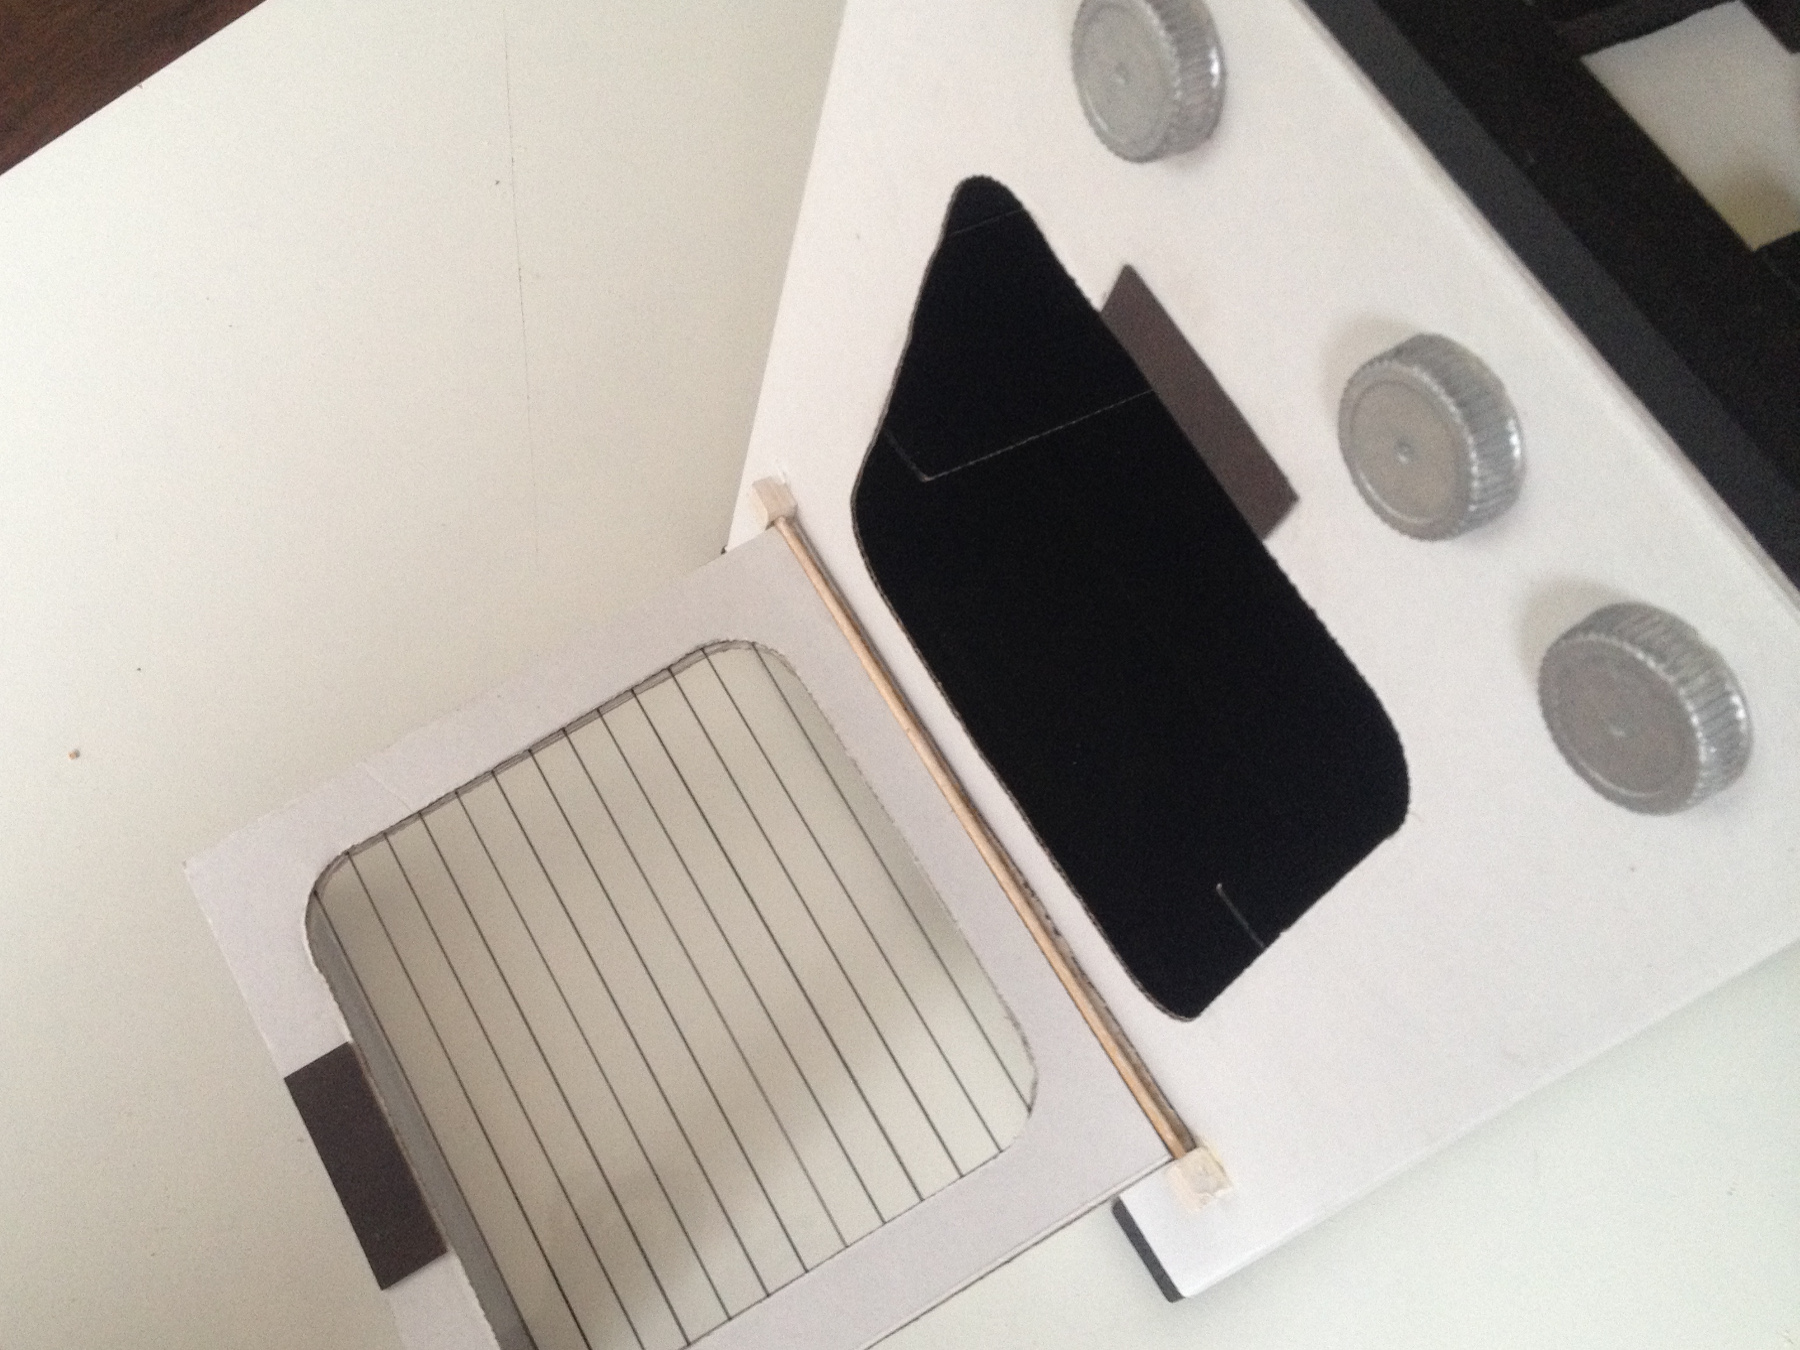
Place the burners with some glue into the pots and pans rack on the stove.
Stick the handle upon the oven door on the stove.
Stick the stick in the blocks and glue the blocks onto the box.
Stick magnets inside the oven door and on the stove.
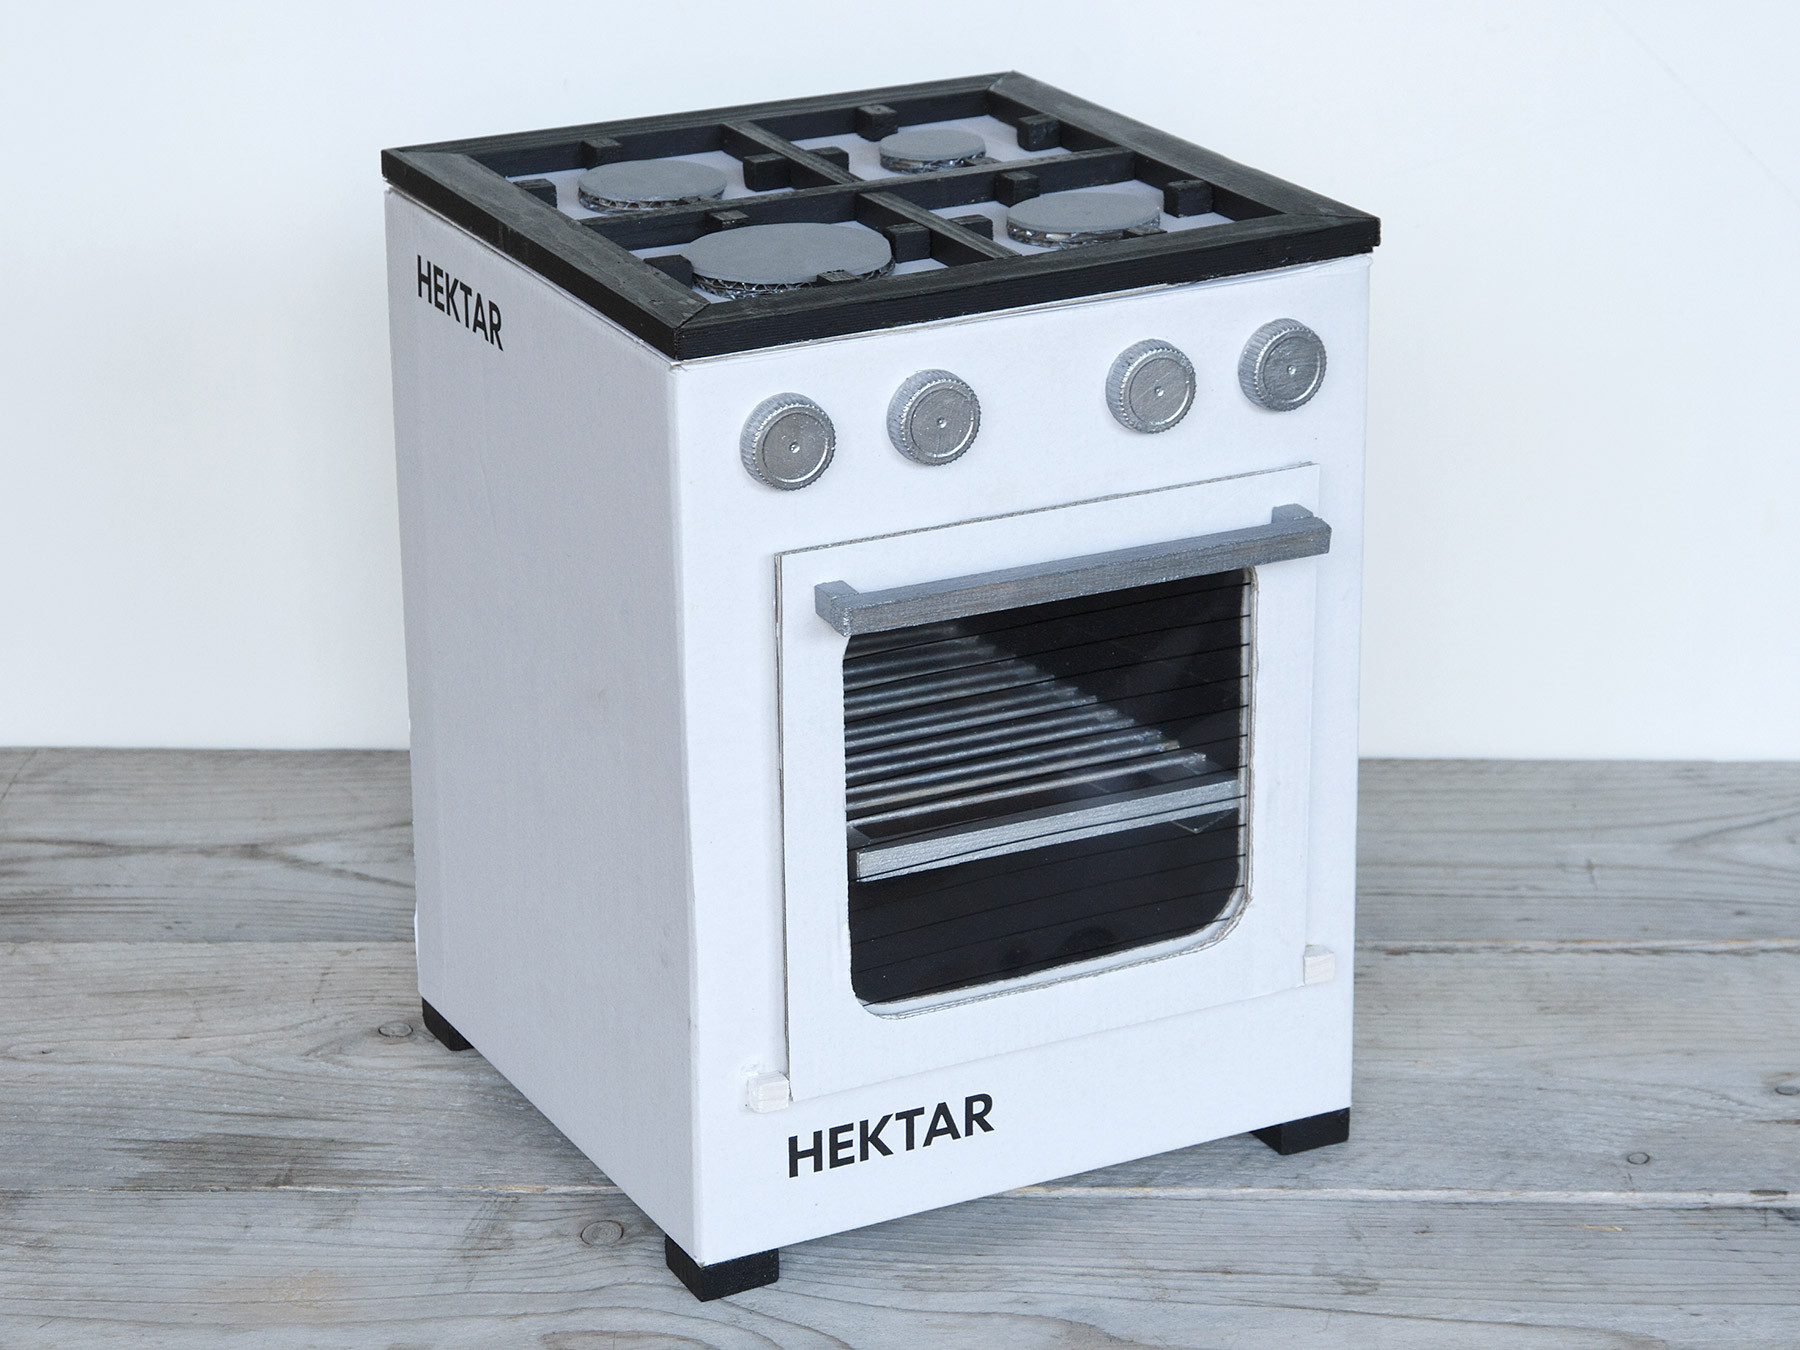
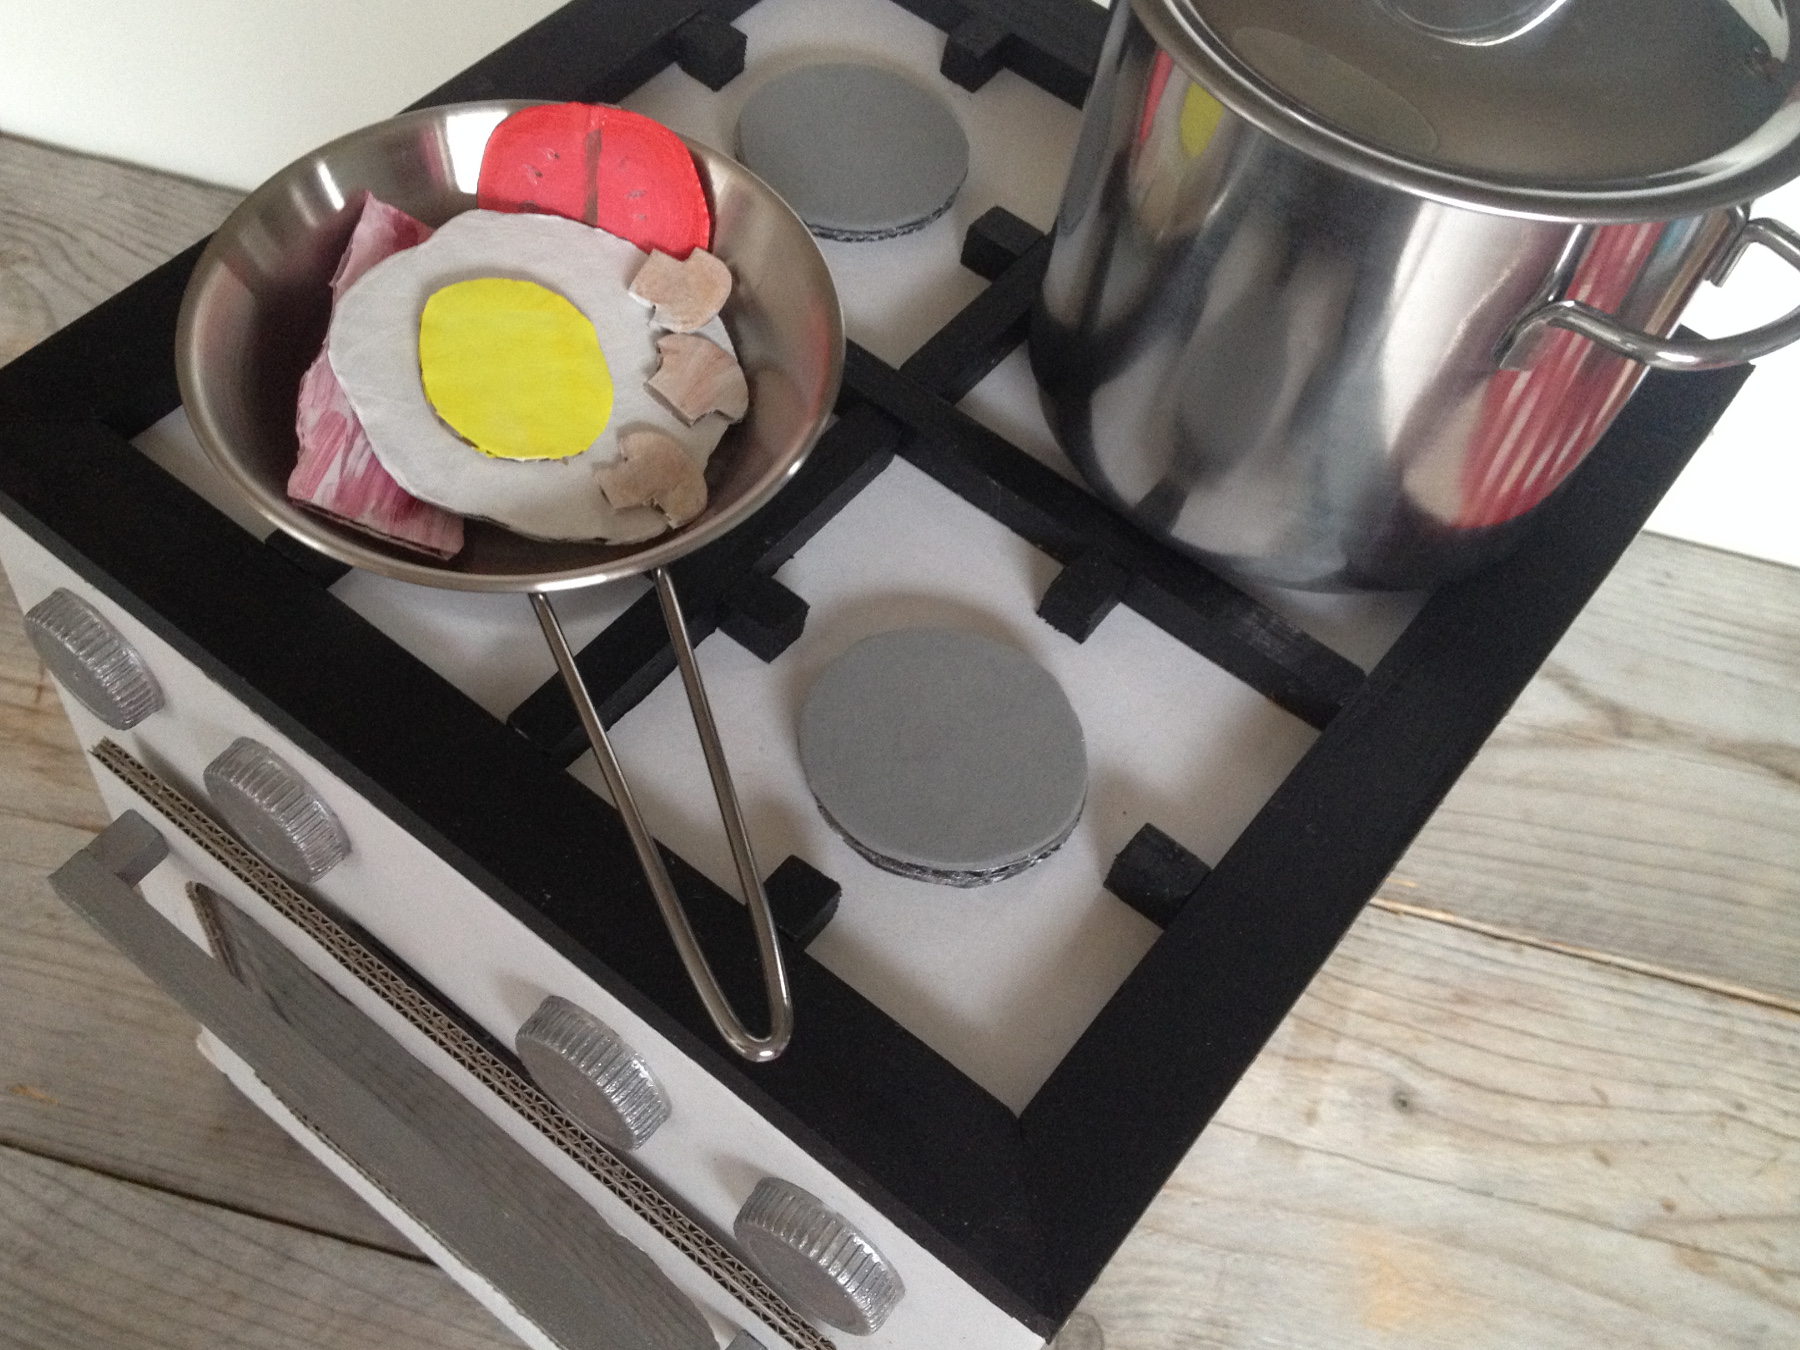
The stove is ready but we are not! We want to make an ovenrack and a baking tray. Some food the play with would be fun too. How to make it you see soon, on snazzie!