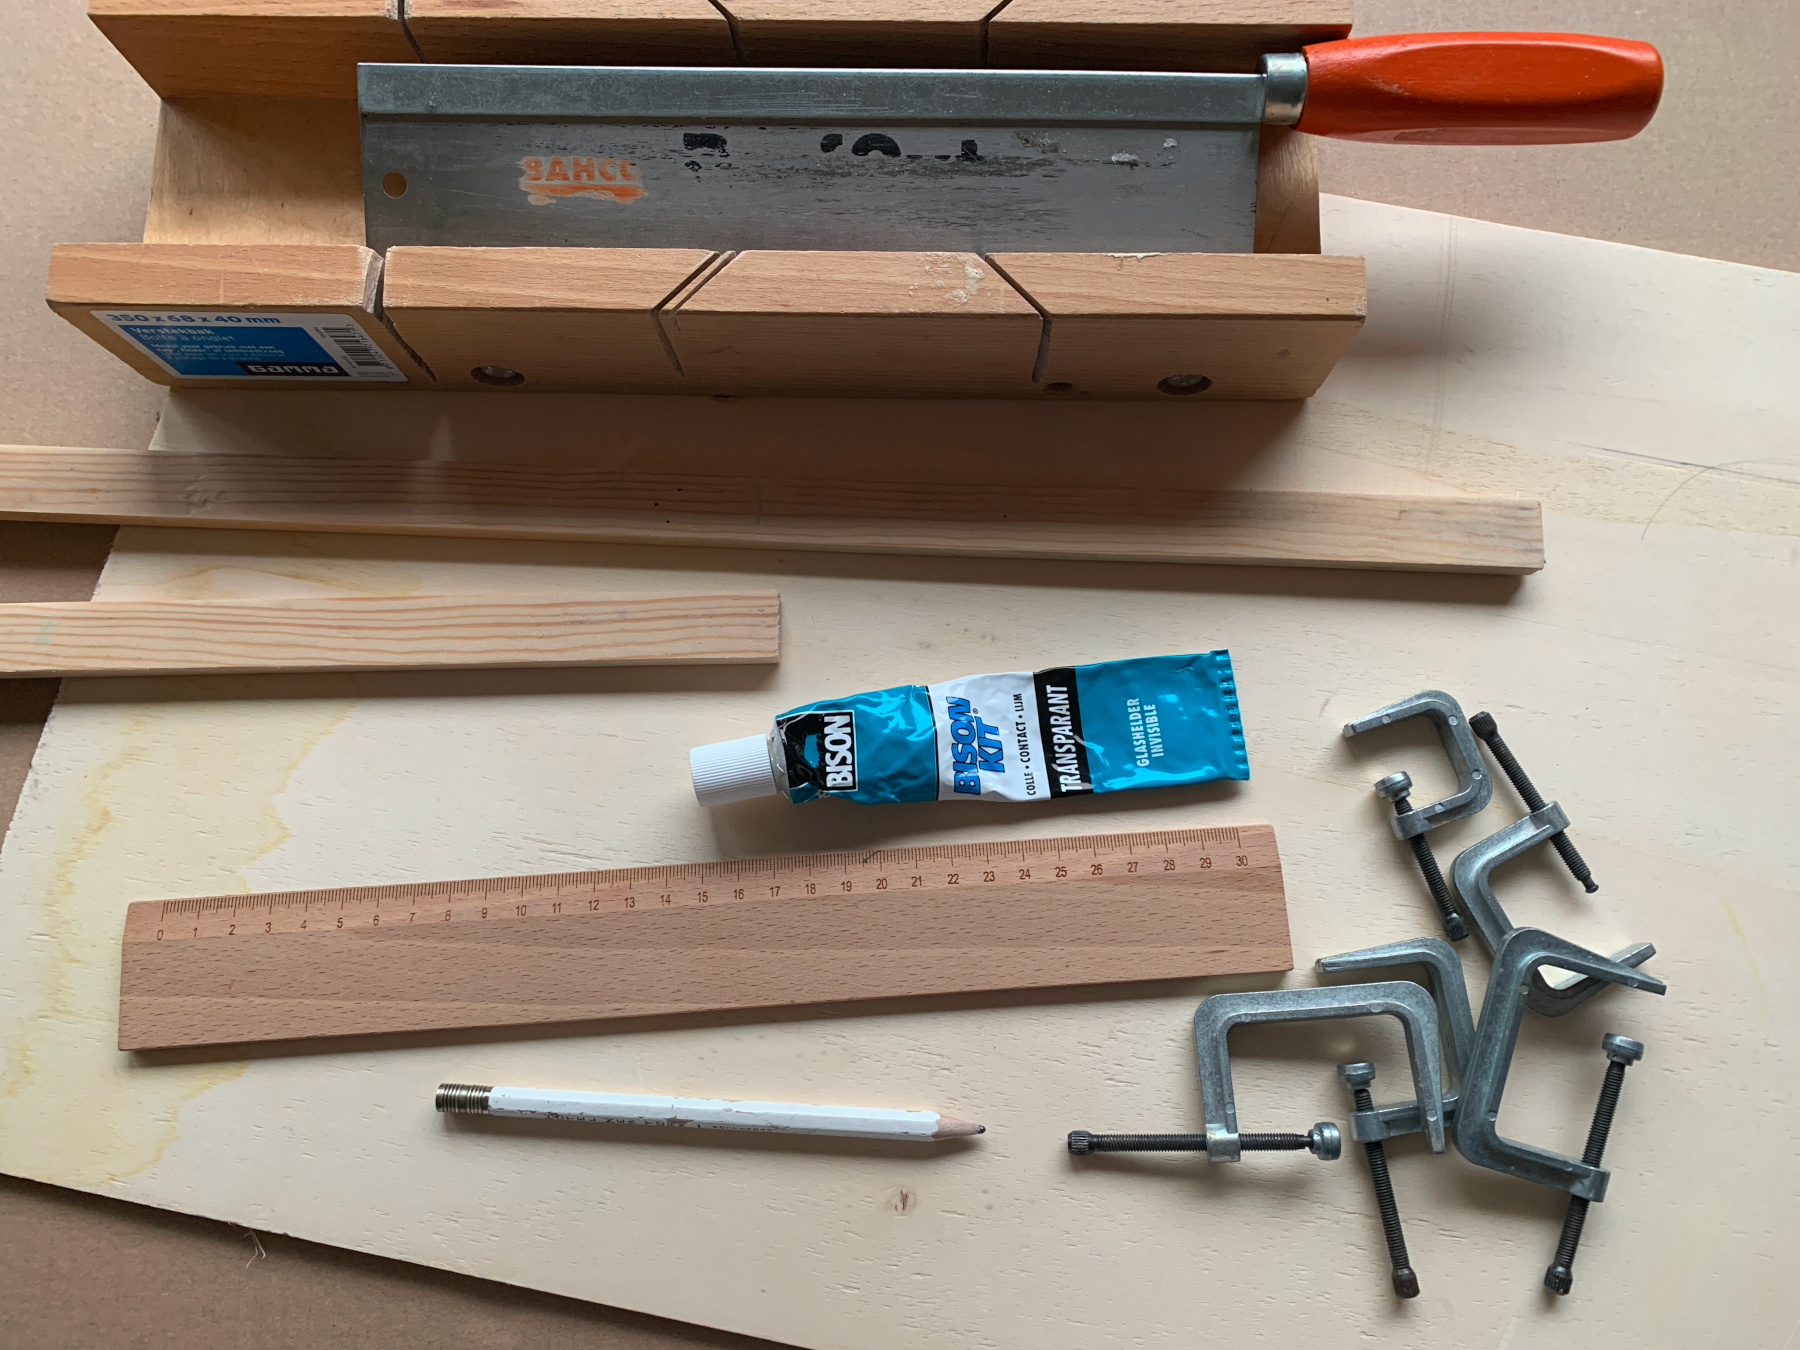
What do you need?
a piece of plywood measuring 20x20cm
a scroll saw
a long wooden slat of 20x10mm
a miter box and a chop saw
a jig saw
sandpaper
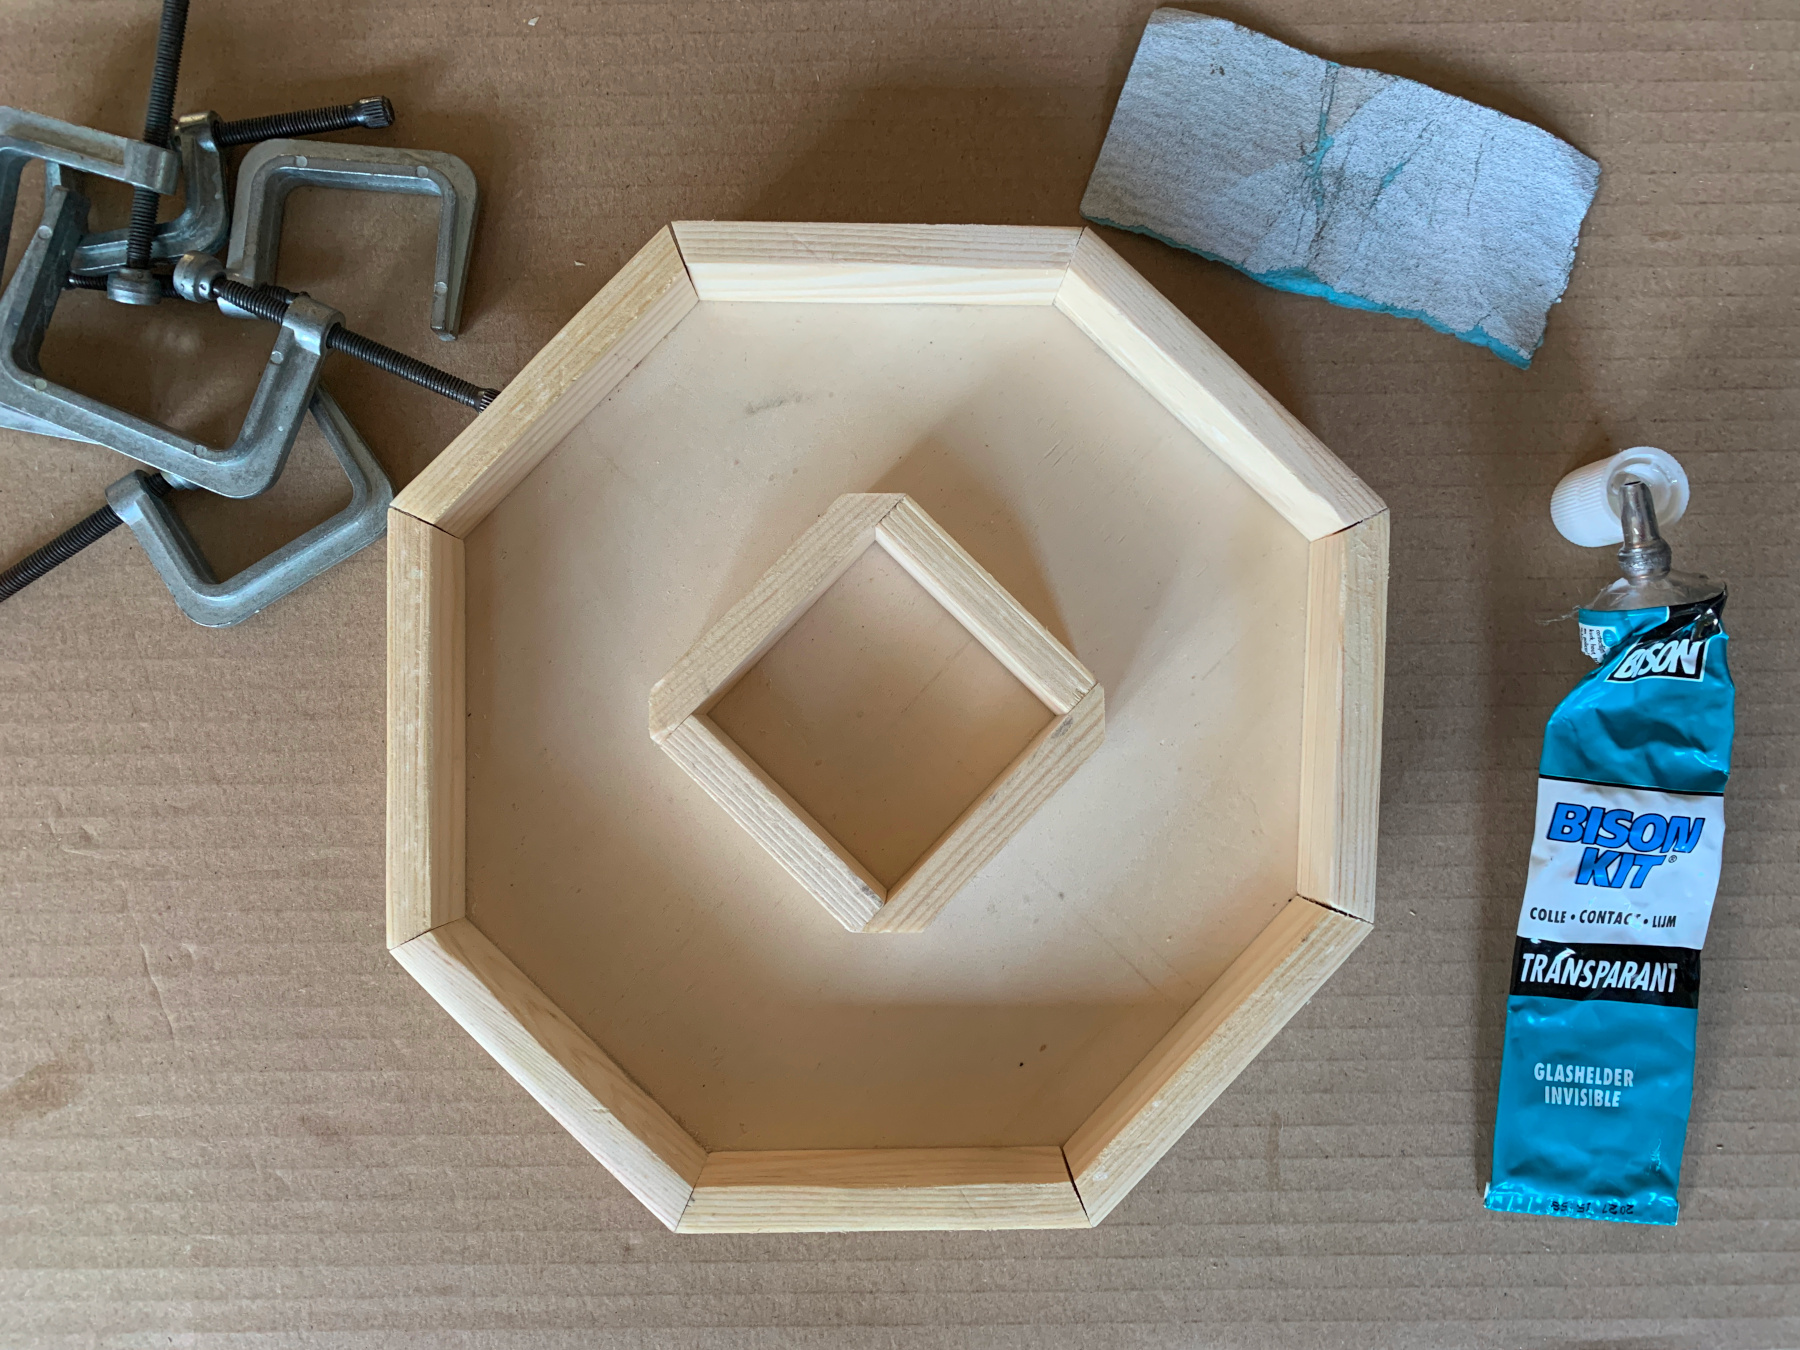
Bison glue
glue clamps
Optional:
colorless, matte varnish
a paintbrush
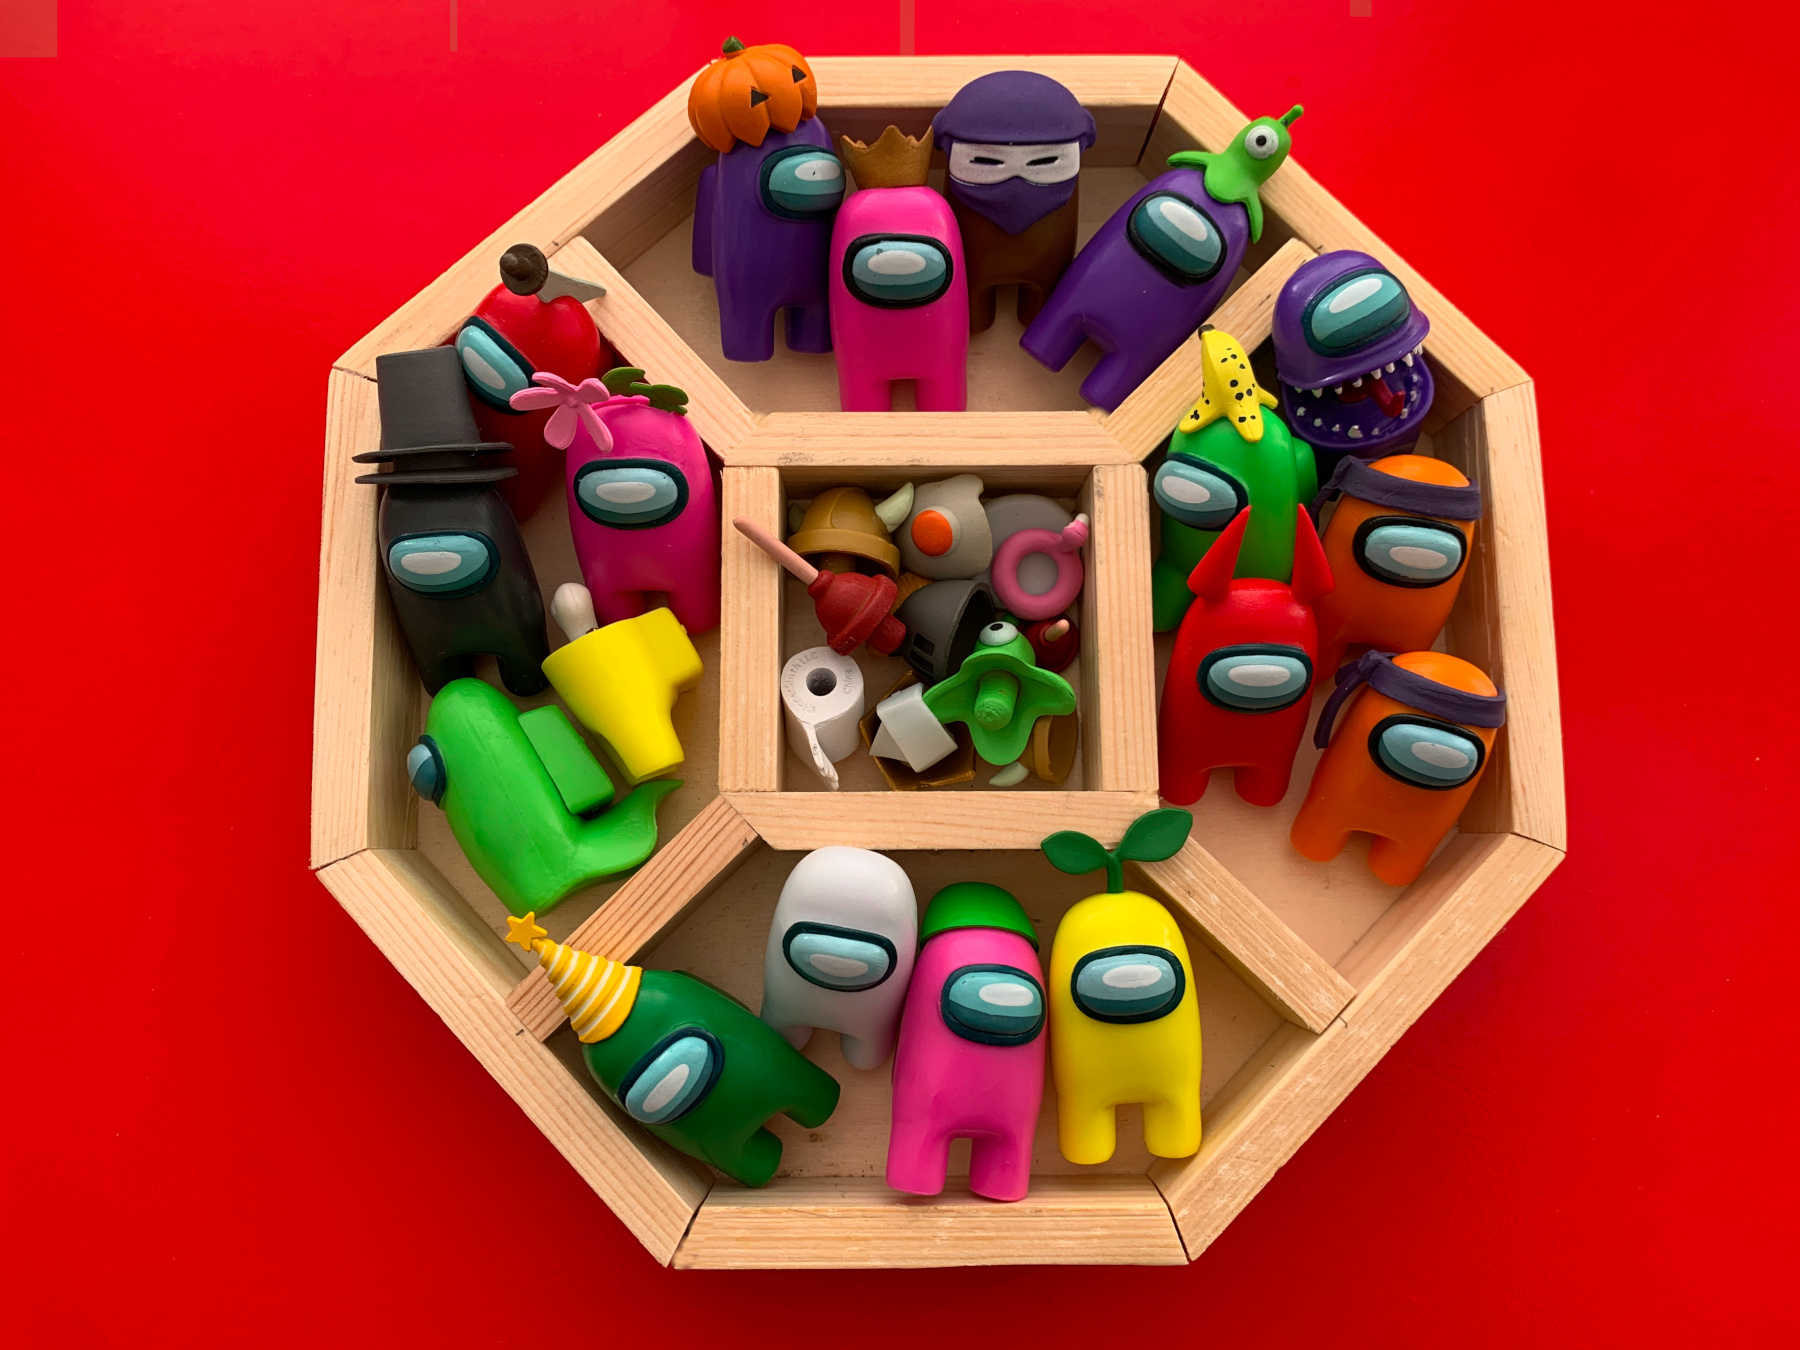
Today we are making our last, most beautiful and but also most difficult wooden sorting tray. The container is inspired by the honeycombs in the beehive. a special octagonal shape. The tray cannot be completely sawn by hand. The outer edge must fit exactly and a jigsaw is required for this. So if your mom or dad has one and can saw well, then you're in the right place! This is how you make a bee box
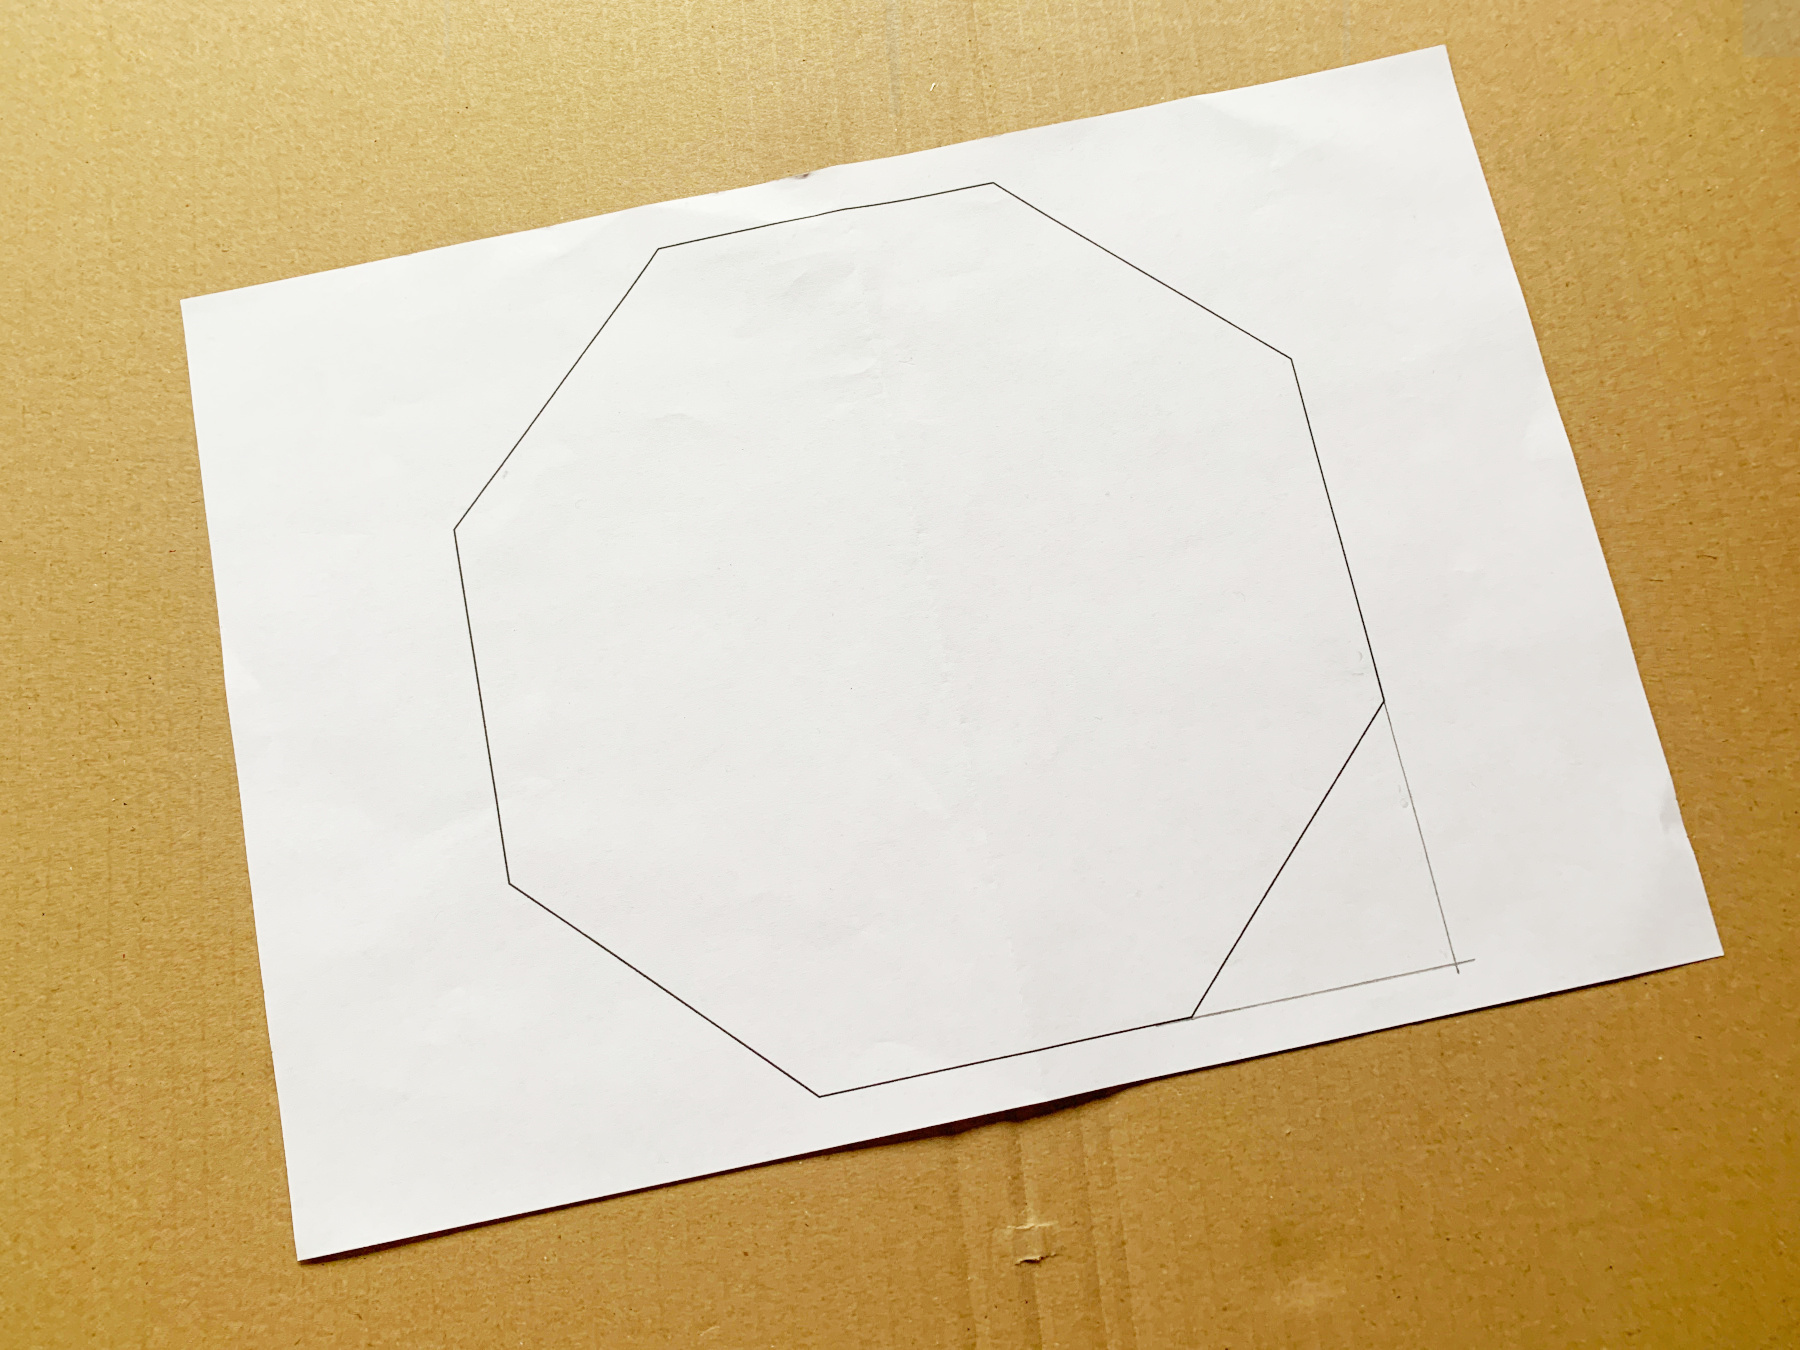
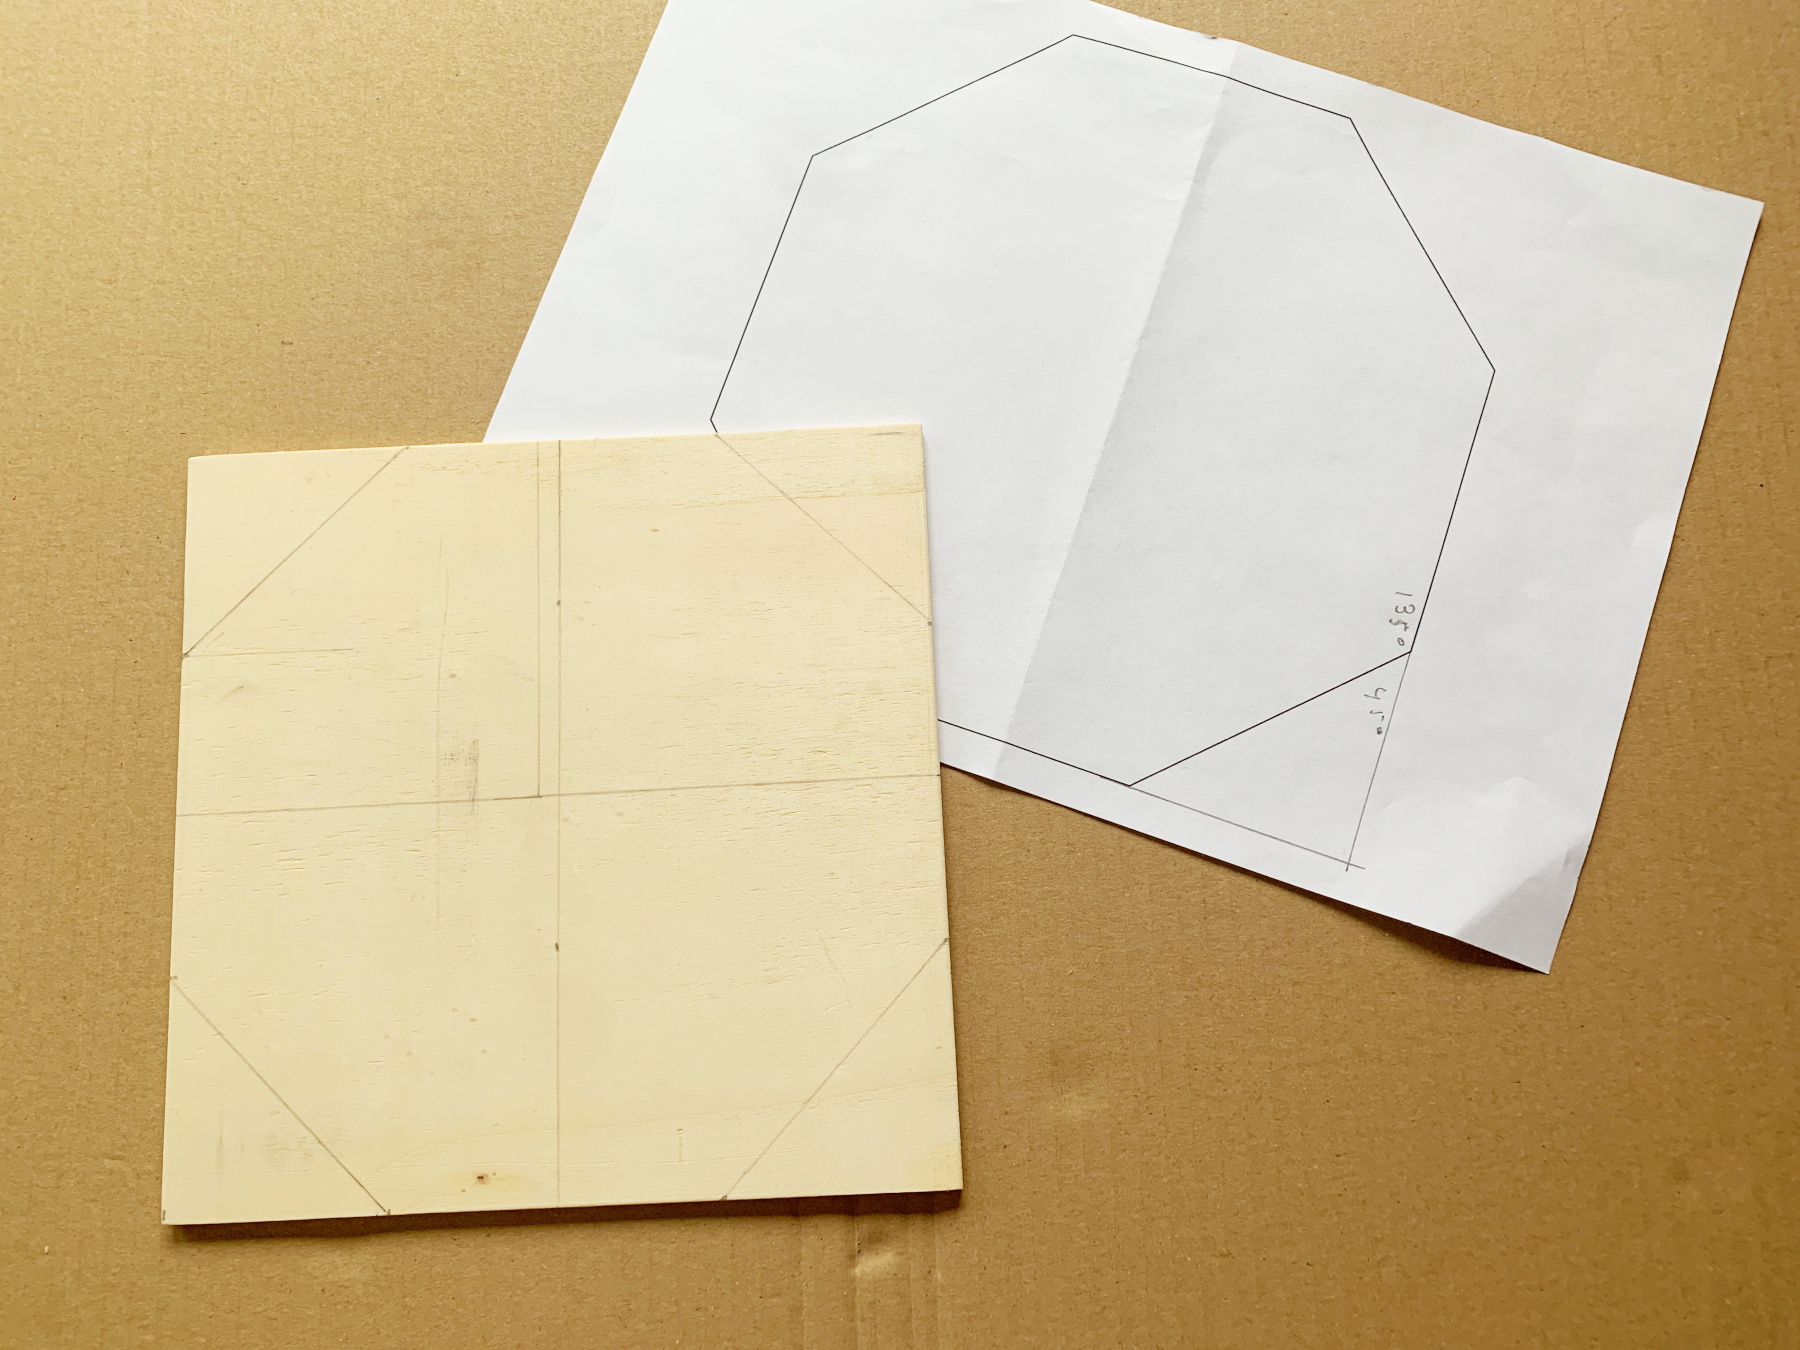
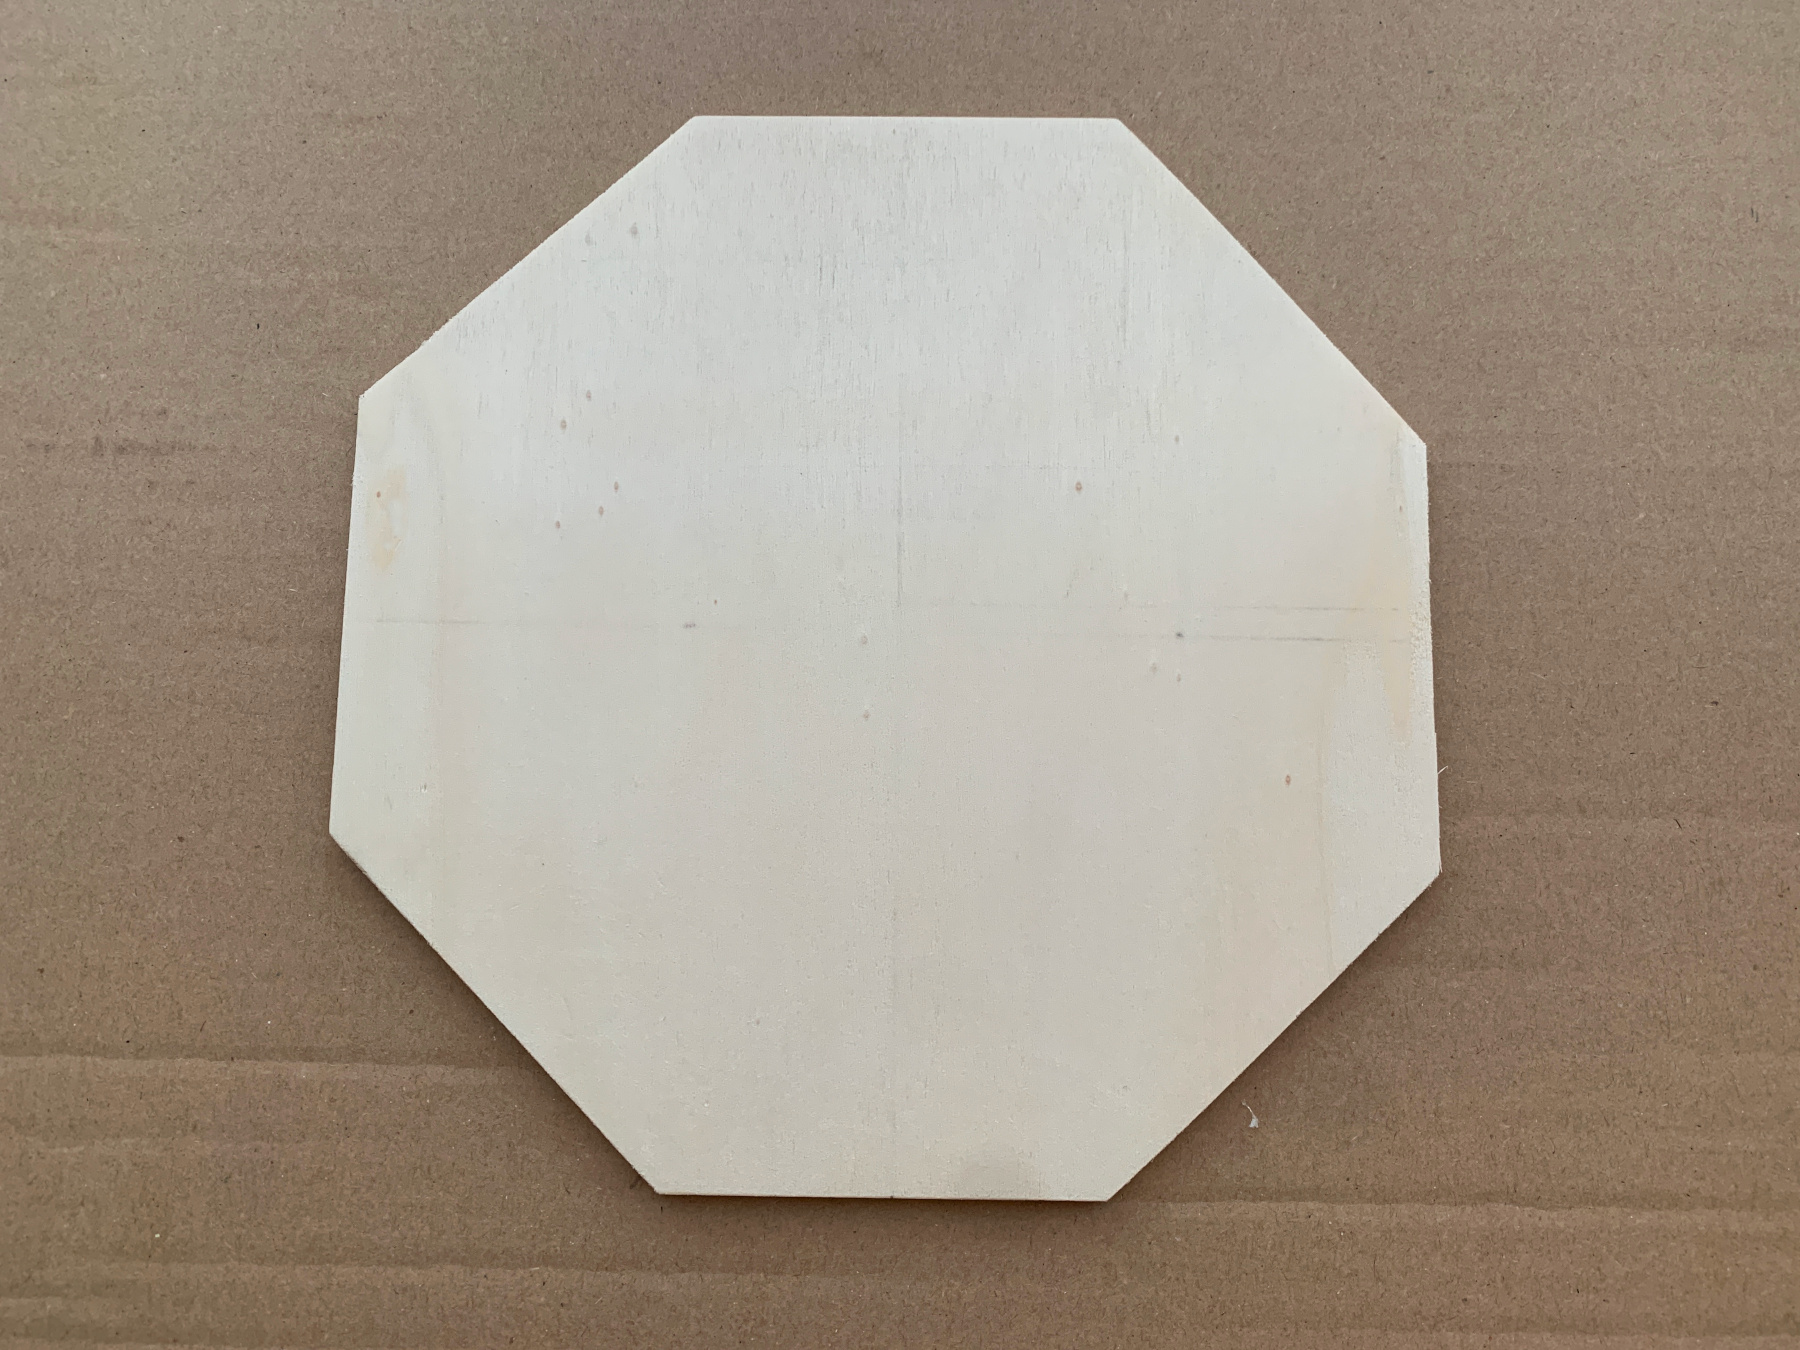
Print the template which includes the measurements.
Neatly saw out the octogonal bottom of the tray..
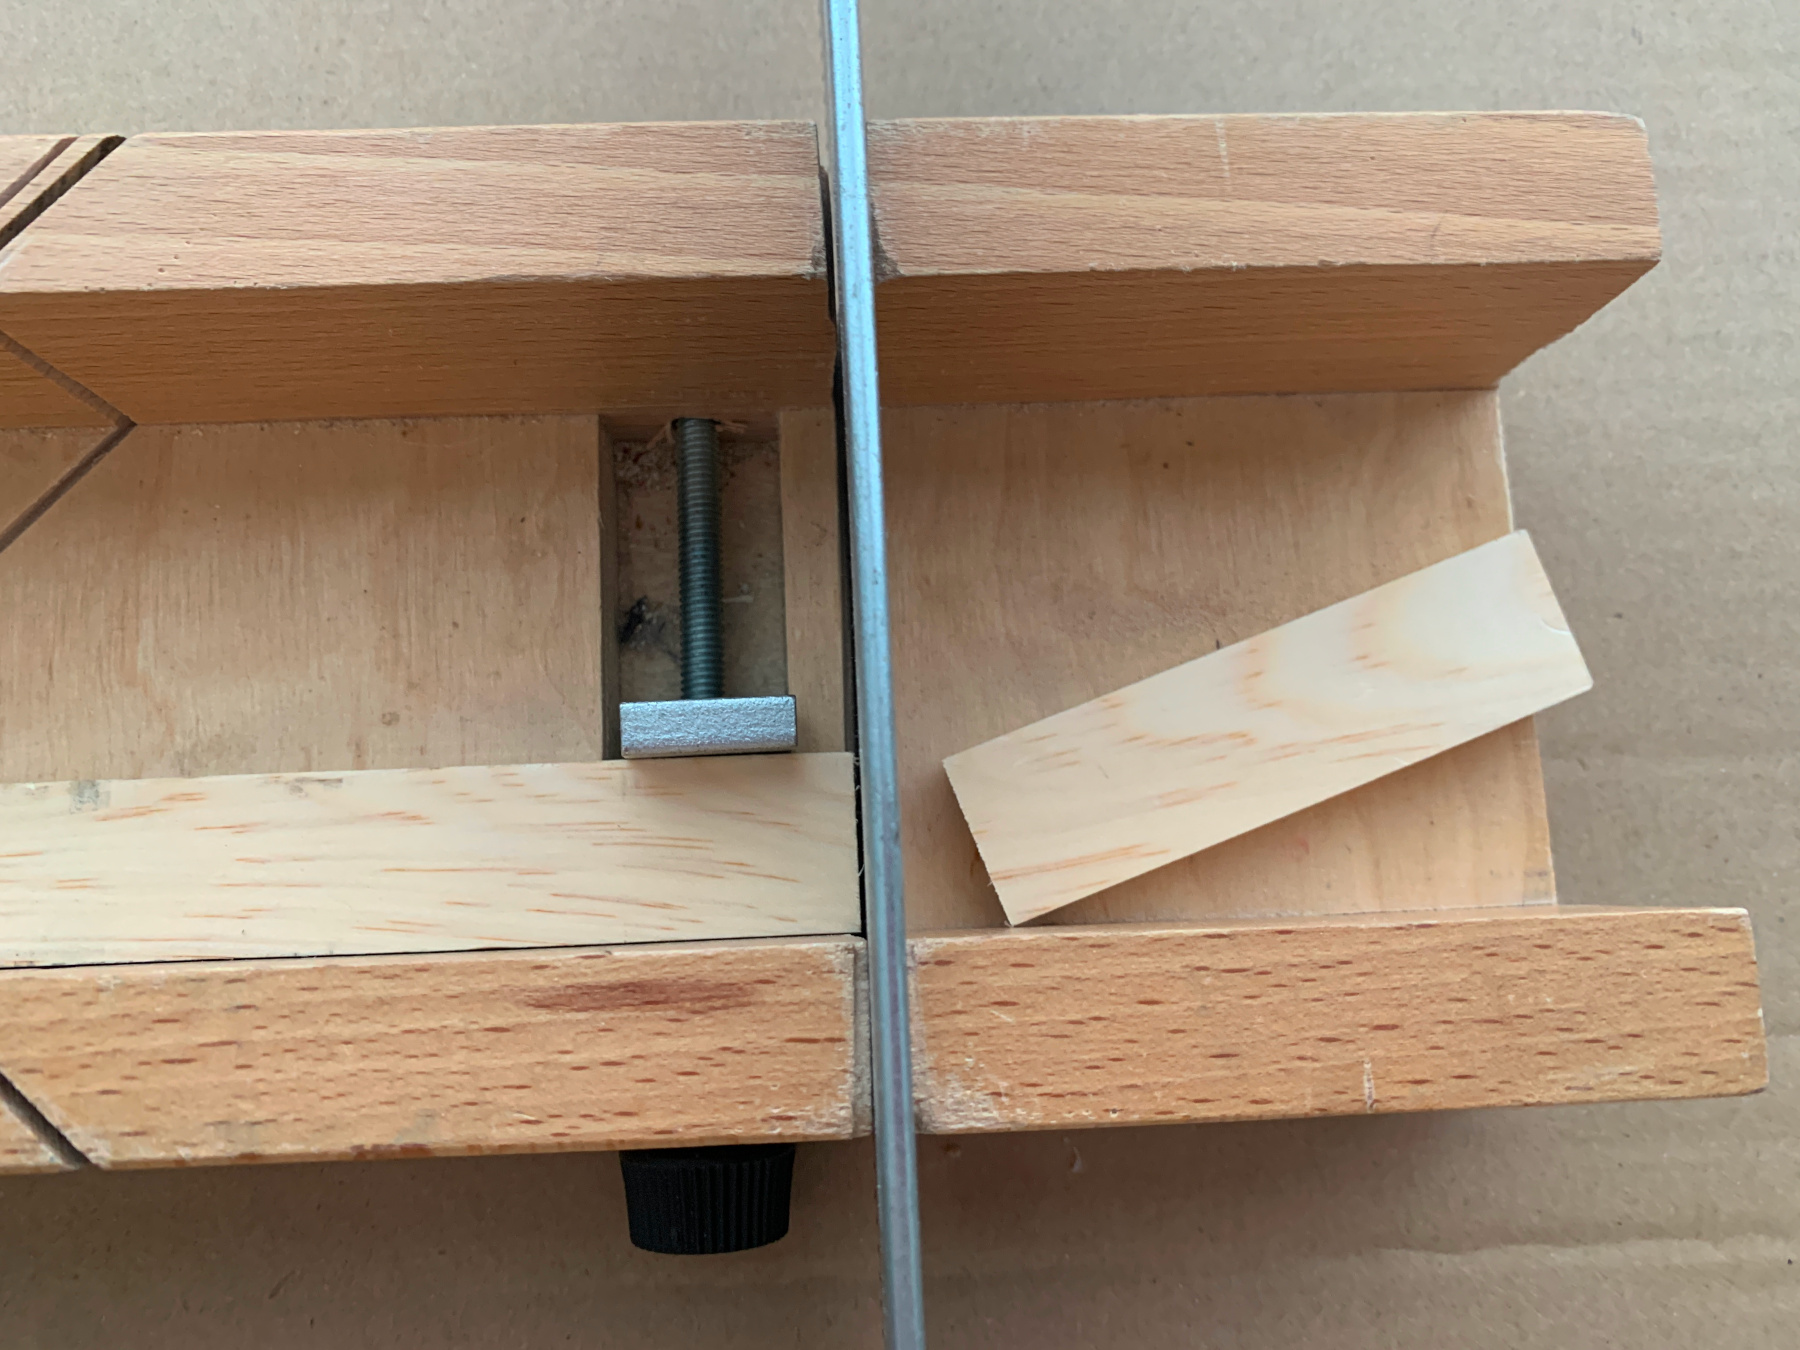
Saw off 8 slats of 9cm length straight, as well.
So far it's not difficult, we've done this before. You can easily saw the bottom with a scroll saw, the slats can be sawn in the miter box, neatly straight.
But, the slats have to match each other to get a beehive shape and you really need a mom or dad for that (a neighbor or his wife is also great!), with a jigsaw.

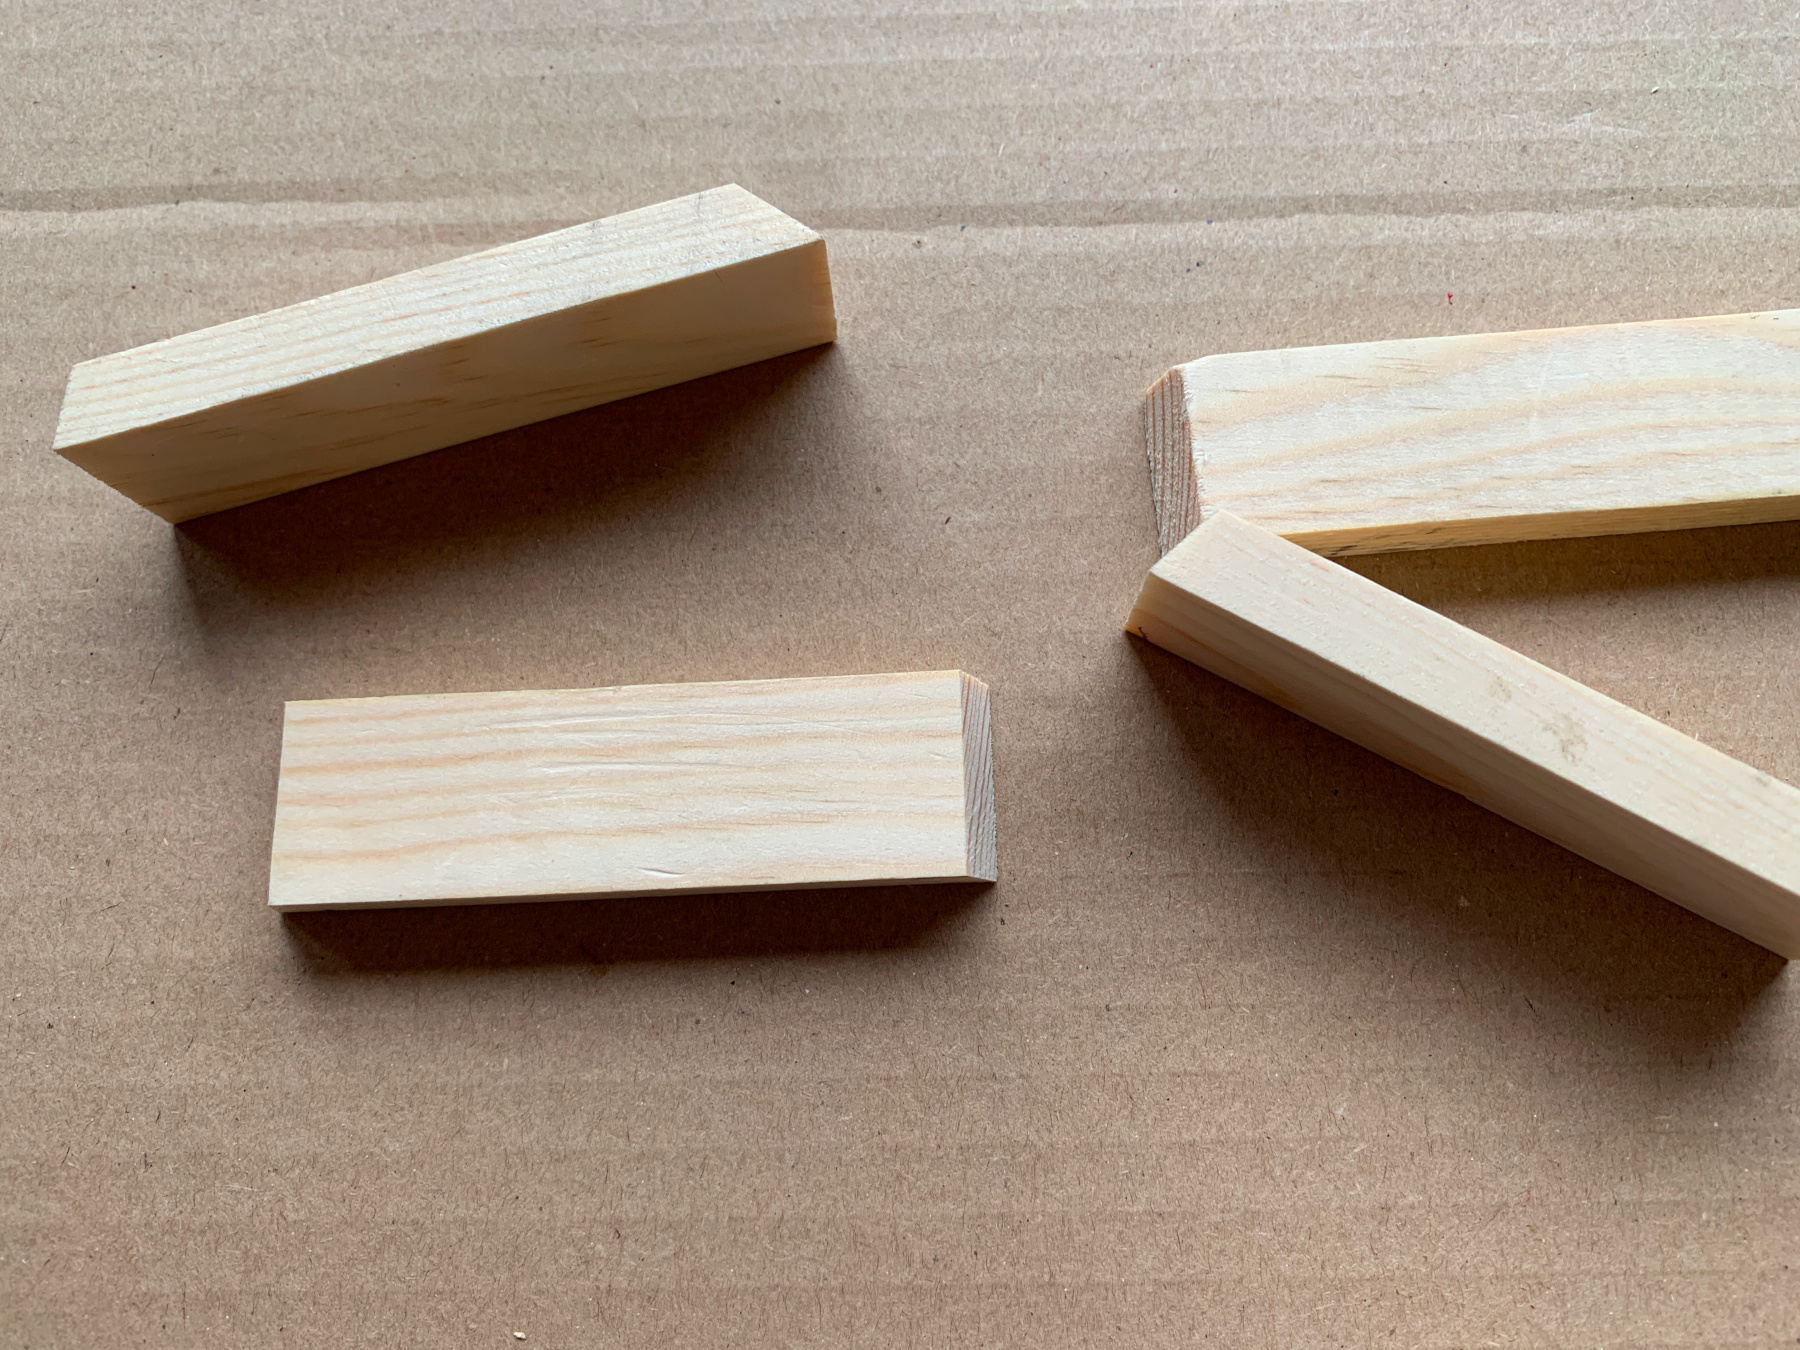
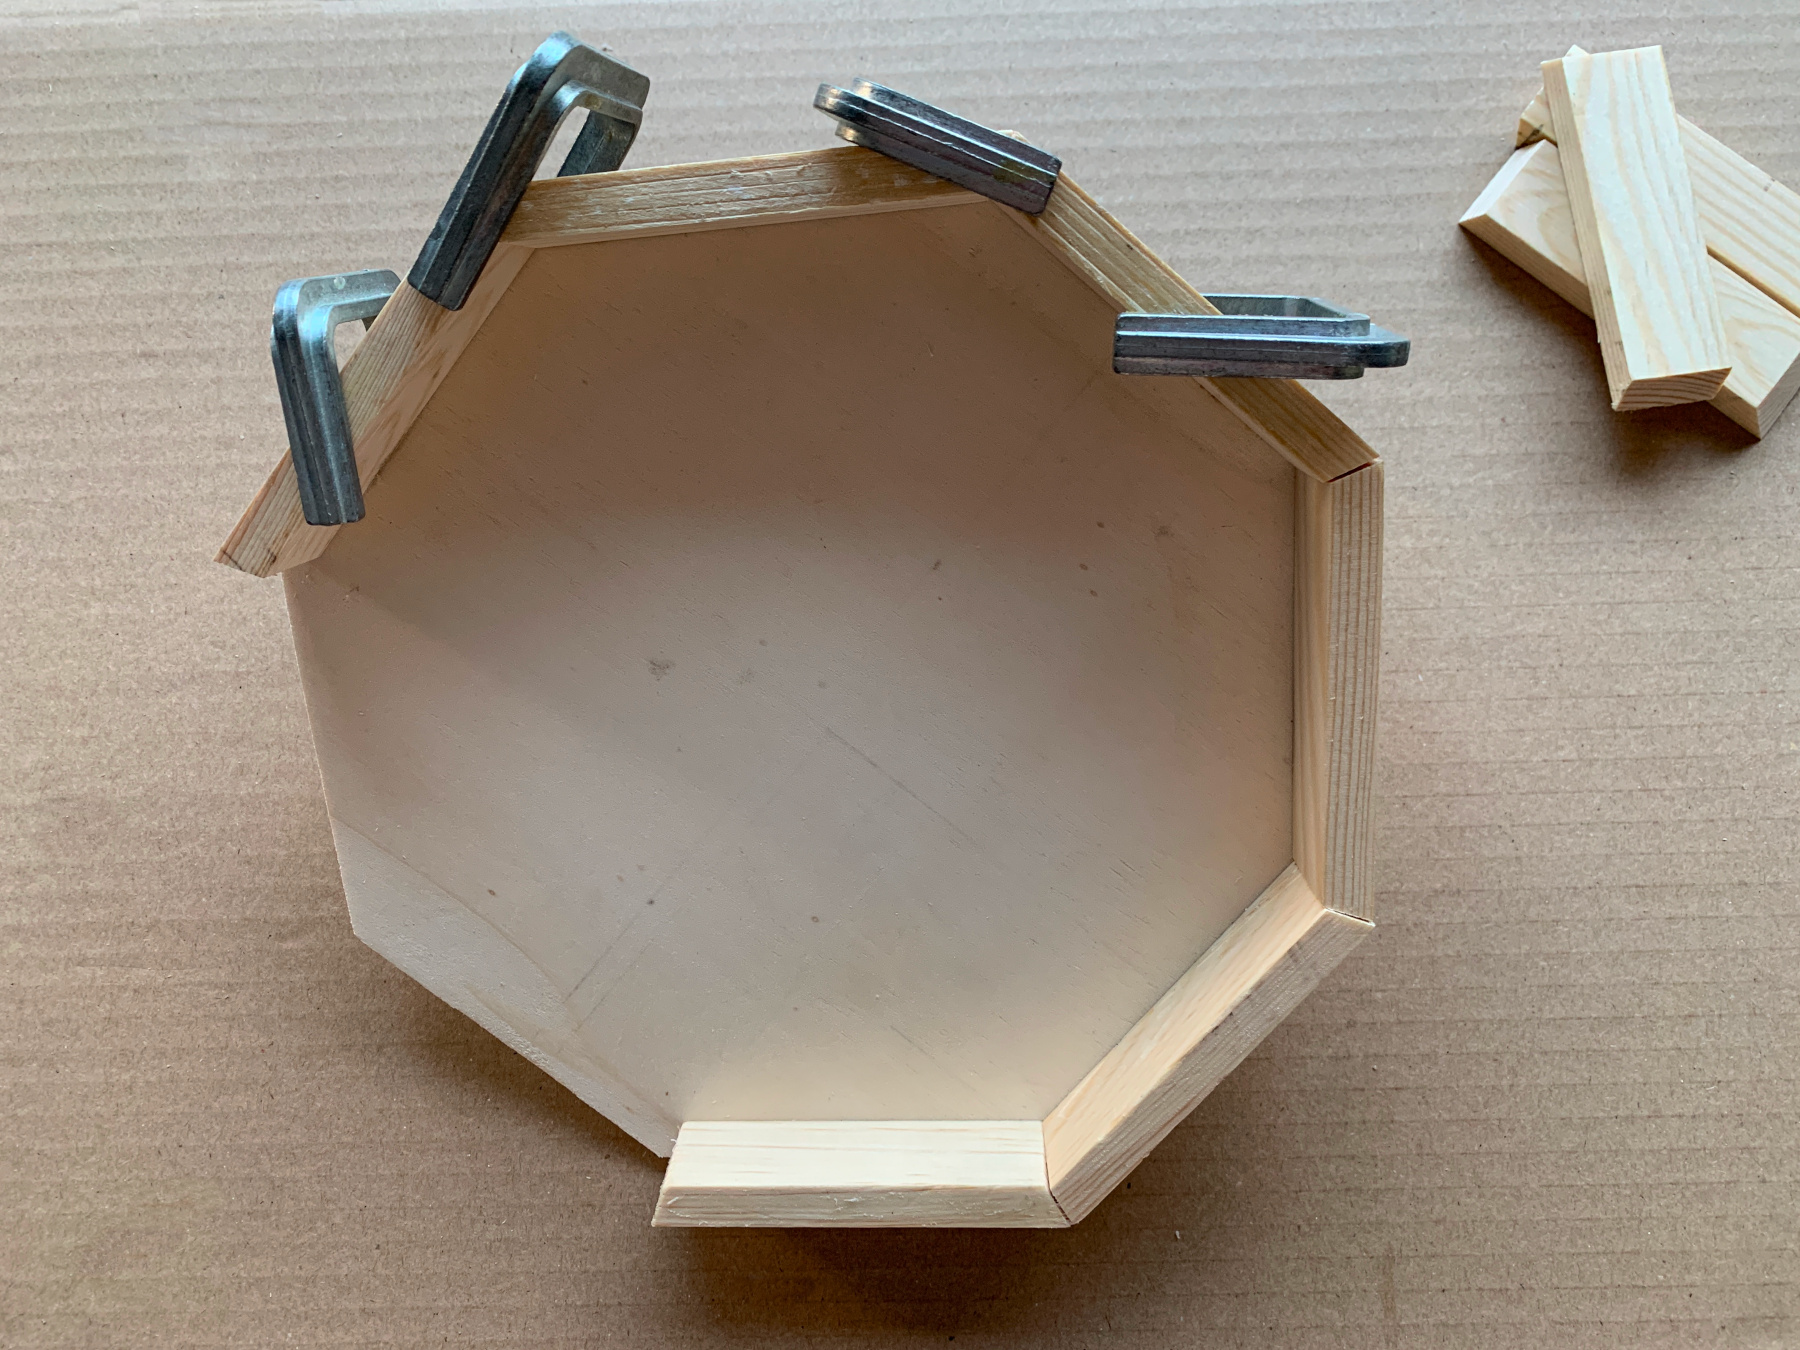
The tray is complete, except for sawing off the ends!
The sawn off ends in close up, saw all 8 on both sides like this like you see here.
Sand the sawed off ends nice and smooth, then they will fit together properly.
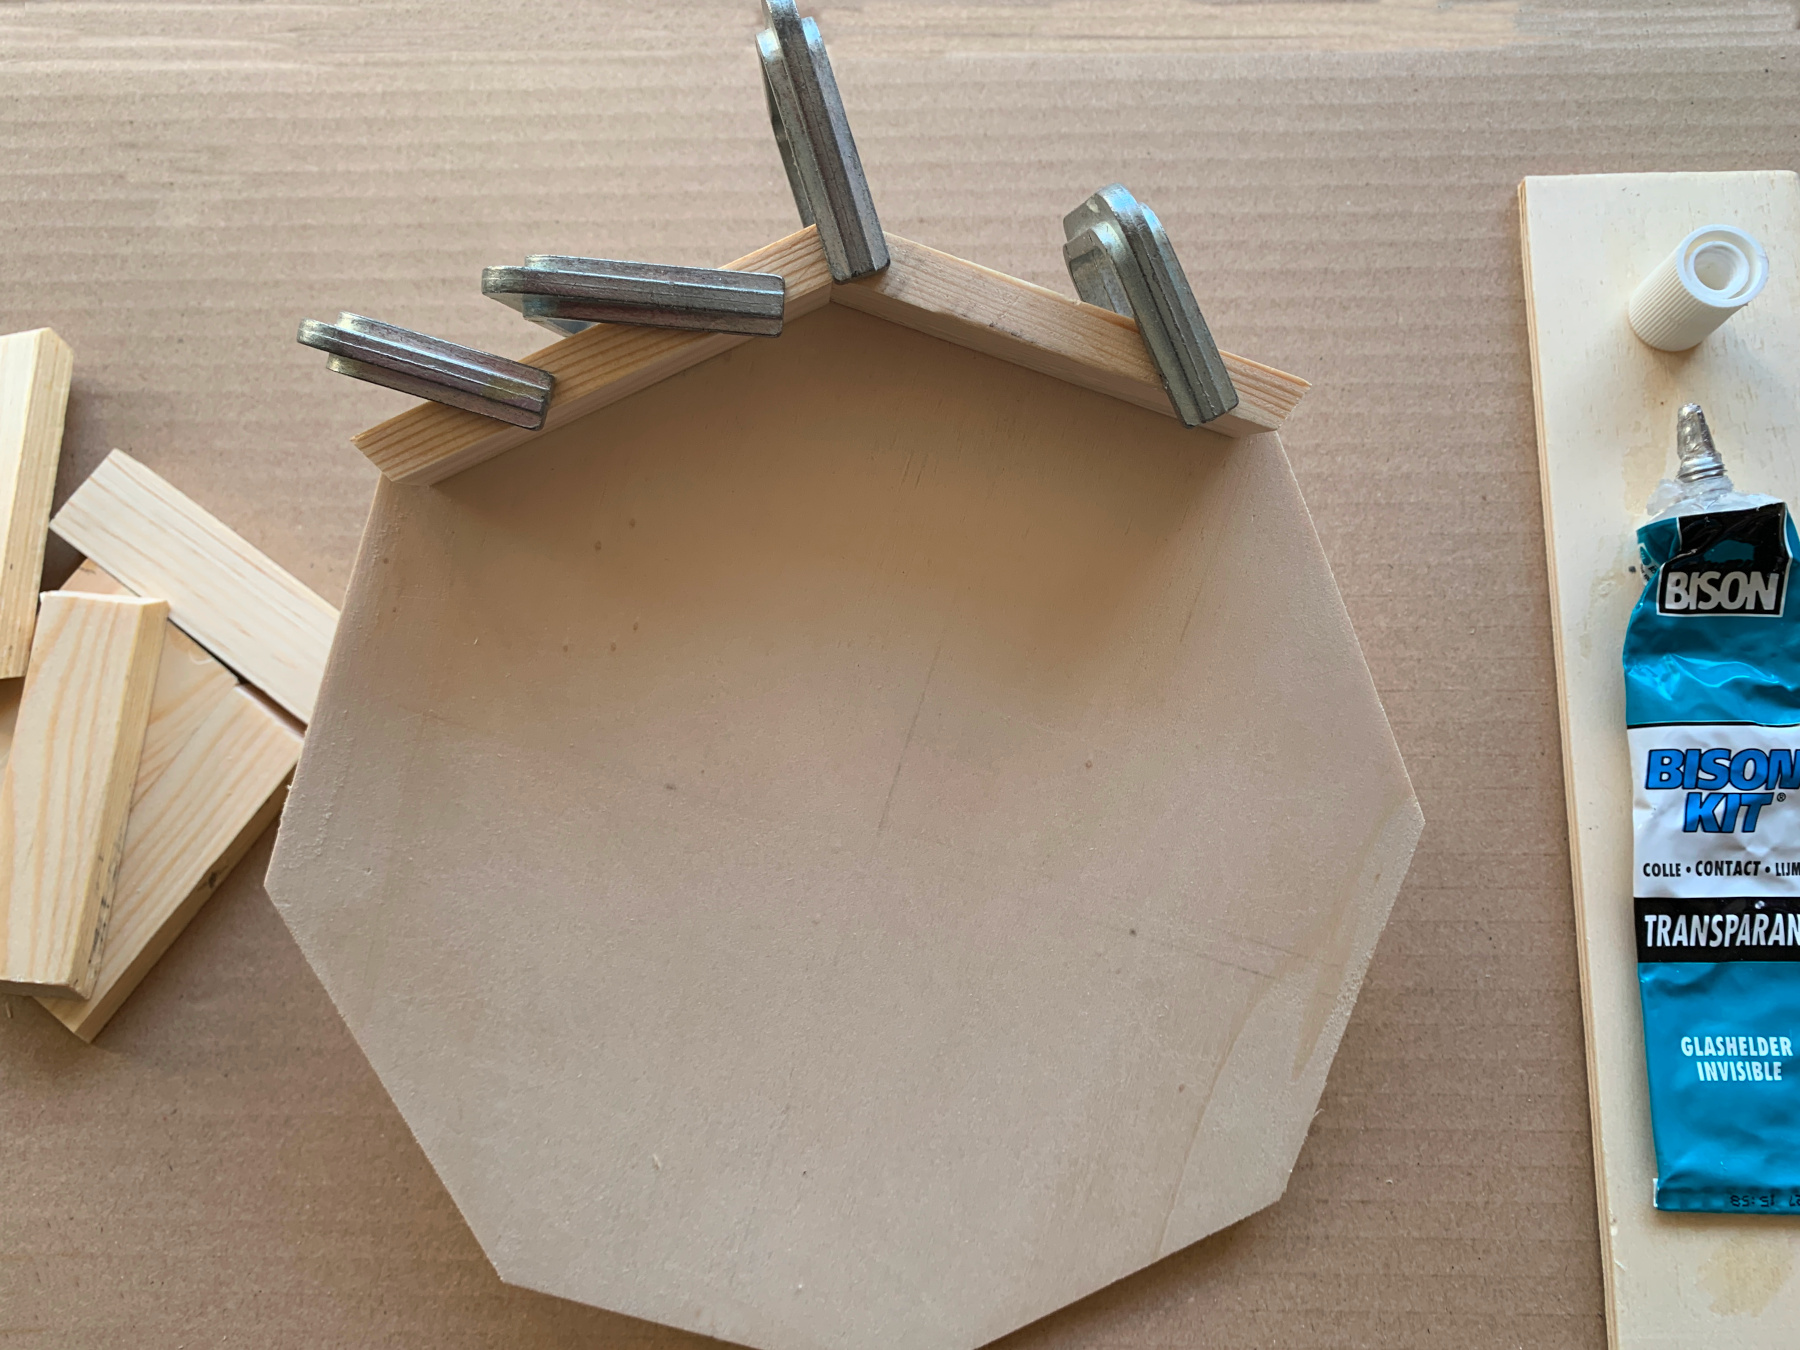
Stick on two pieces and let the glue dry.
Keep going until all the 8 parts are glued on.
While the glue on your tray is drying, you saw the interior.
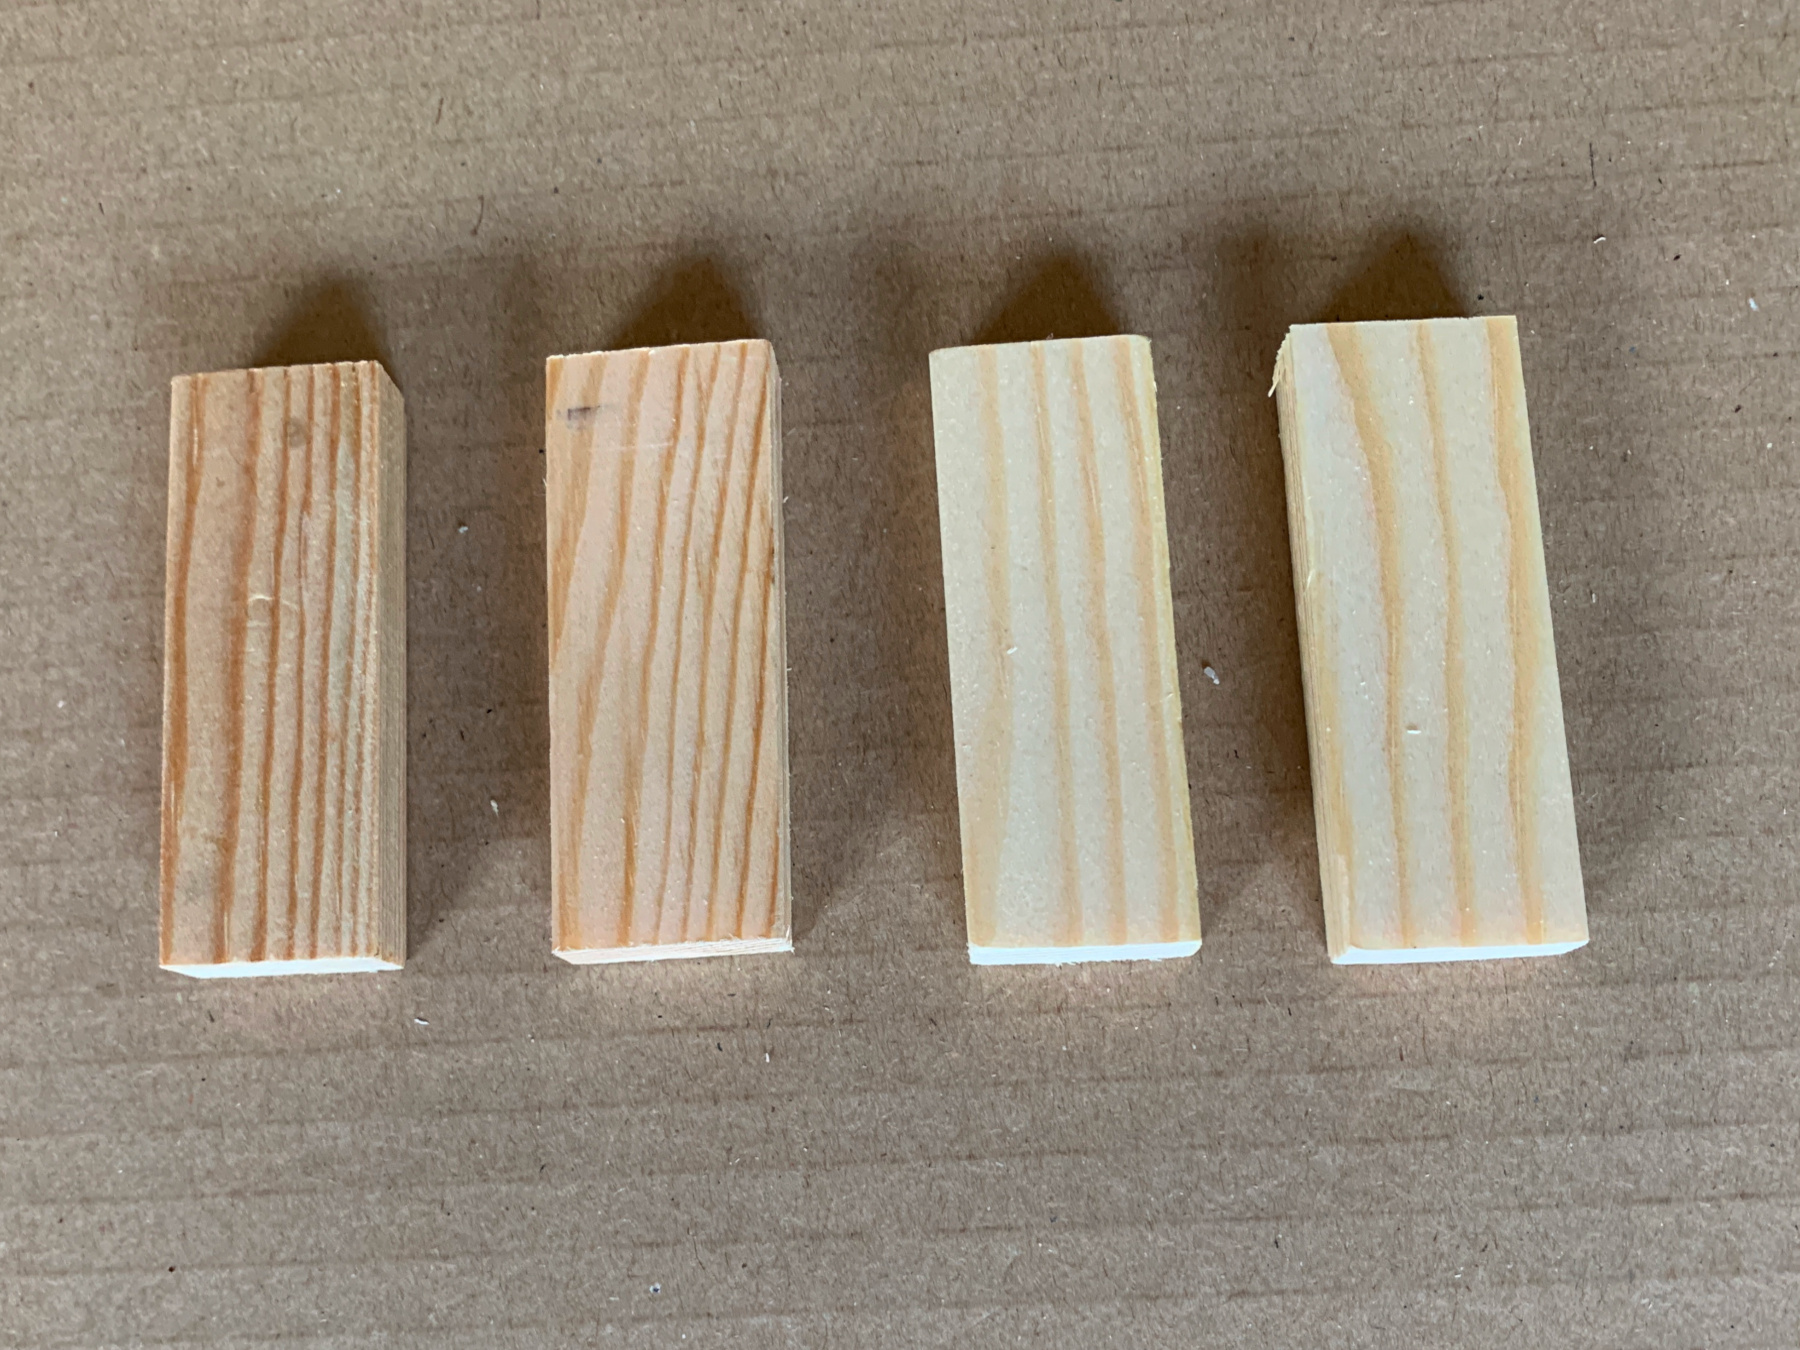
Saw 4 straight pieces, glue them in a square.
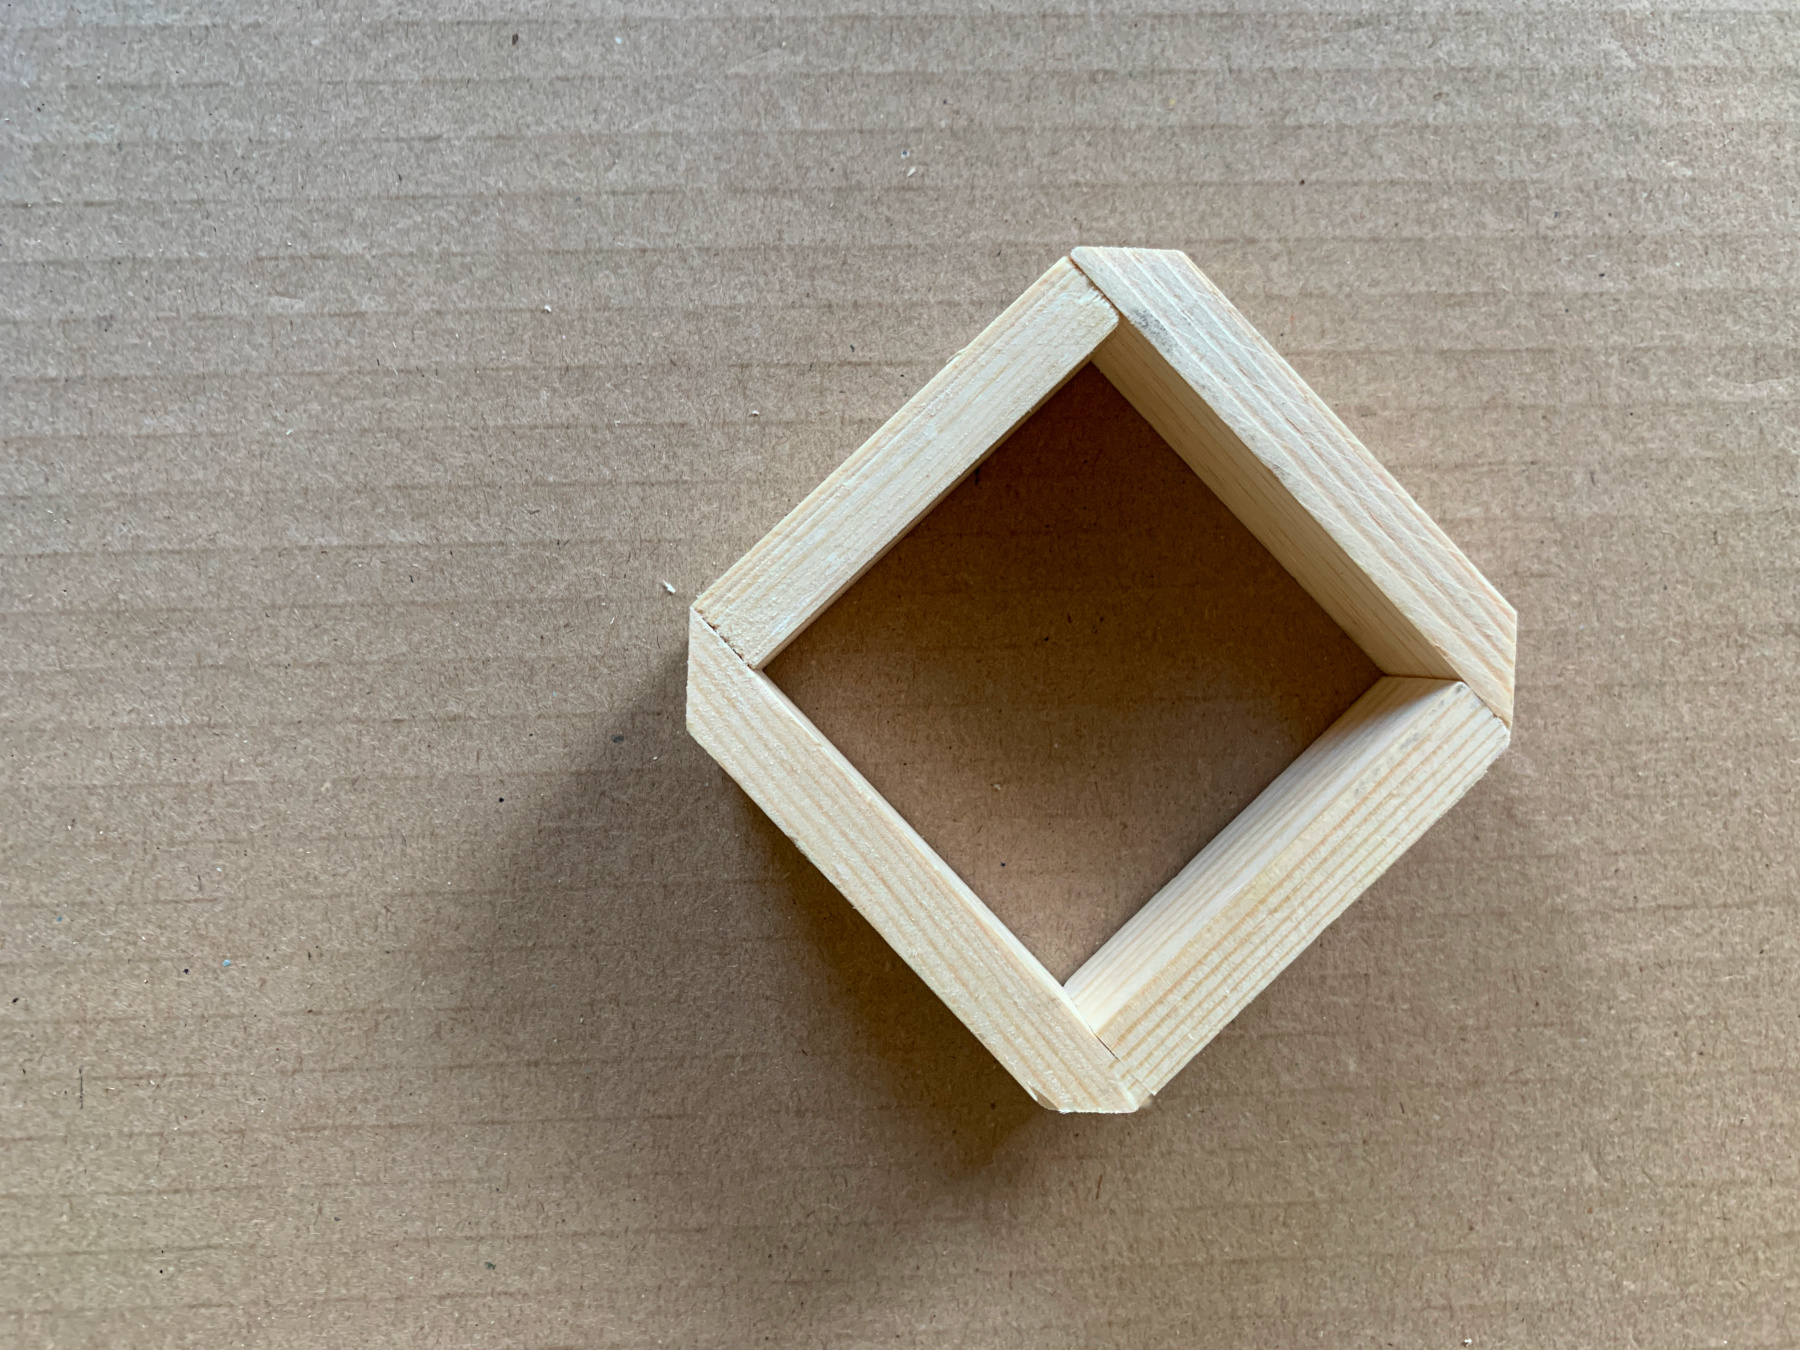
Saw off a corner from every side.
Stick the cube in the middle.
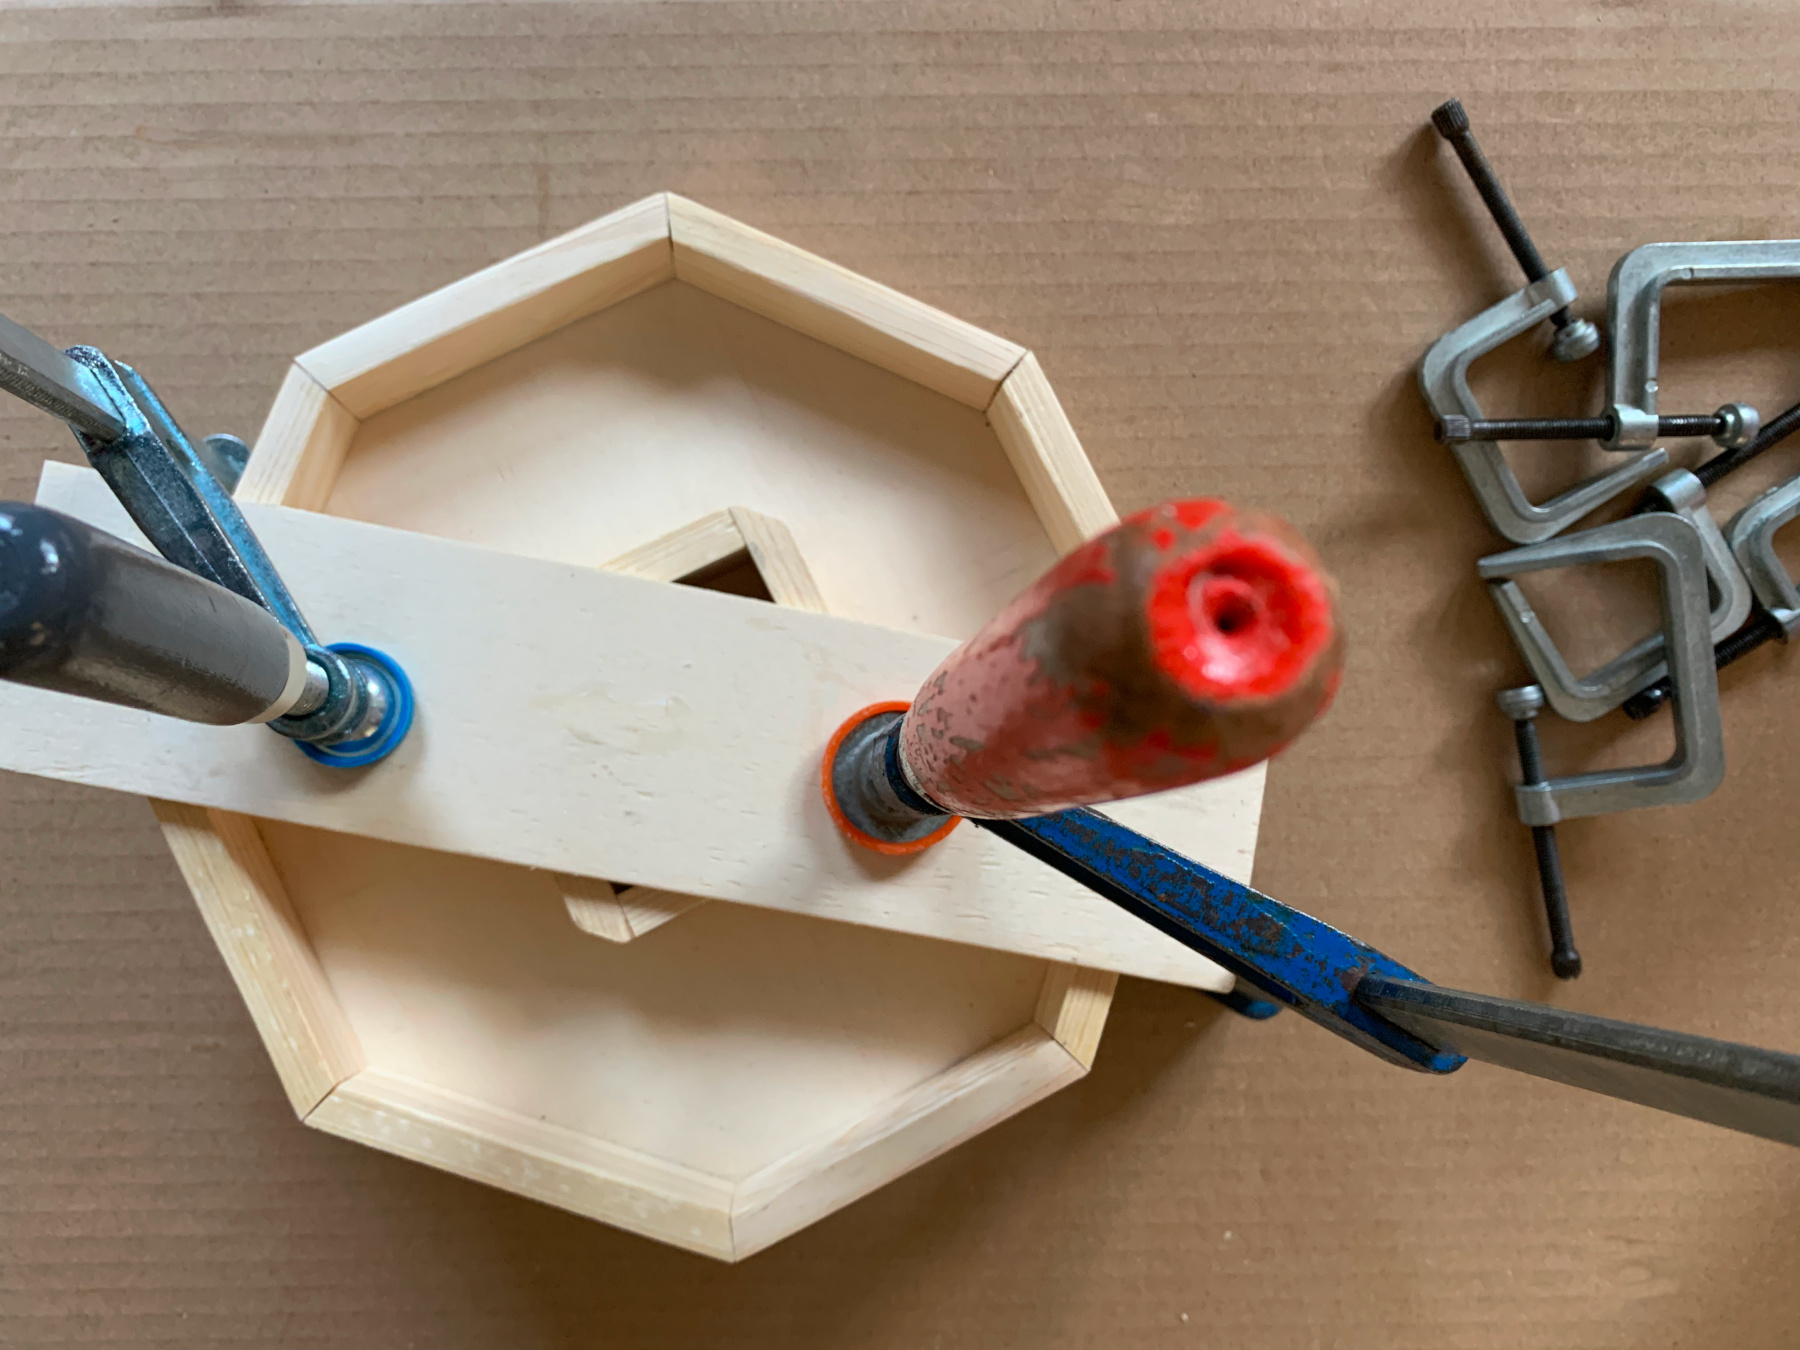
Let the glue dry with the glue clamps on.
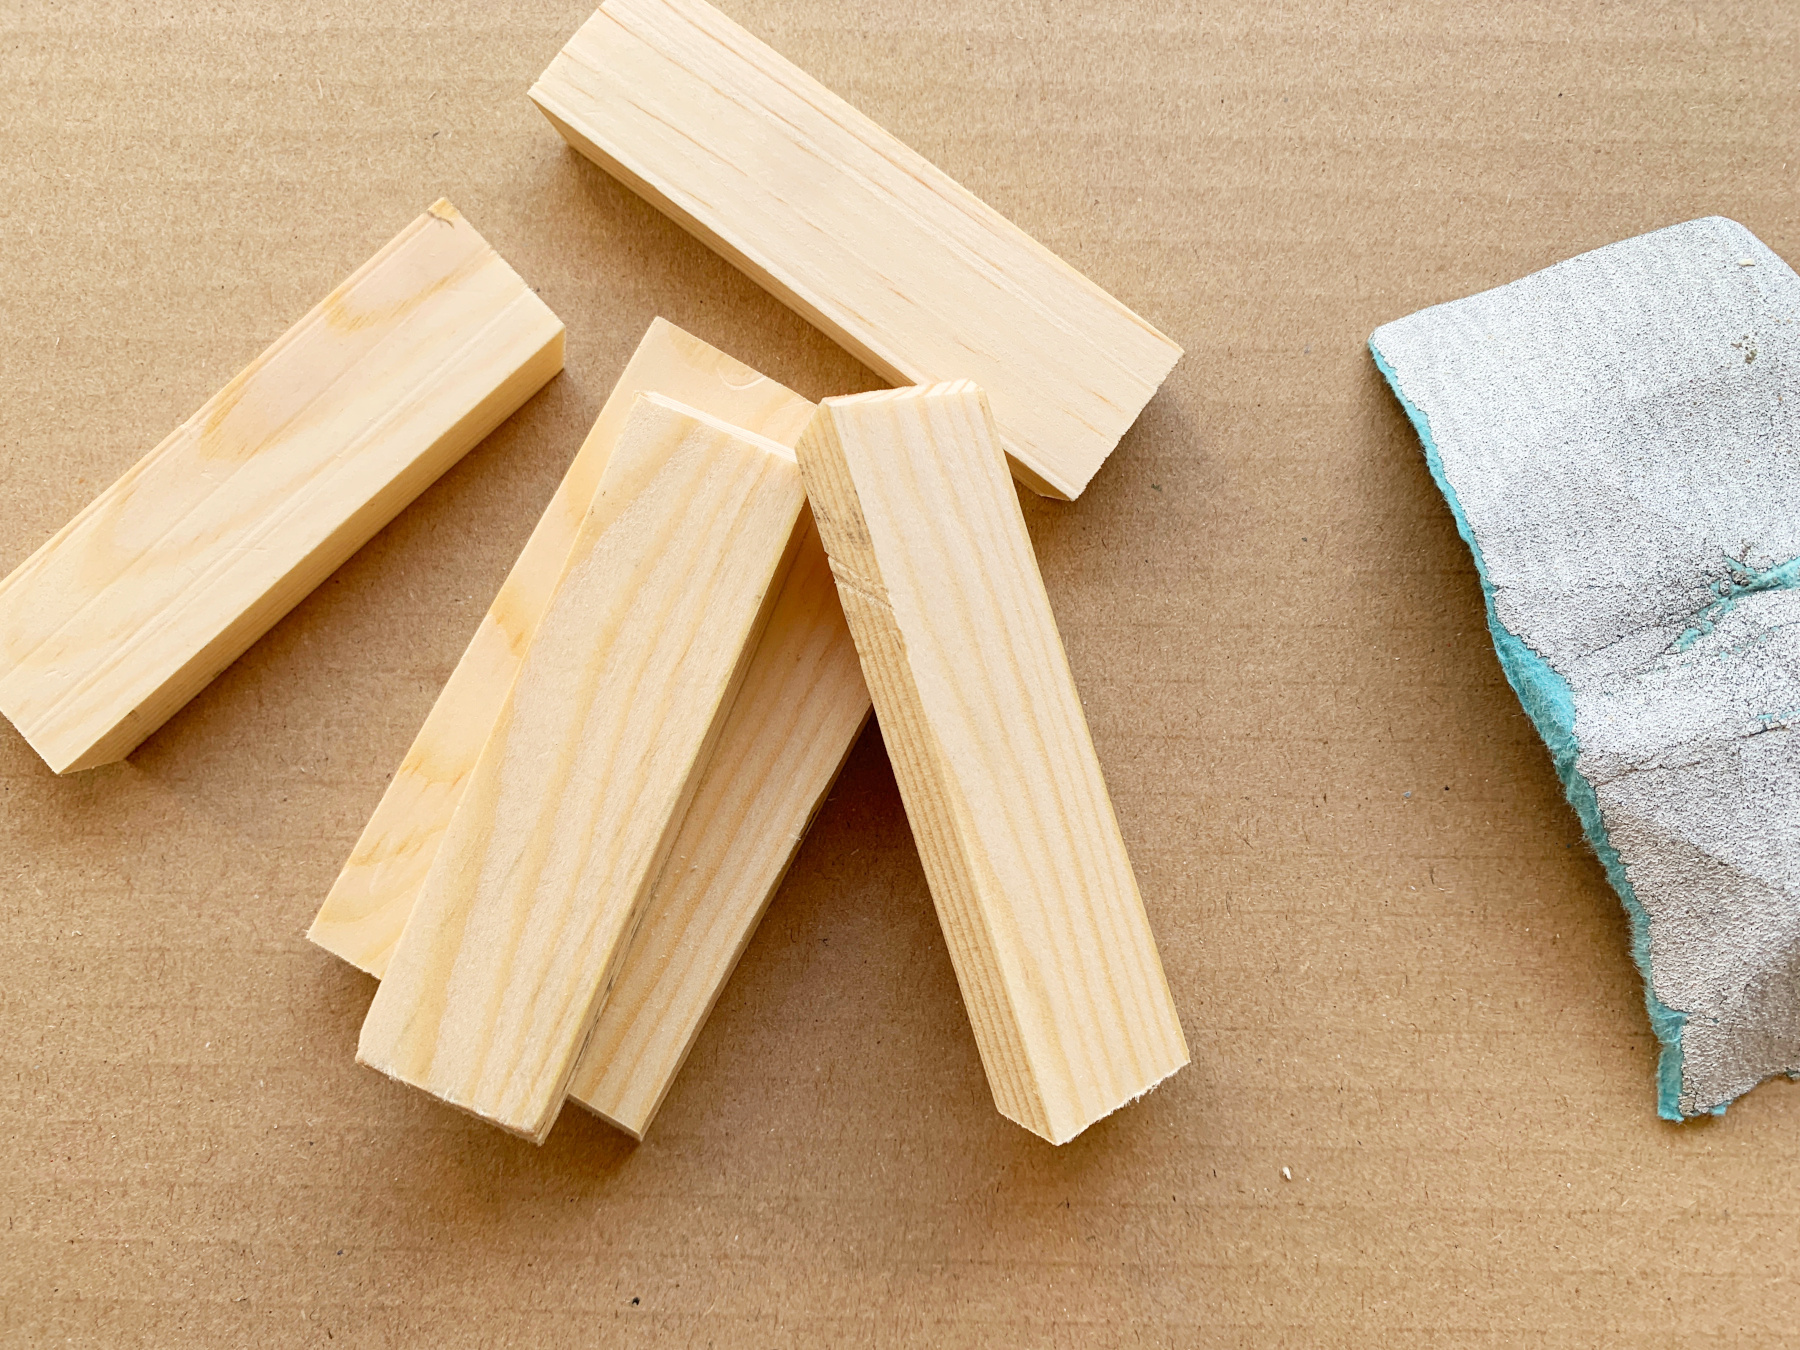
Meanwhile saw off 4 straight pieces, -- cm each and sand them neatly smooth
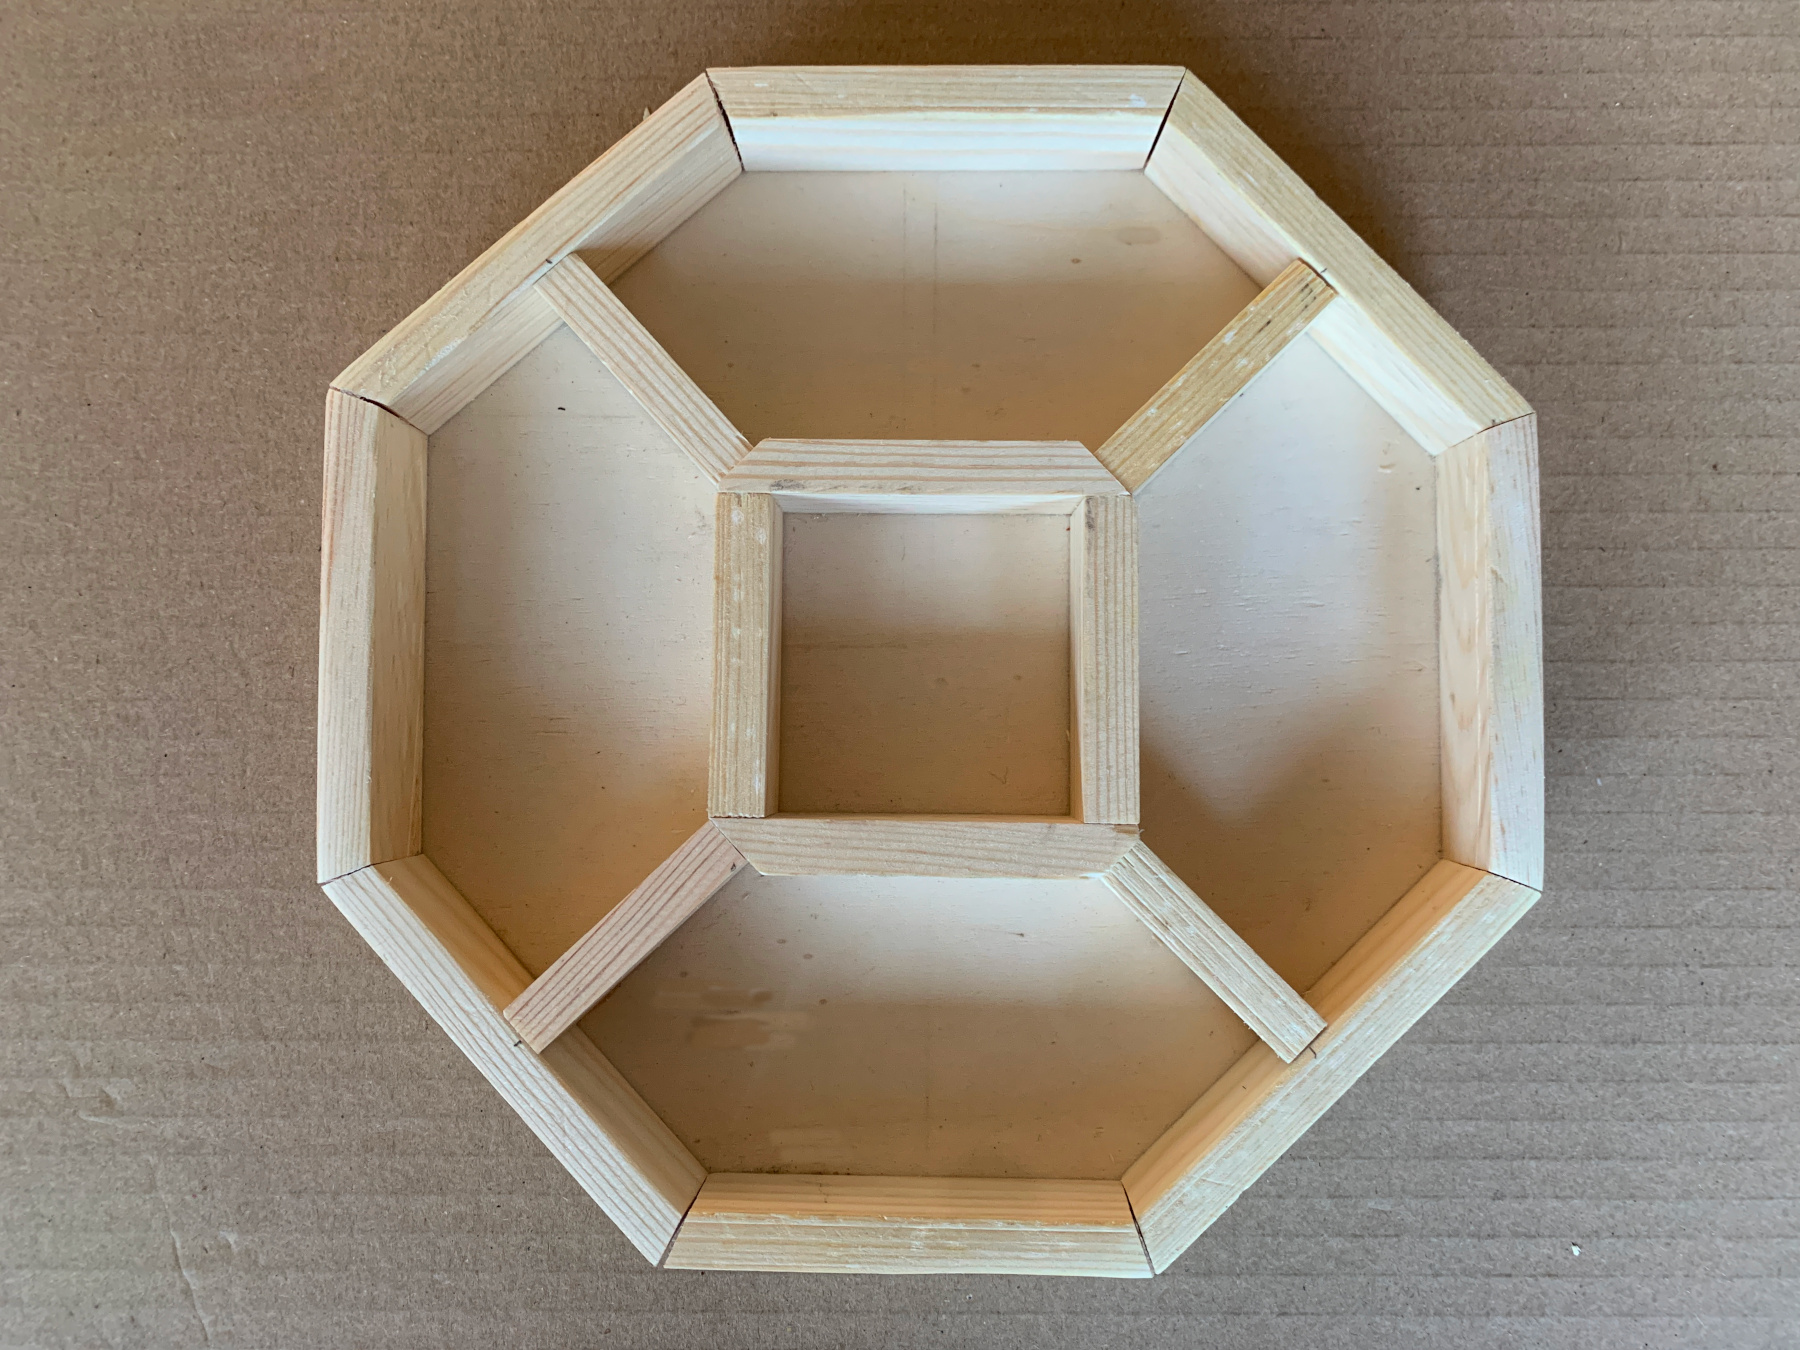
Glue the 4 small pieces to the cut corners and in the center of the surrounding parts, as shown in the photo.
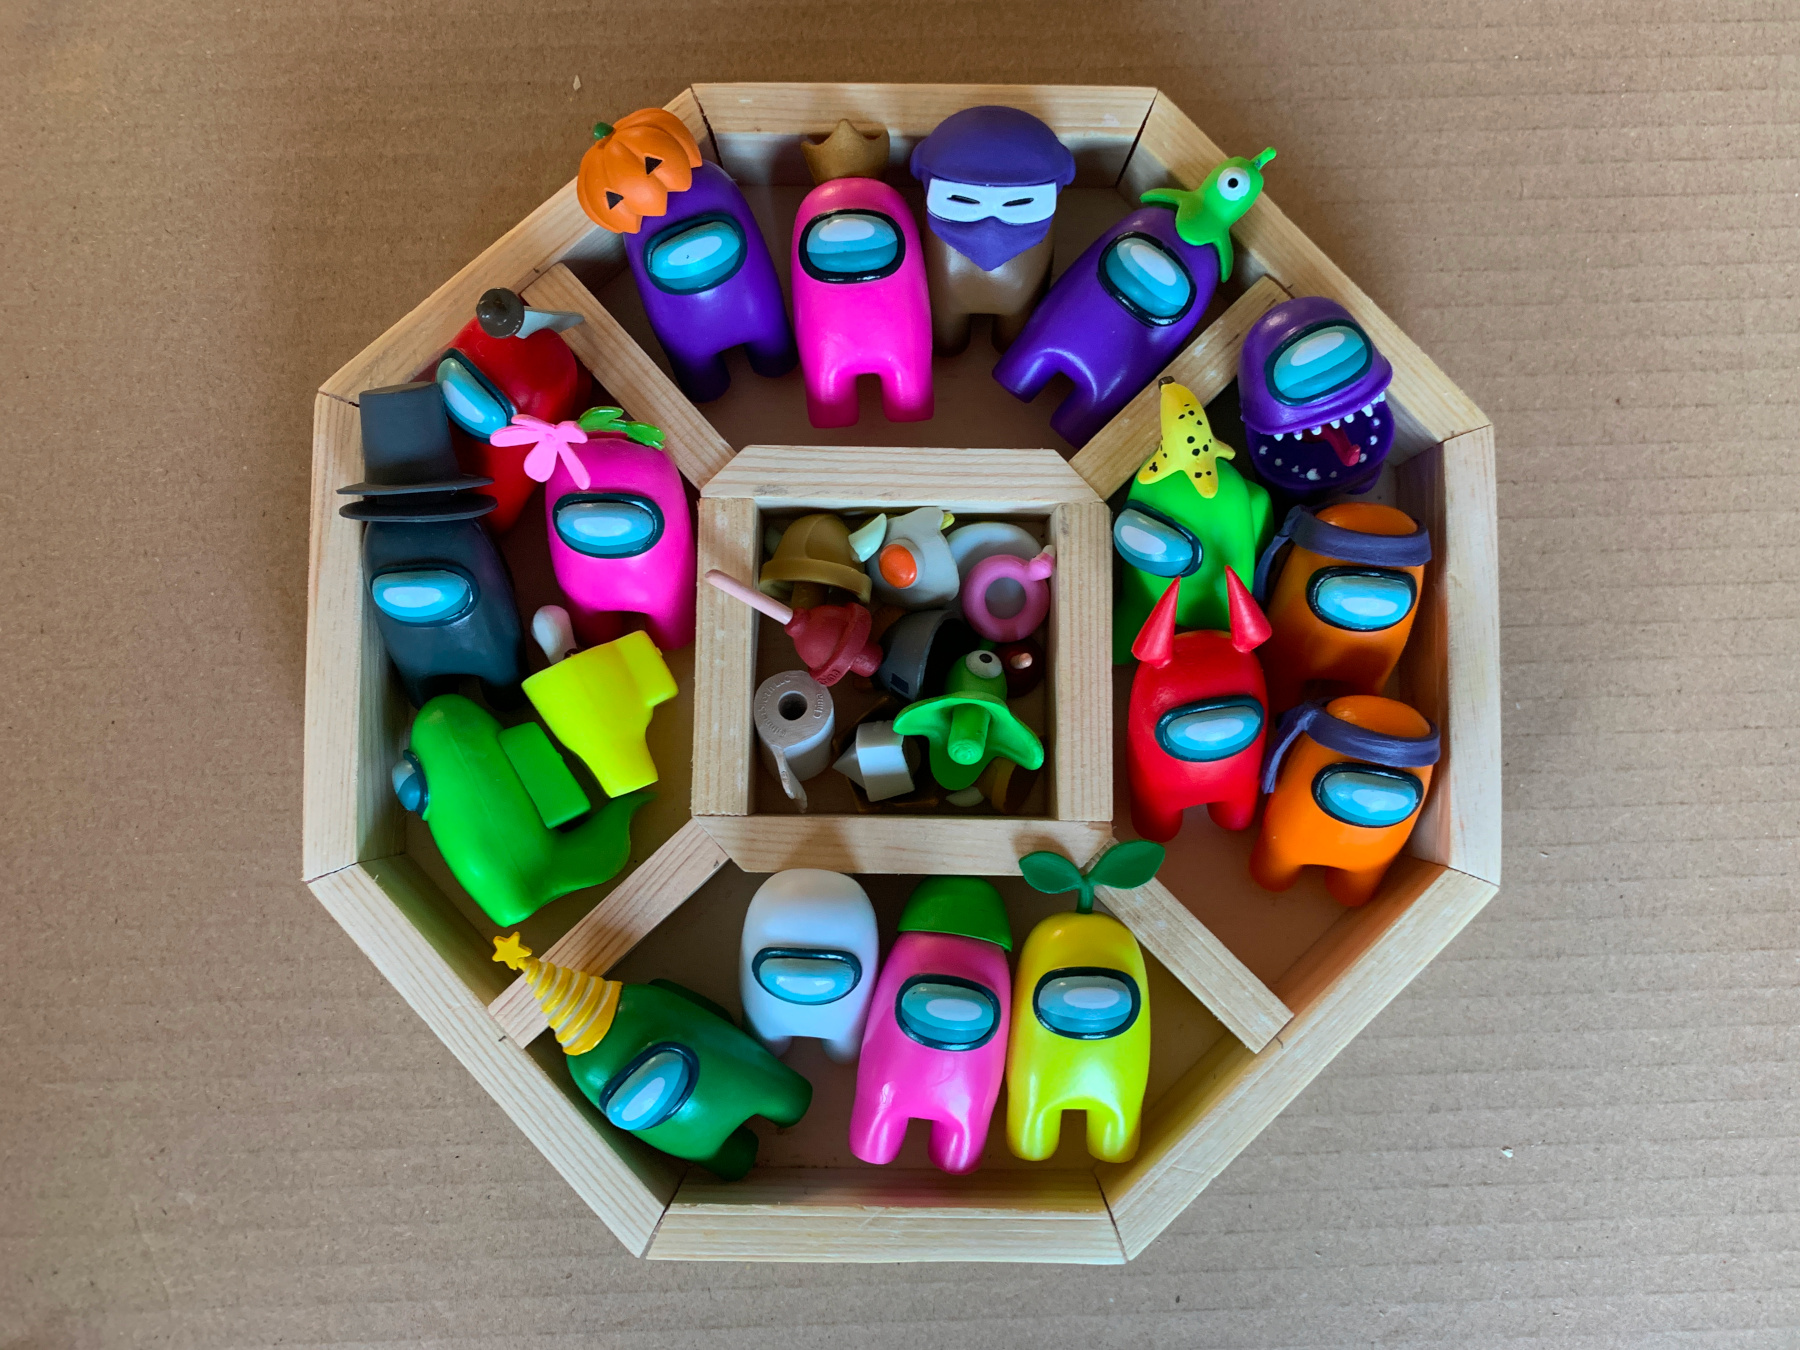
When the glue is dry your bee-tray is ready to be filled, Puk already knows what to put in :))