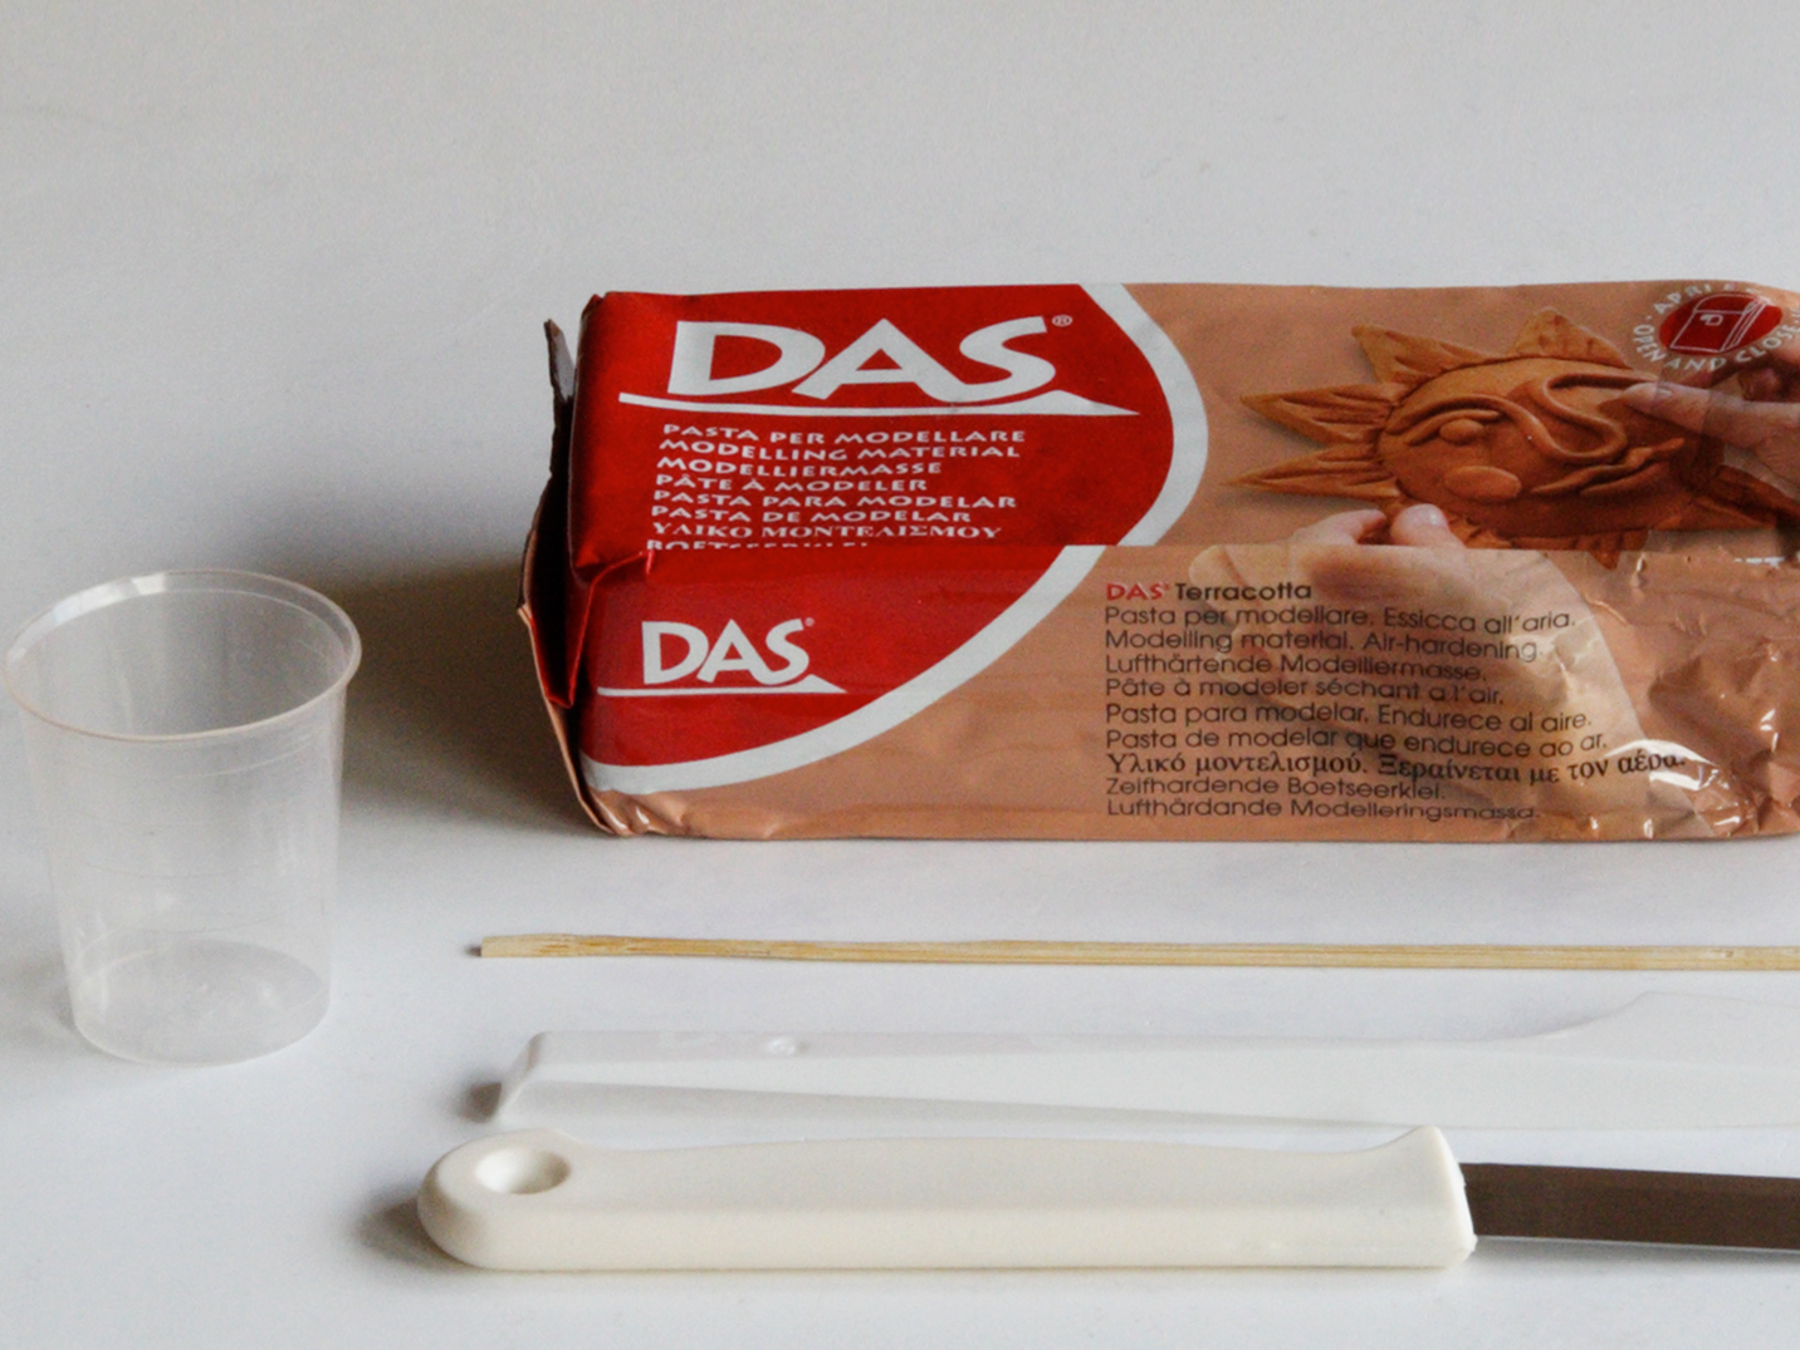
What do you need?
DAS terra cotta clay
Tools
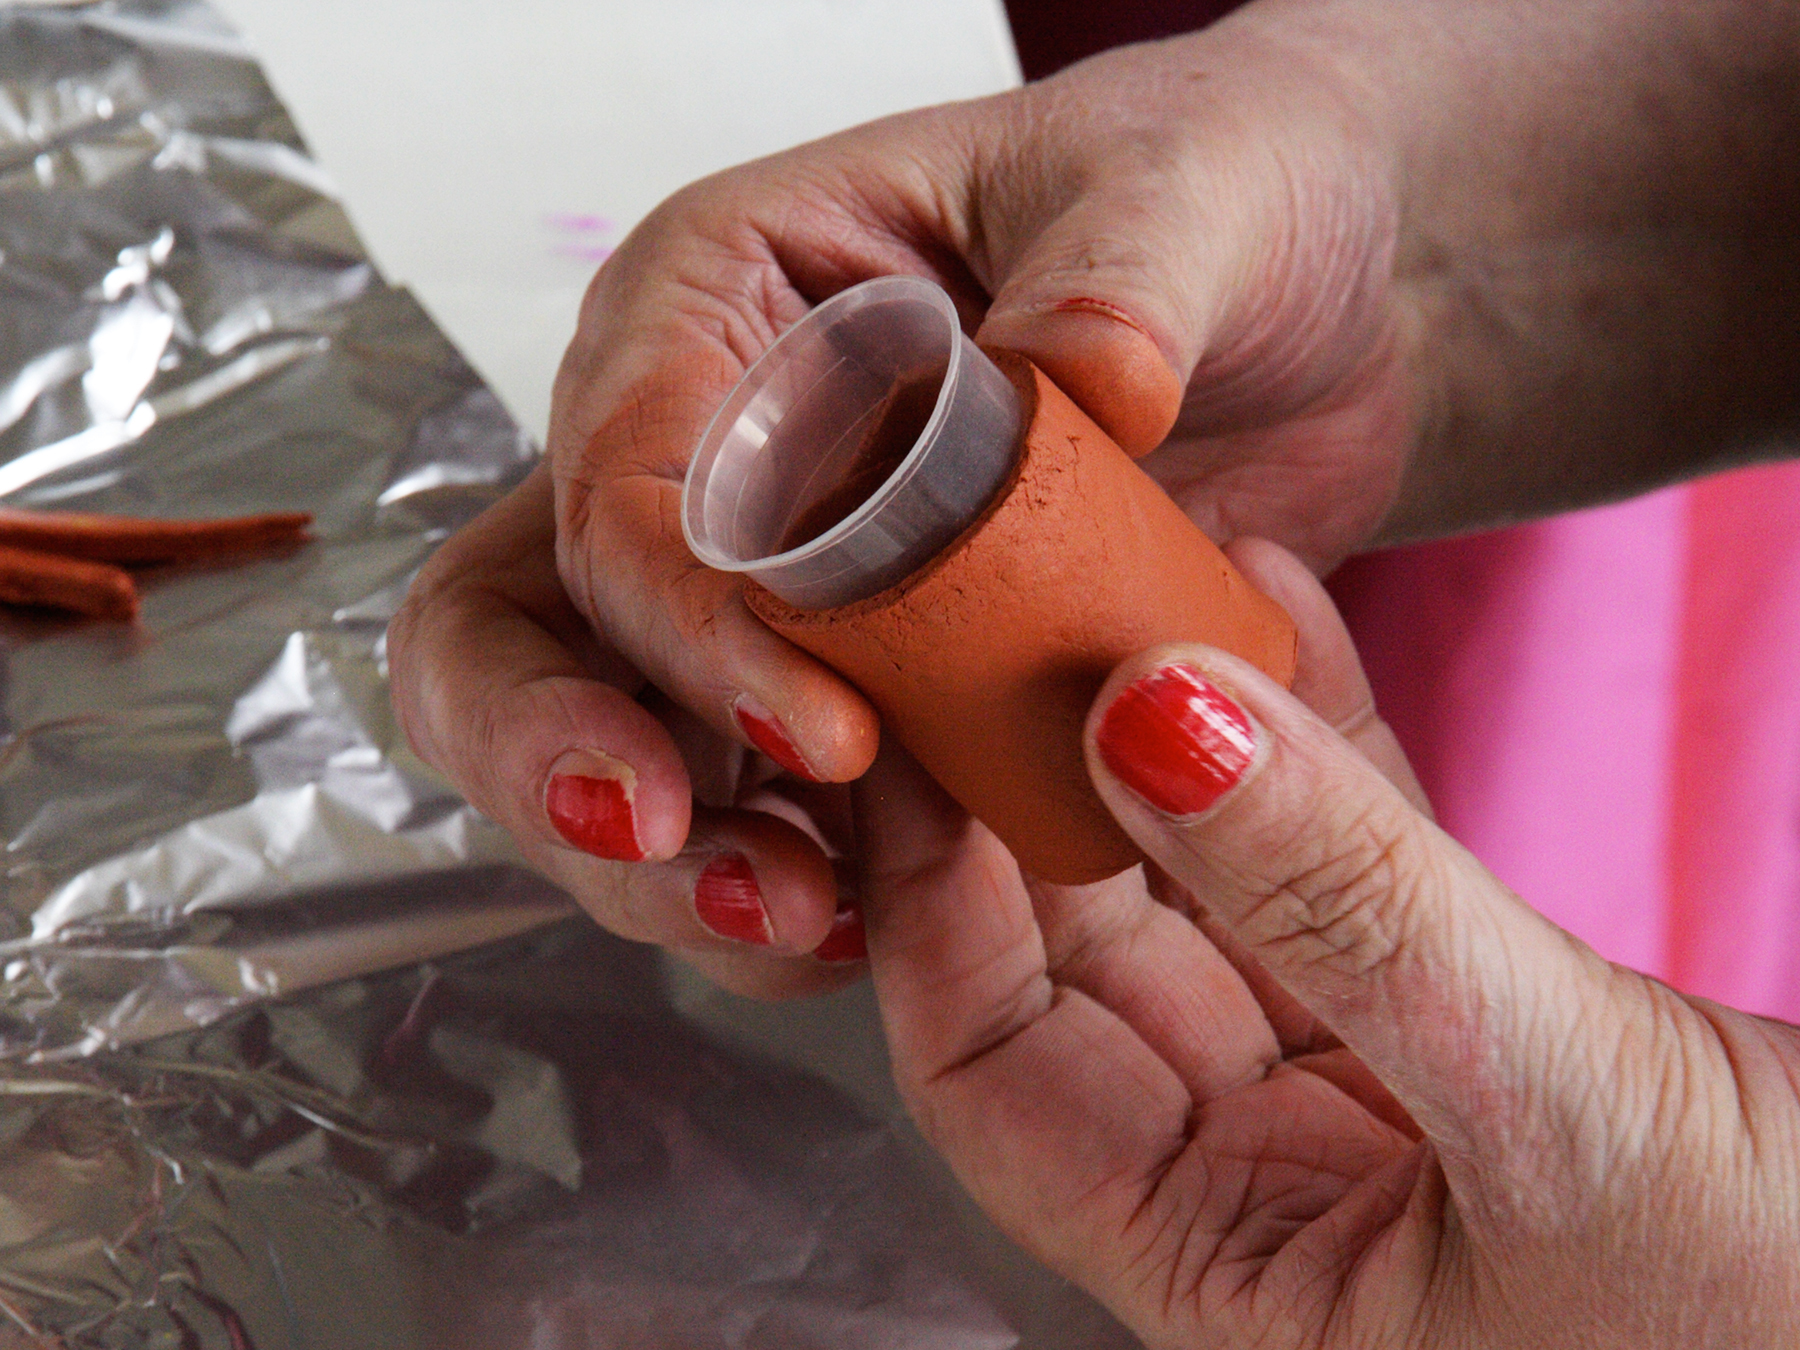
conical shaped plastic cap
plastic knife (kids)
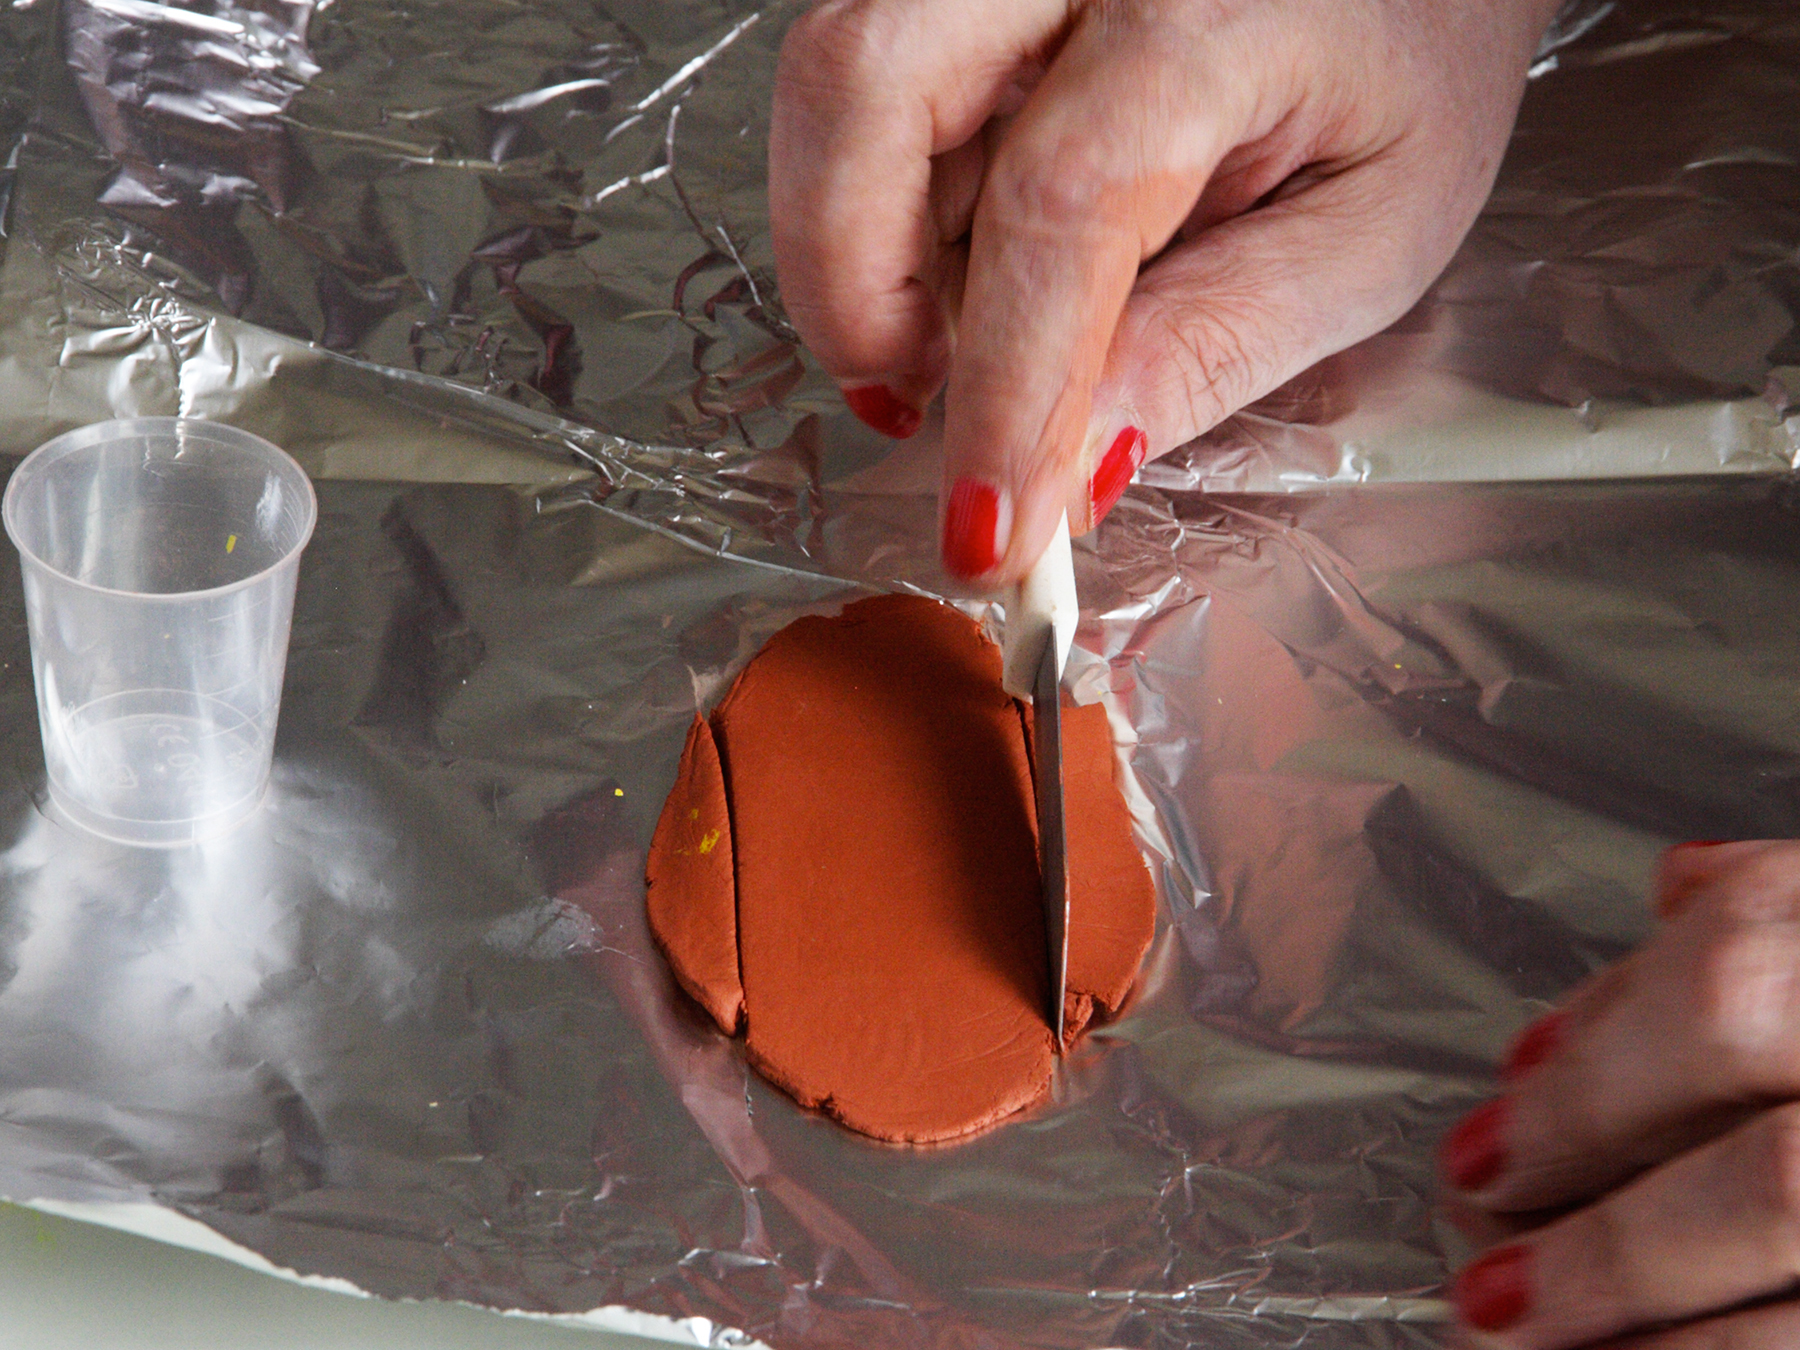
sharp knife (adult!)
rolling pin
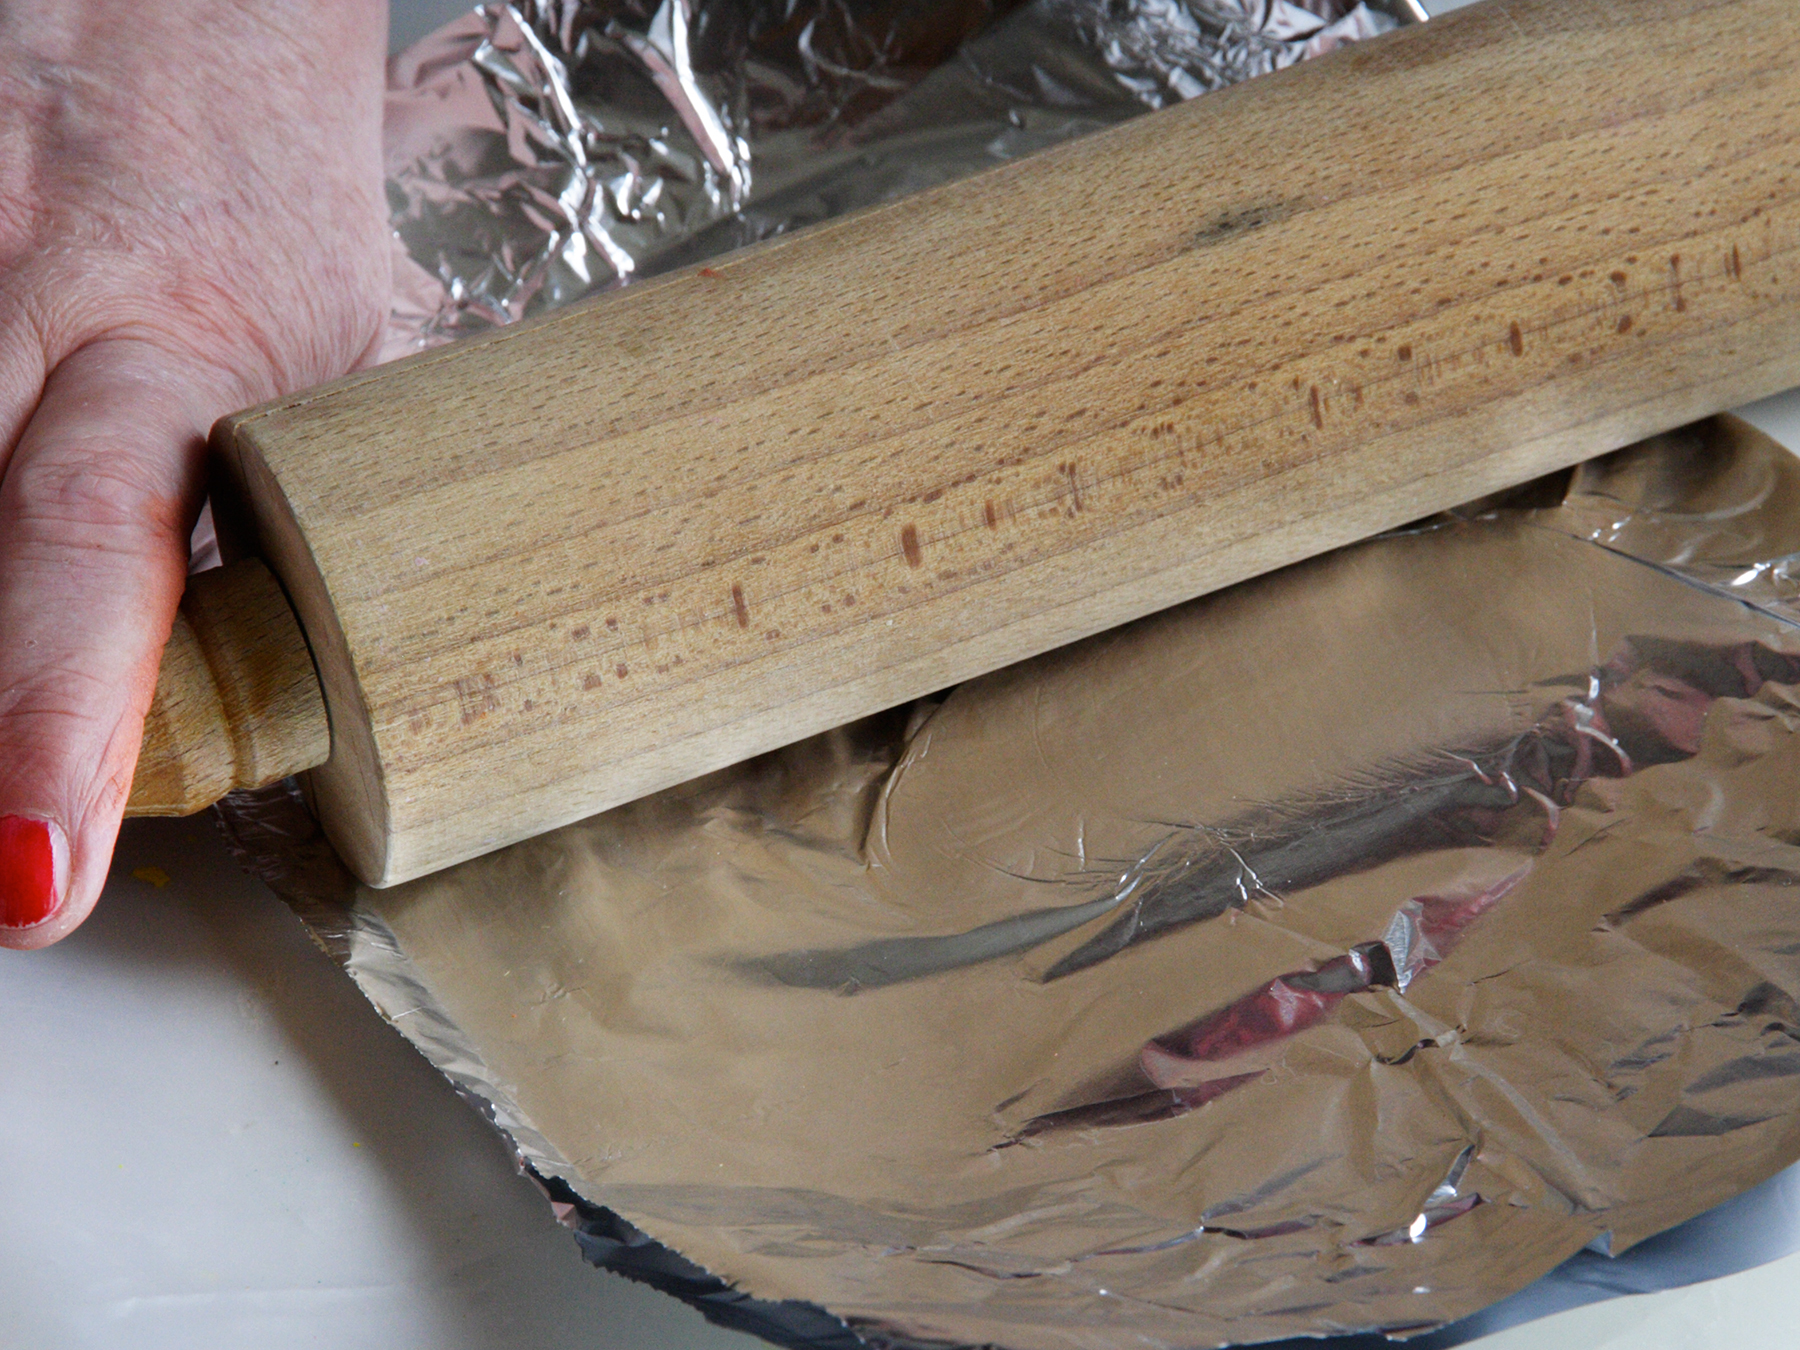
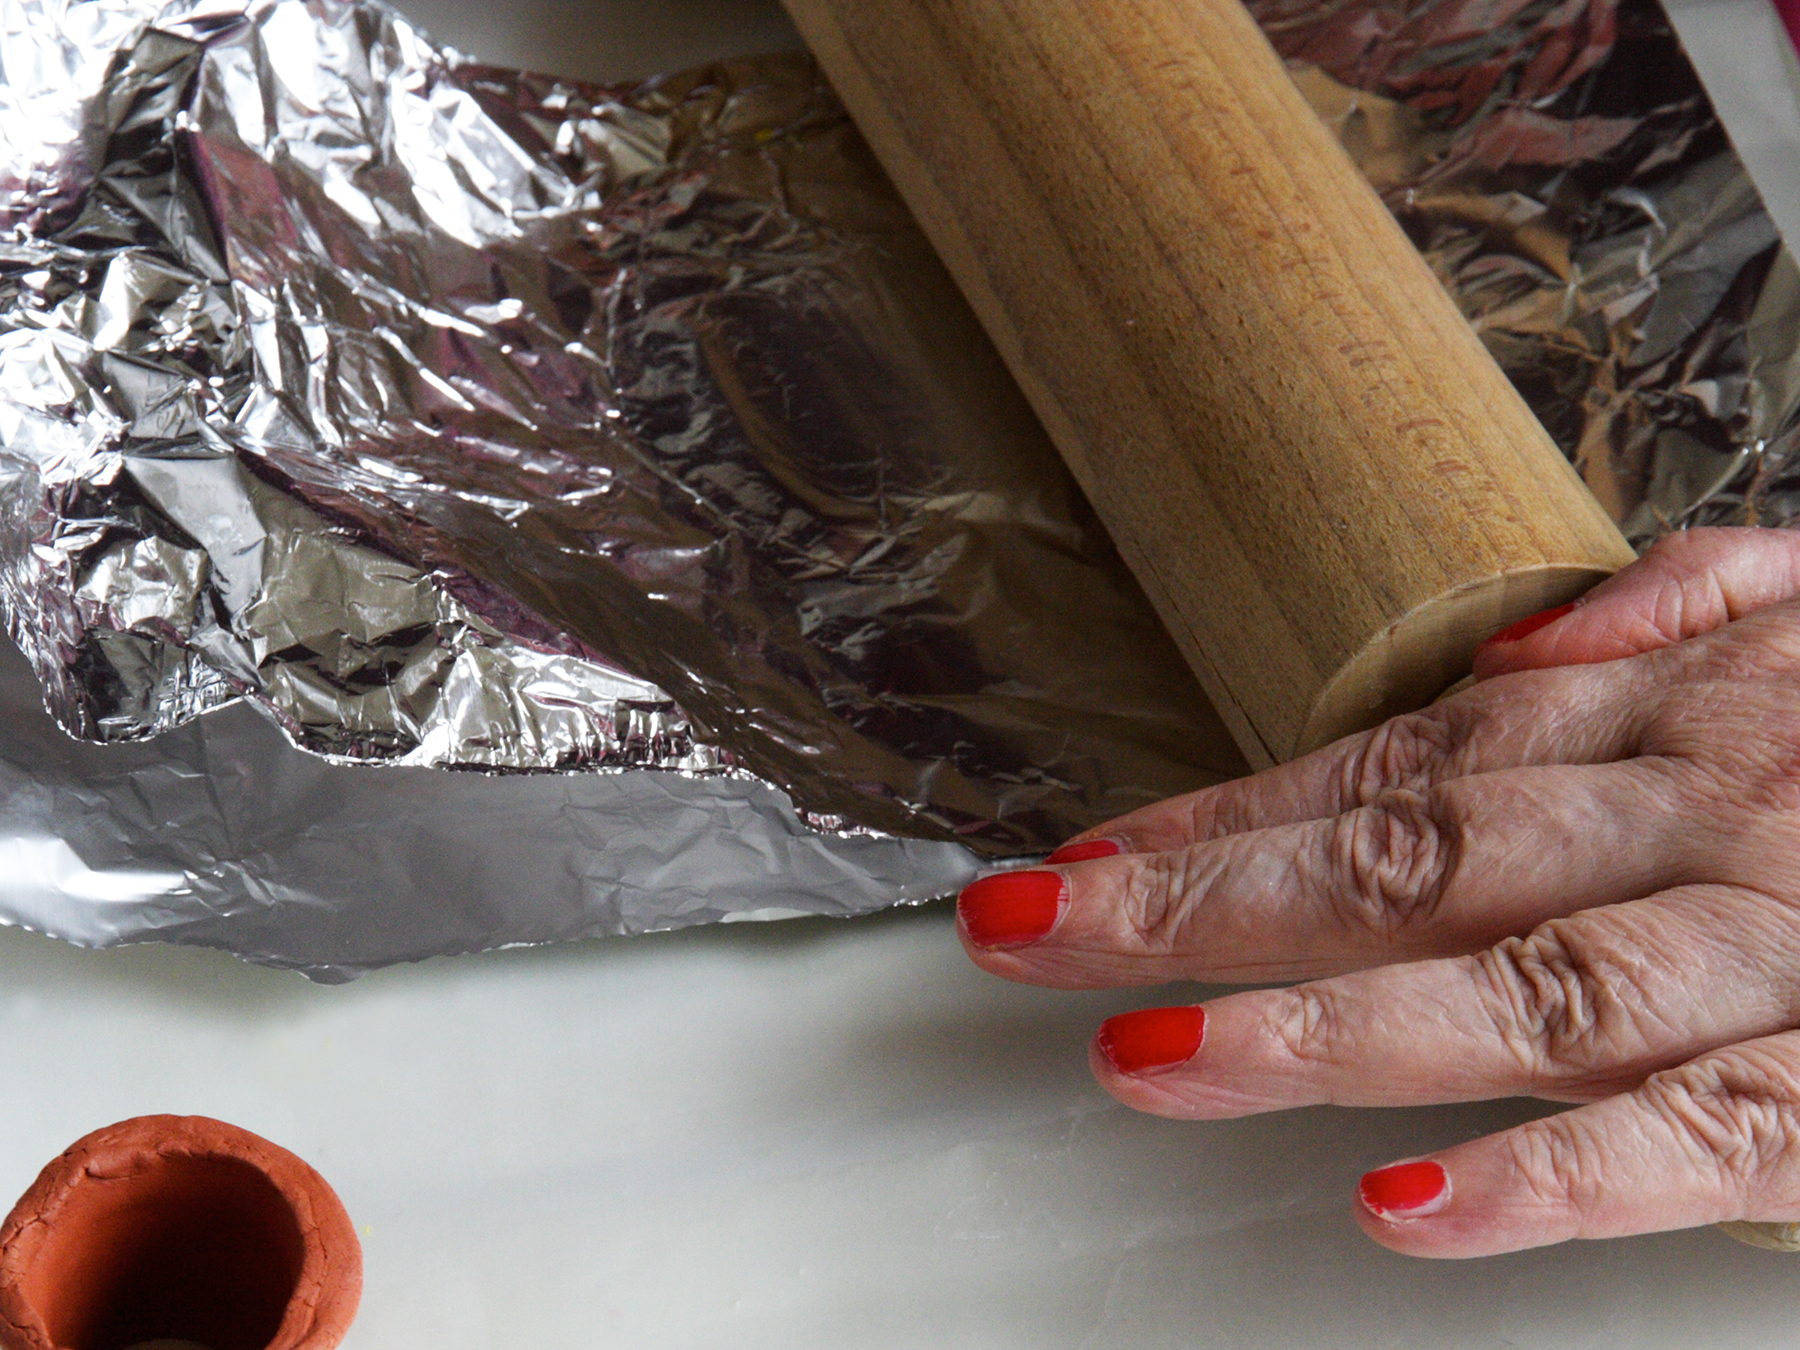
When you want to flatten clay it is handy if the clay can't stick to the rolling pin. Roll the clay between two pieces of aluminum foil, waxed paper or cling film then it will not bother you.
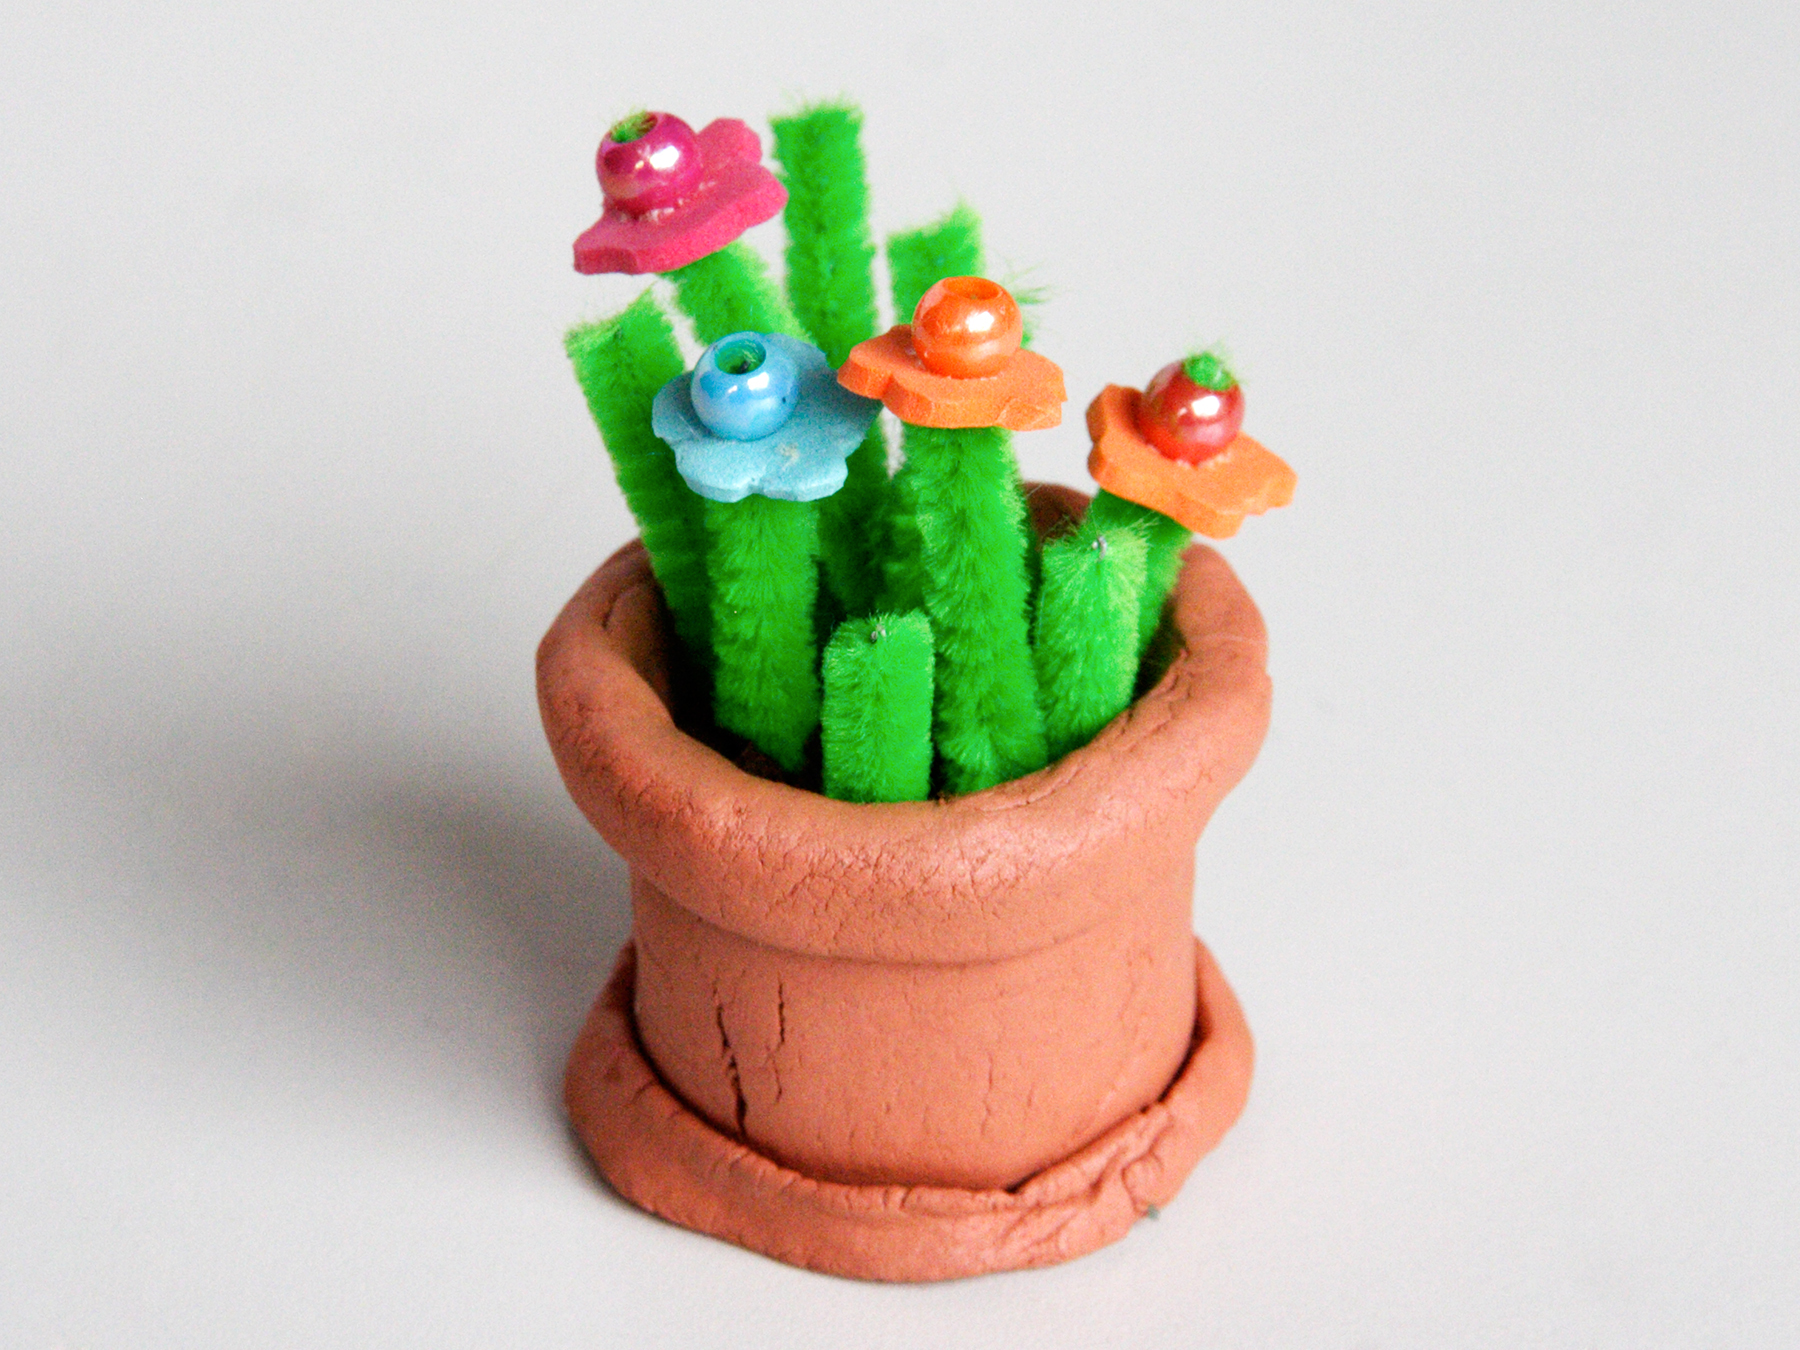
How to make a flower pot of DAS clay
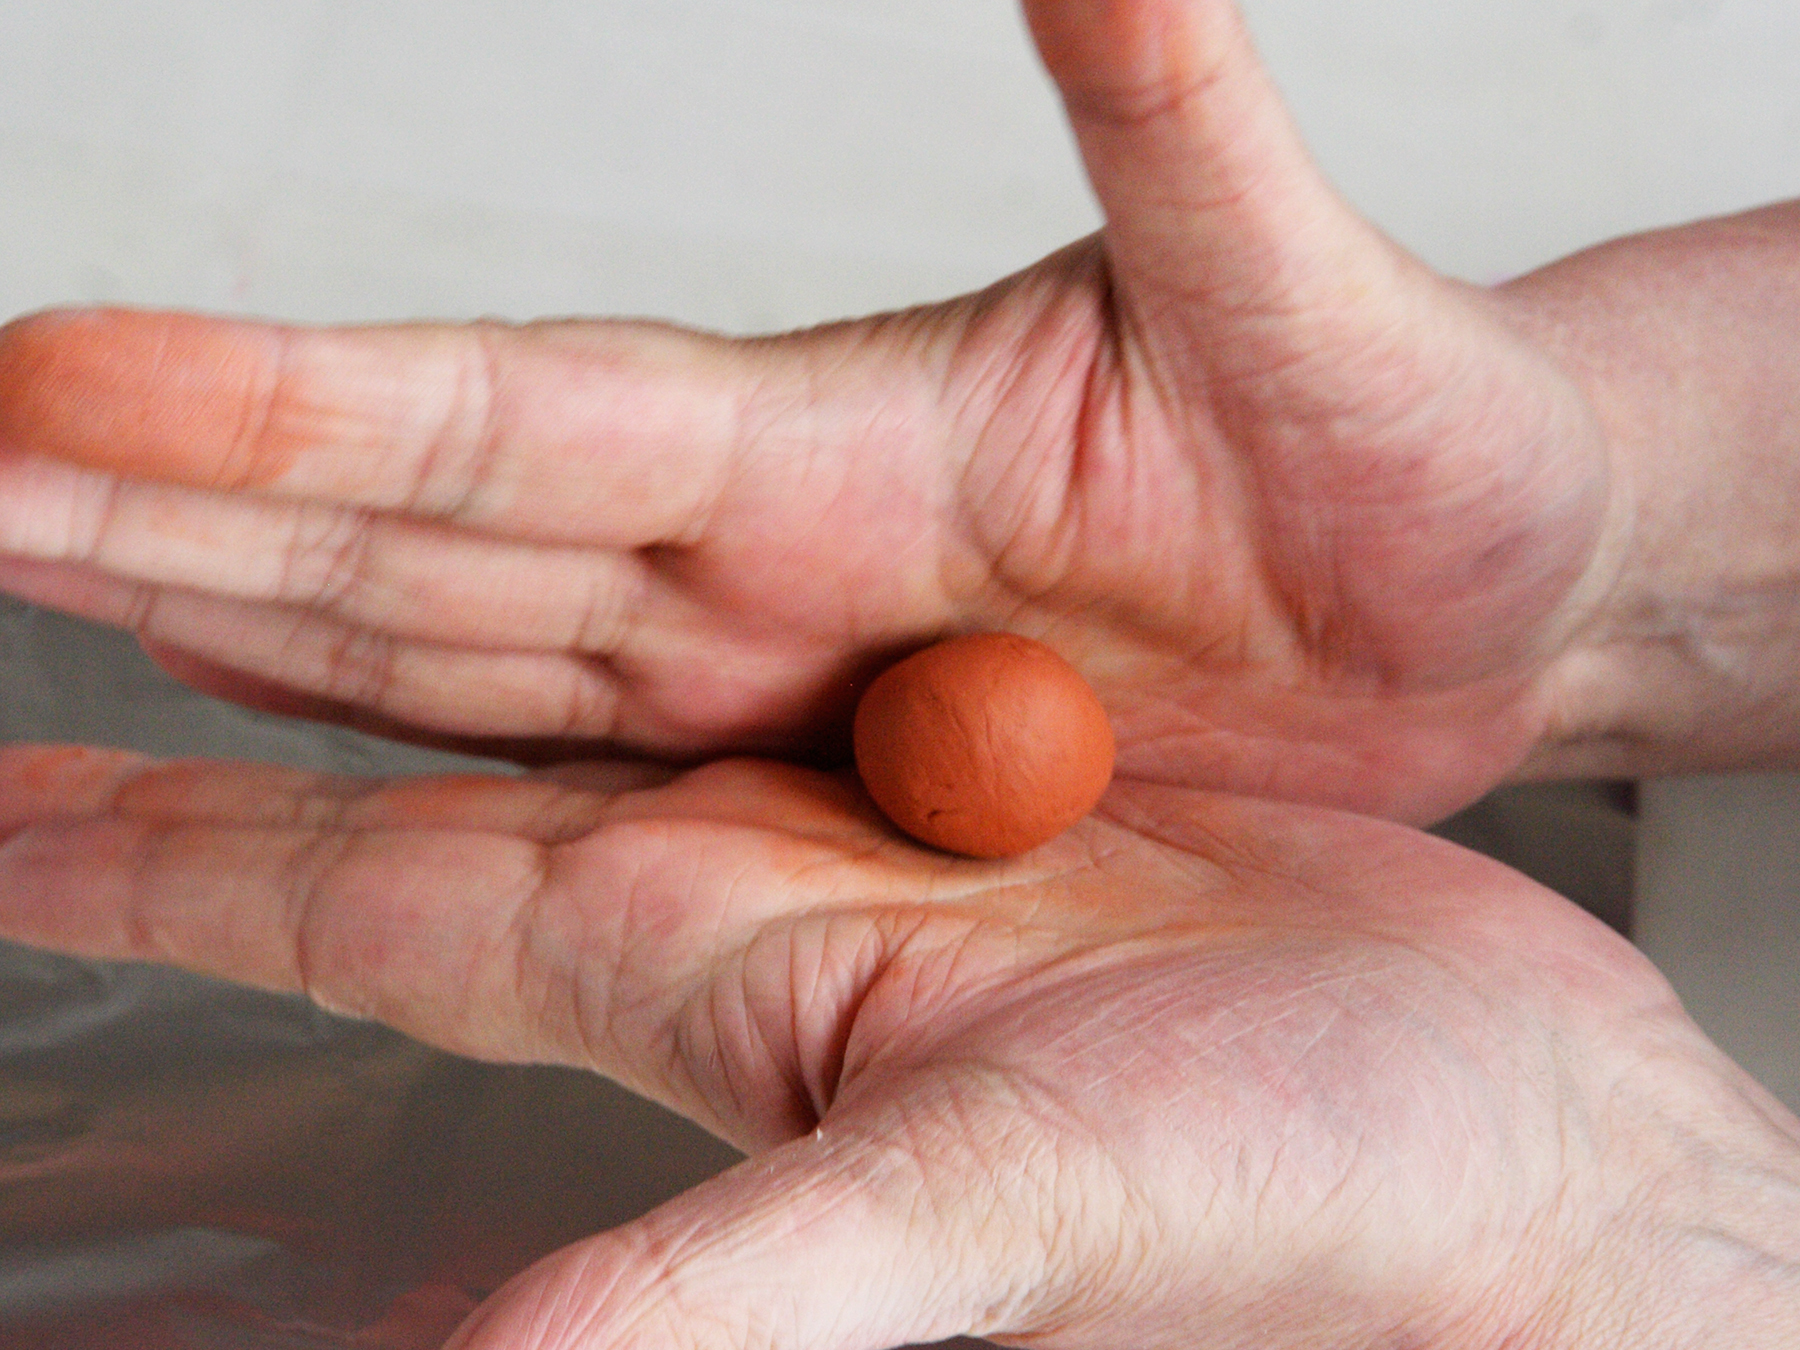
Knead a piece of clay, then roll it into a ball.
Flatten the ball with a rolling pin into a rectangle.
Cut off a strip flat clay 15 x 7 cm
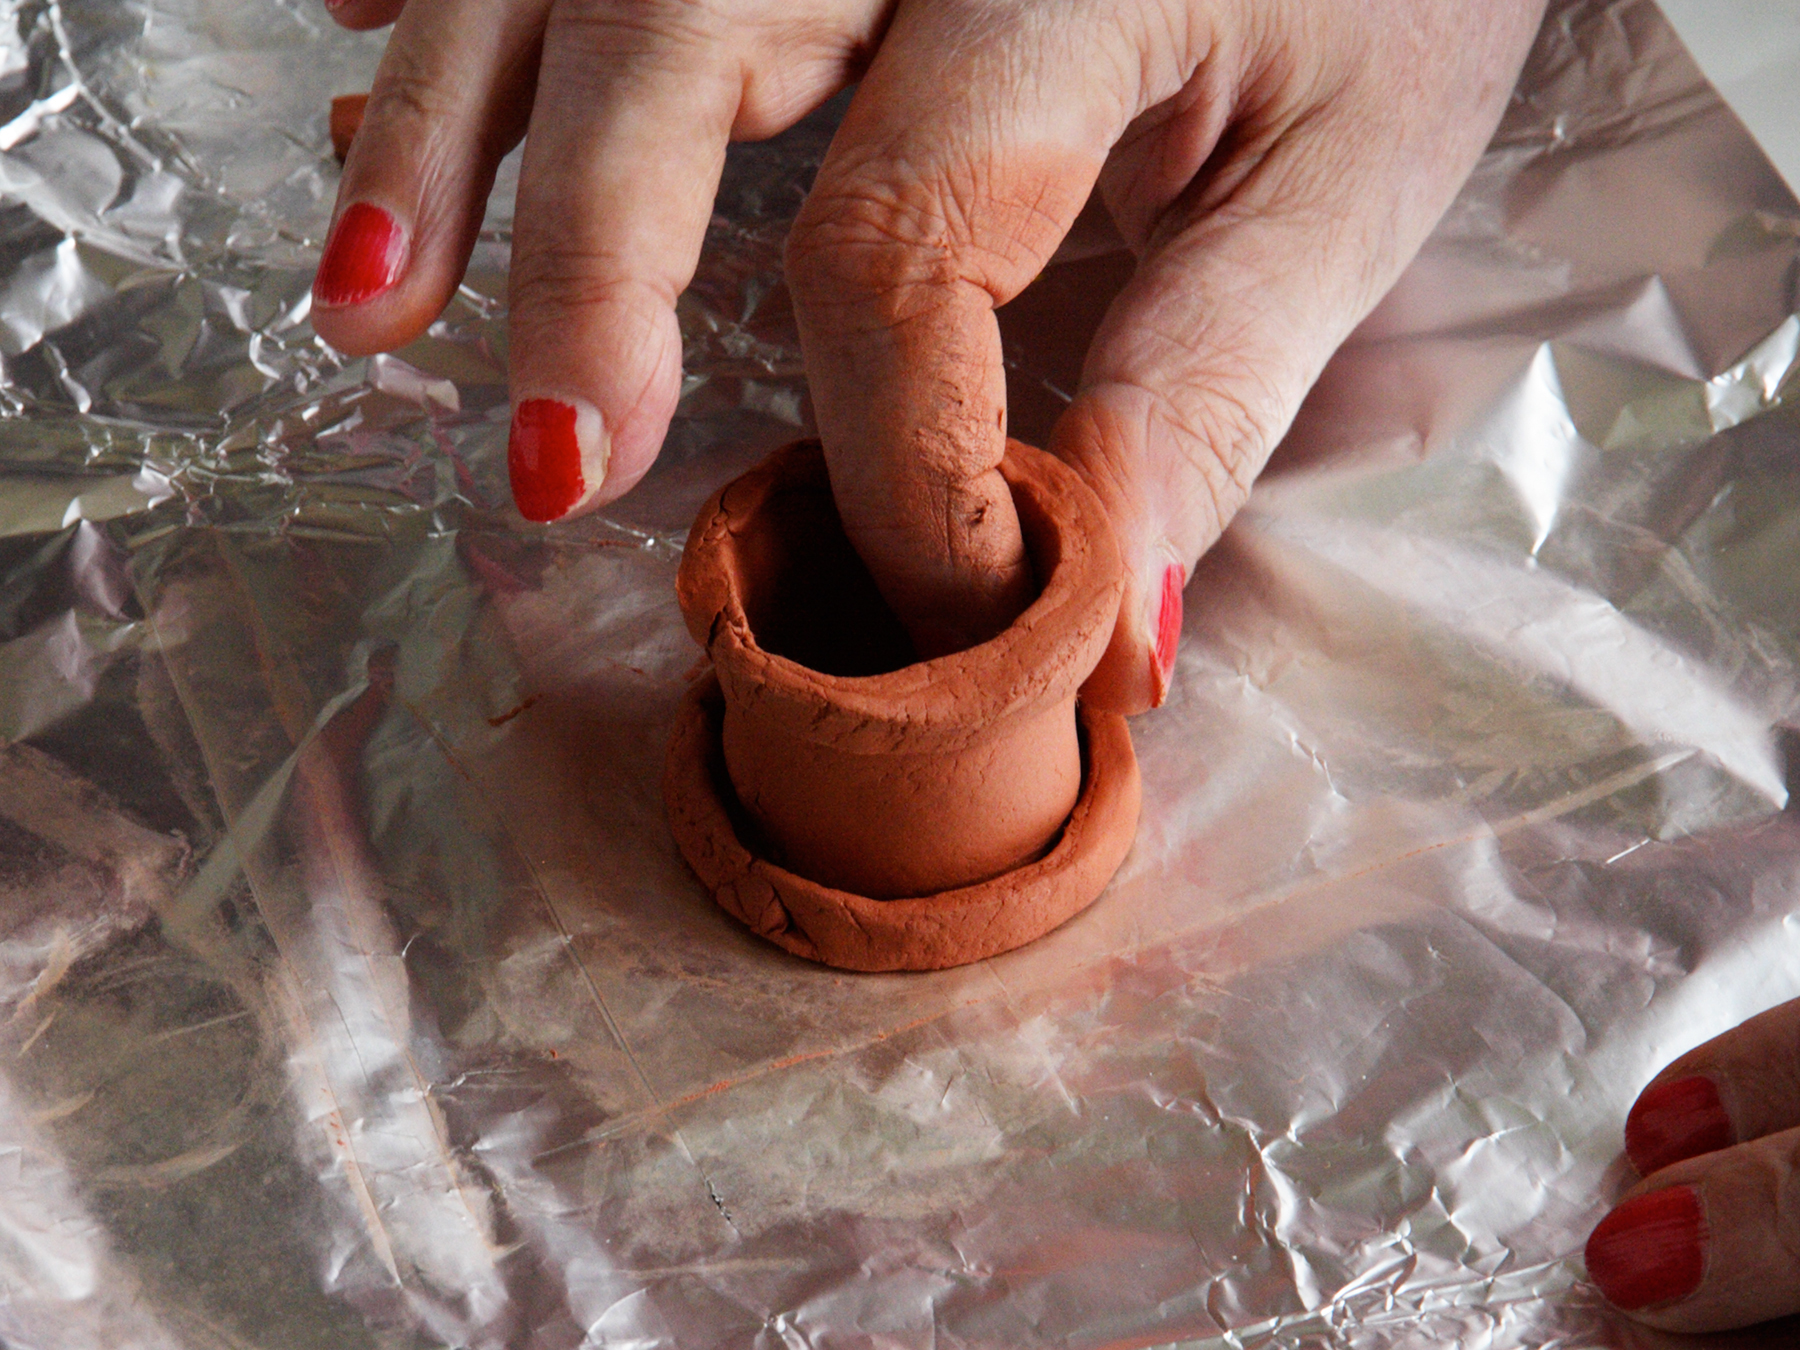
Fold the strip loose around the cap or jar.
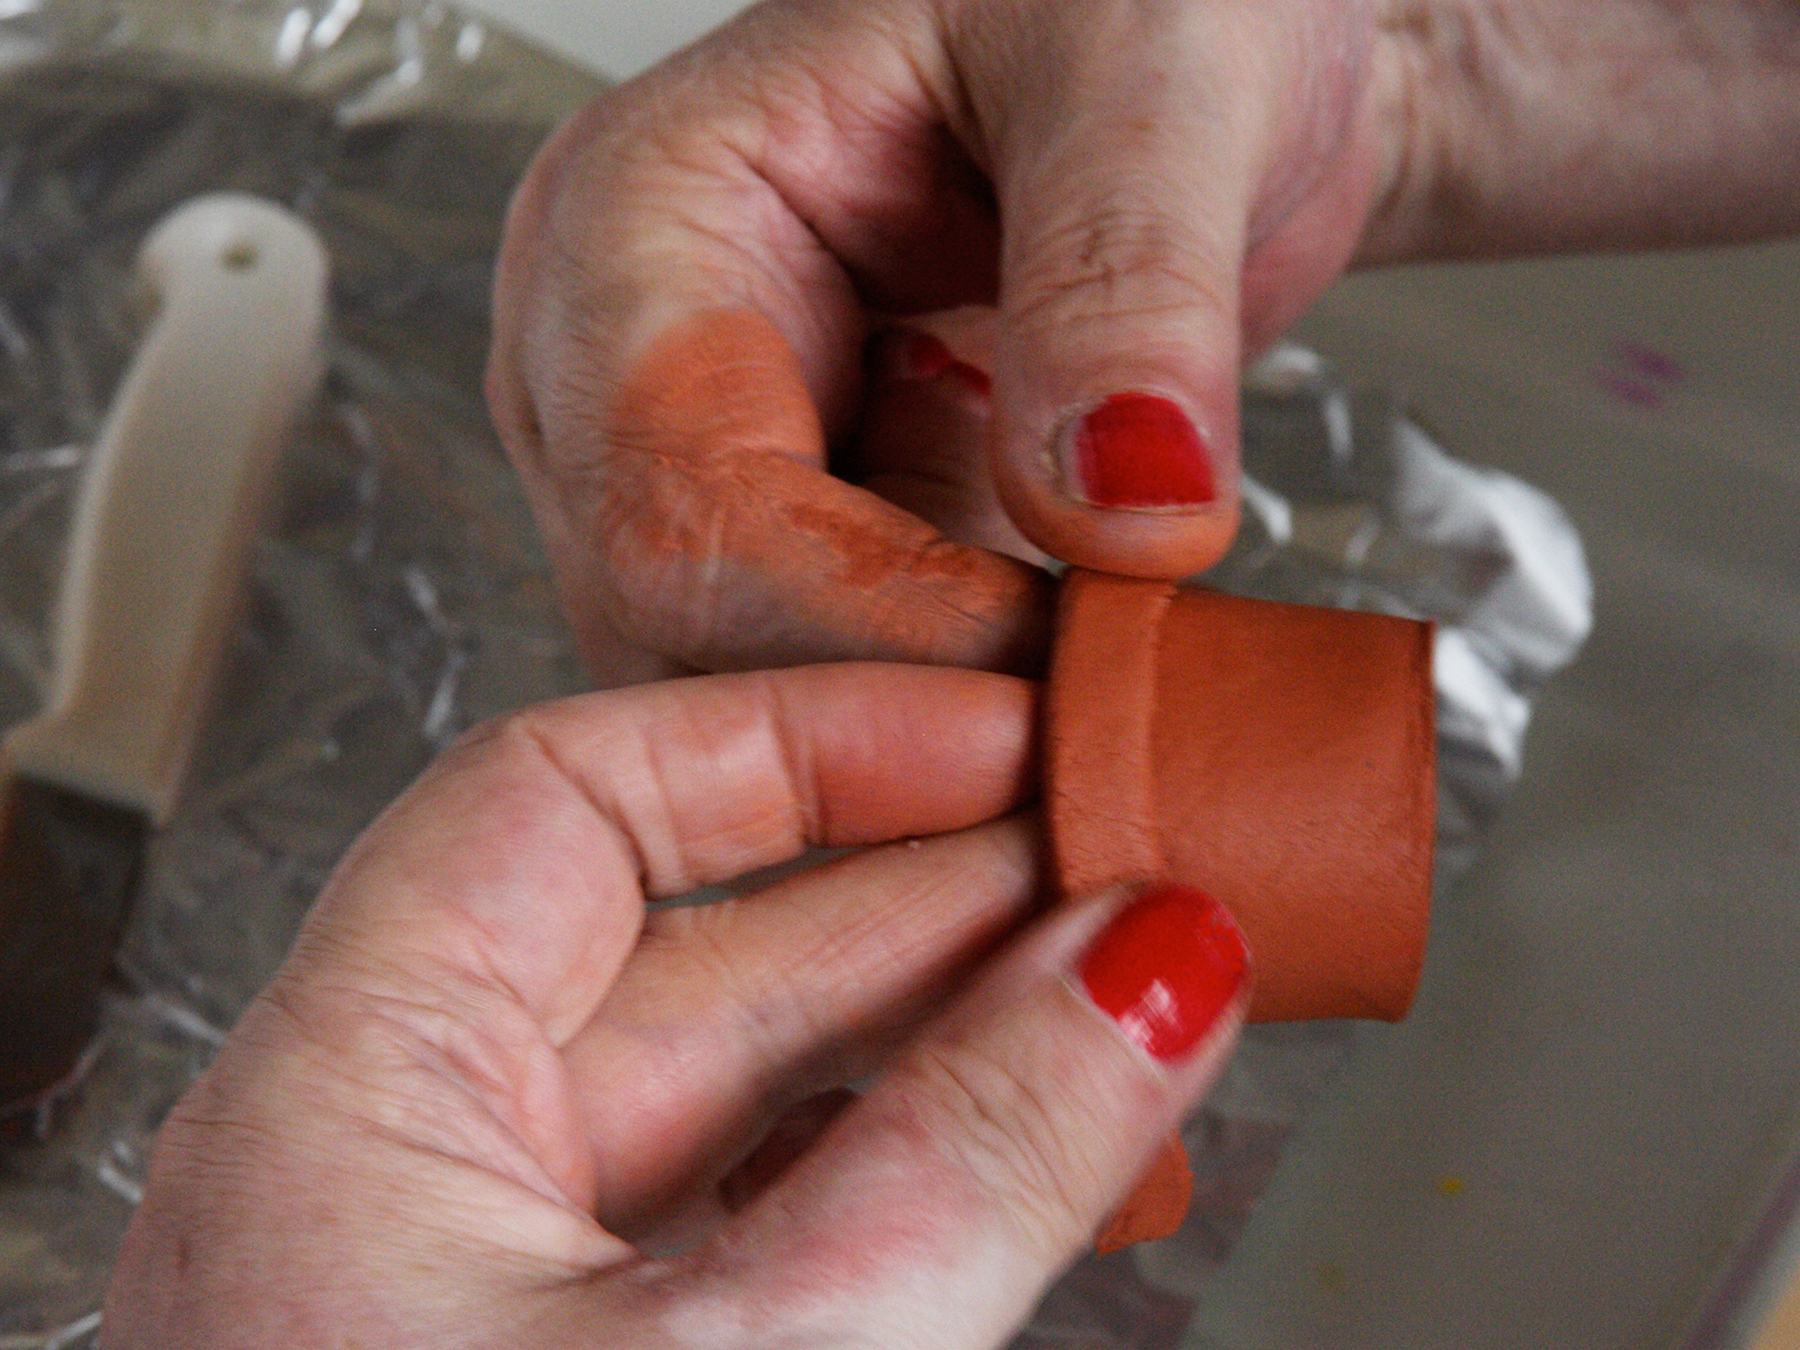
Press the ends of the clay together.*
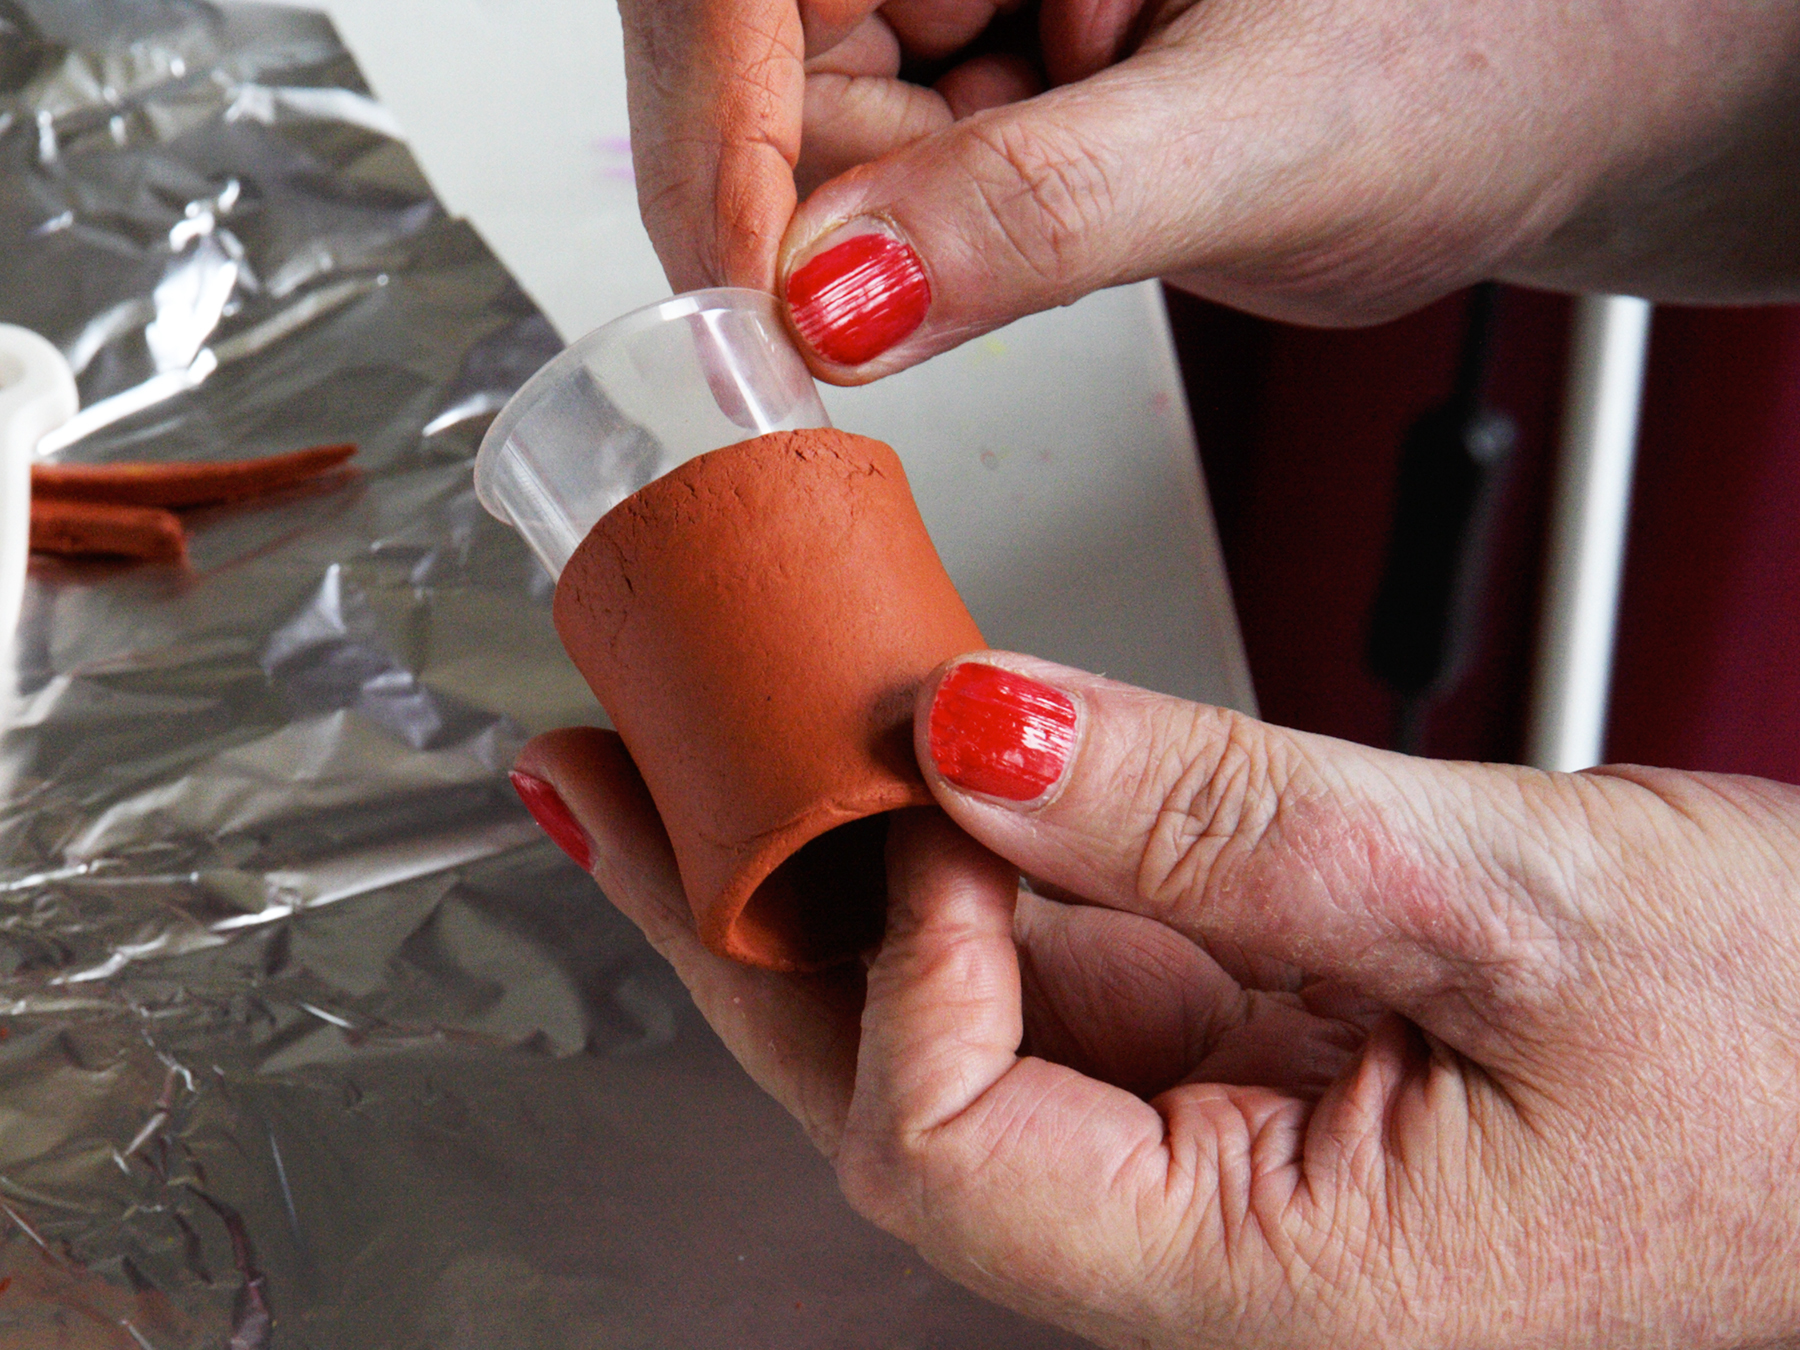
Gently remove the plastic cap out of the clay.
Cut a strip of clay, prees it around the pot.
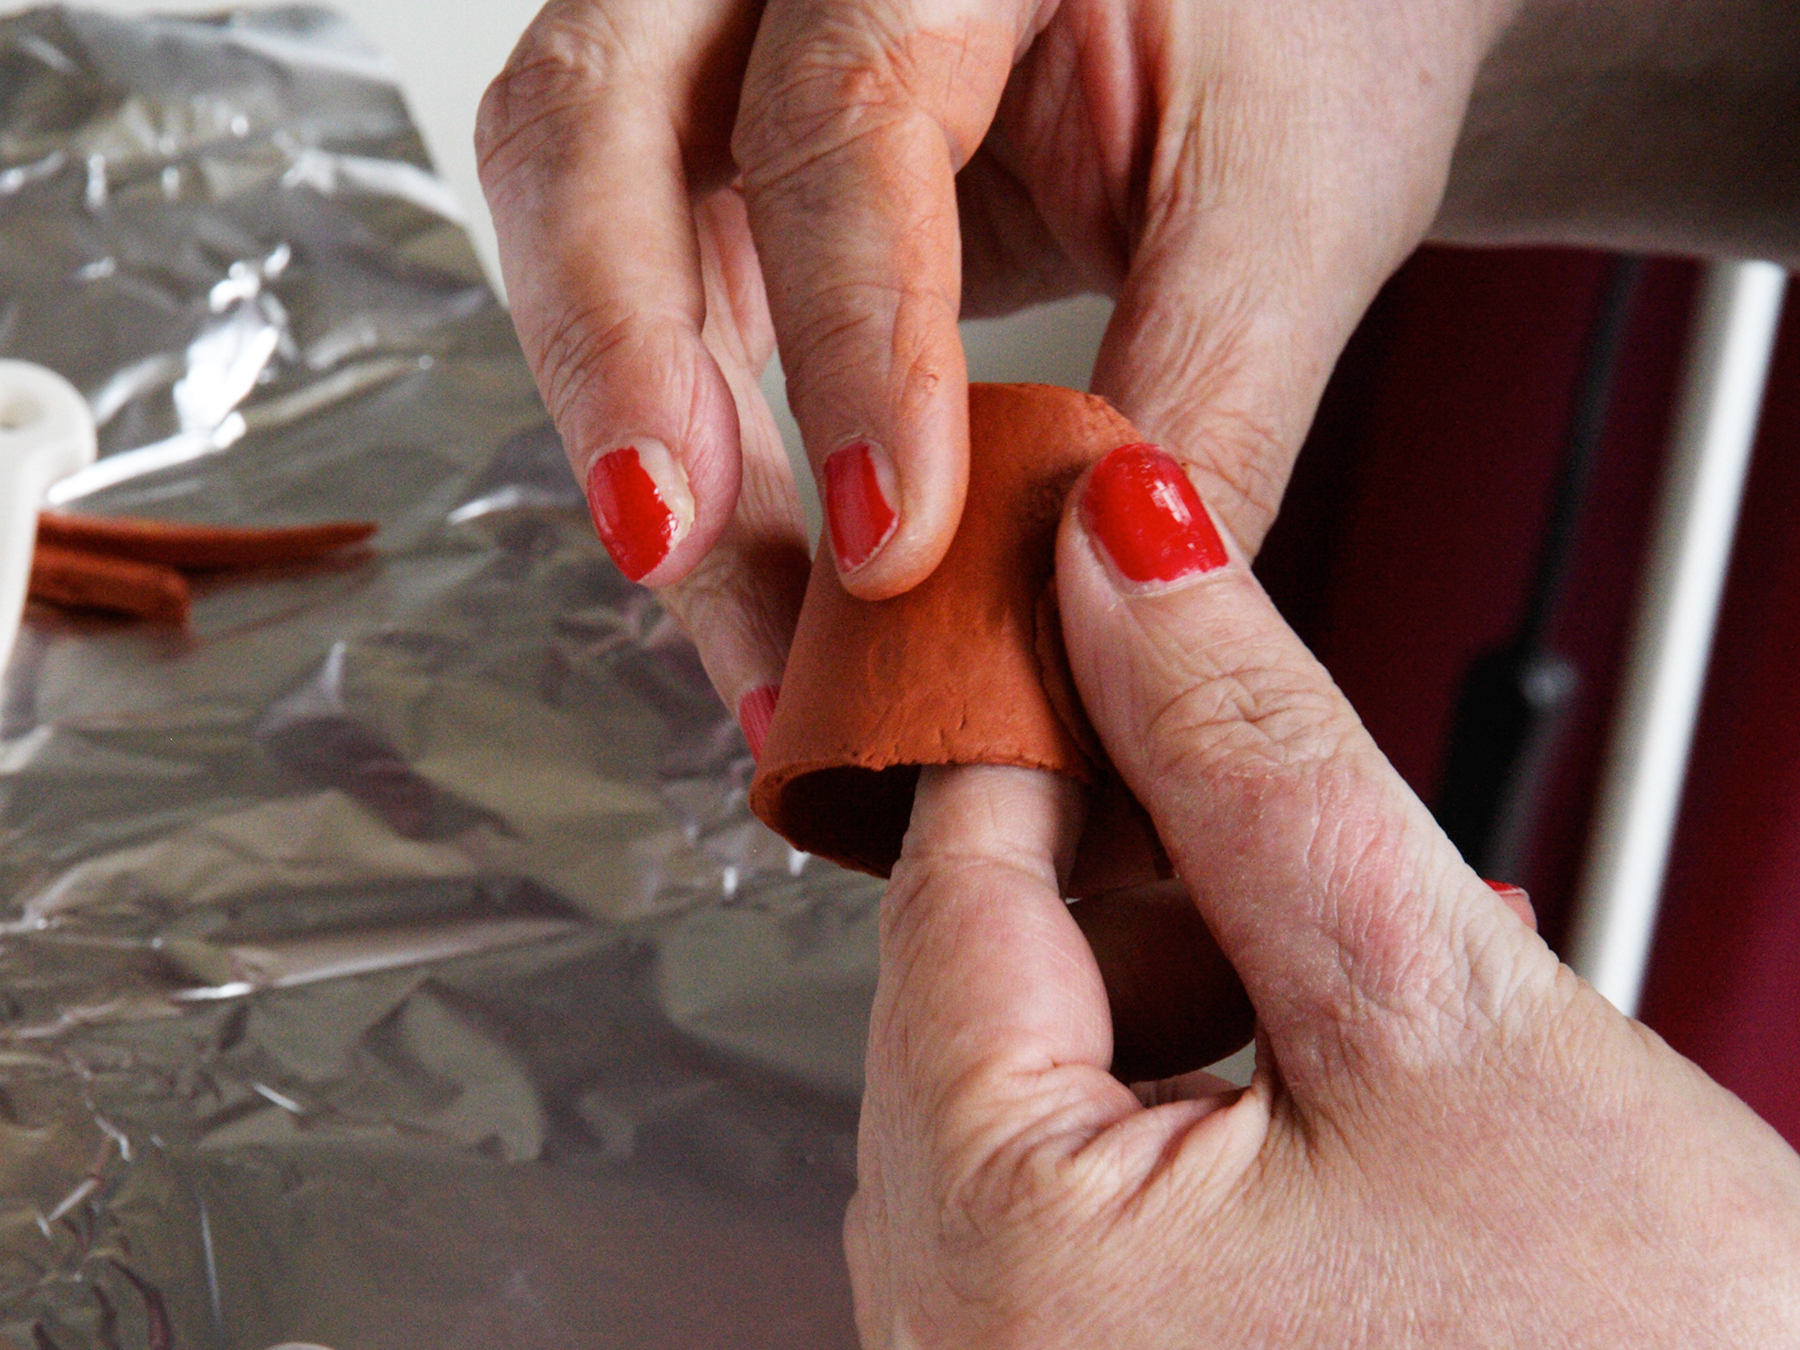
* Stroke the seam intil smoot with your fingers and shape the flowerpot accordingly.
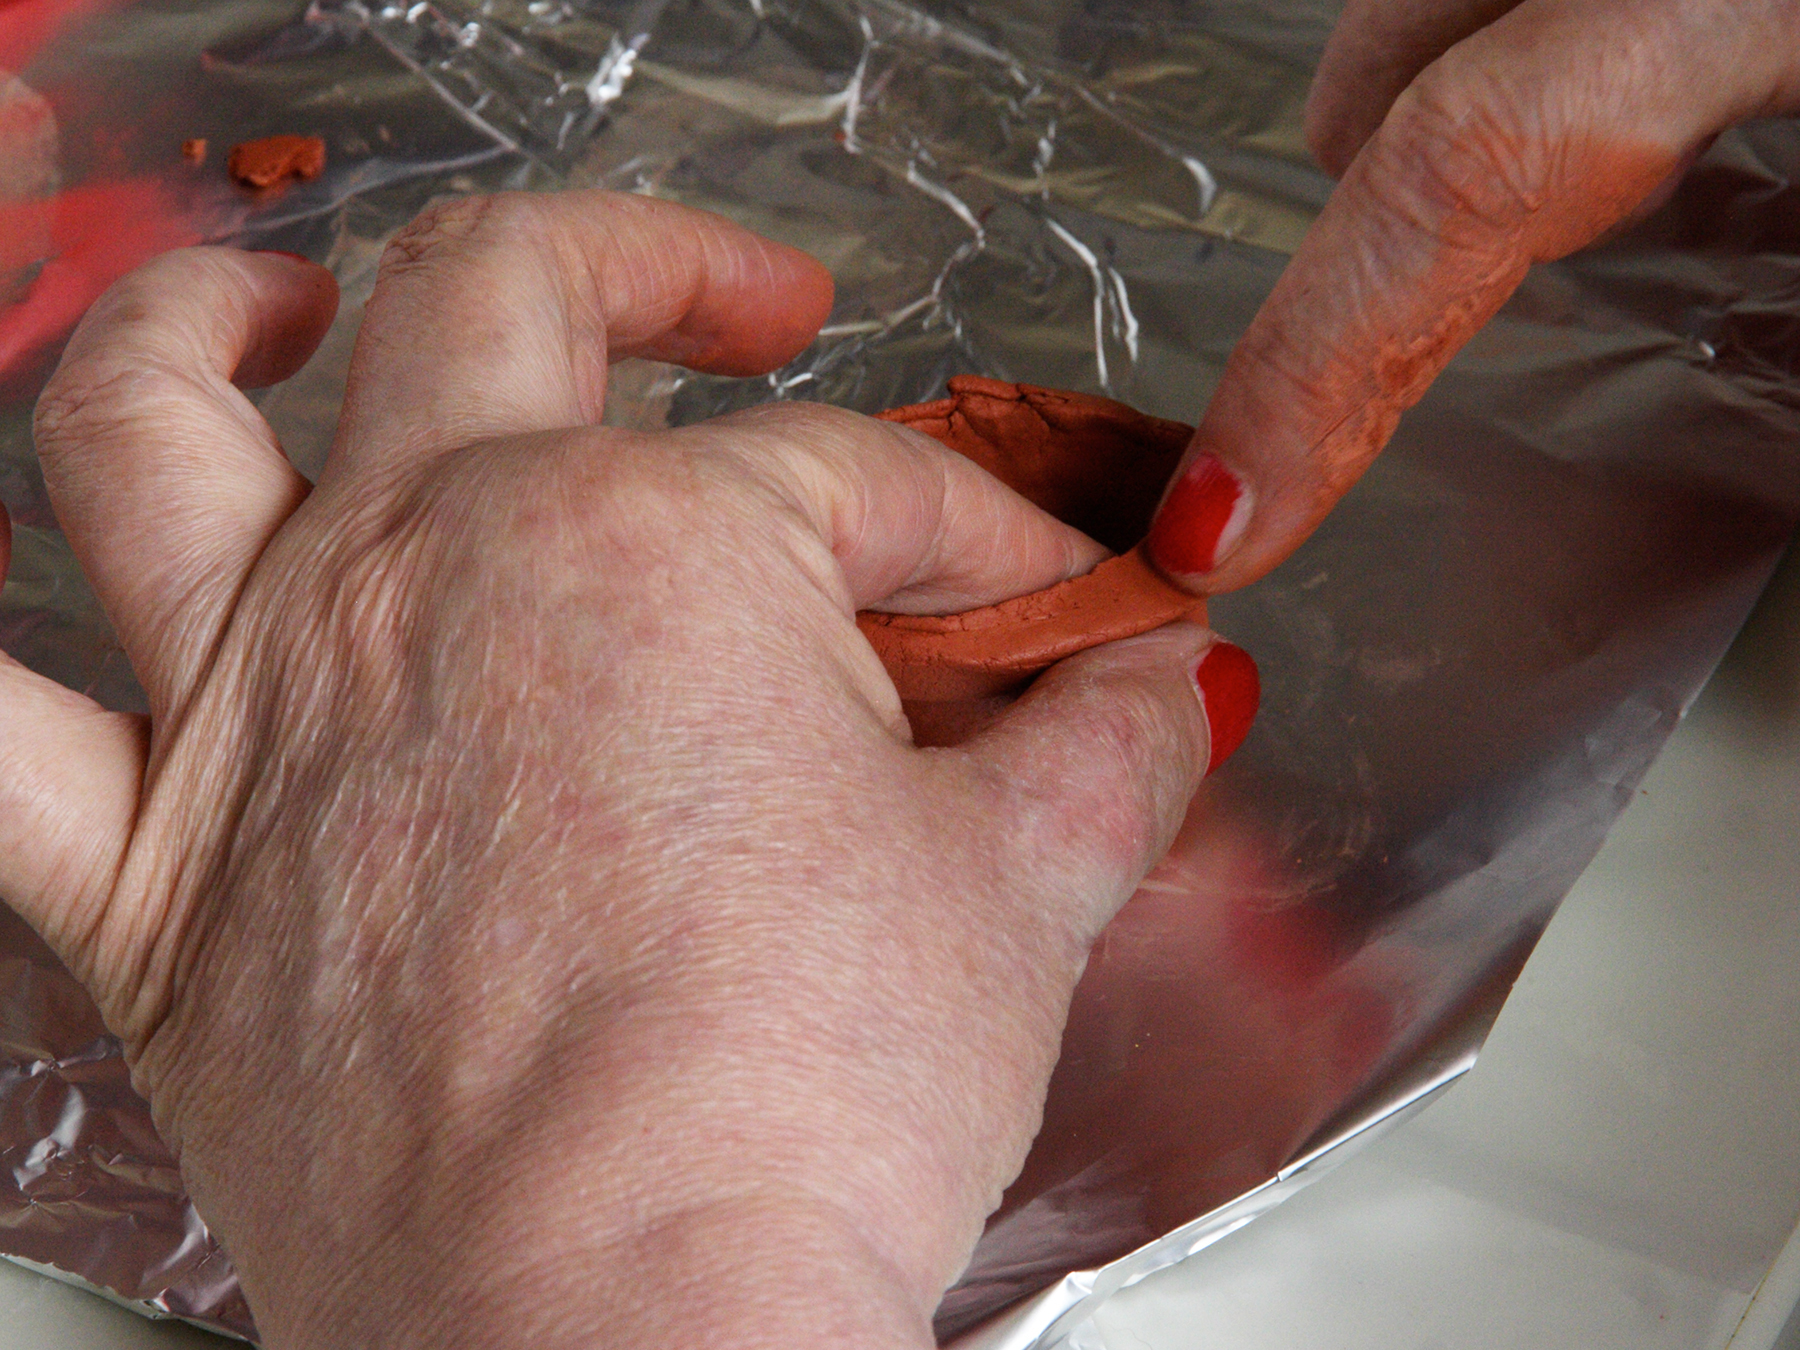
Stroke the double edge around the flower pot neatly smooth
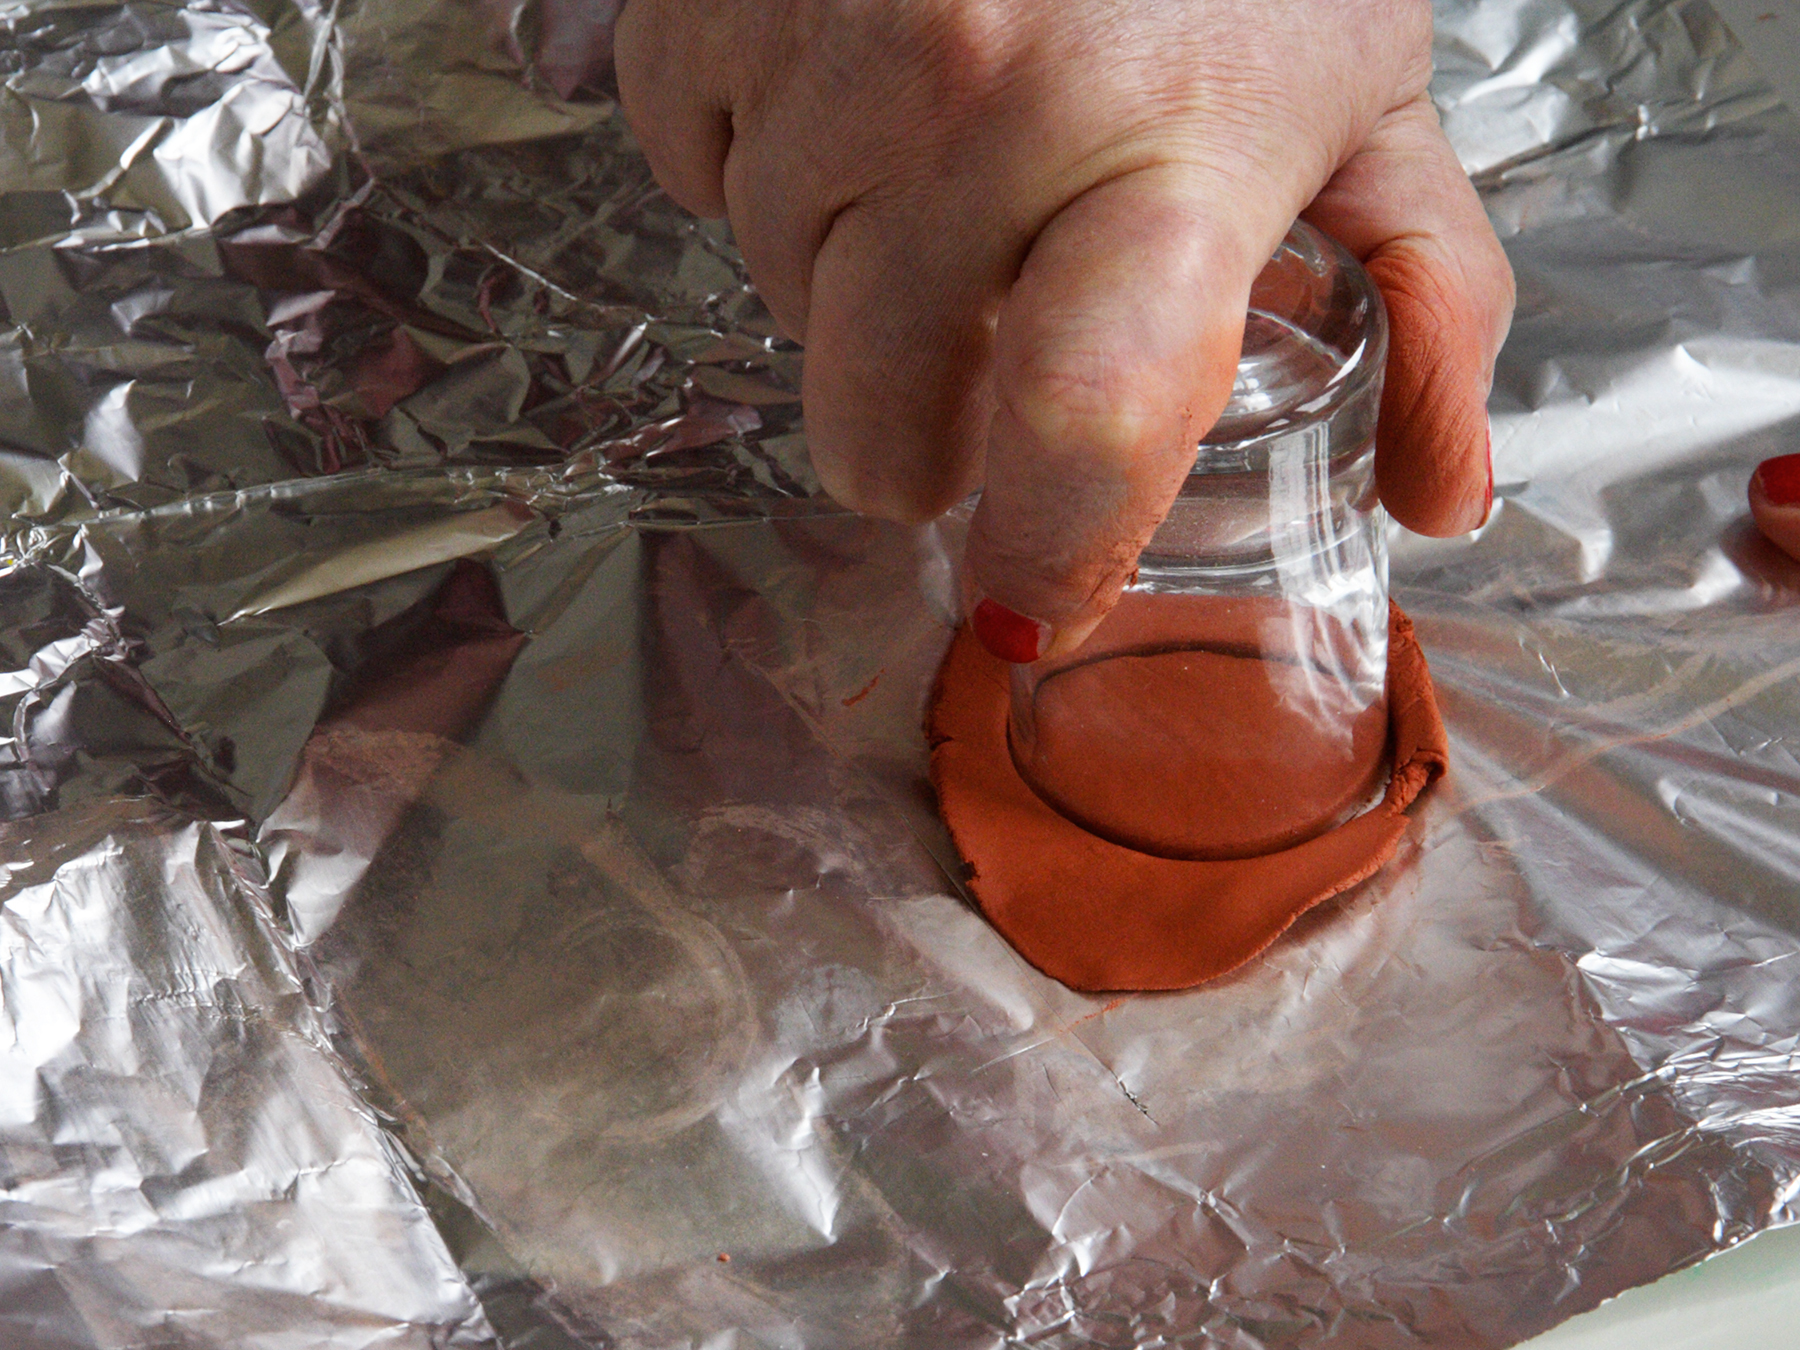
Put the pot aside, knead and roll another piece of clay +/- 1 cm thick.
Press out a circle from the clay, using a small glass.
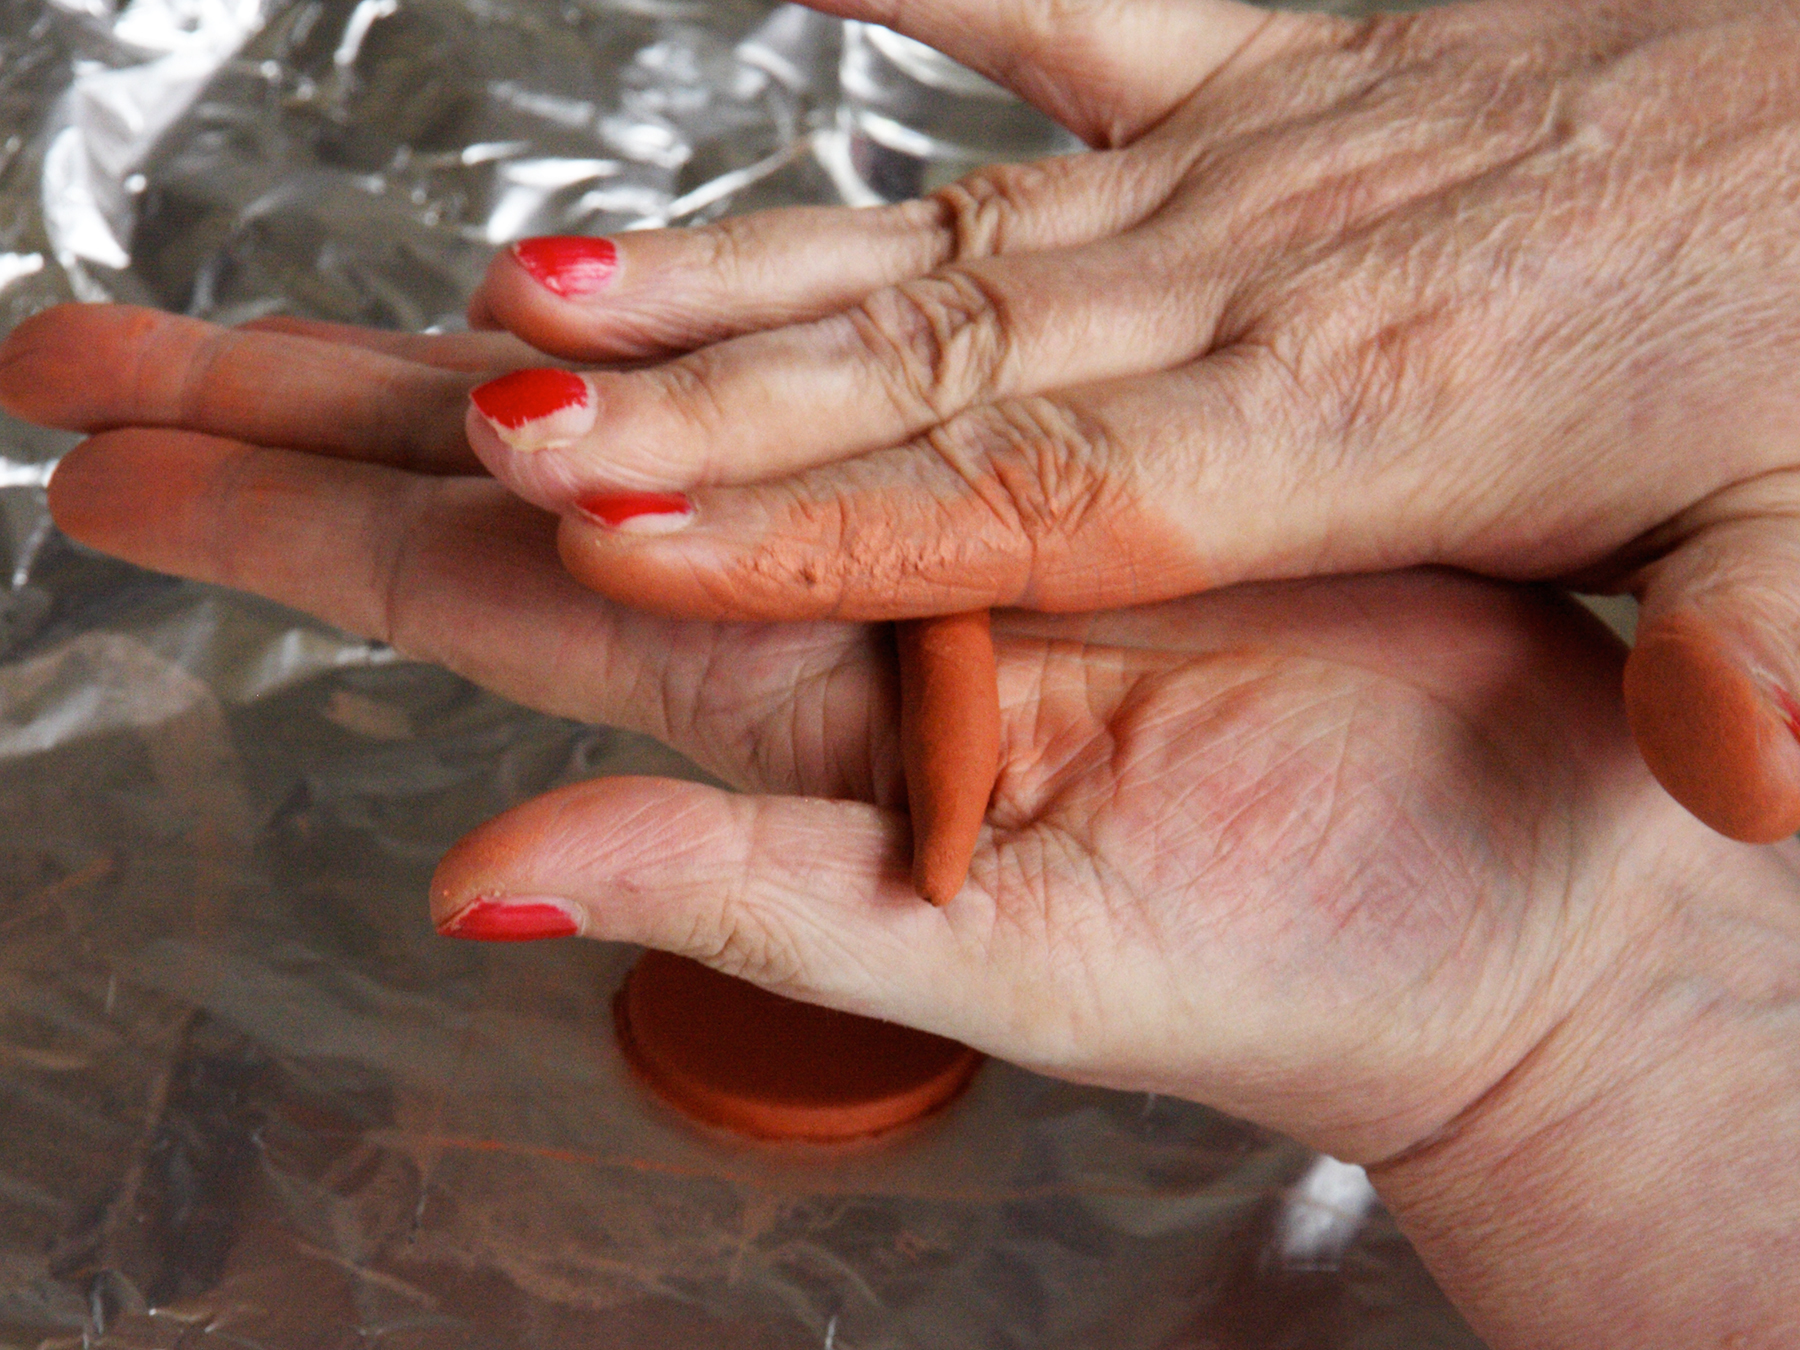
Roll a cylinder out of left over clay between your hands.
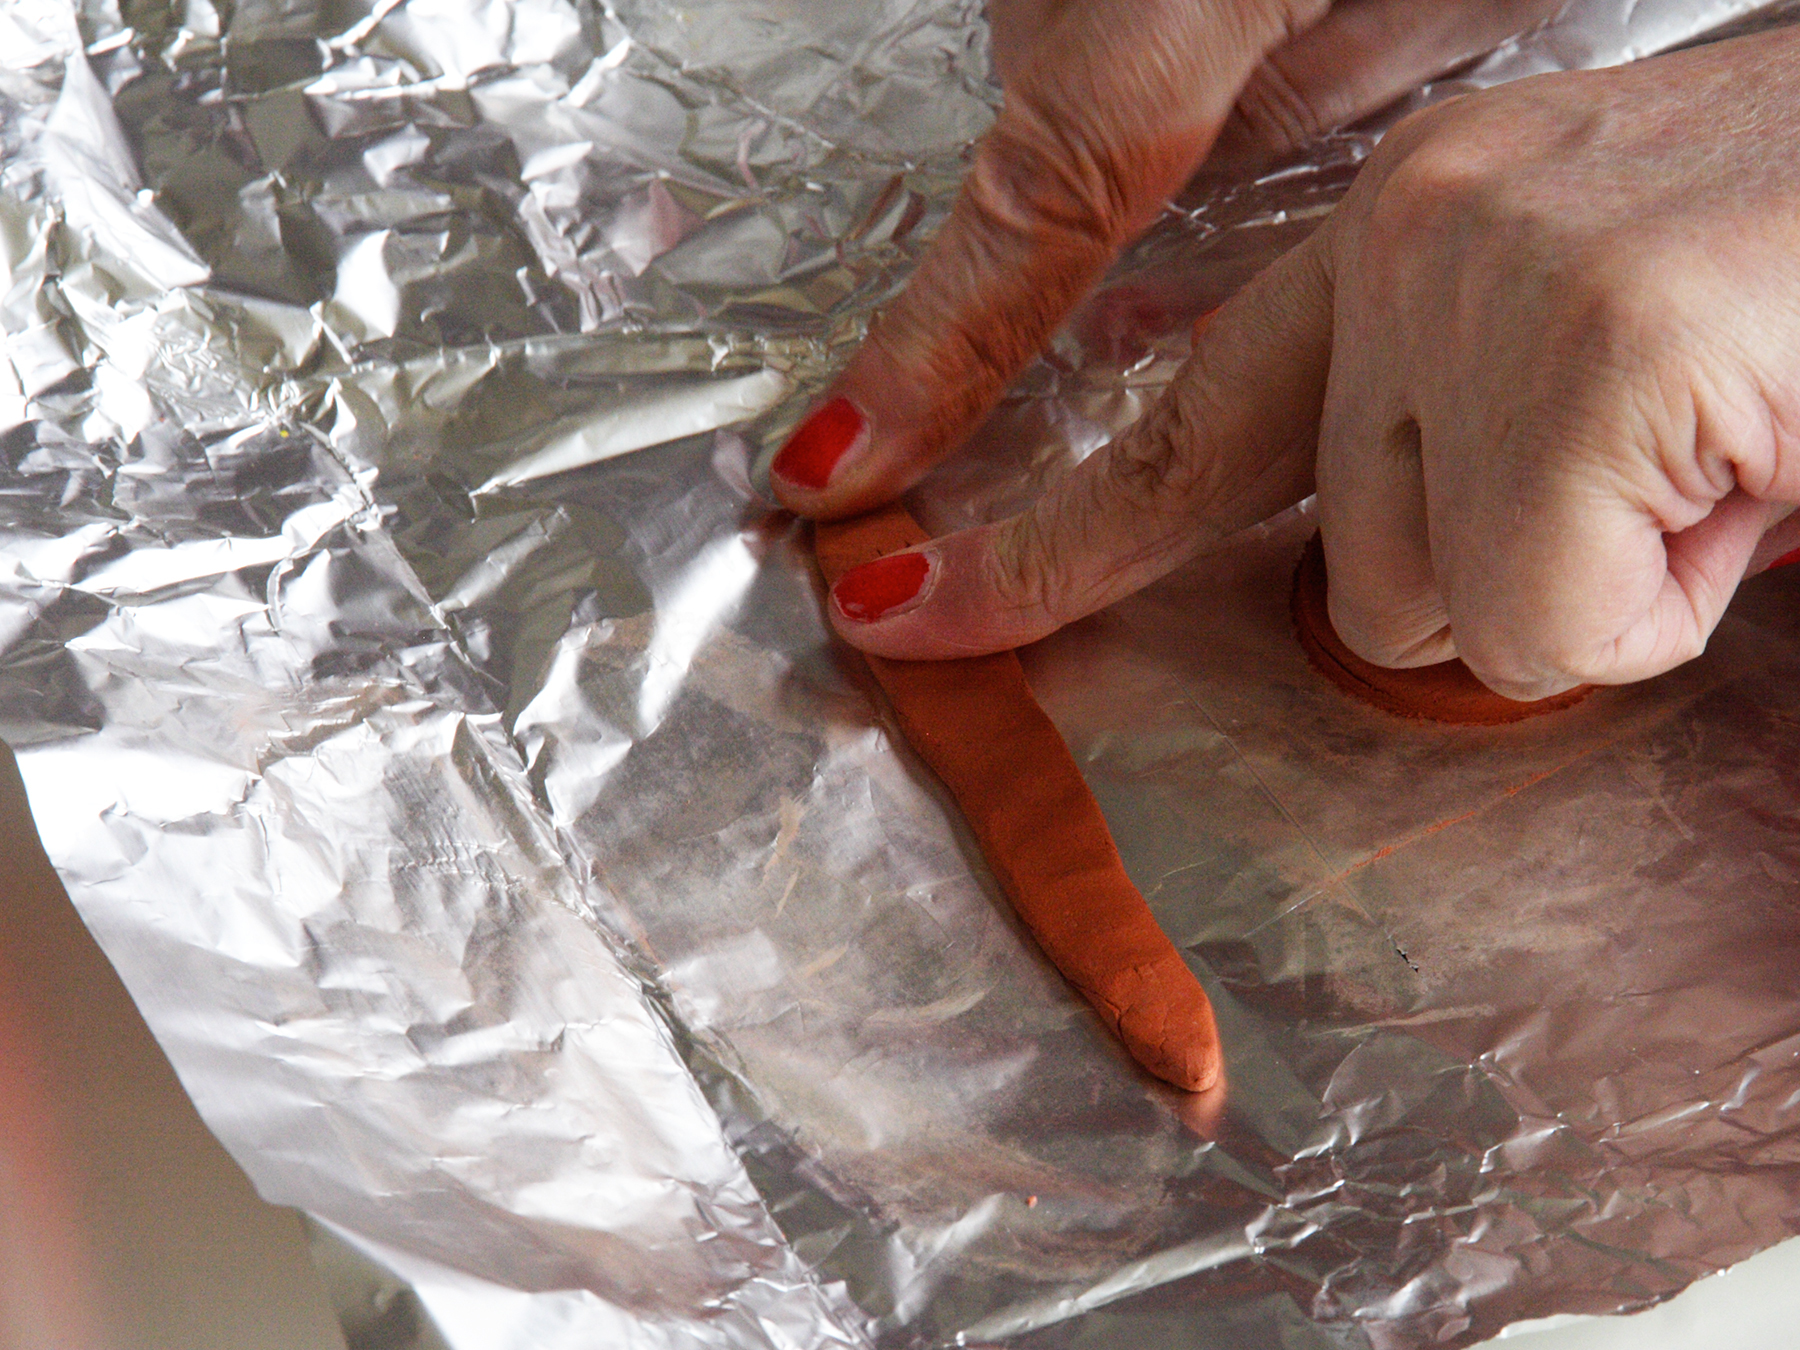
Flatten the cylinder, press or roll it.
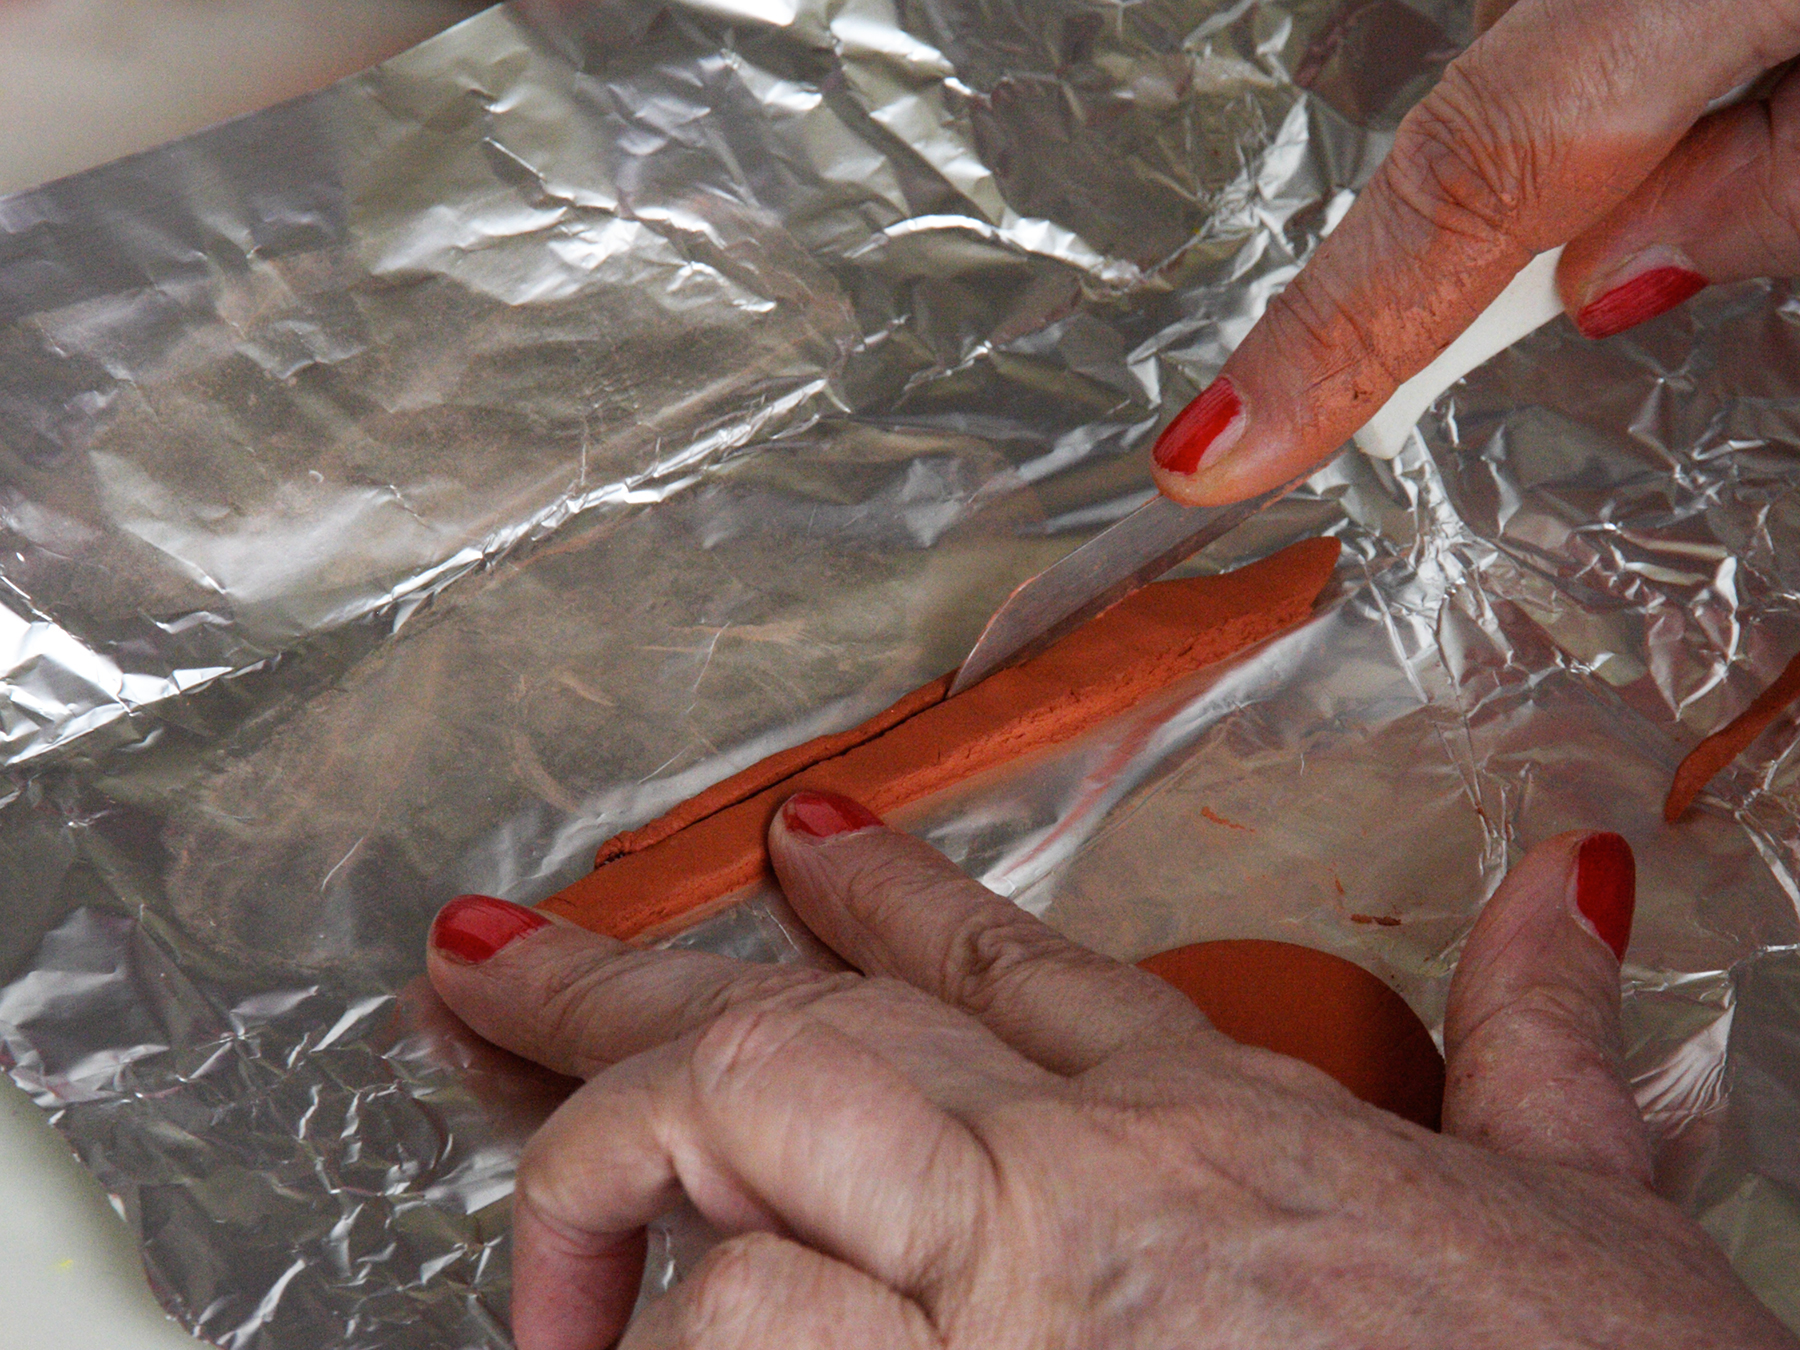
Cut out a straight strip to fit the circle.
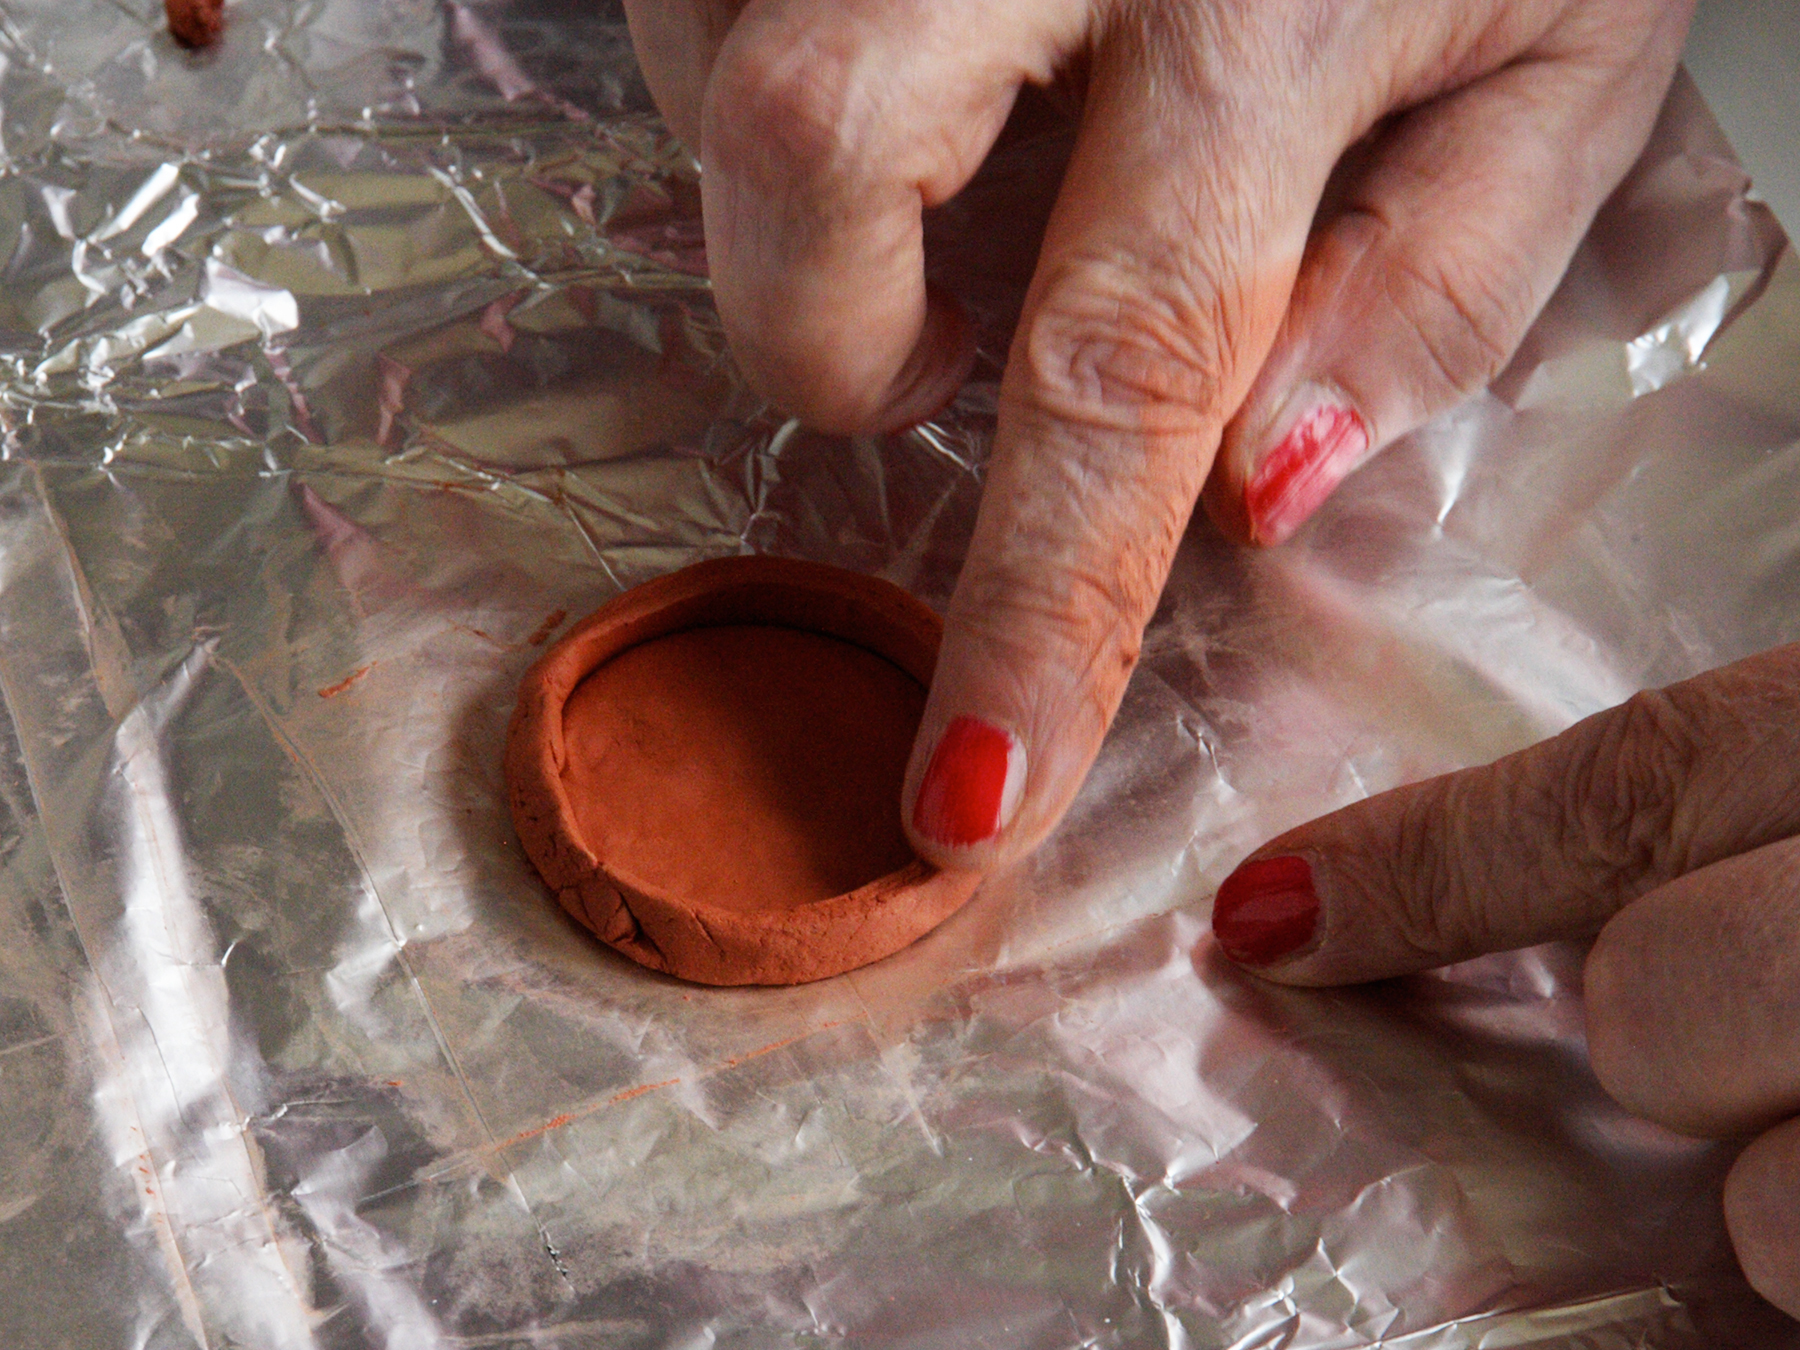
Gently press the strip around the circle.
Rub the underside and the top edges smooth with your fingers.
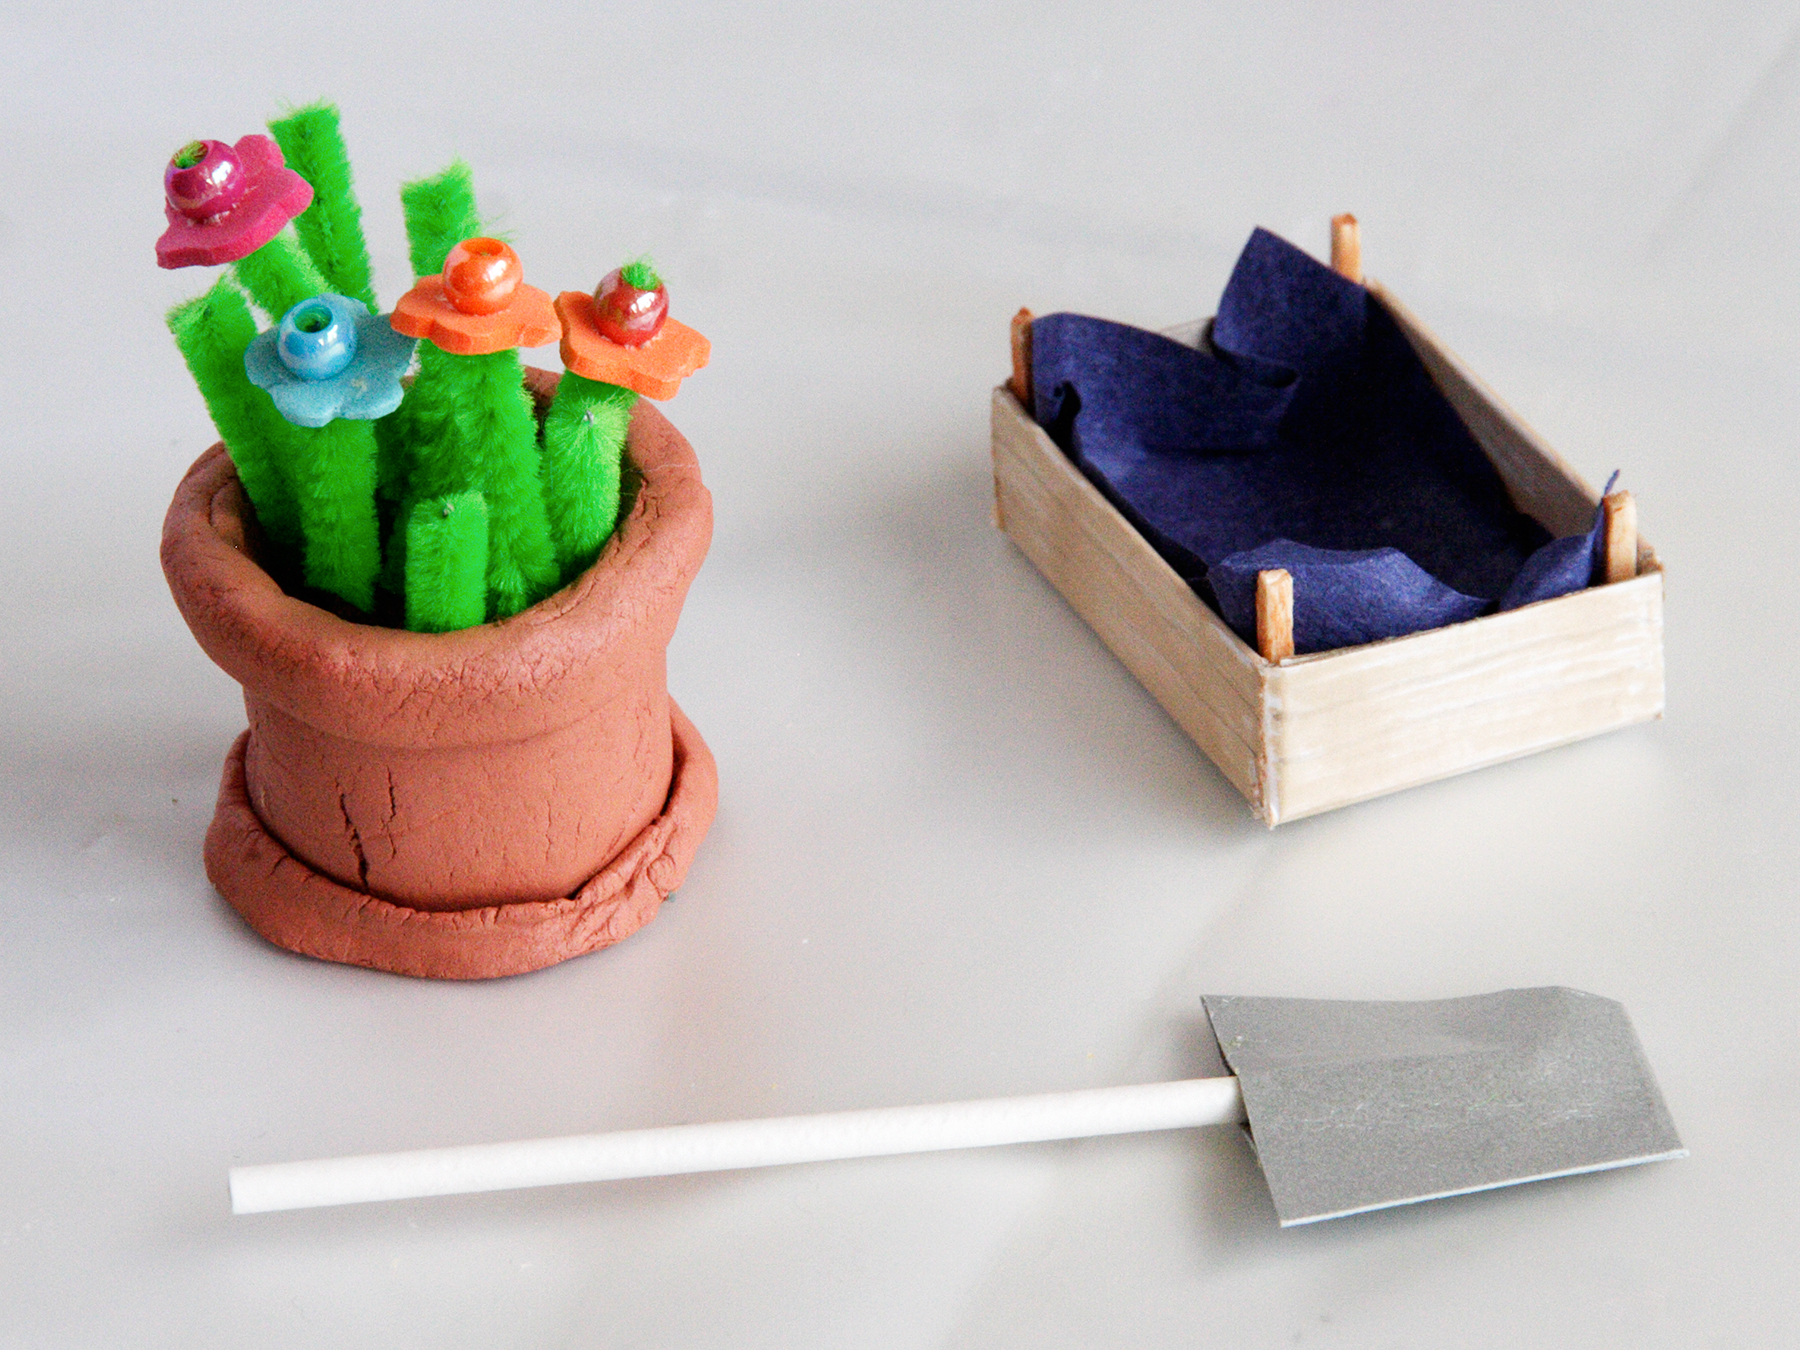
Leave a little crack here and there, that makes it look real.
Press the pot on the saucer and allow the clay to thoroughly dry for at least two nights. Nex week we complete the flower pot!