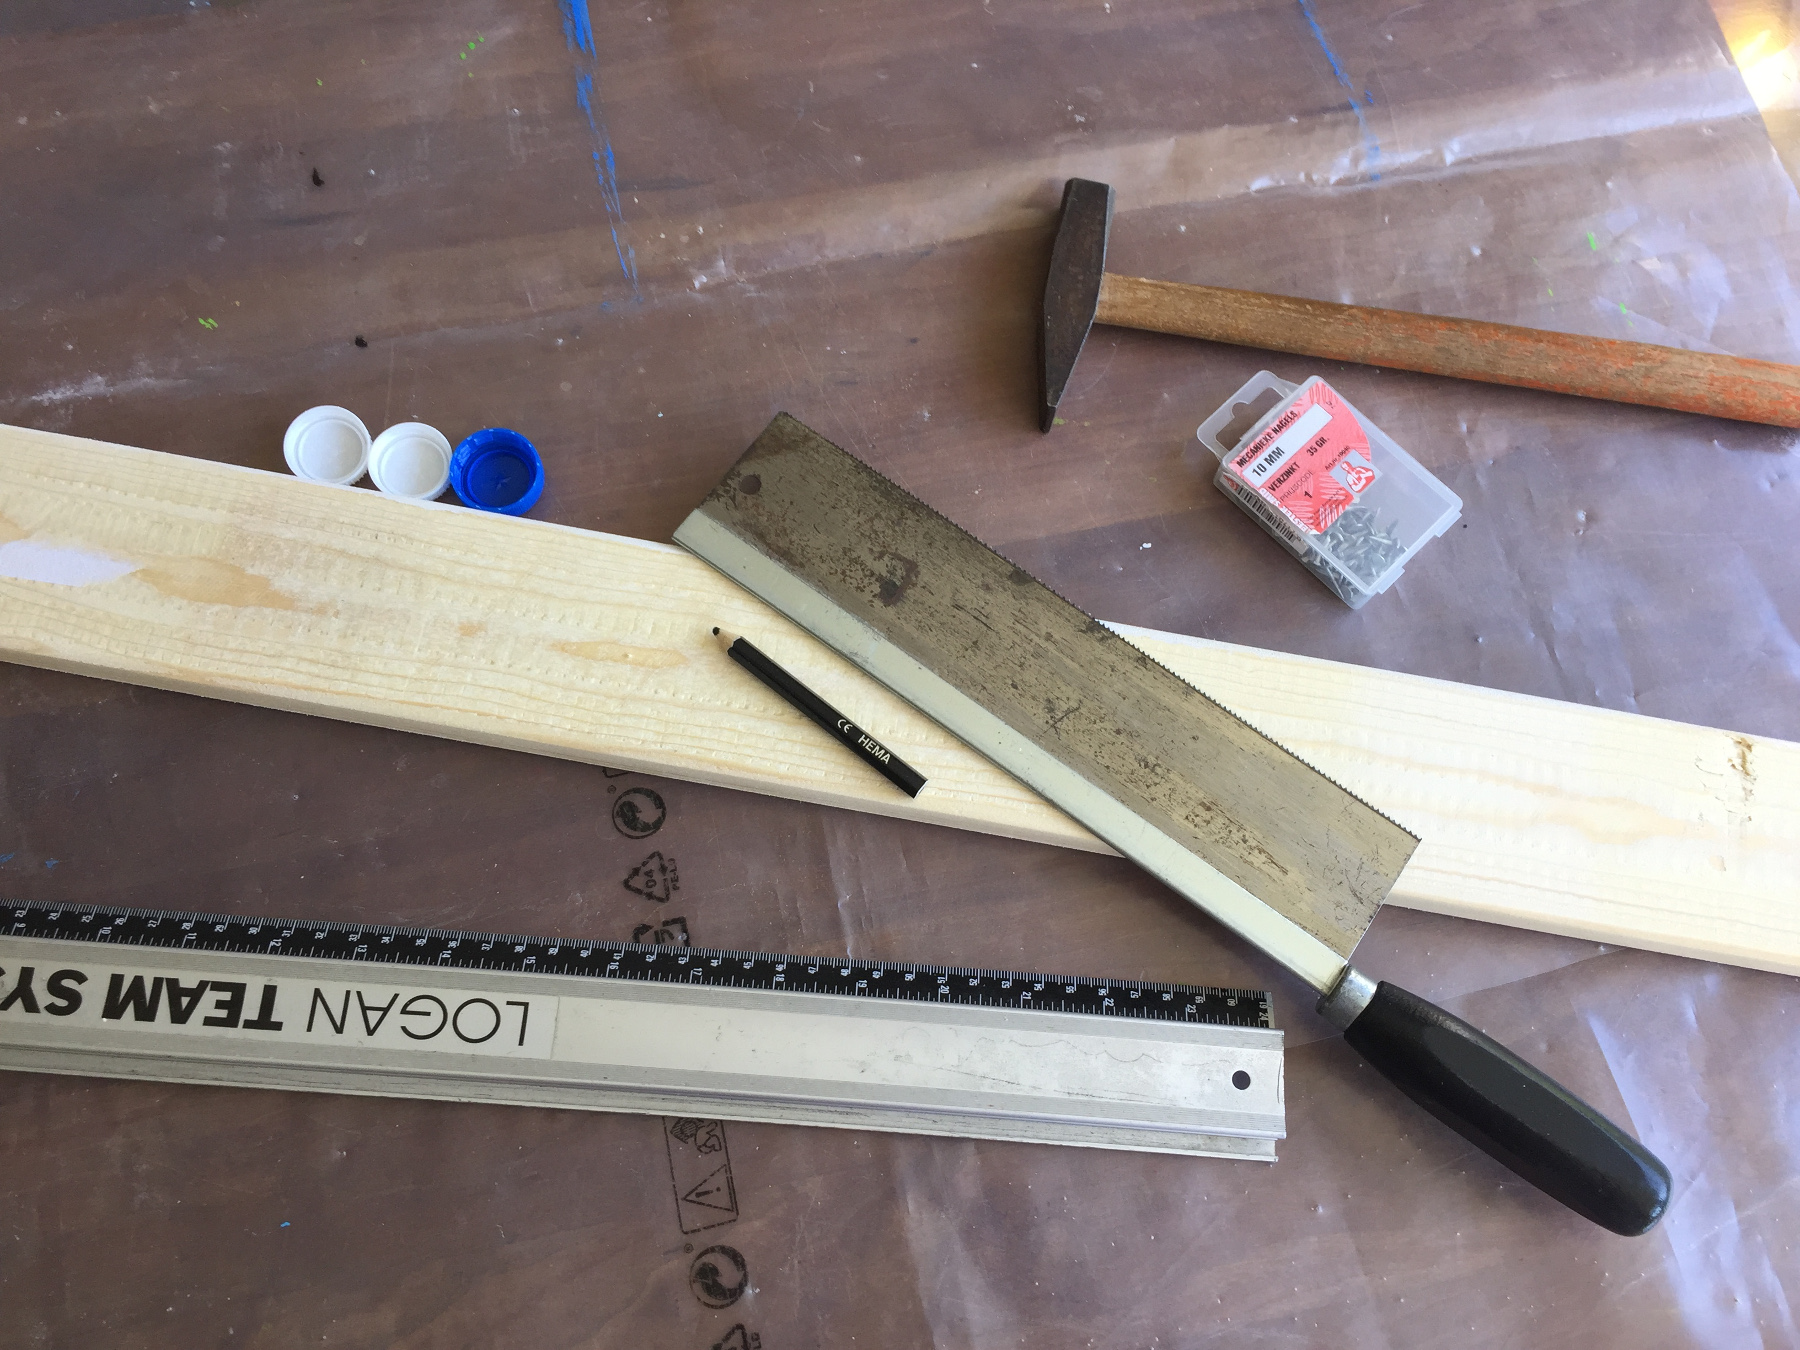
What do you need?
a plank of 25x10cm
a pencil and ruler
optional a saw
some nails with big heads
plastic bottle caps
a hammer
coloured markers
Last year we joined the Oerrr Bee Brigade, they really needed help! We do not regret it because we learn a lot about the bee and also about nature in general. The cards we receive by post often have fun craft ideas. For example, we made Insect Hotels last year and today we are making a drinkring place for the bees.
When it is very hot and it has not rained in days, it can be very difficult for bees and bumblebees to find clean drinking water. As you know, the bees and bumblebees are well represented in our garden. Sometimes we saw them sitting on the floor, very drowsy, but we did not know why. Turns out that such a bee can be dehydrated. Of course we want to prevent that and that is why
How to make a bee drinking place
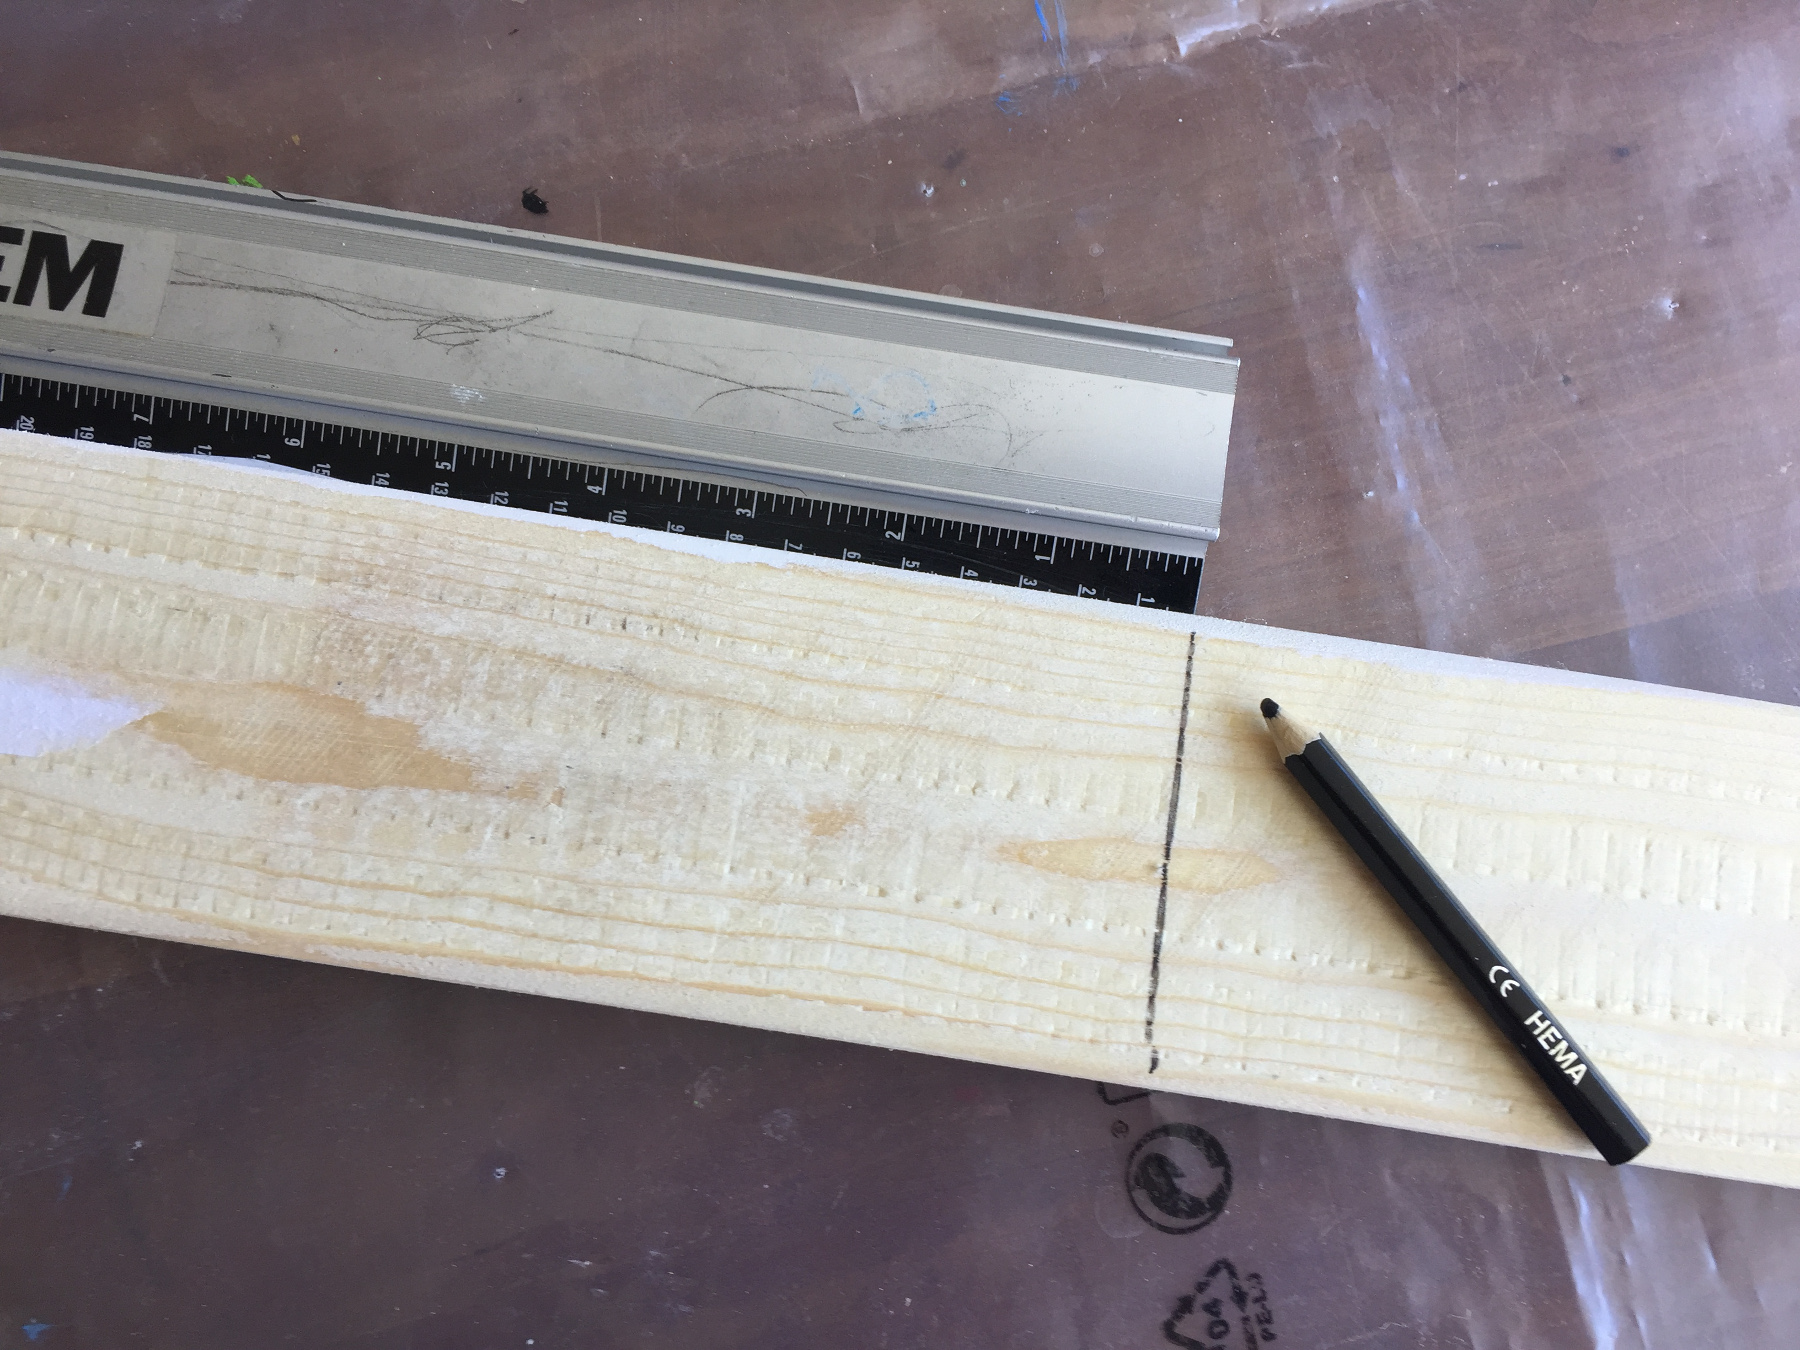
Measure a plank, draw a line and saw it off on the line.
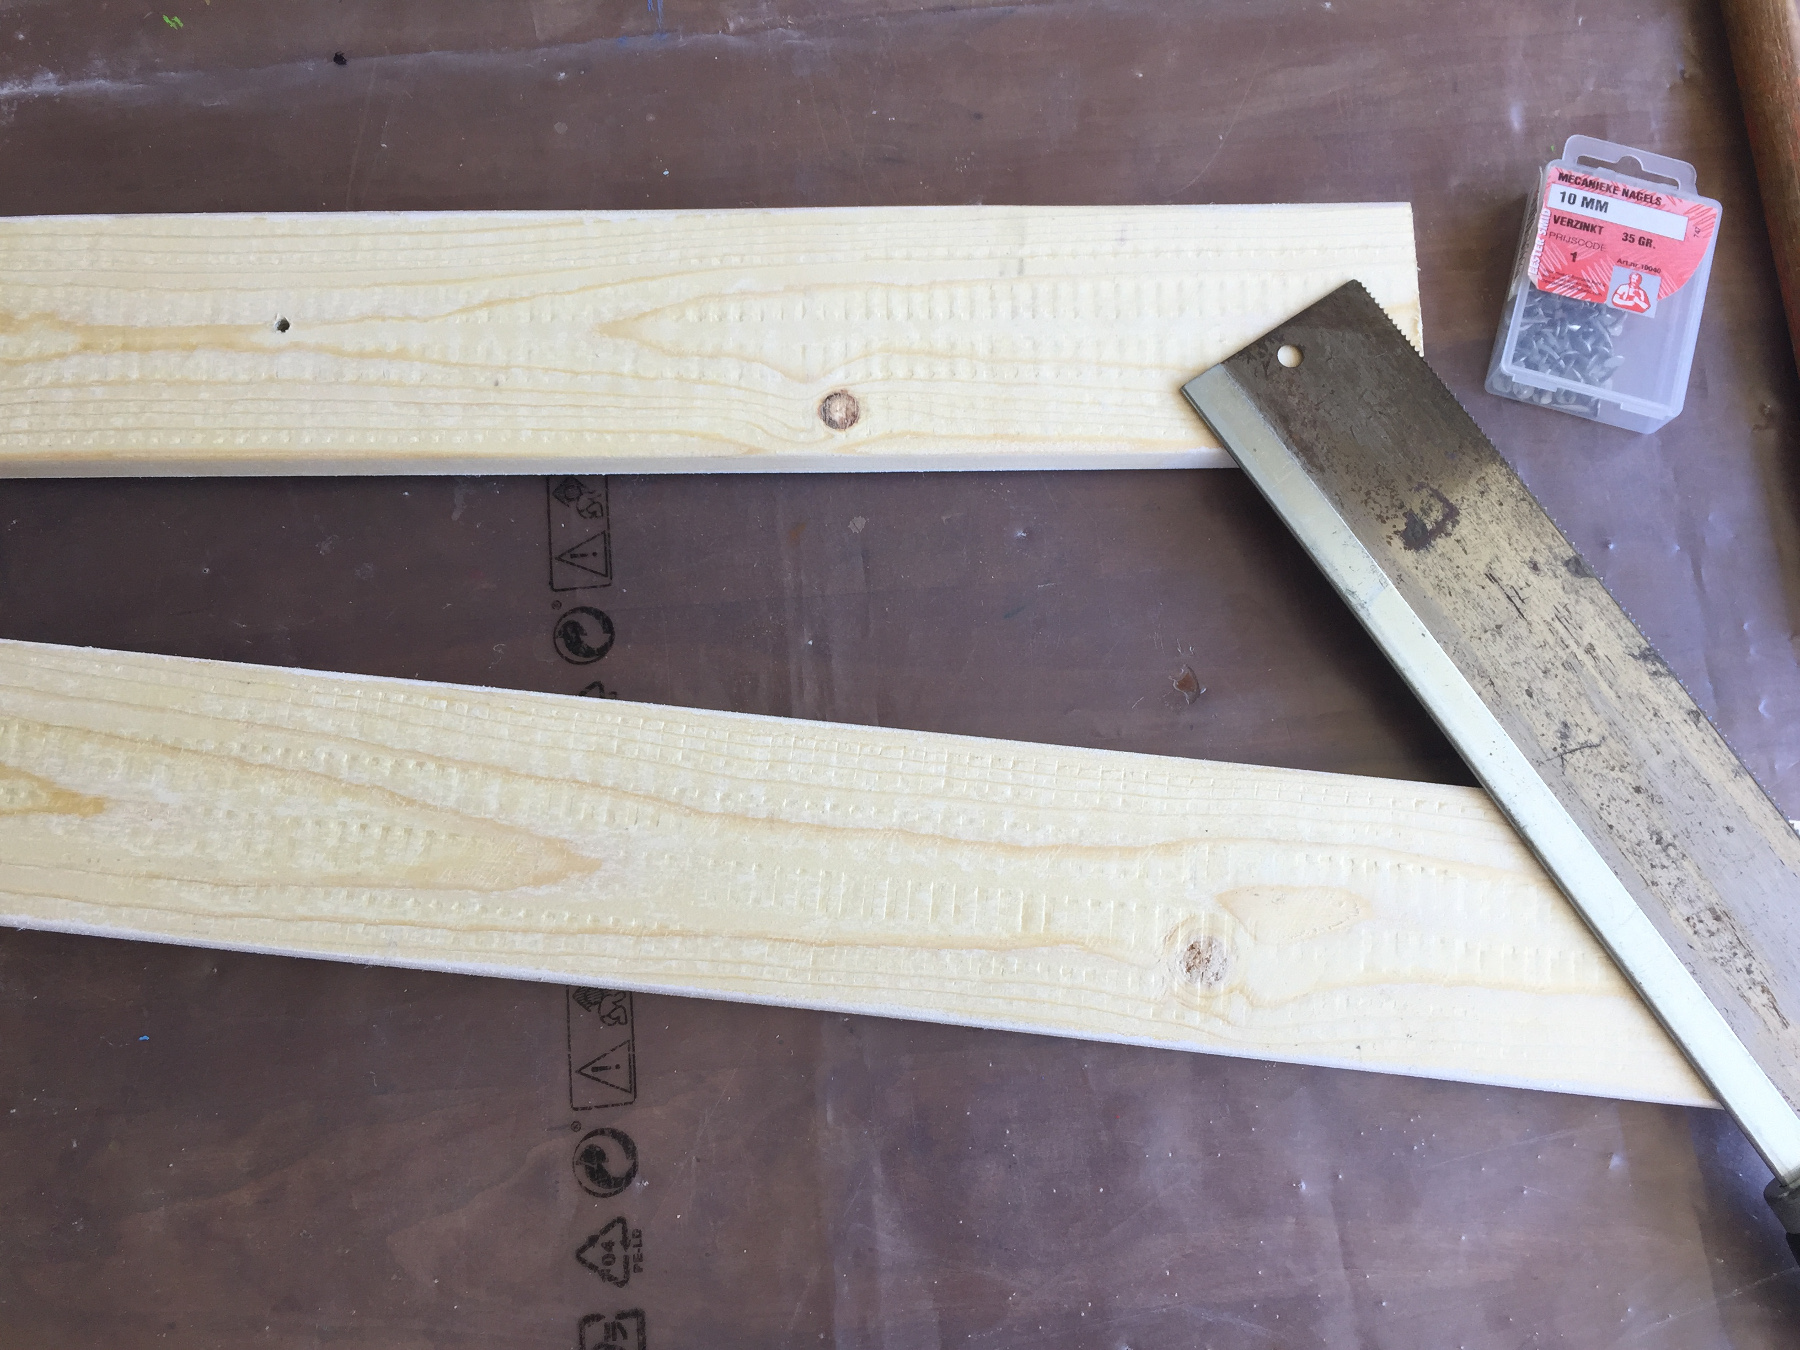
We saw off two, one for a mini-monster to take home and one stays here.
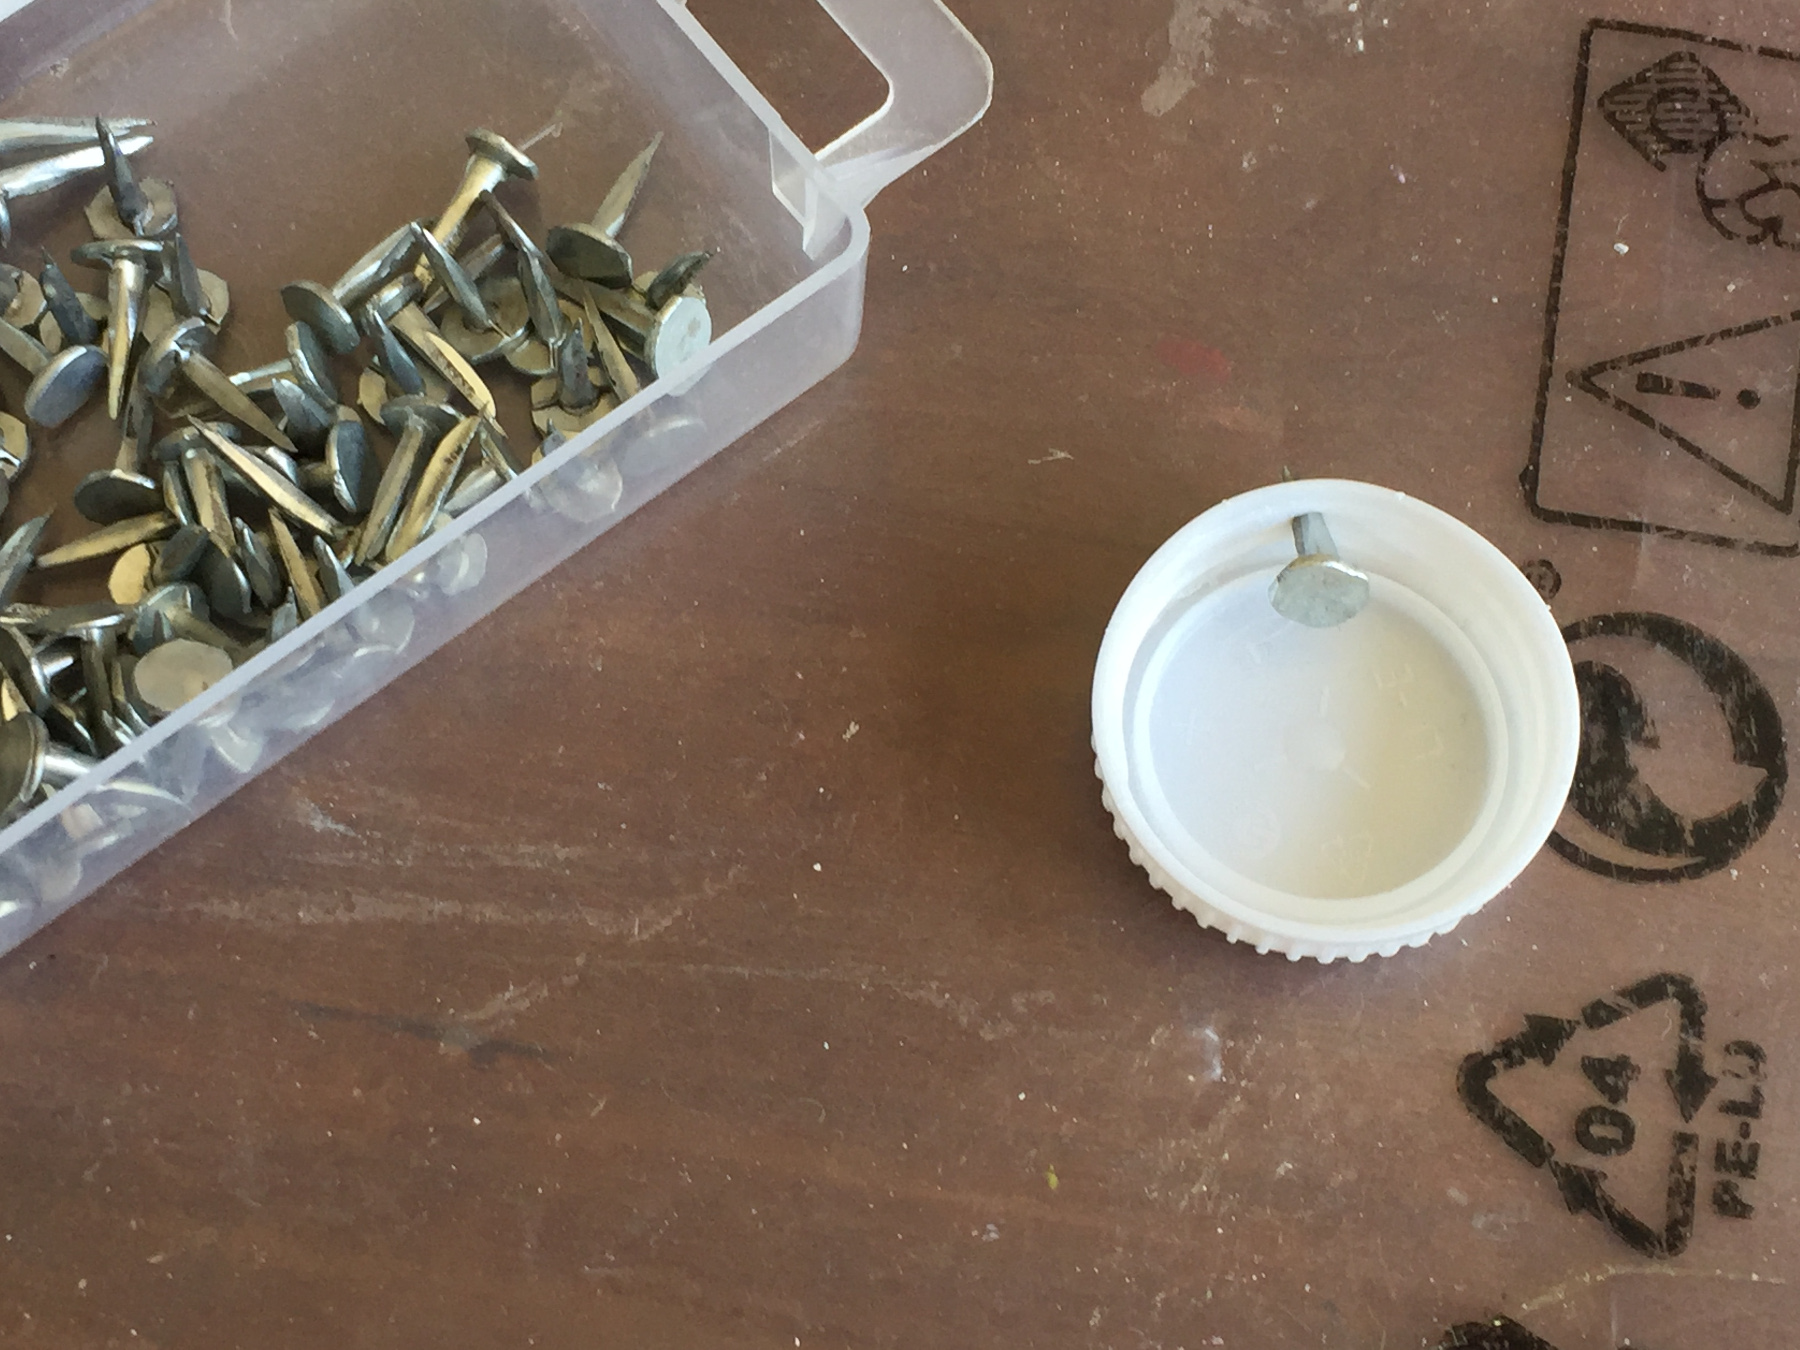
You can push the 10mm nails easily through a milk bottle caps.
Then push the point of the nail a little into the wooden plank.
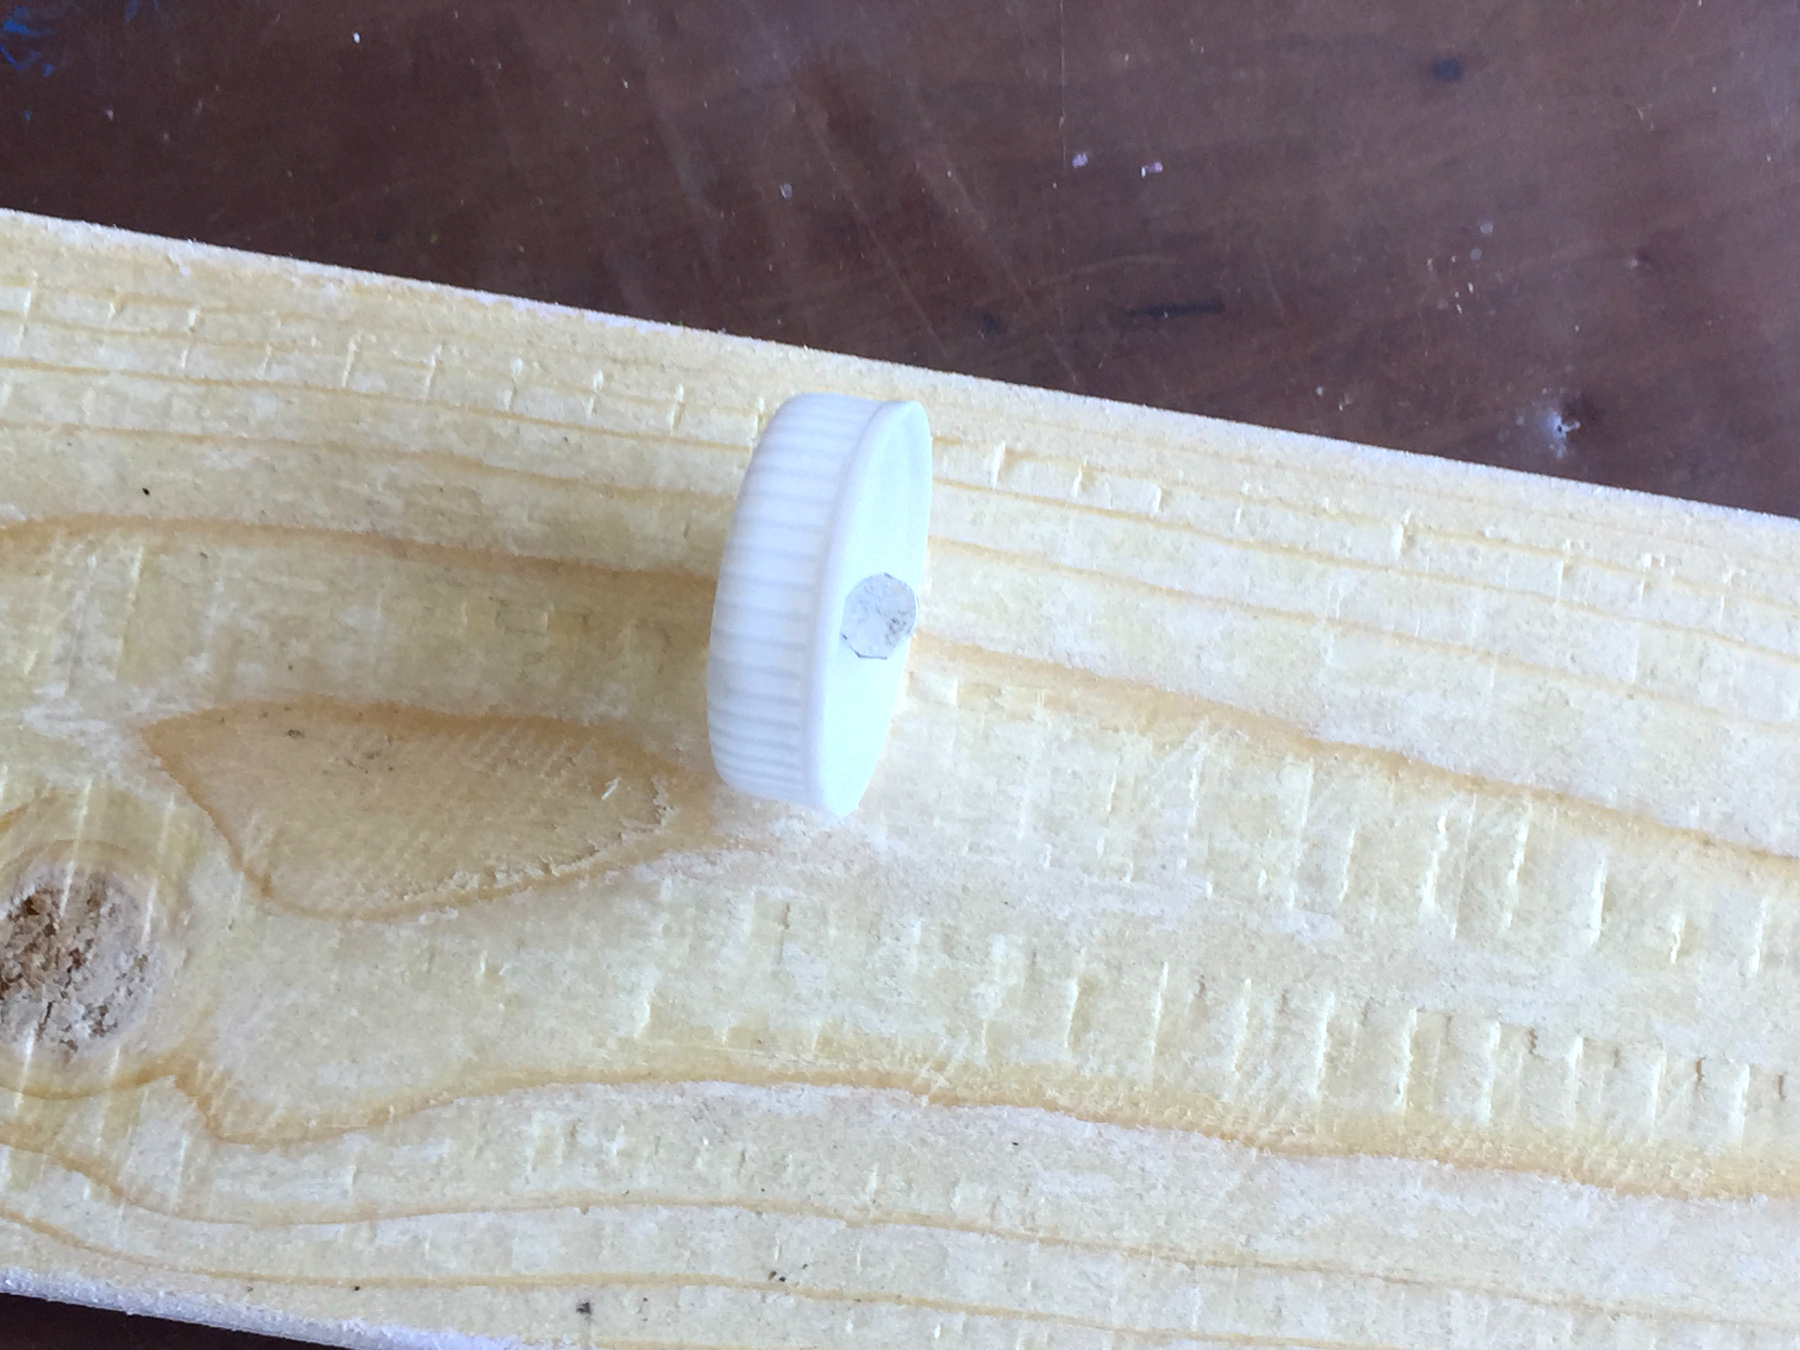
Now use the hammer to tap the nails firmly into the wood, for the little ones we hammer and saw of course. Bigger kids - from about 10 years old - can do it themselves under supervision.

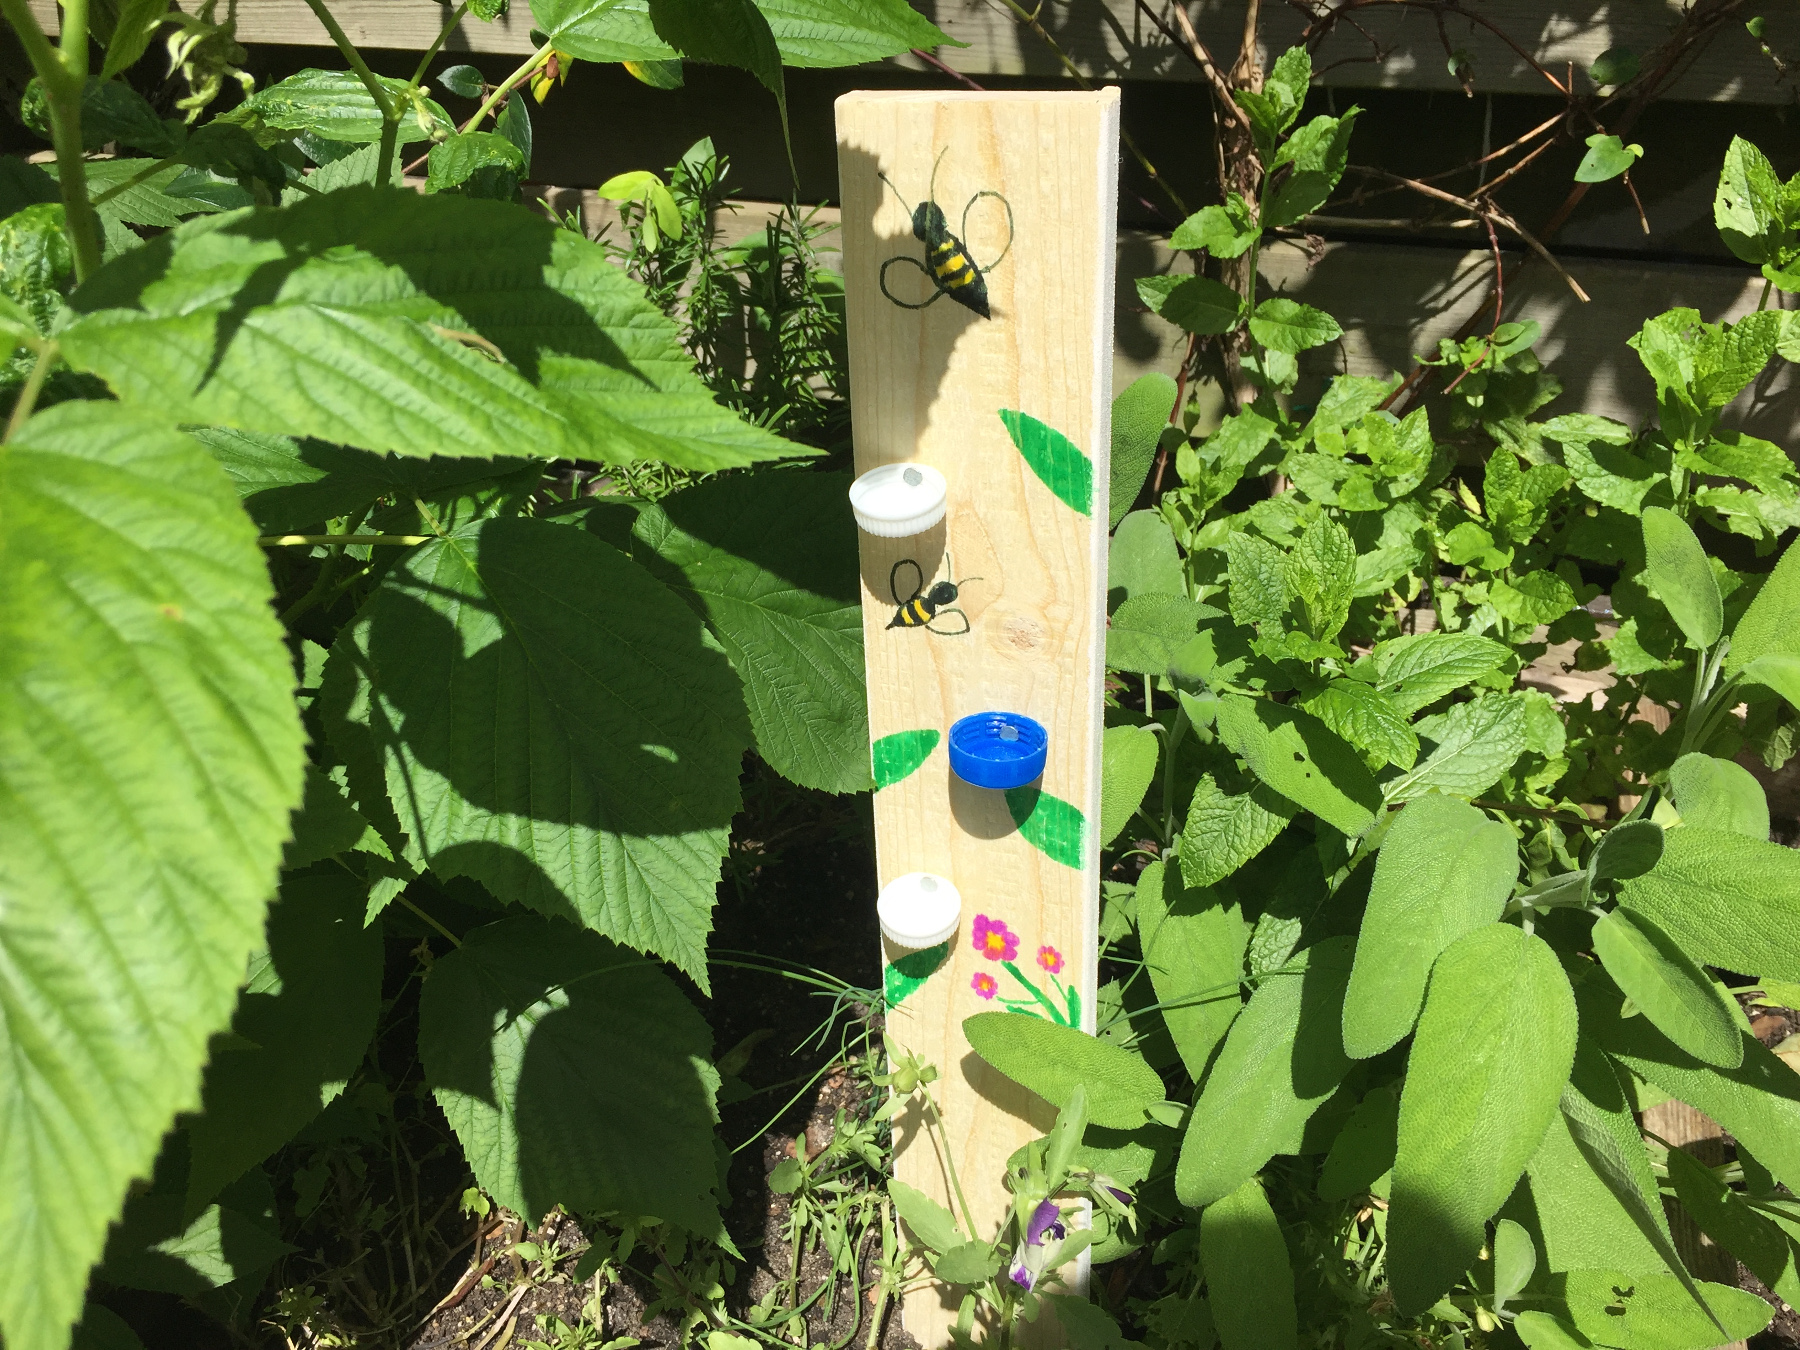
The caps are exactly the right size for the bees.
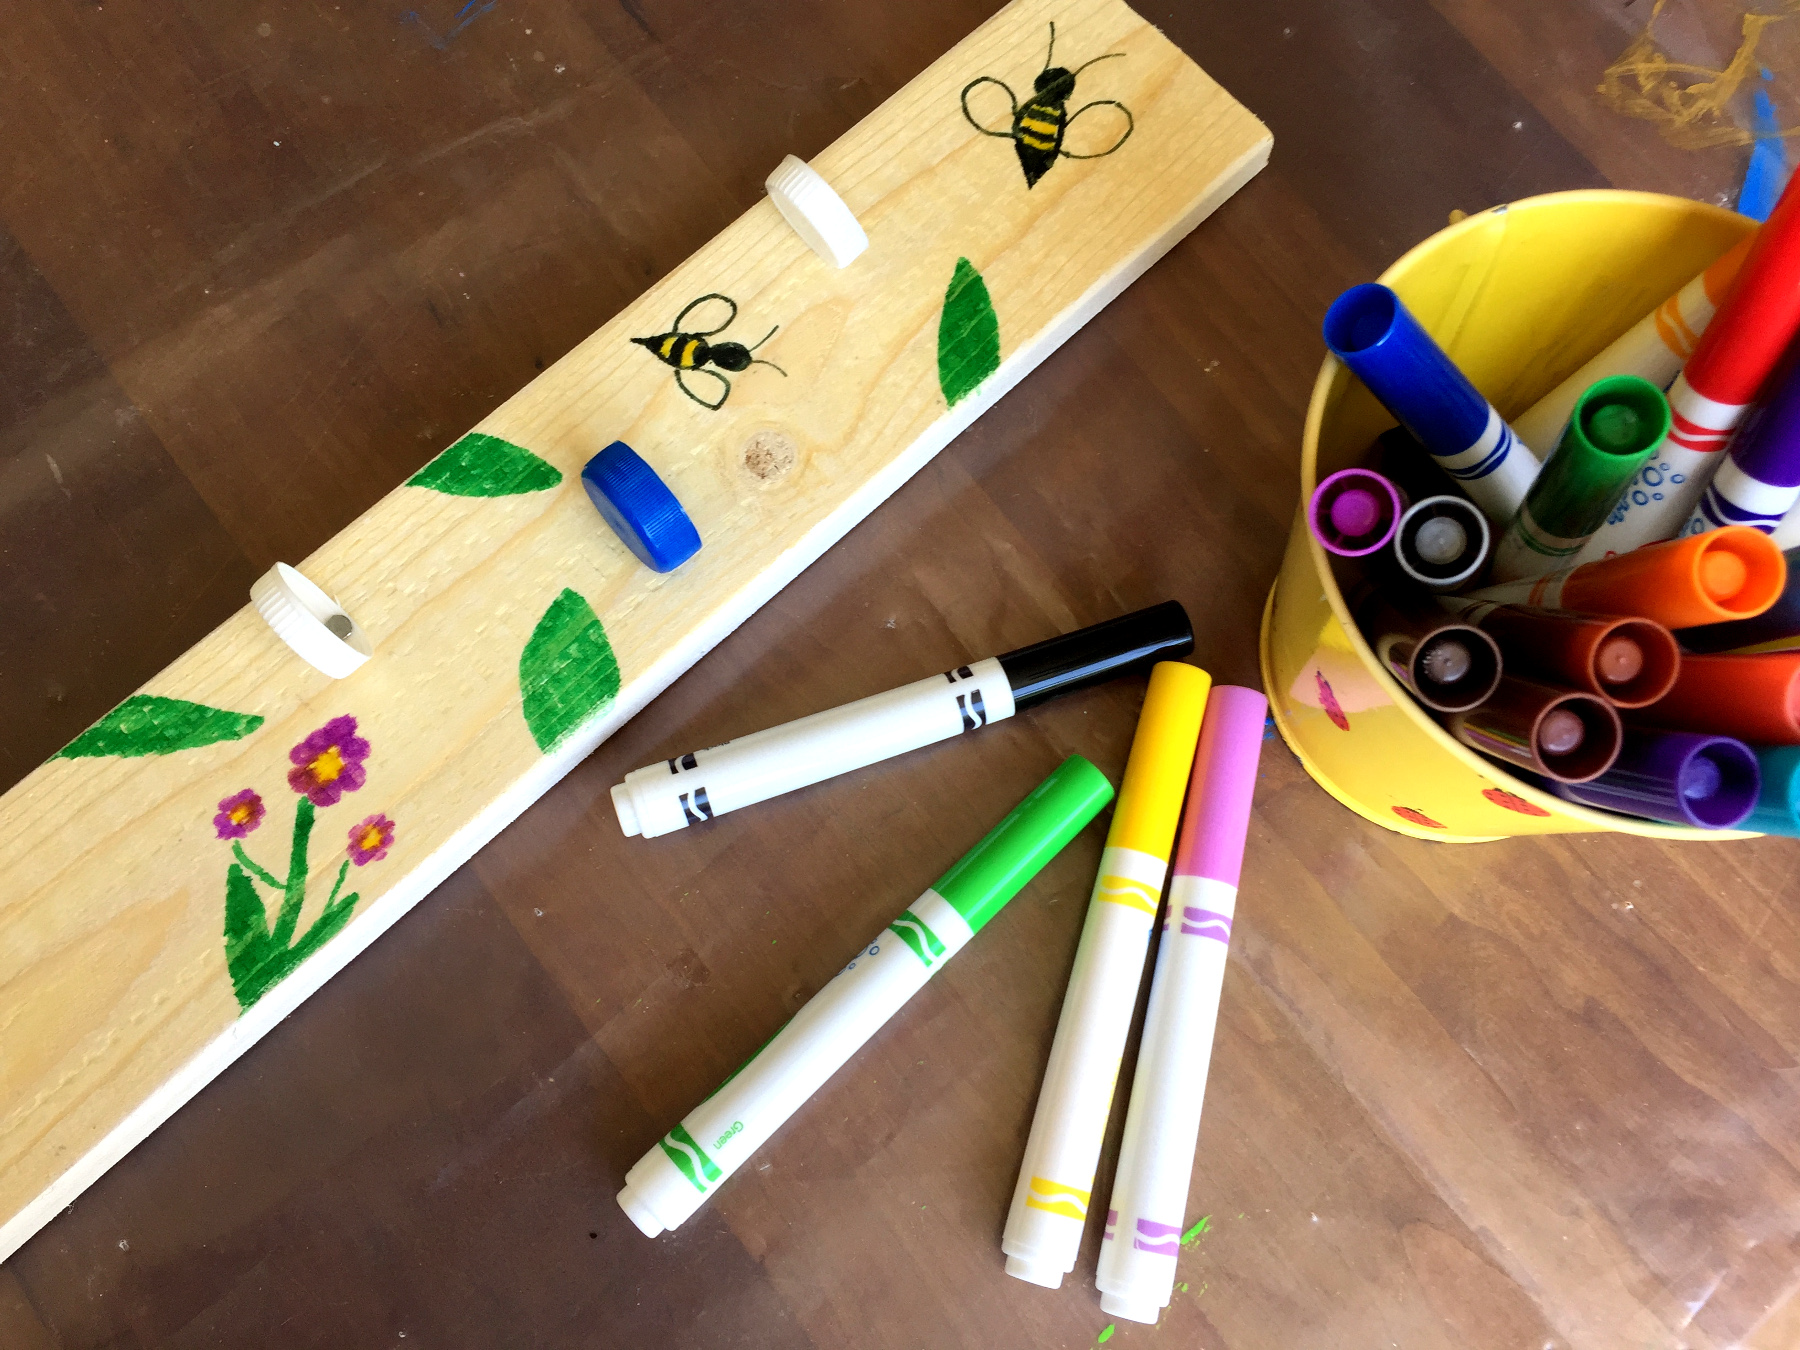
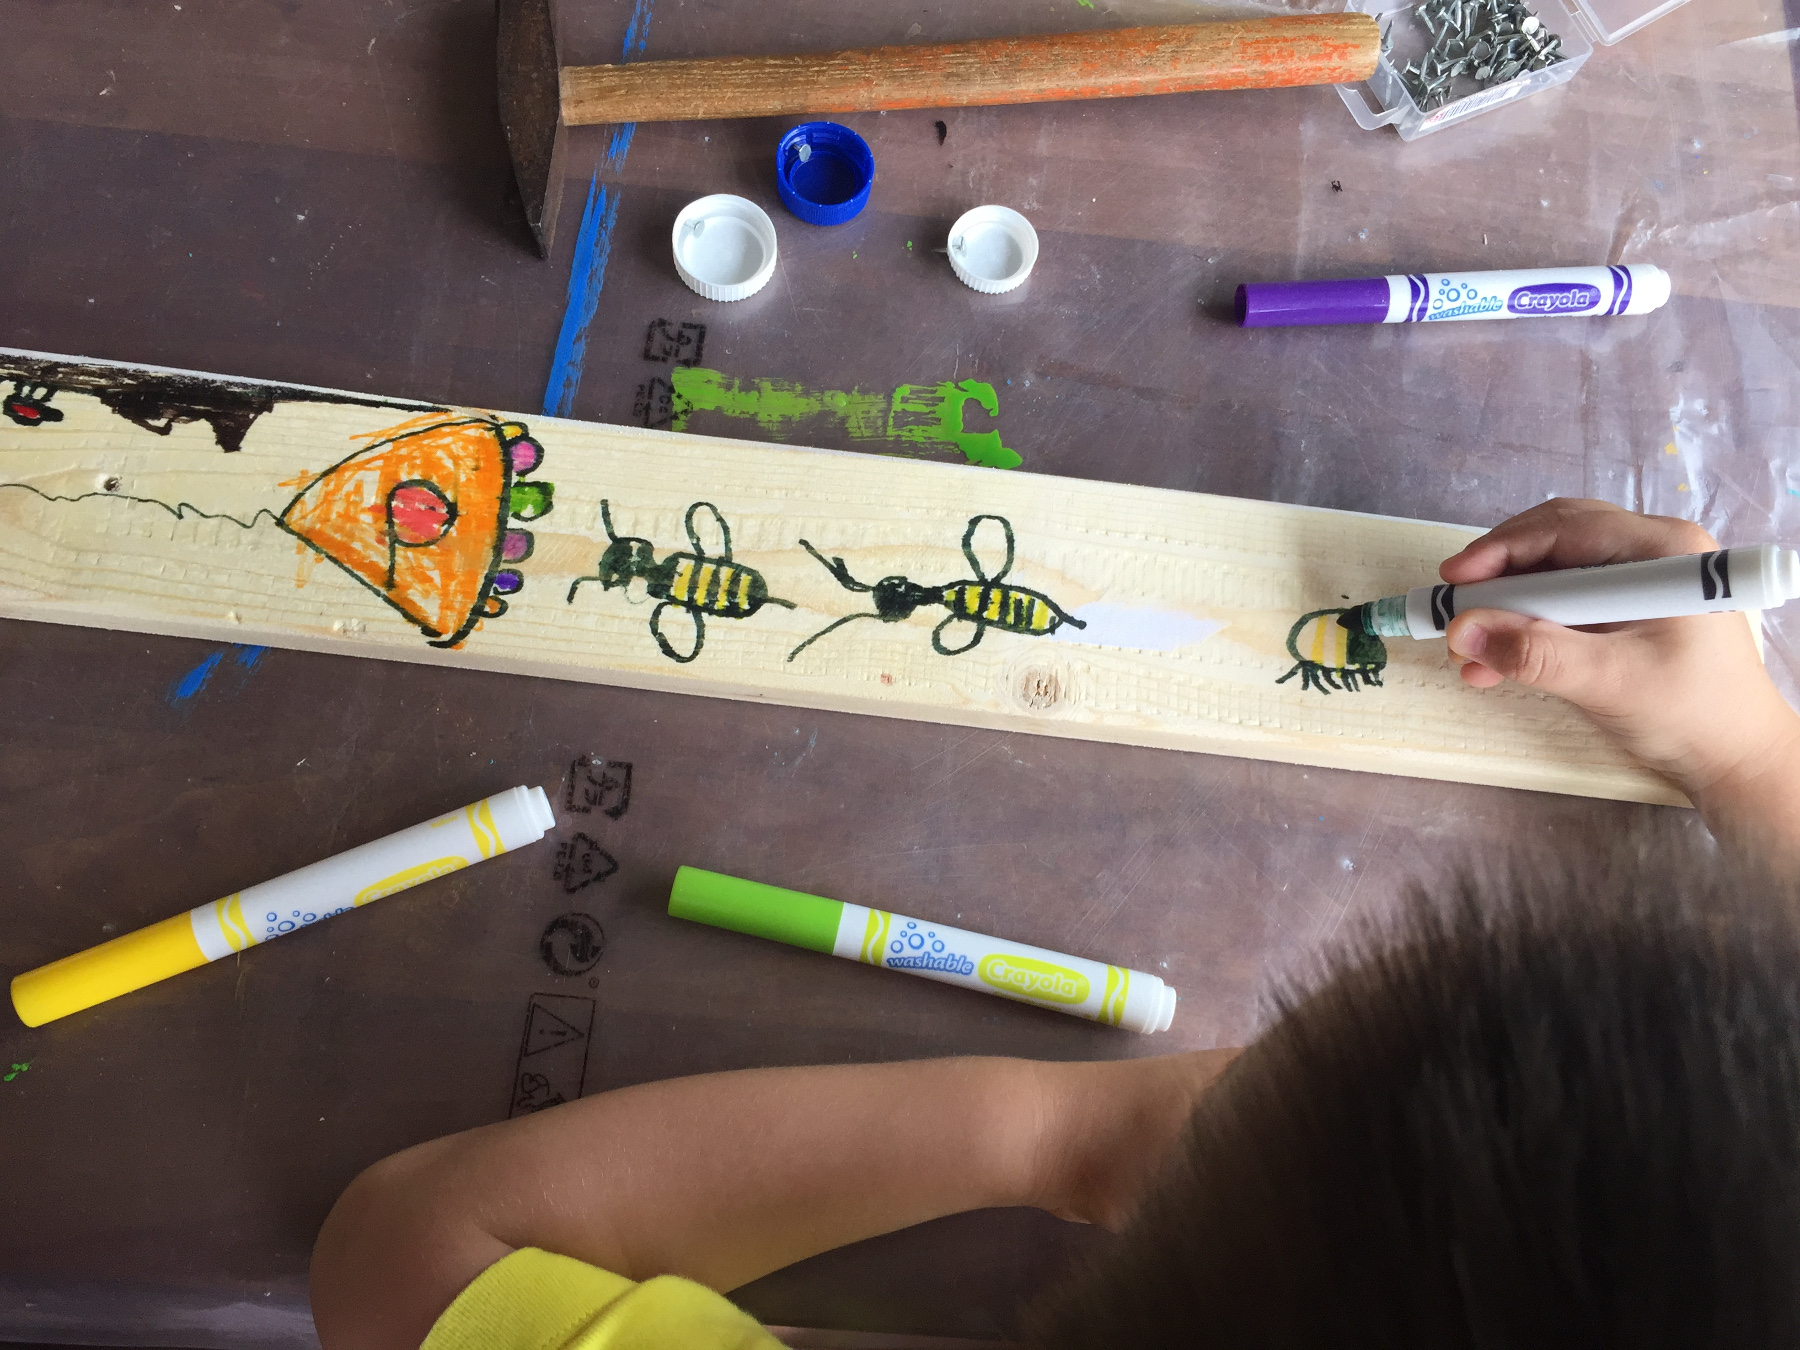
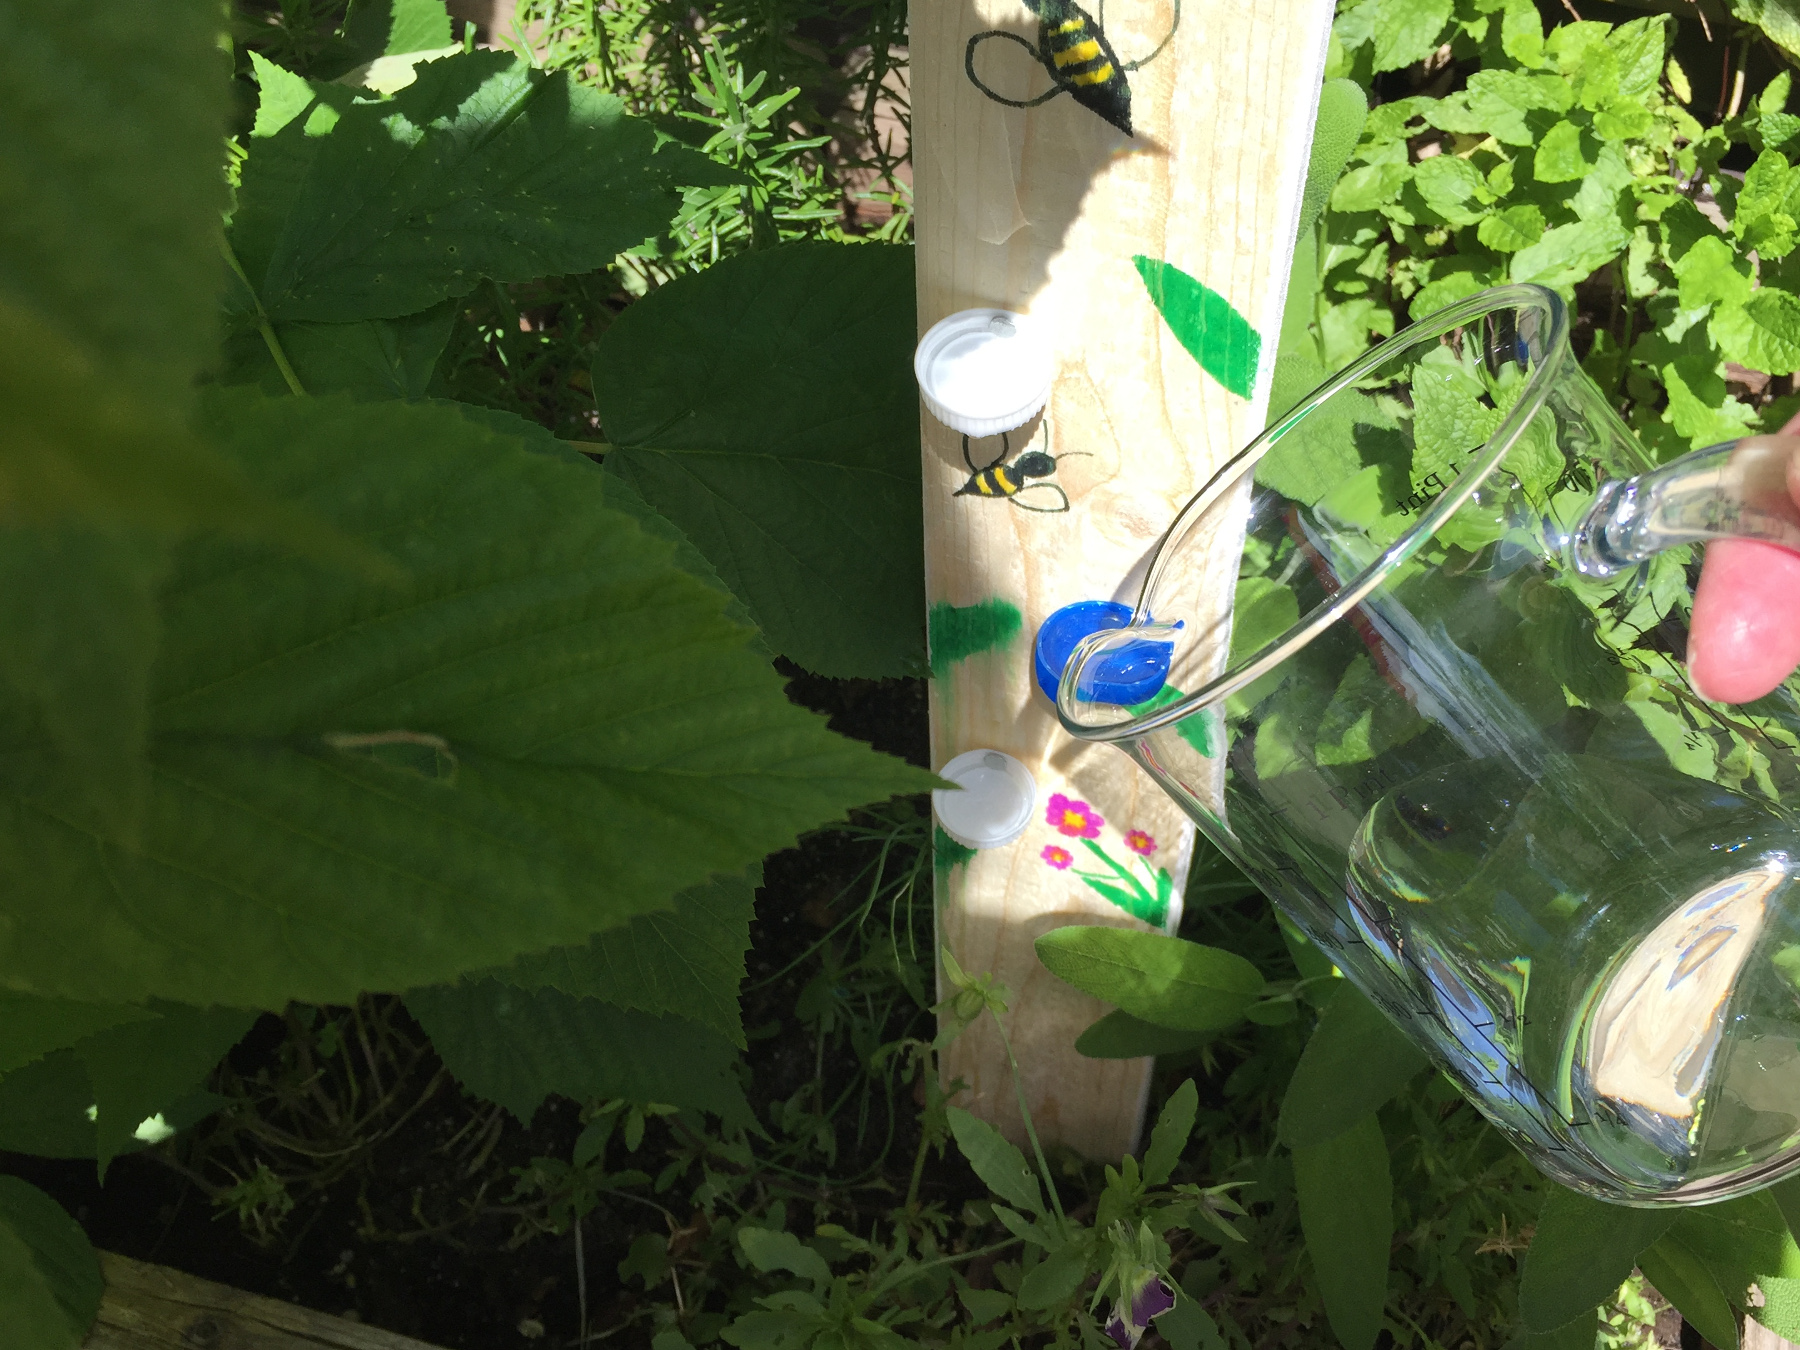
You can decorate the planks using markers to make nice drawings on it.
When the planks look attractive for the bees you are done.

Find a nice spot to stick the planks in the ground.
Fill the caps with clean drinking water for the bees and bumble bees.
Now let's see if we can capture a drinking bee on camera.