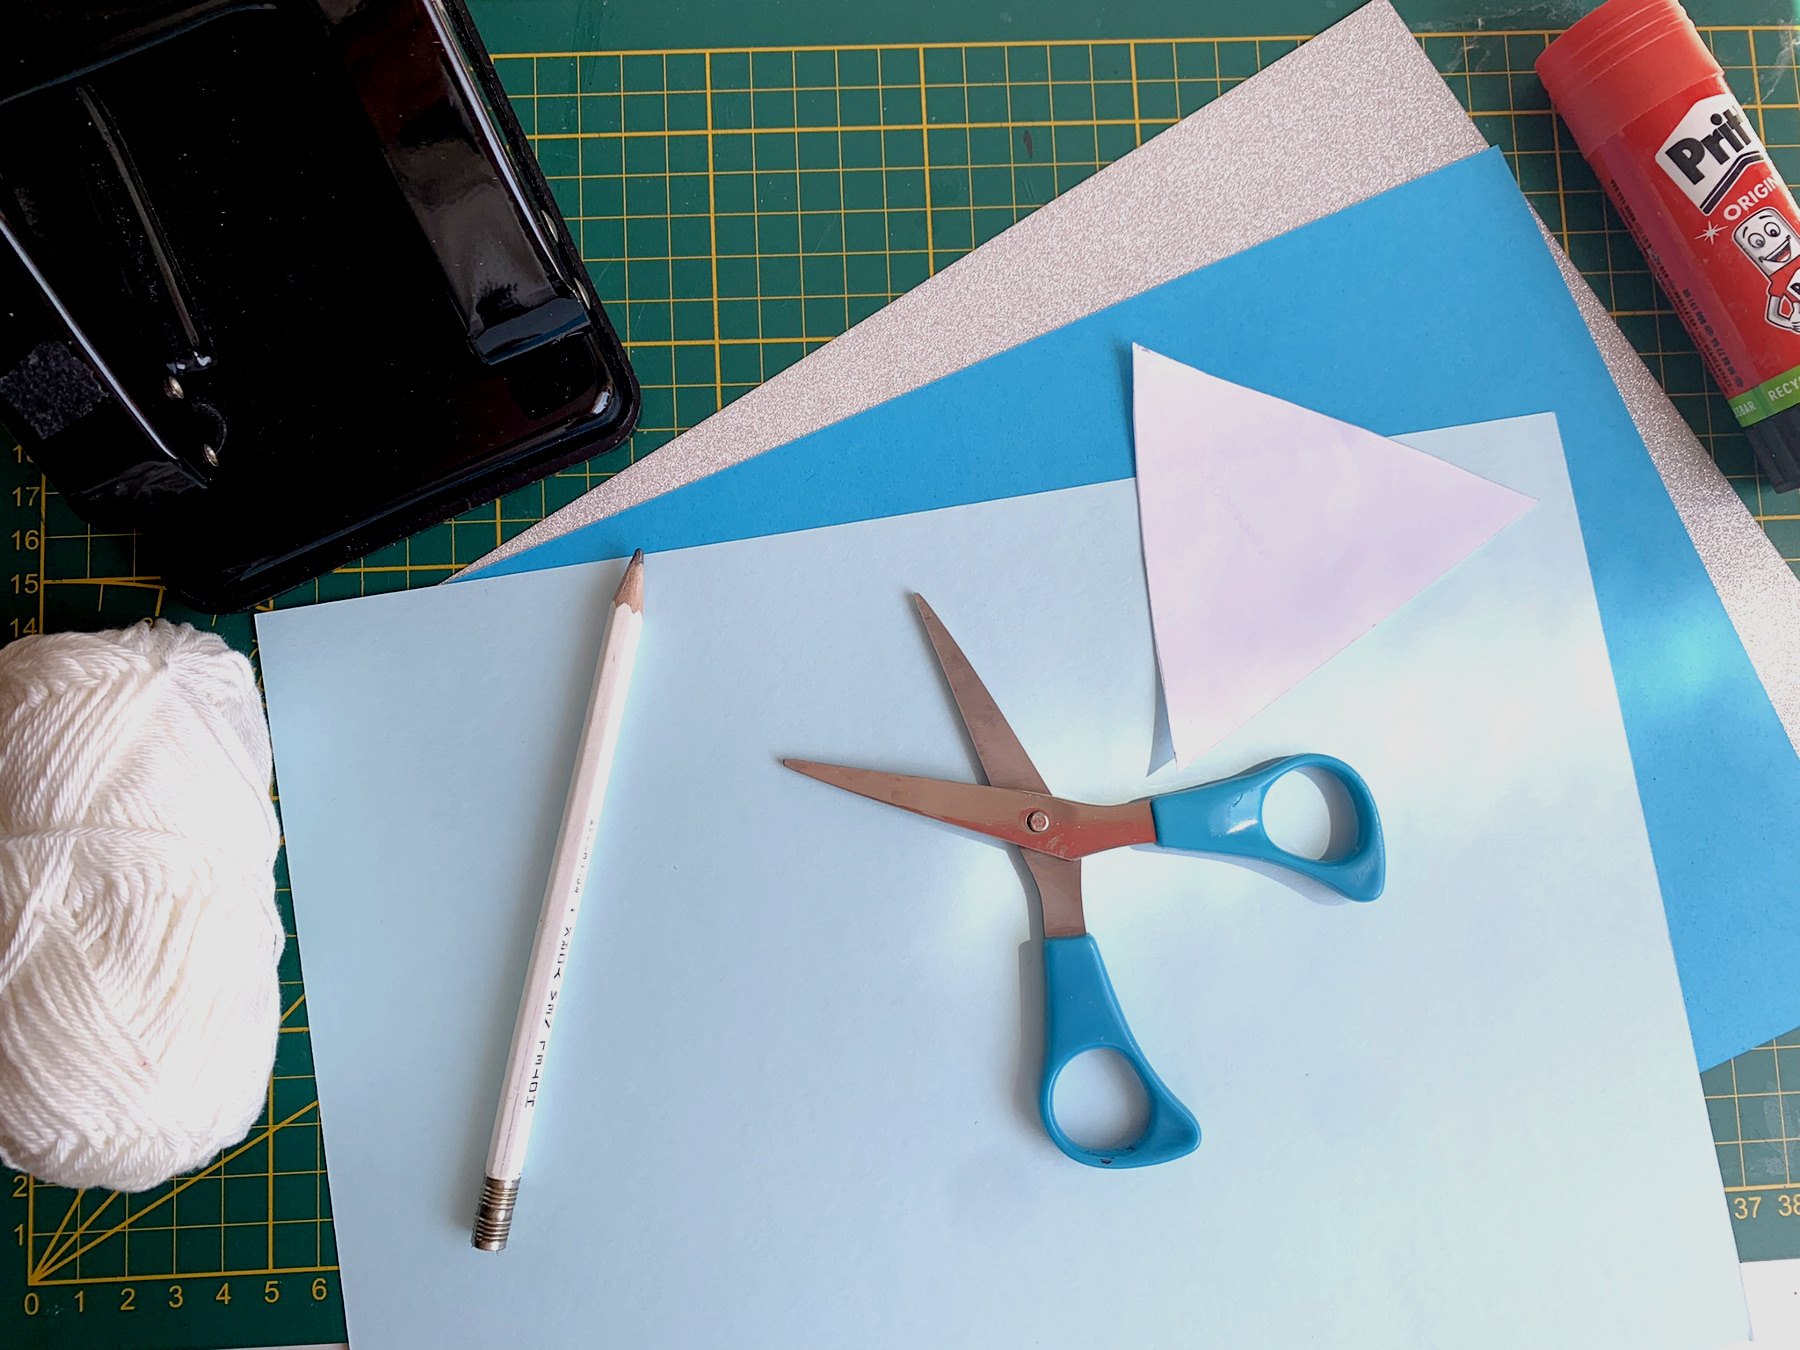
What do you need?
cardstock, two shades of blue
cardstock, silver glitter
pencil
scissors
glue stick
hole puncher
cotton cord
siver marker
glitter glue, silver
template Hebrew letters
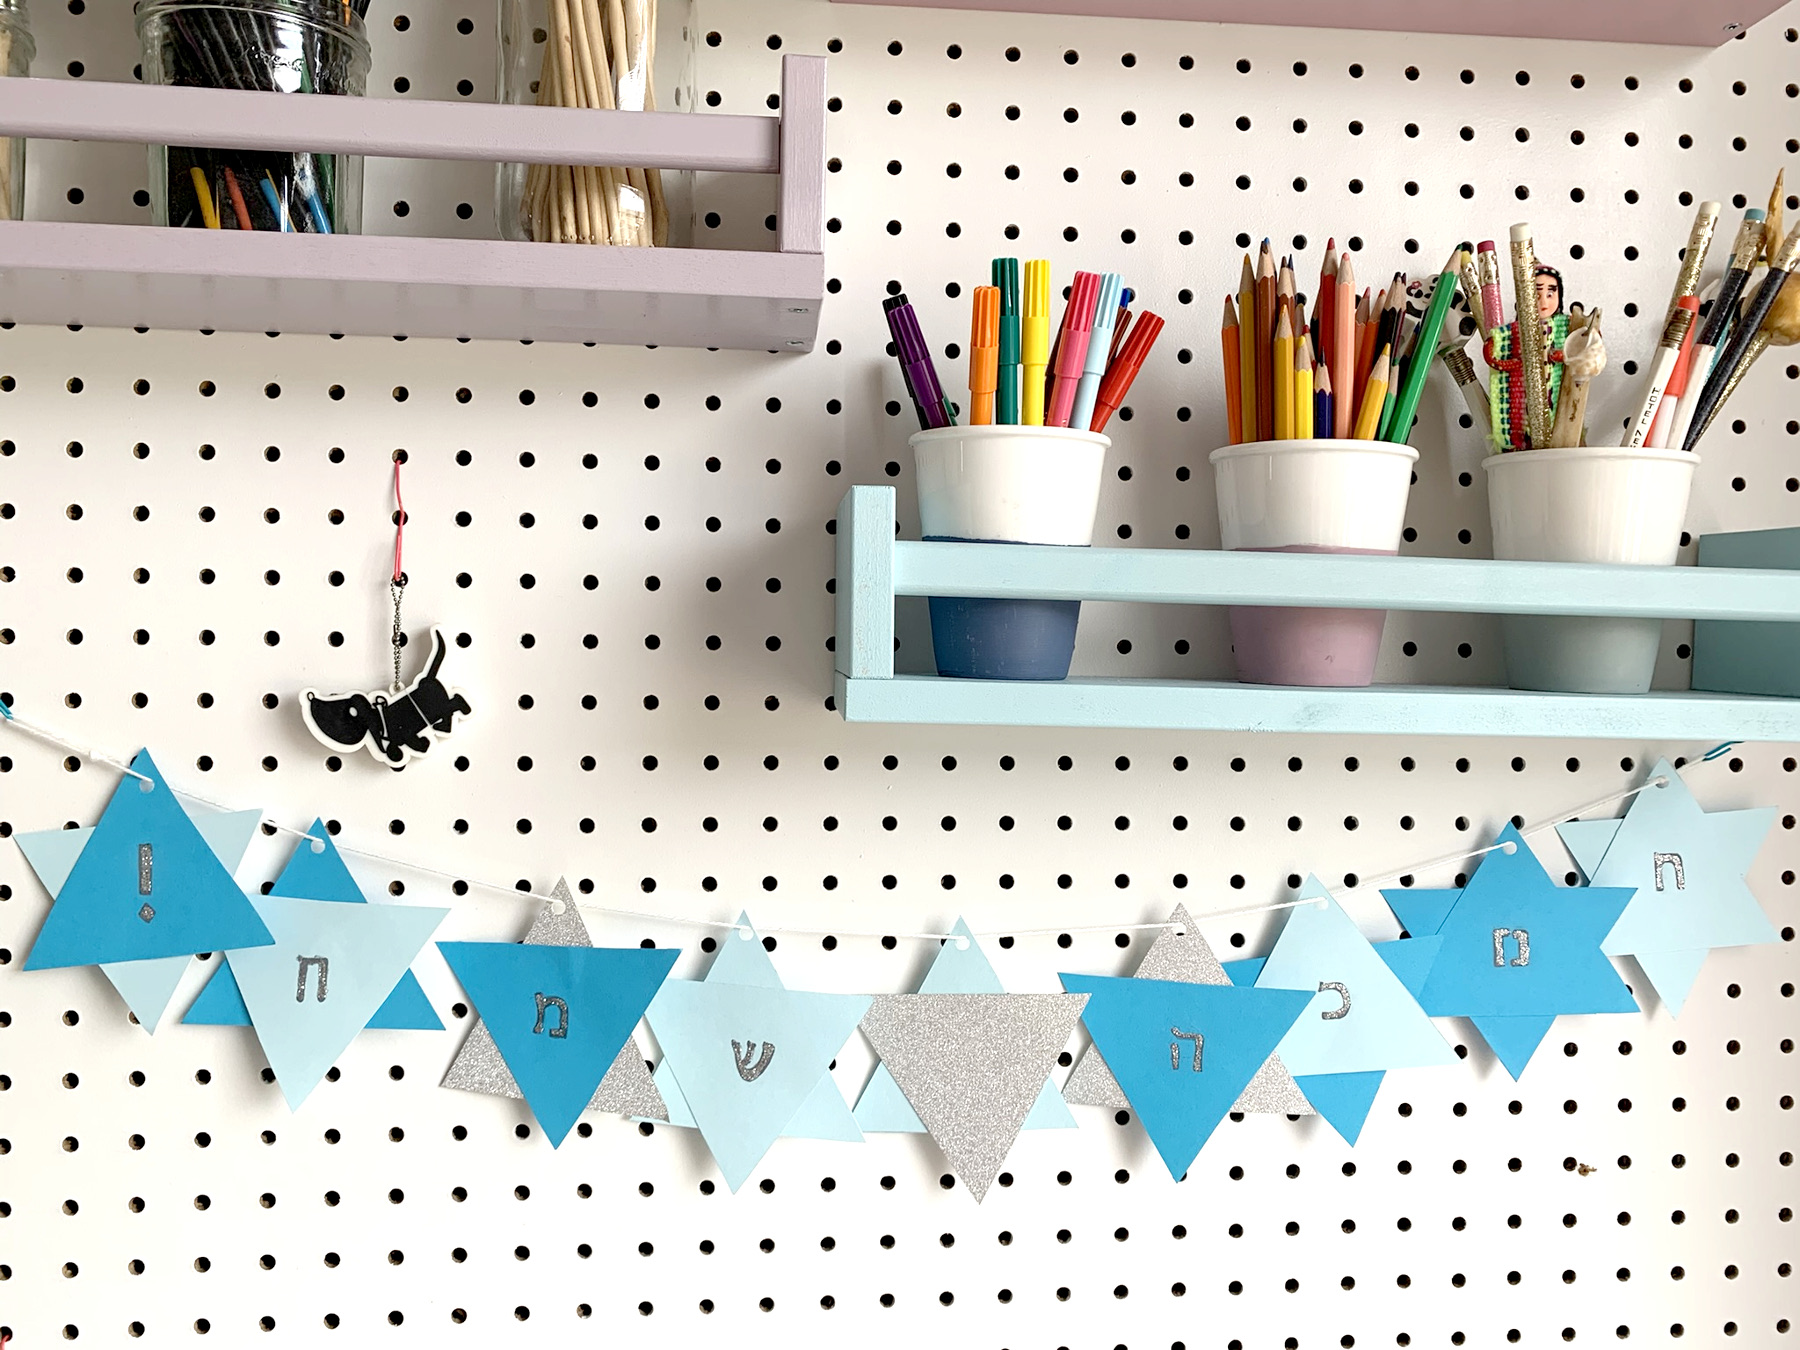
Today we are making Stars of David, for Hannukah. They are not just stars, oh no! They have the blue colors and also the silver that goes with it. The smallest mini-monsters can stick the stars together. With the somewhat older mini-monsters we learn to write Hebrew letters. Proud of them, it works out very well!
How to make the David's Stars
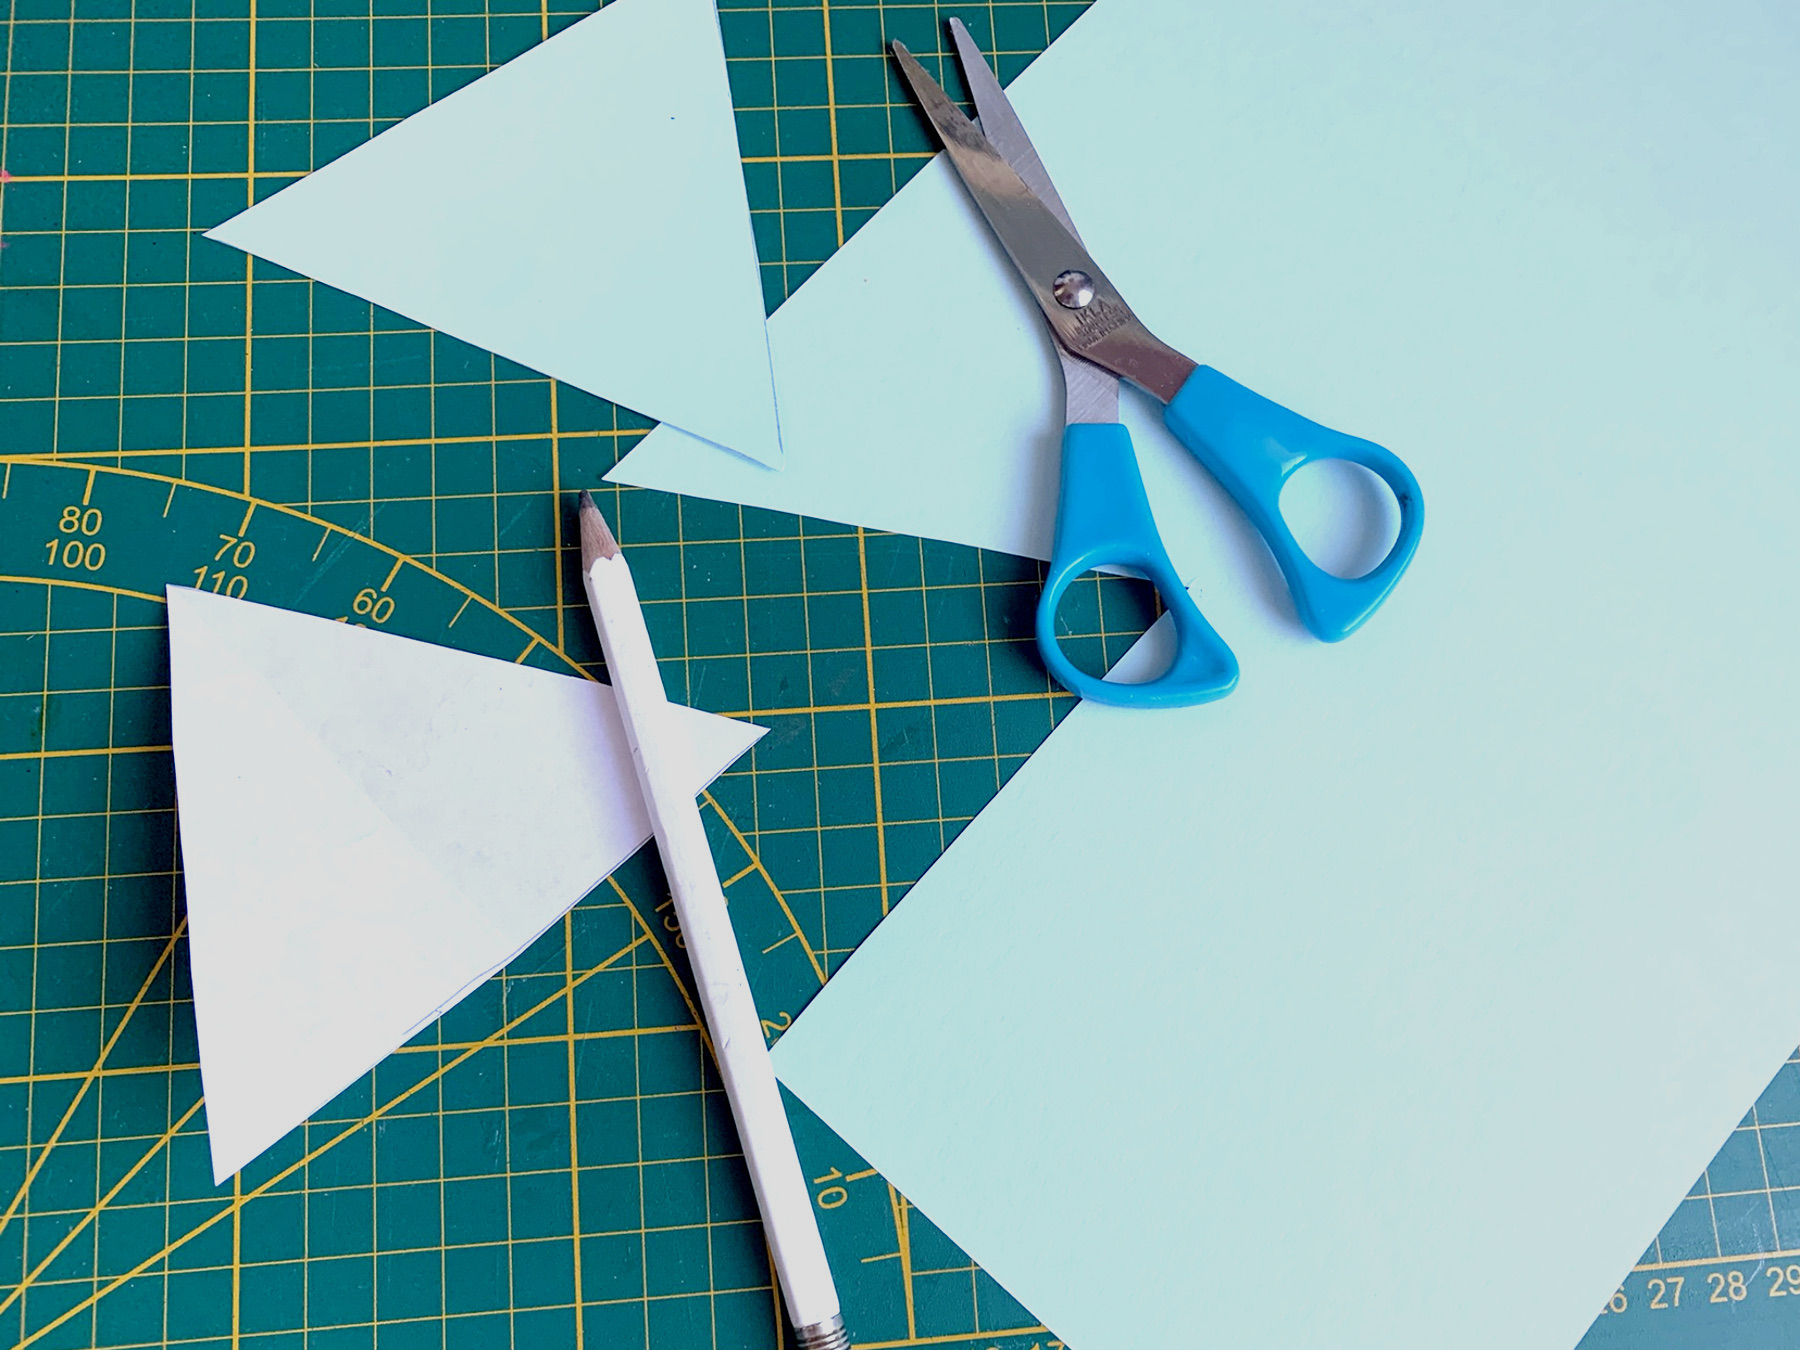
Draw a triangle or print ours.
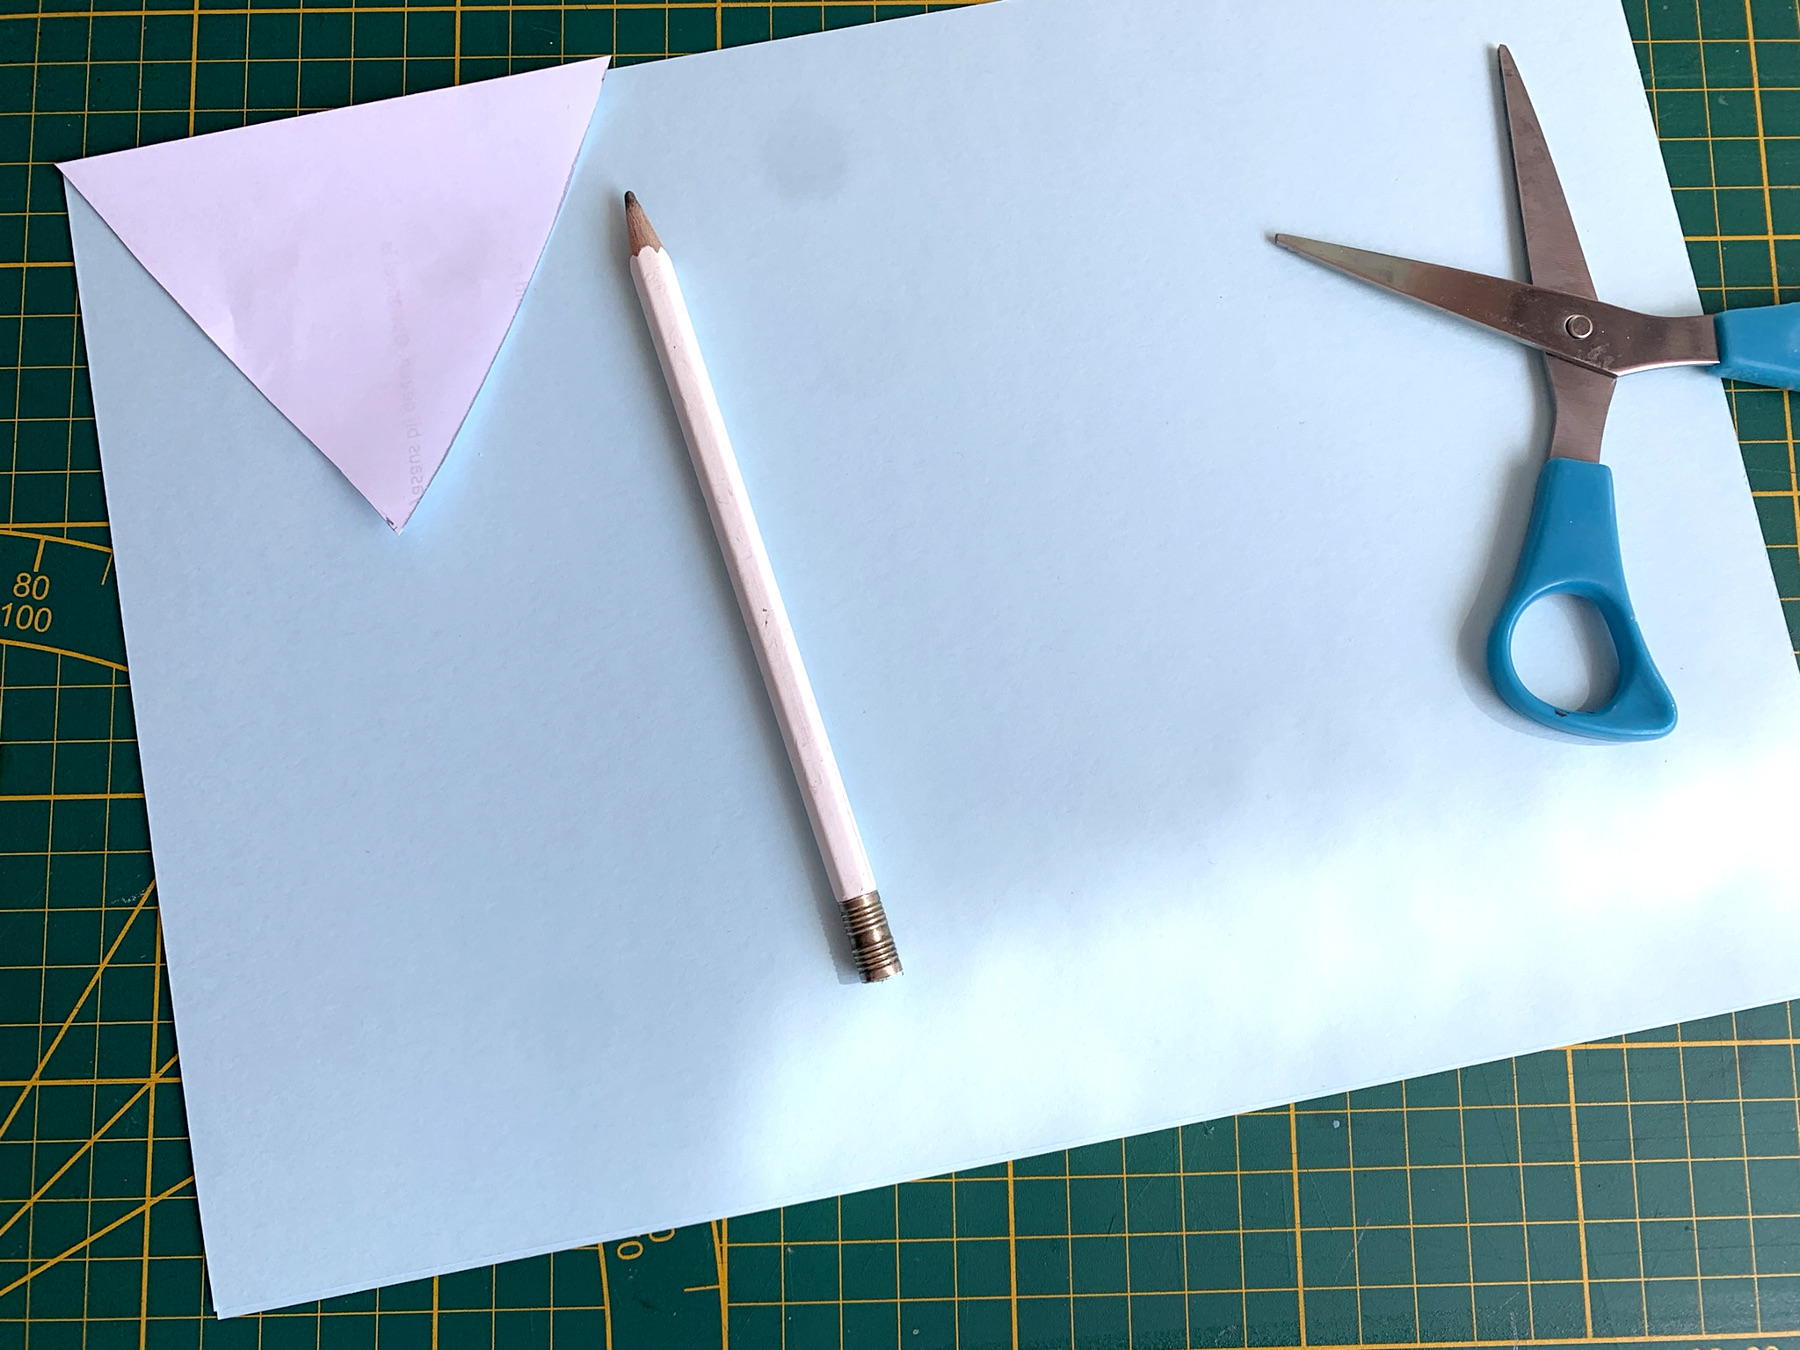
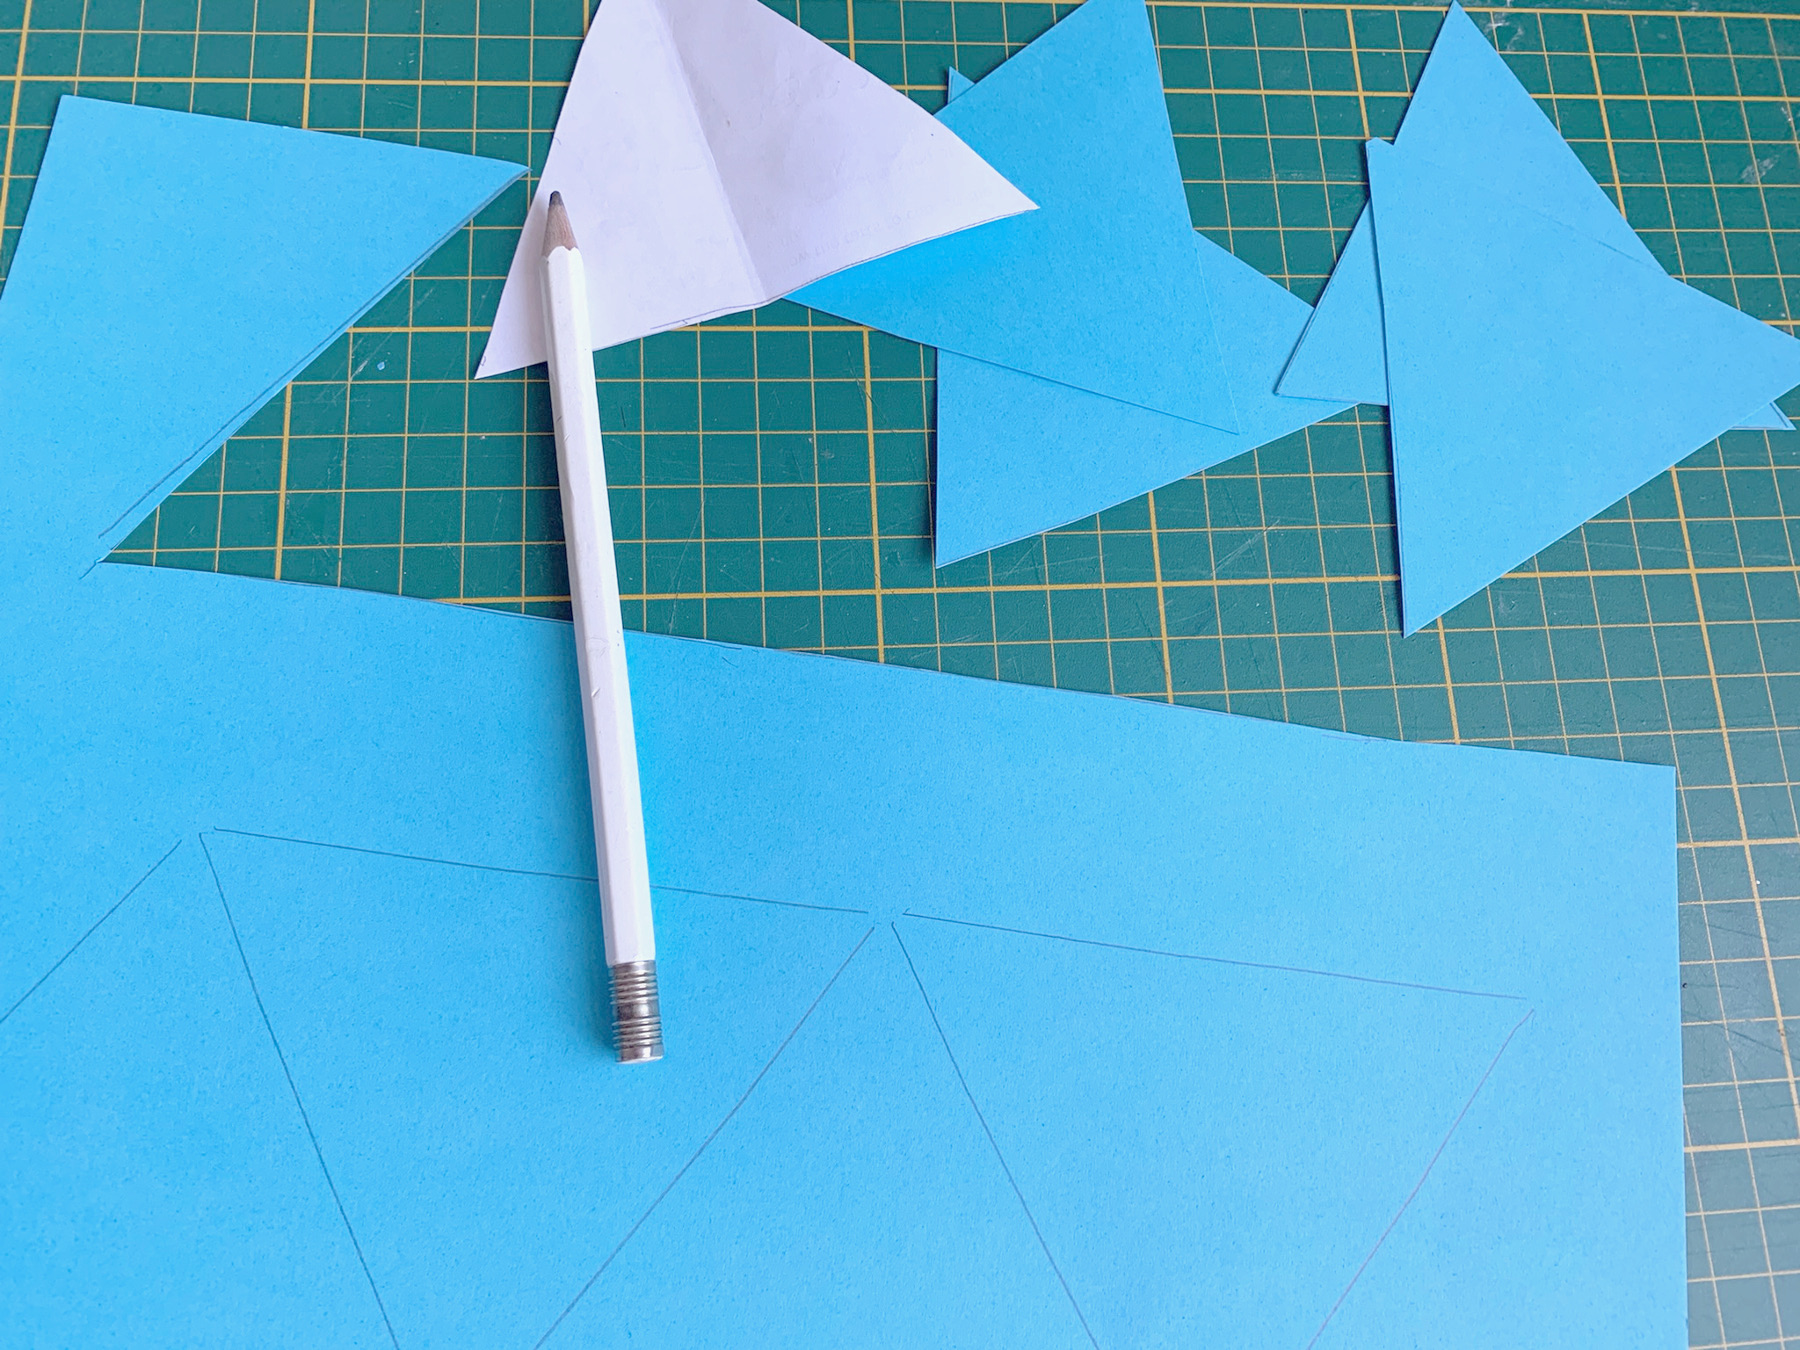
Trace the triangle on blue cardstock.
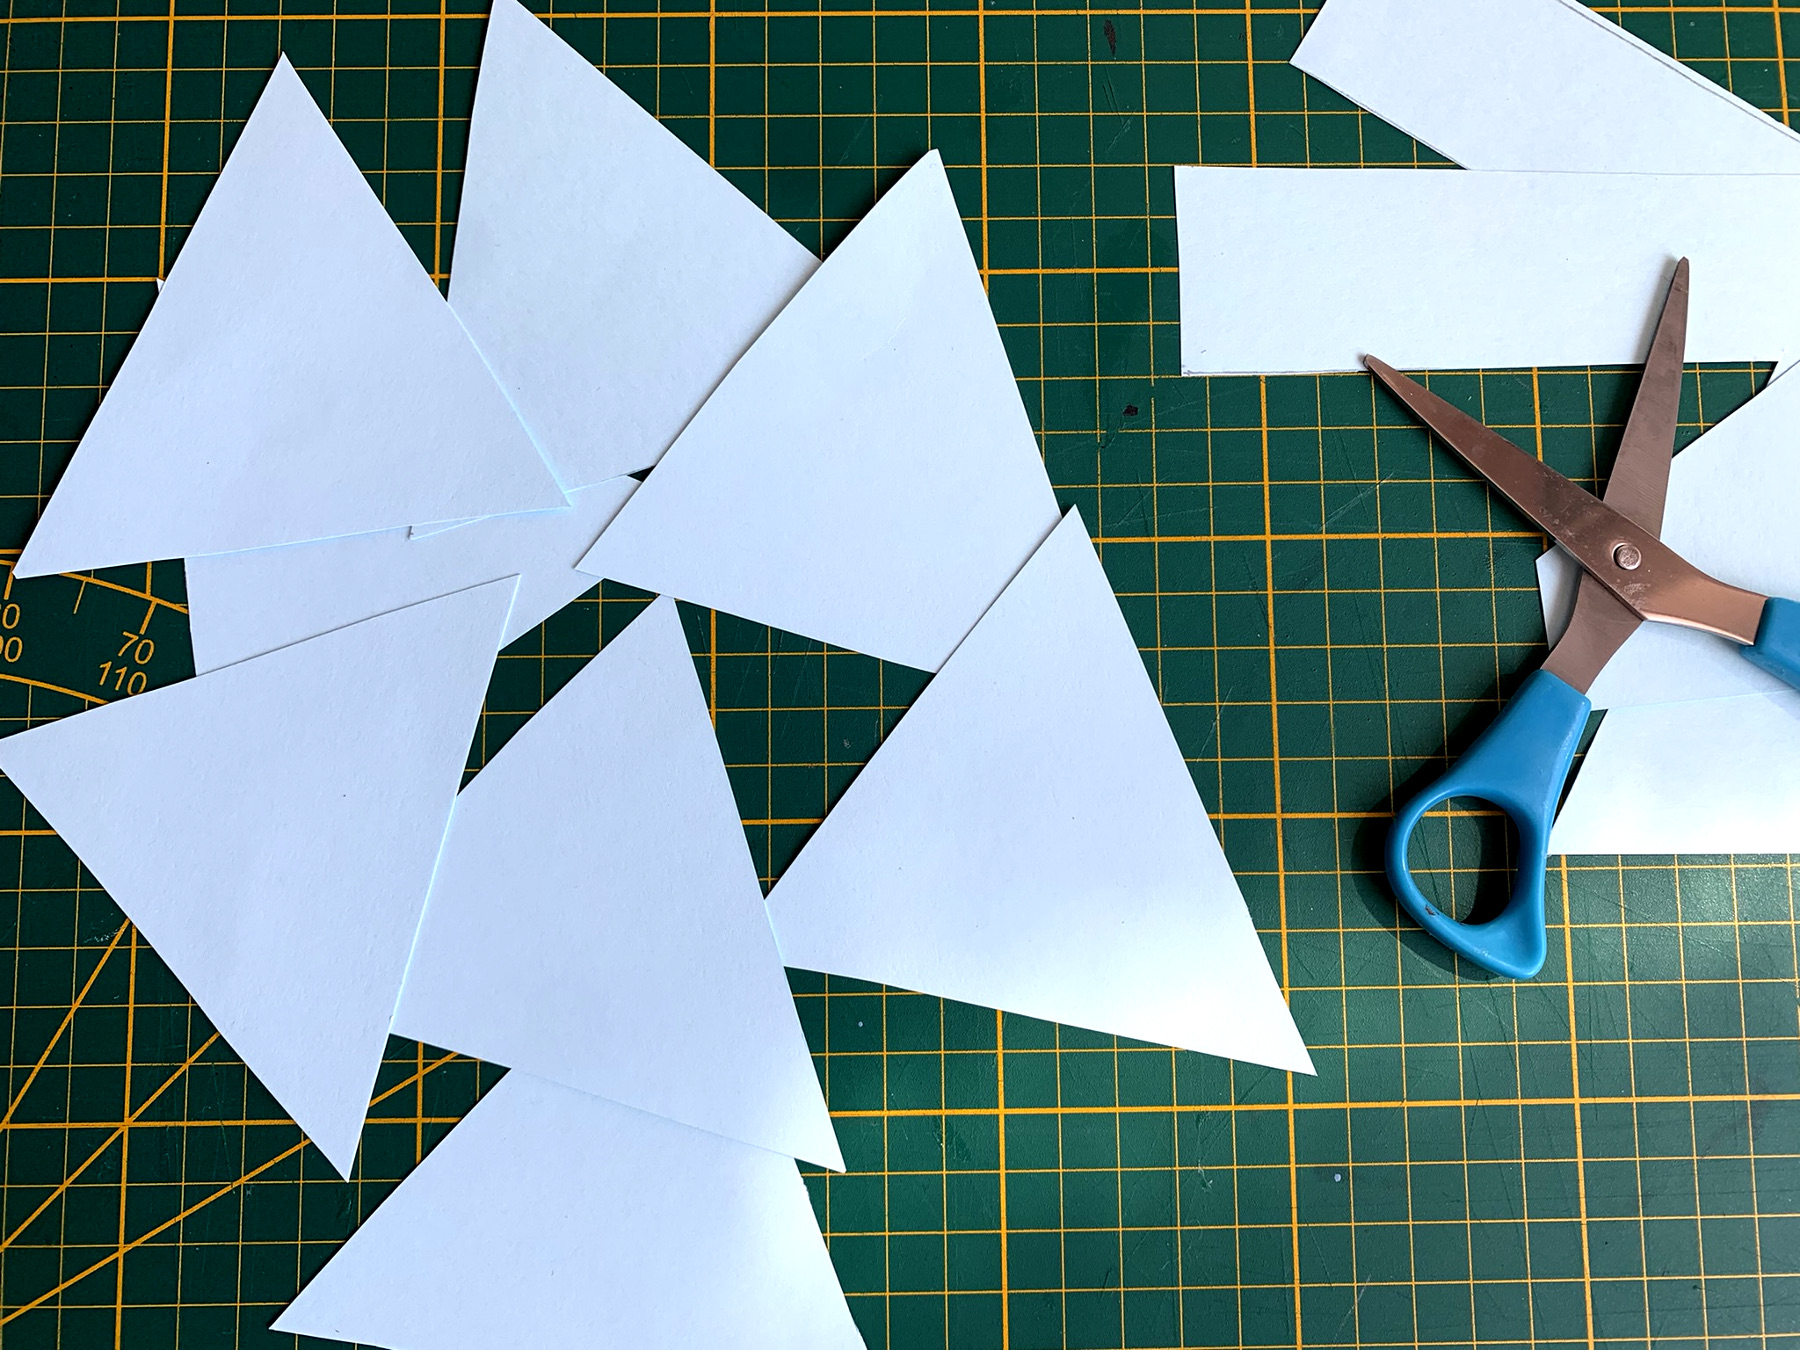
Then cut out all the triangles.
Do the same on darker blue cardstock.
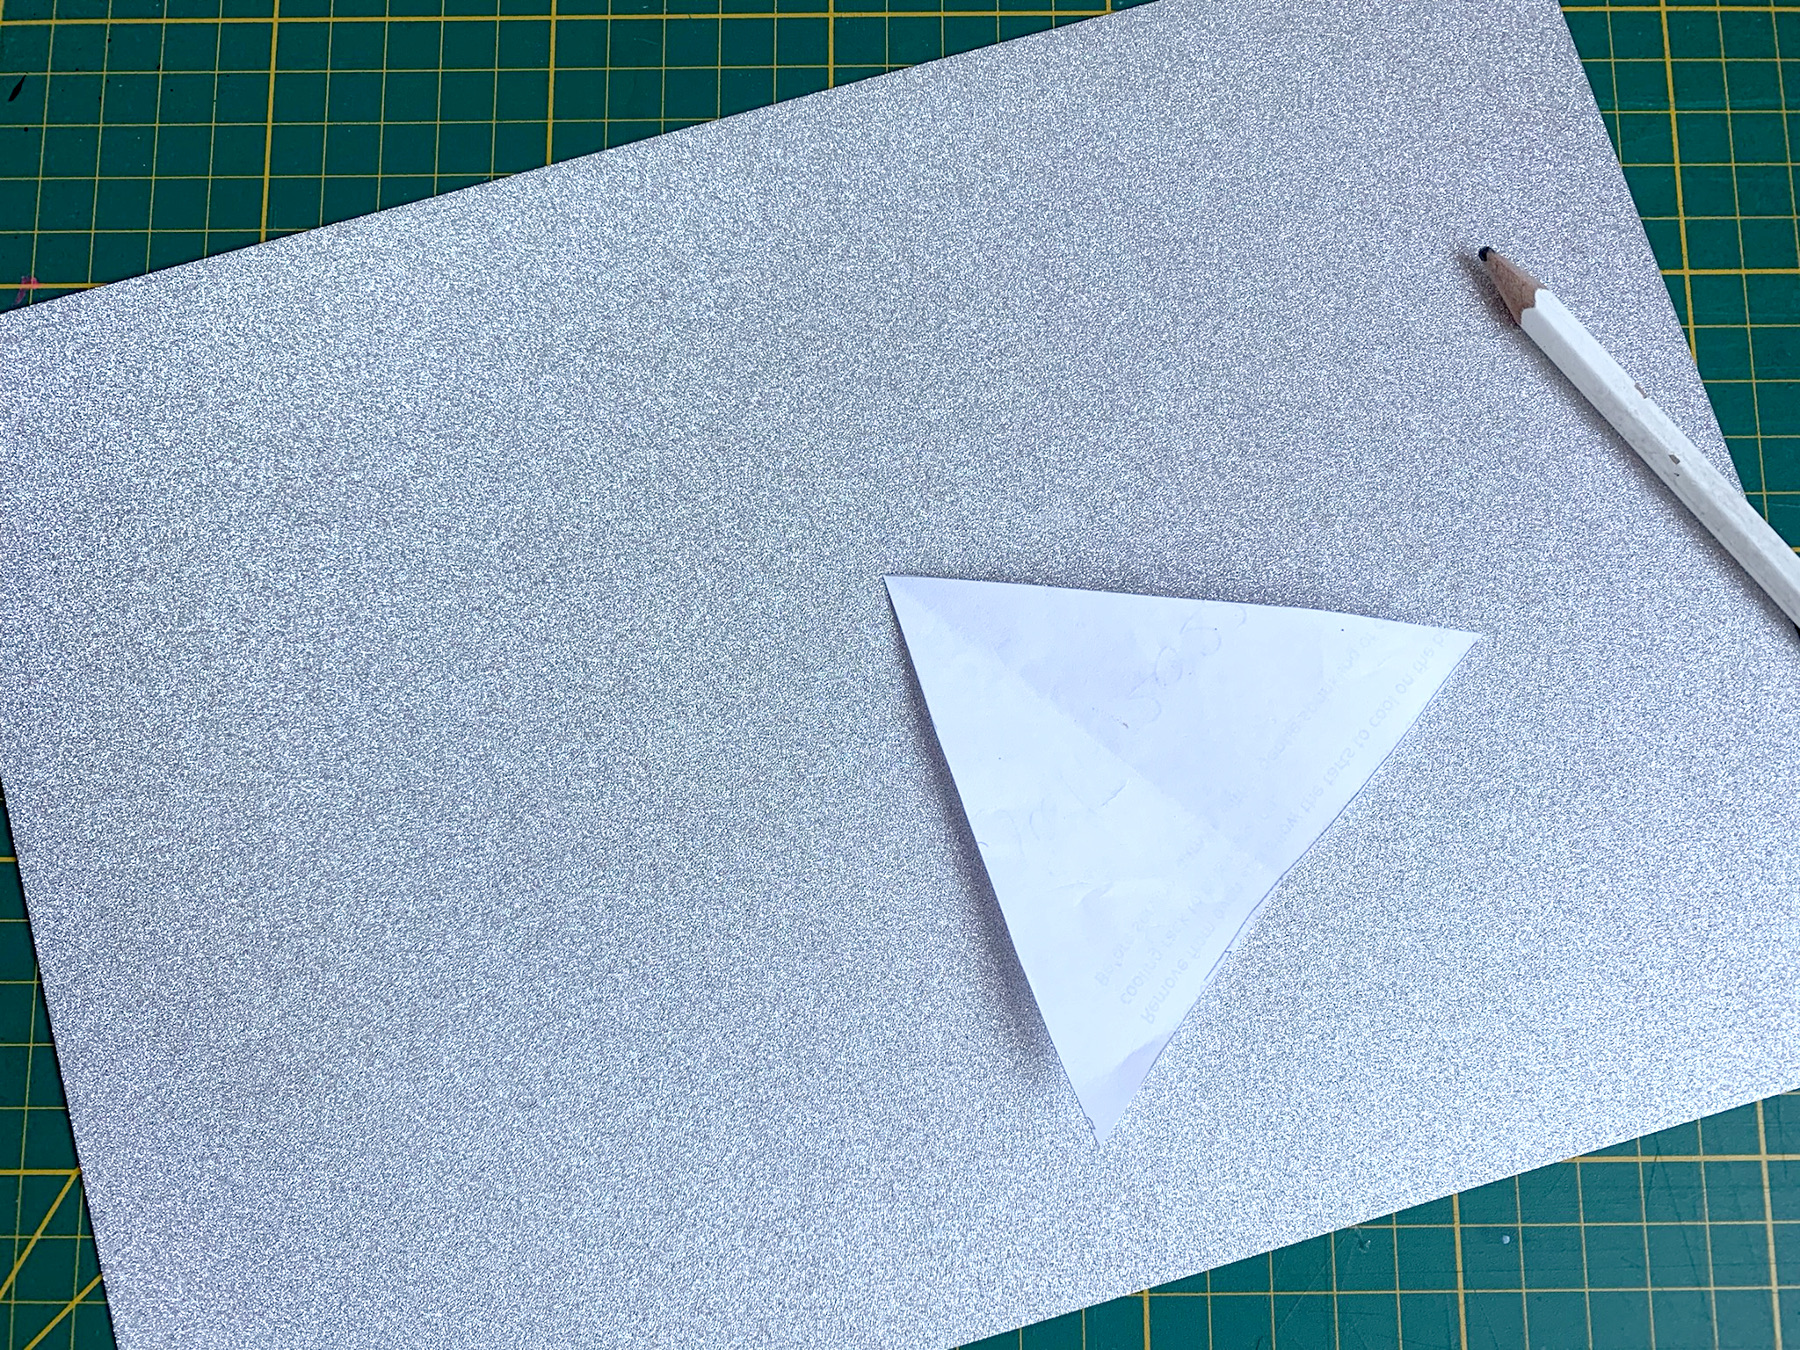

Finally draw them on glitter cardstock.
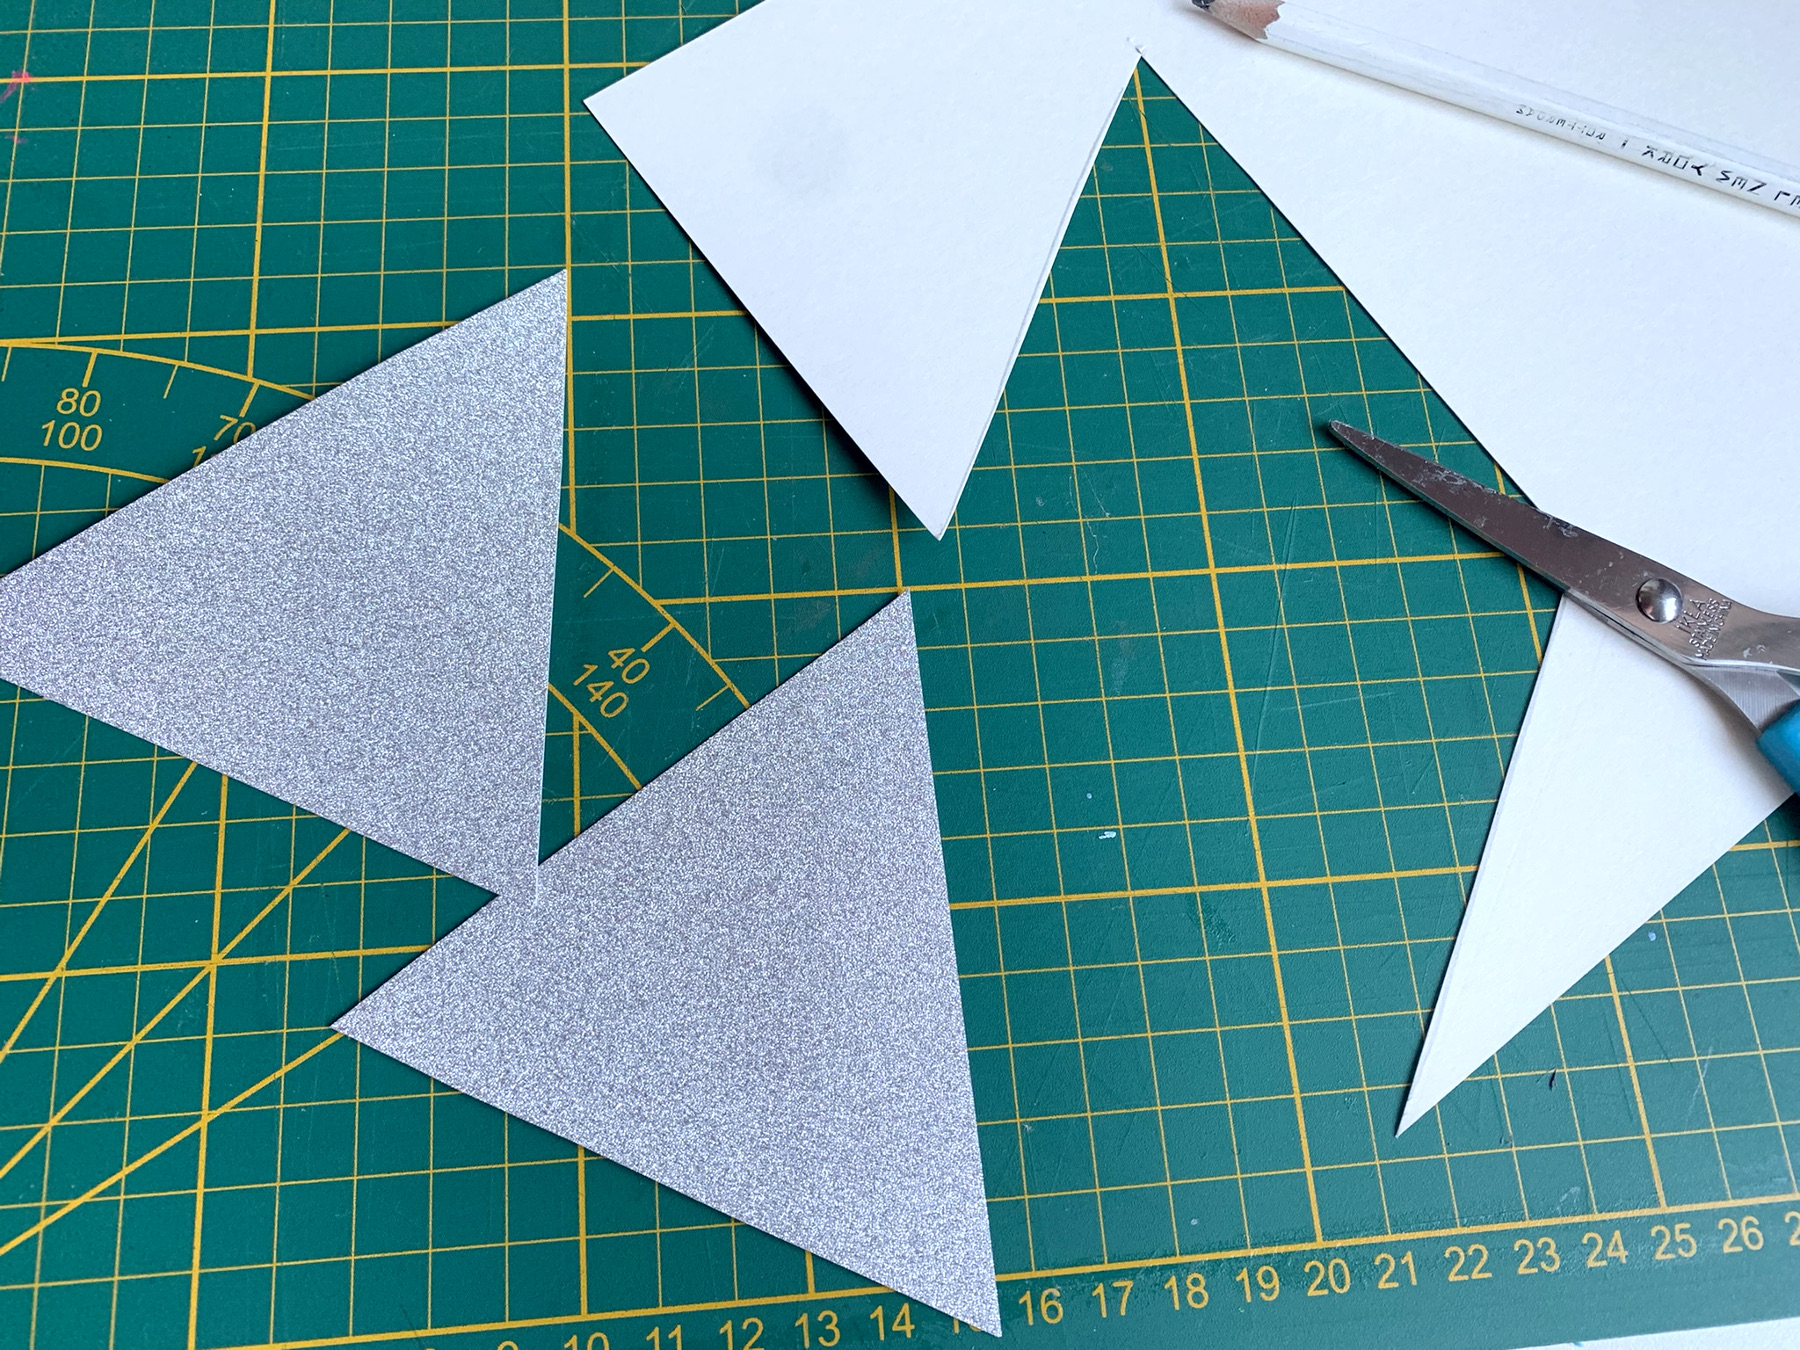
Cut out all the triangles.
Stick the triangles together.
Make different colour combinations, or do not ;) and let the glue dry briefly
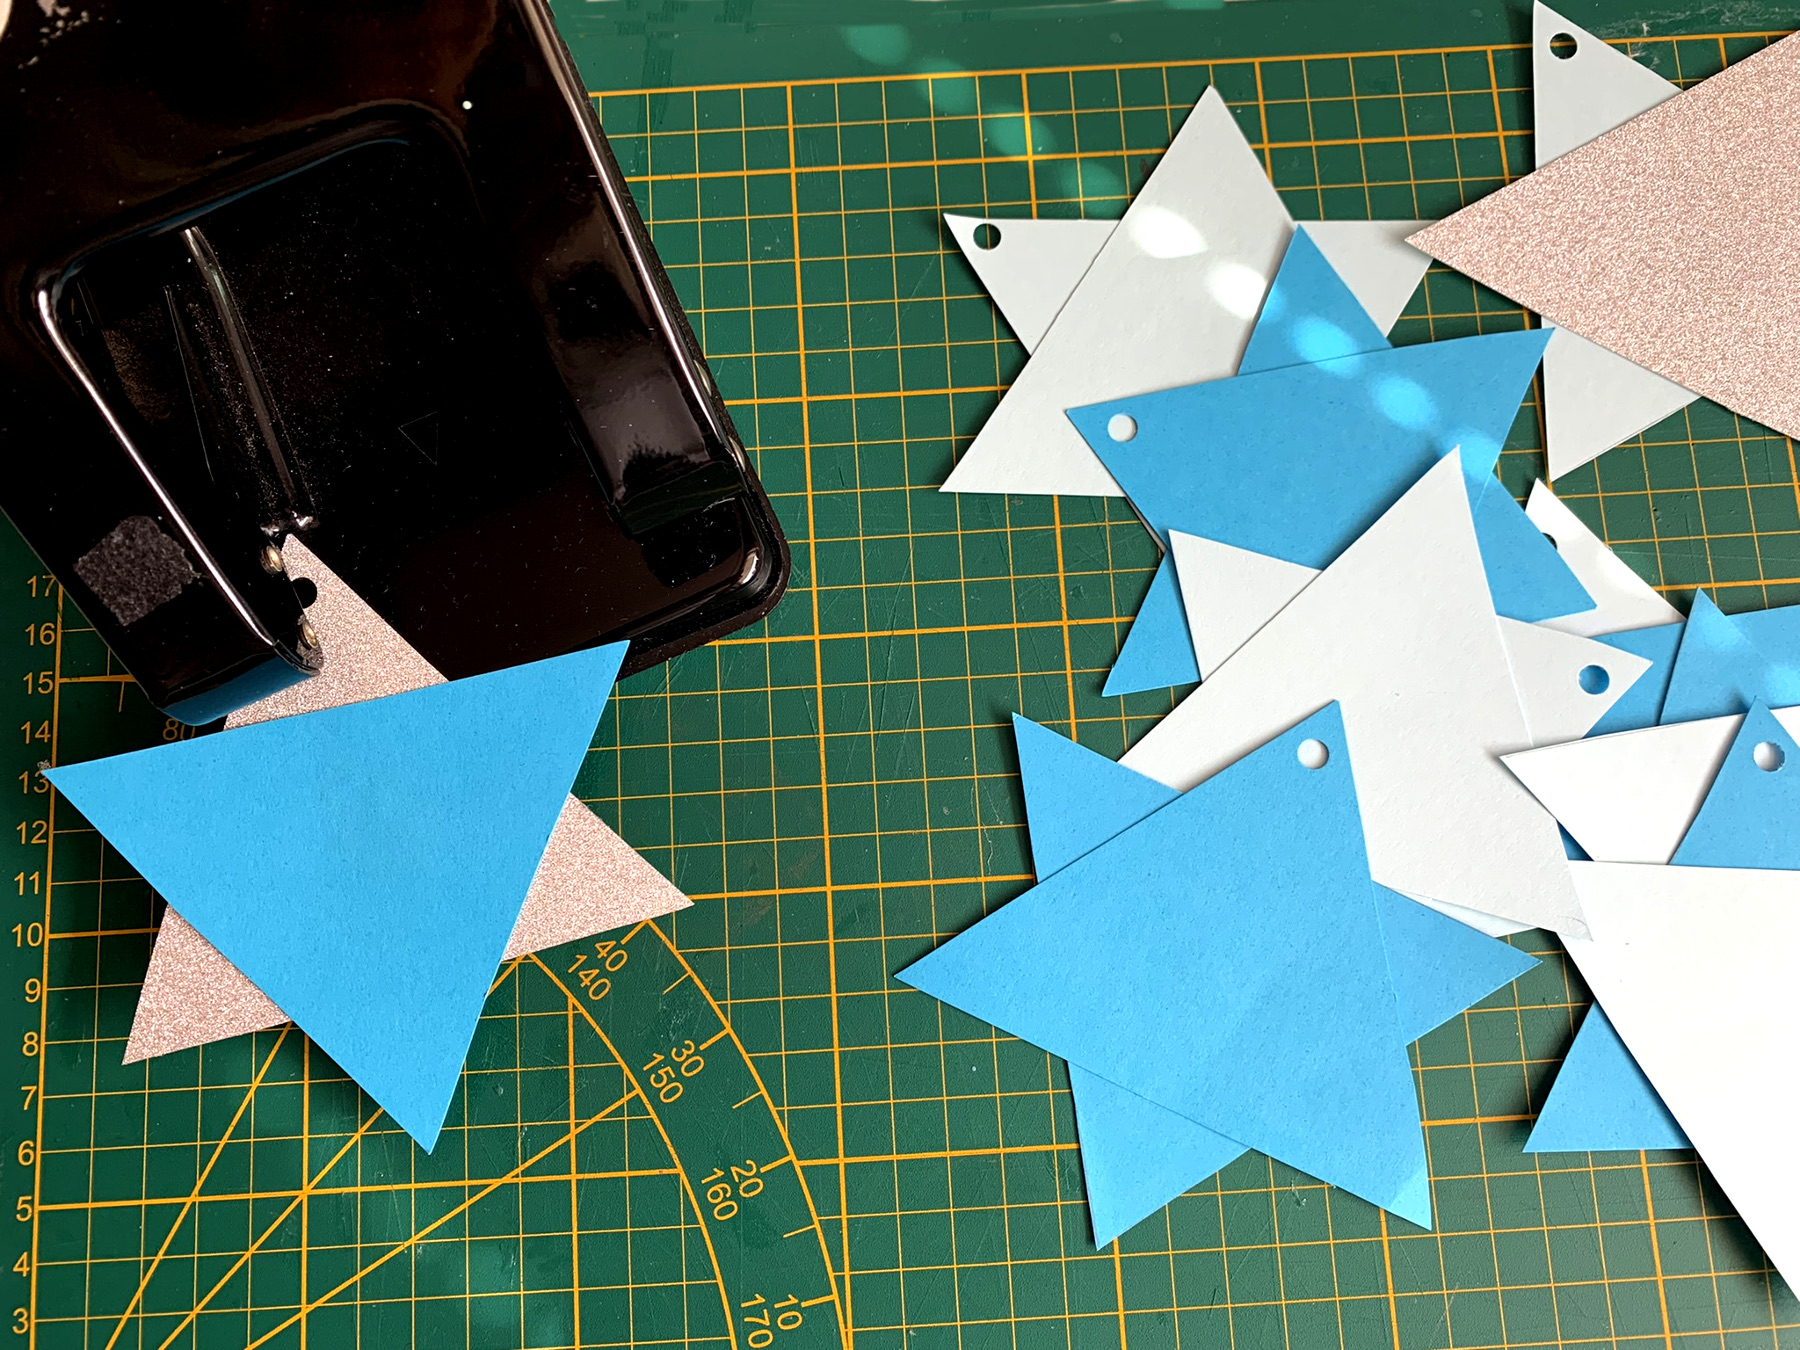
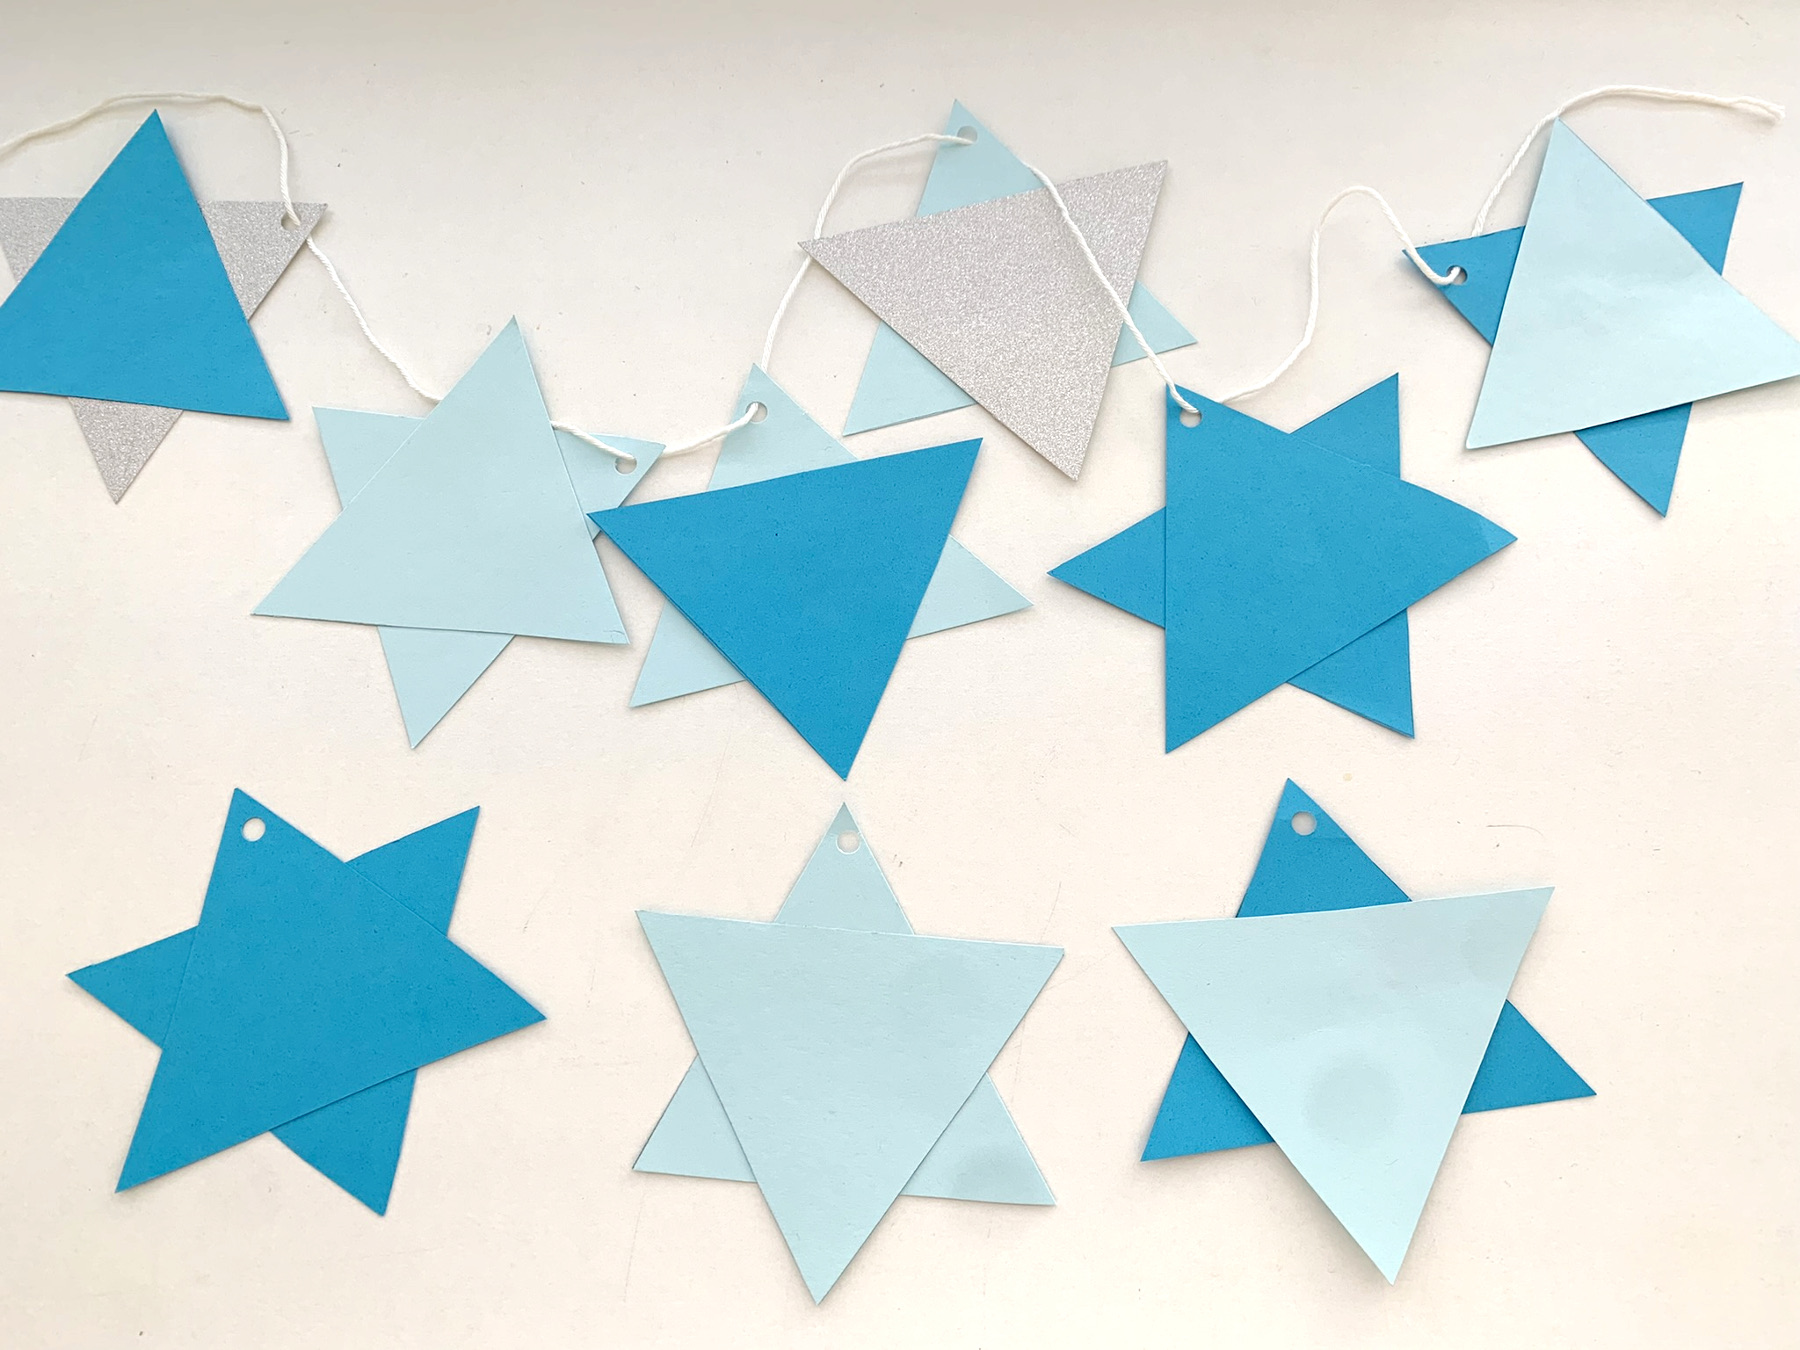
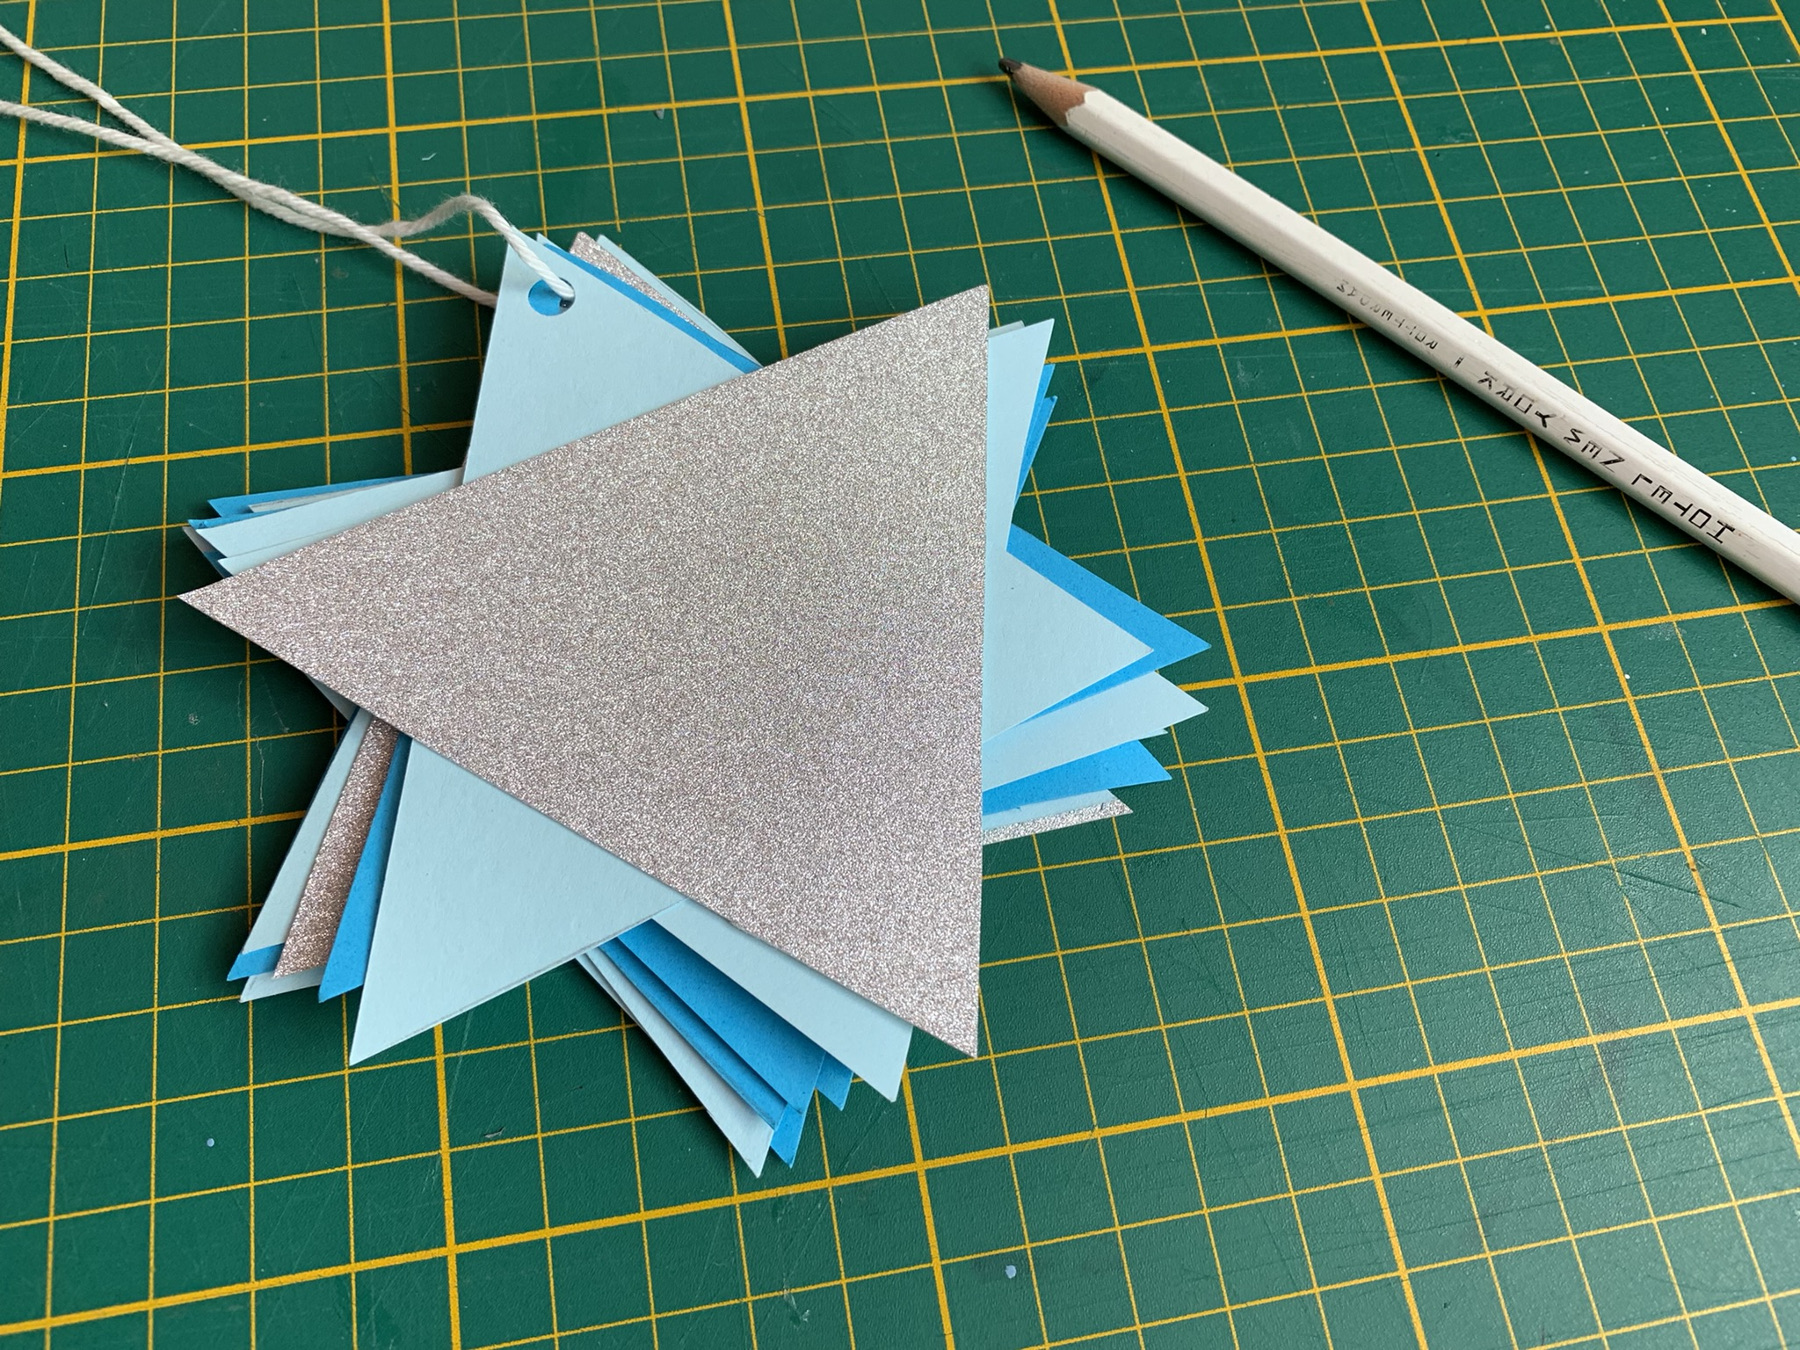
Punch holes in the stars.
Lace the thread through the holes.
You understand why in a minute.
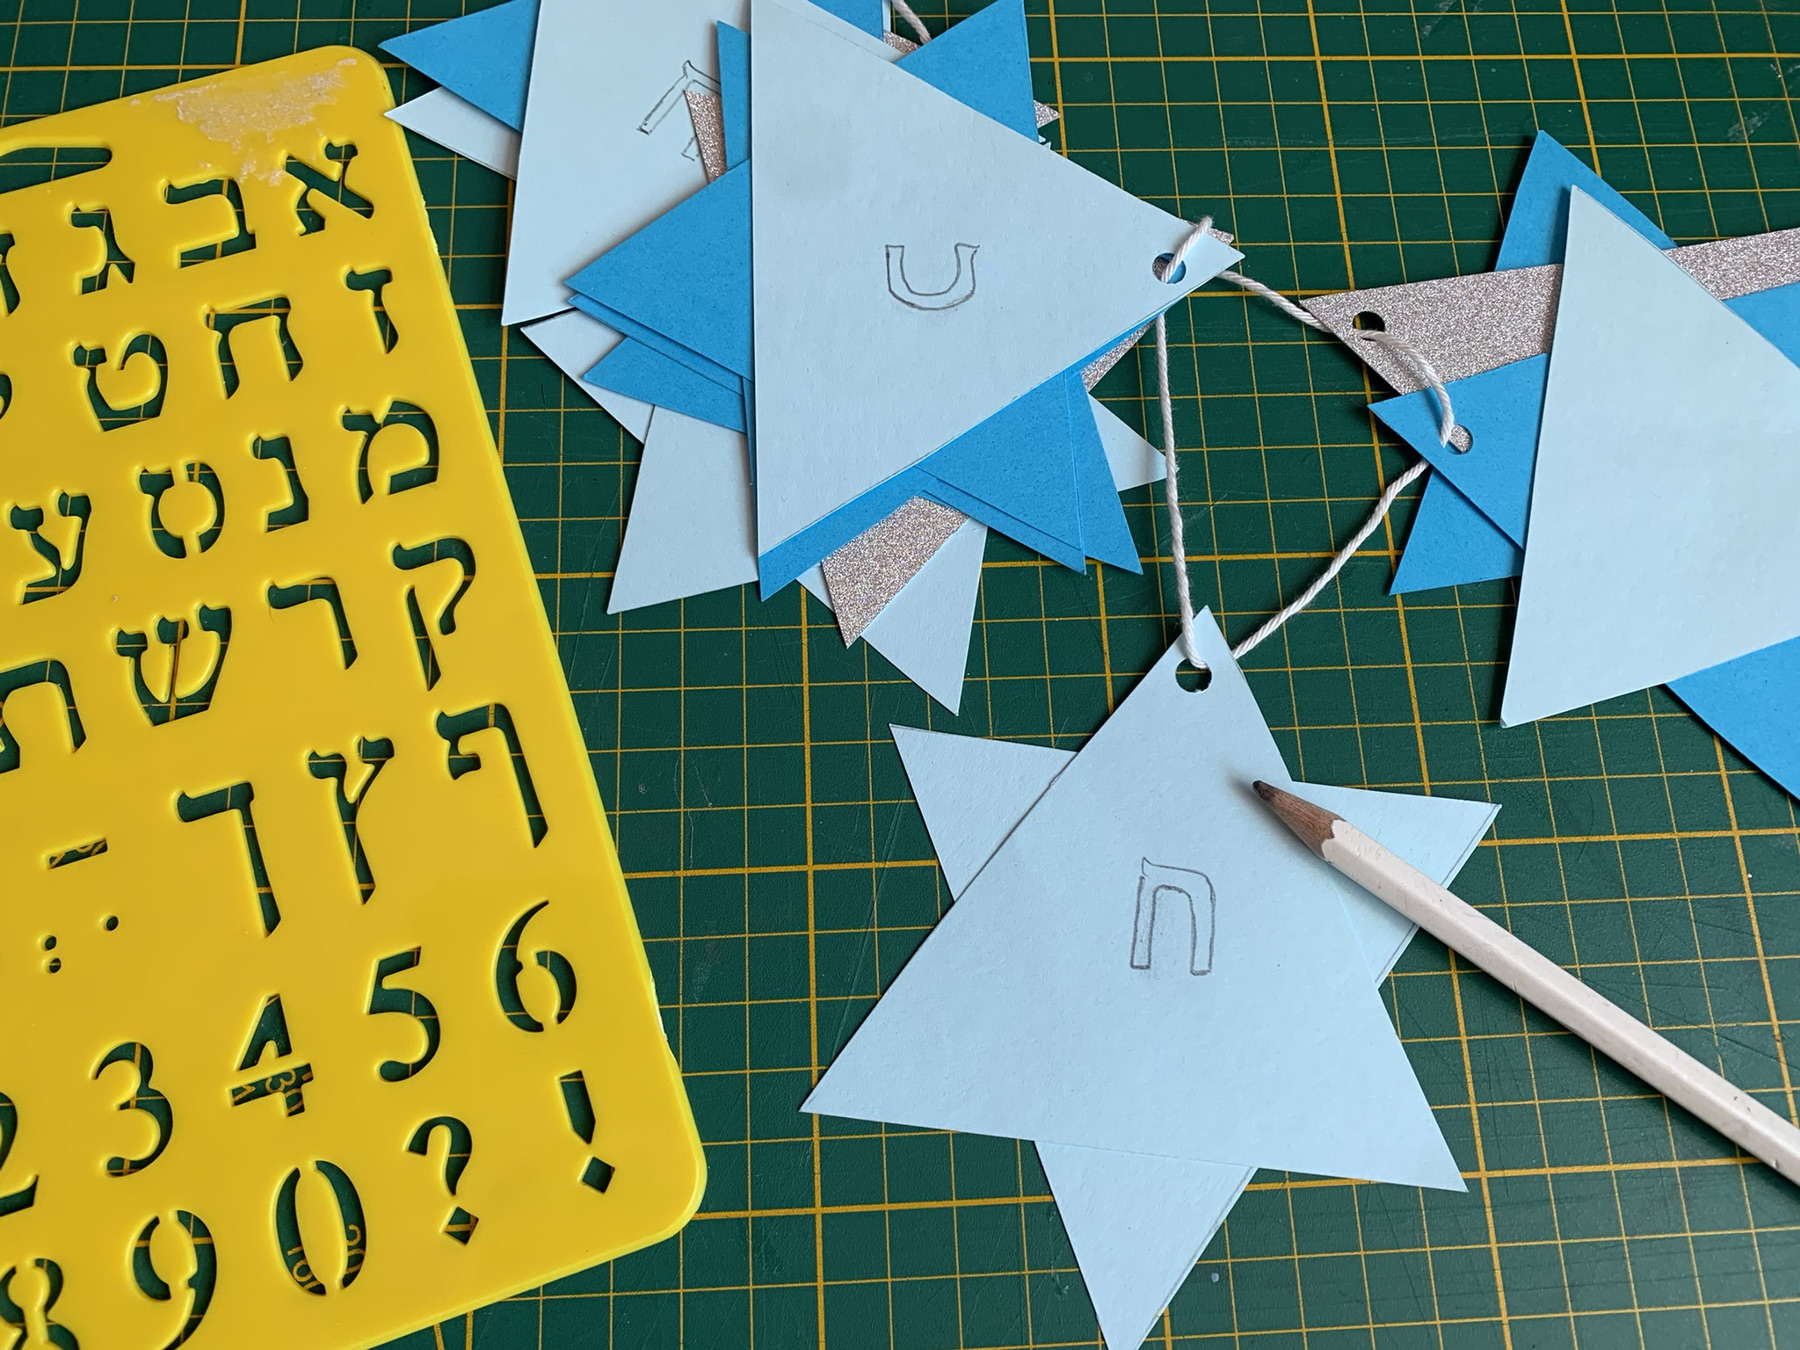
We have a Hebrew template.
But our pencil is to thick to fit the tamplate!
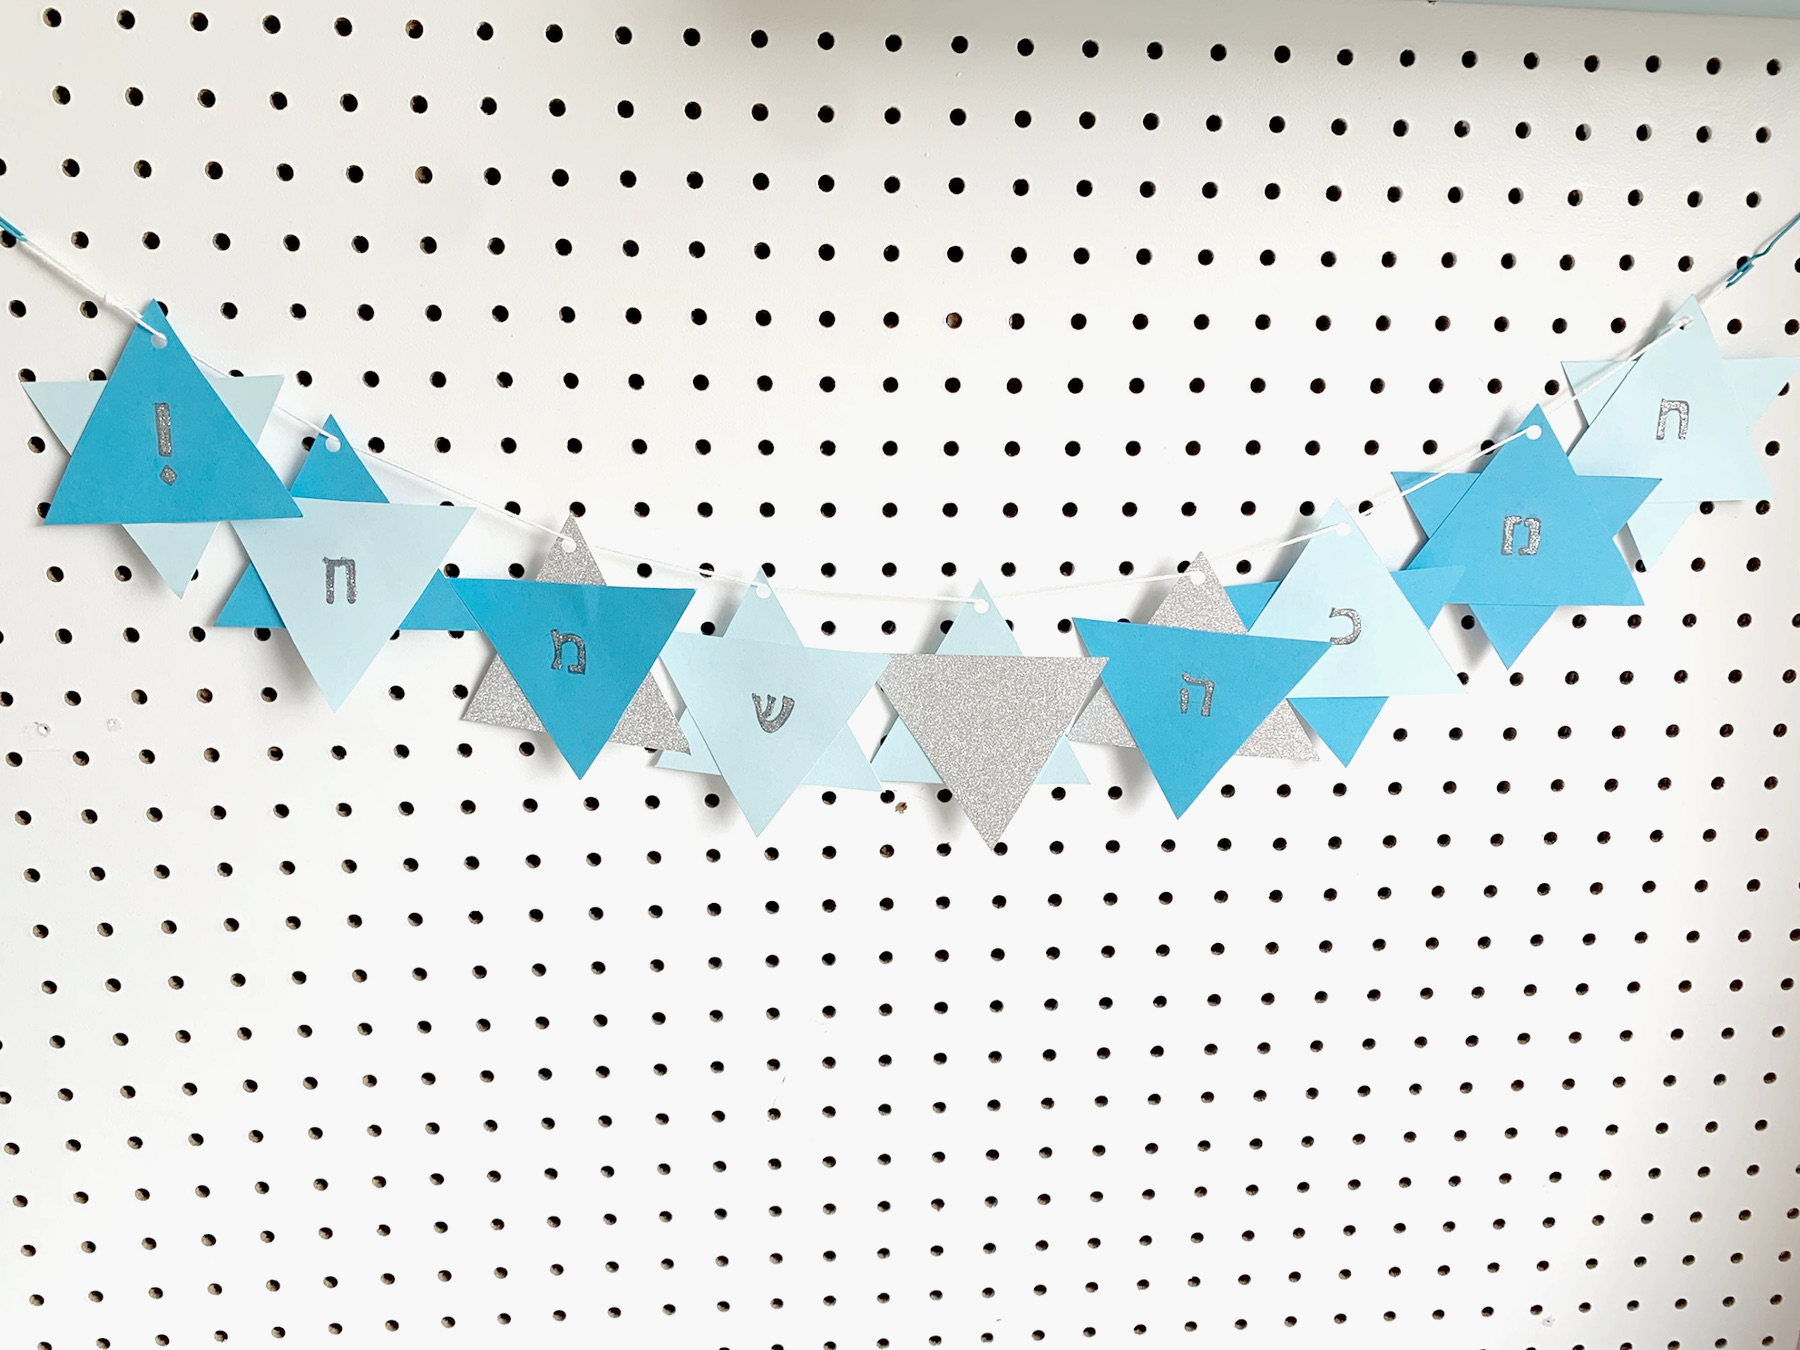
We write Happy Hannukah! in Google Translate and then the translation in the Hebrew words appears
If you draw the words in the correct order on the stars, it says Happy Hannukah! and because of the thread the words don't get confused
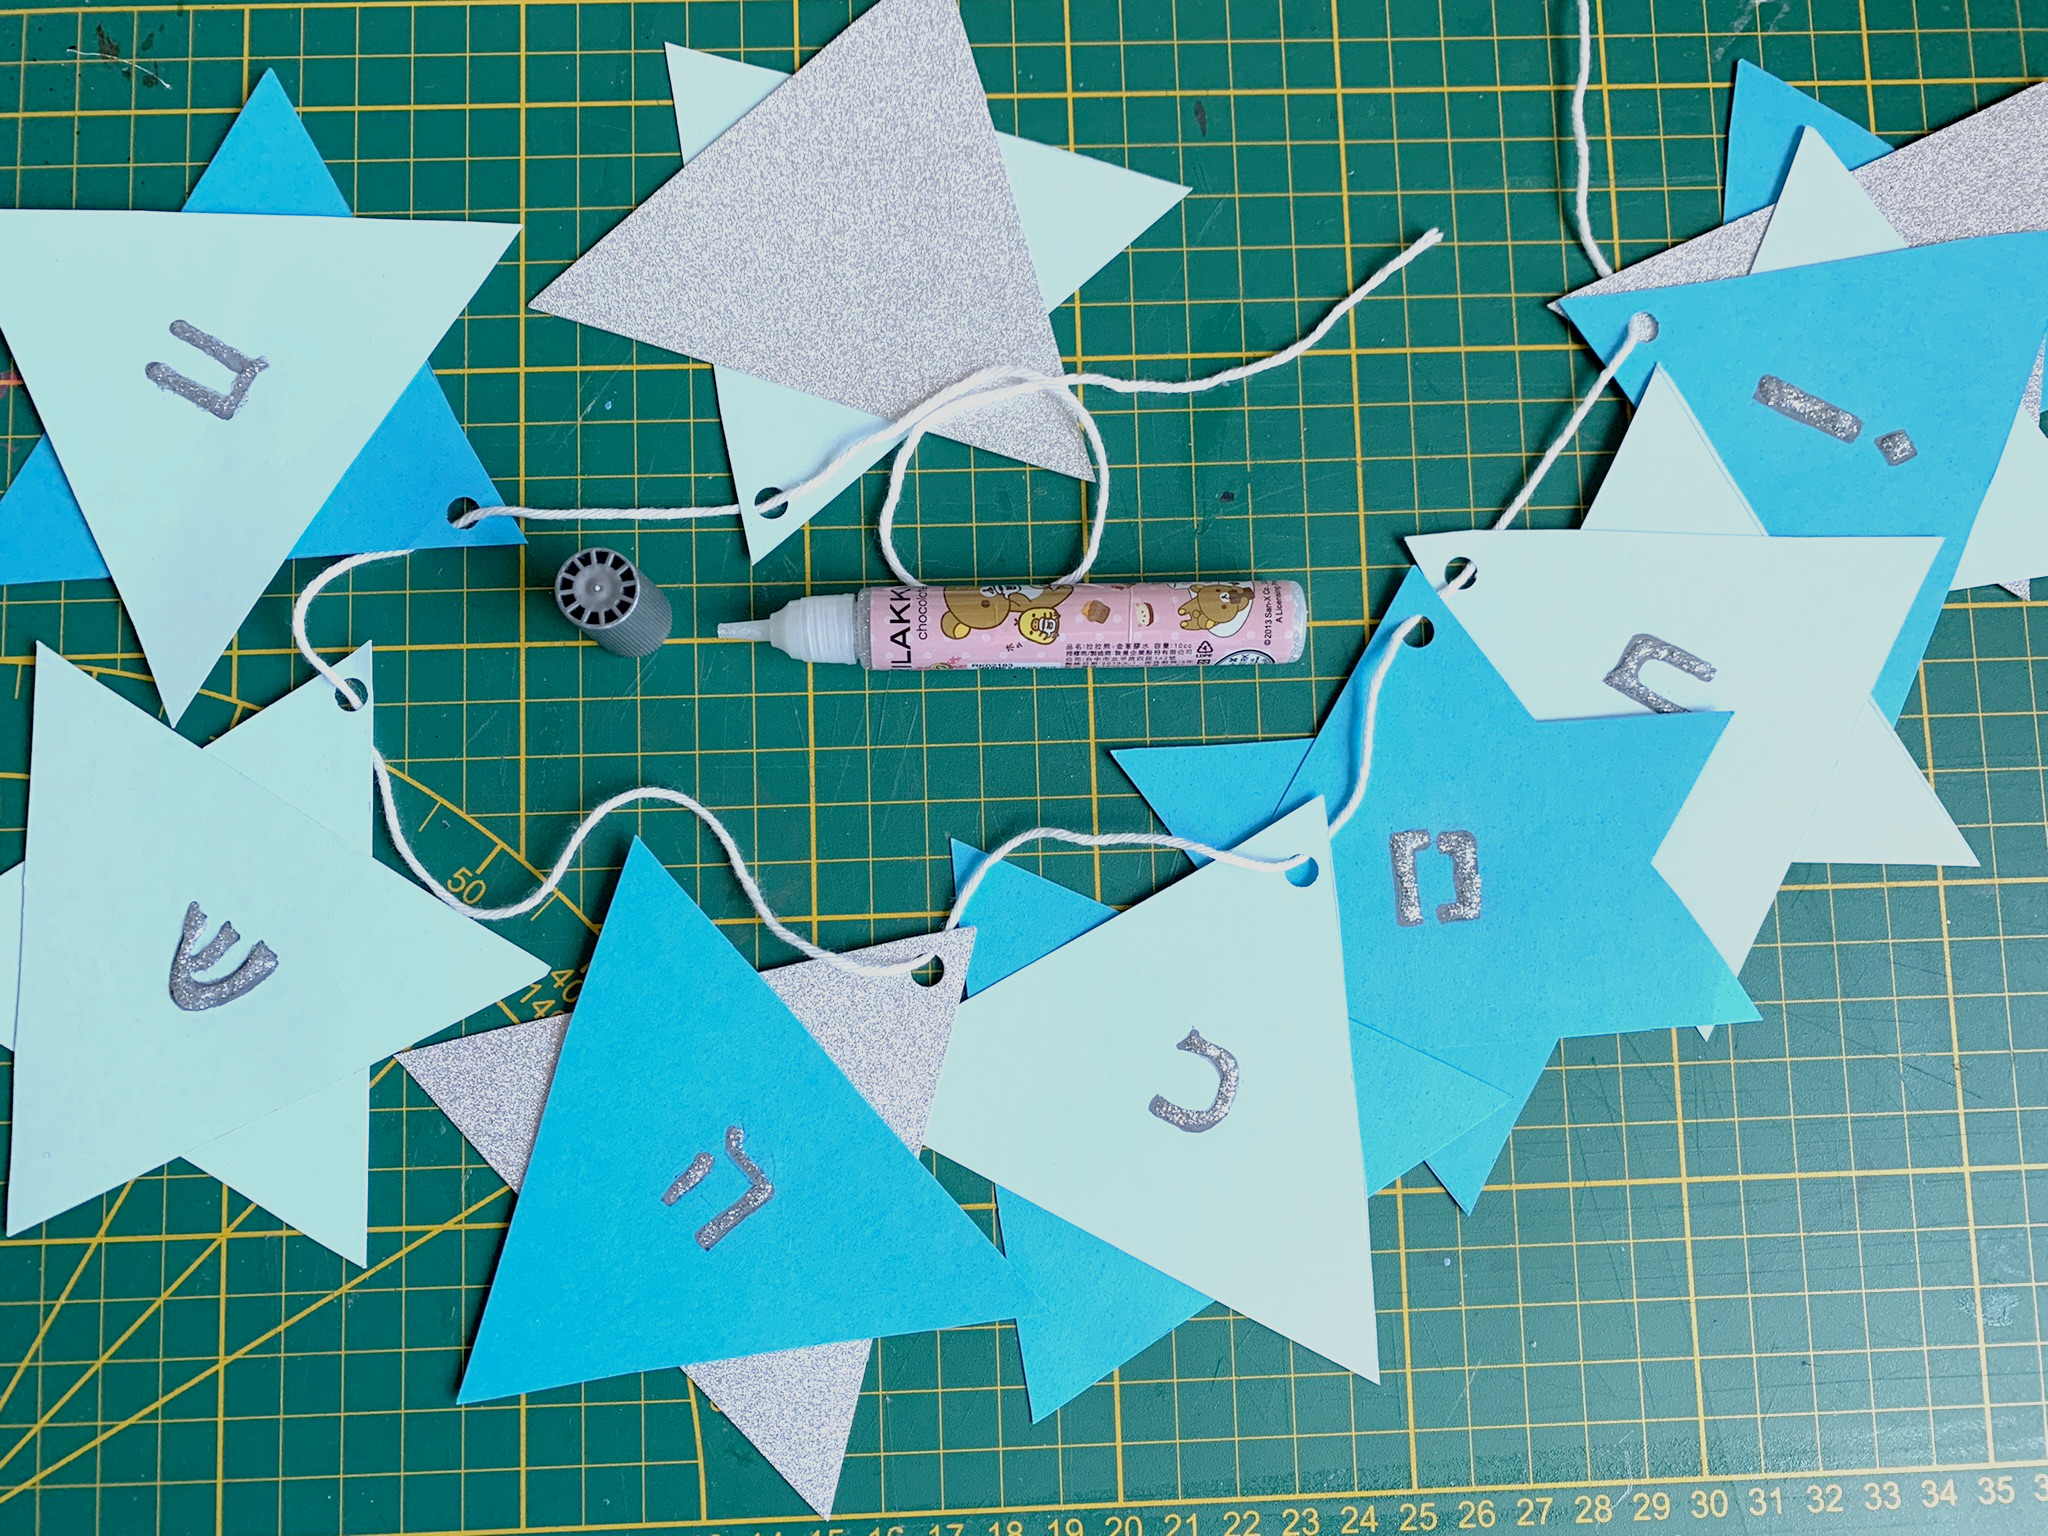
Trace the letters with glitter glue and let it dry.
Find a nice spot for the Hannukah star garland.