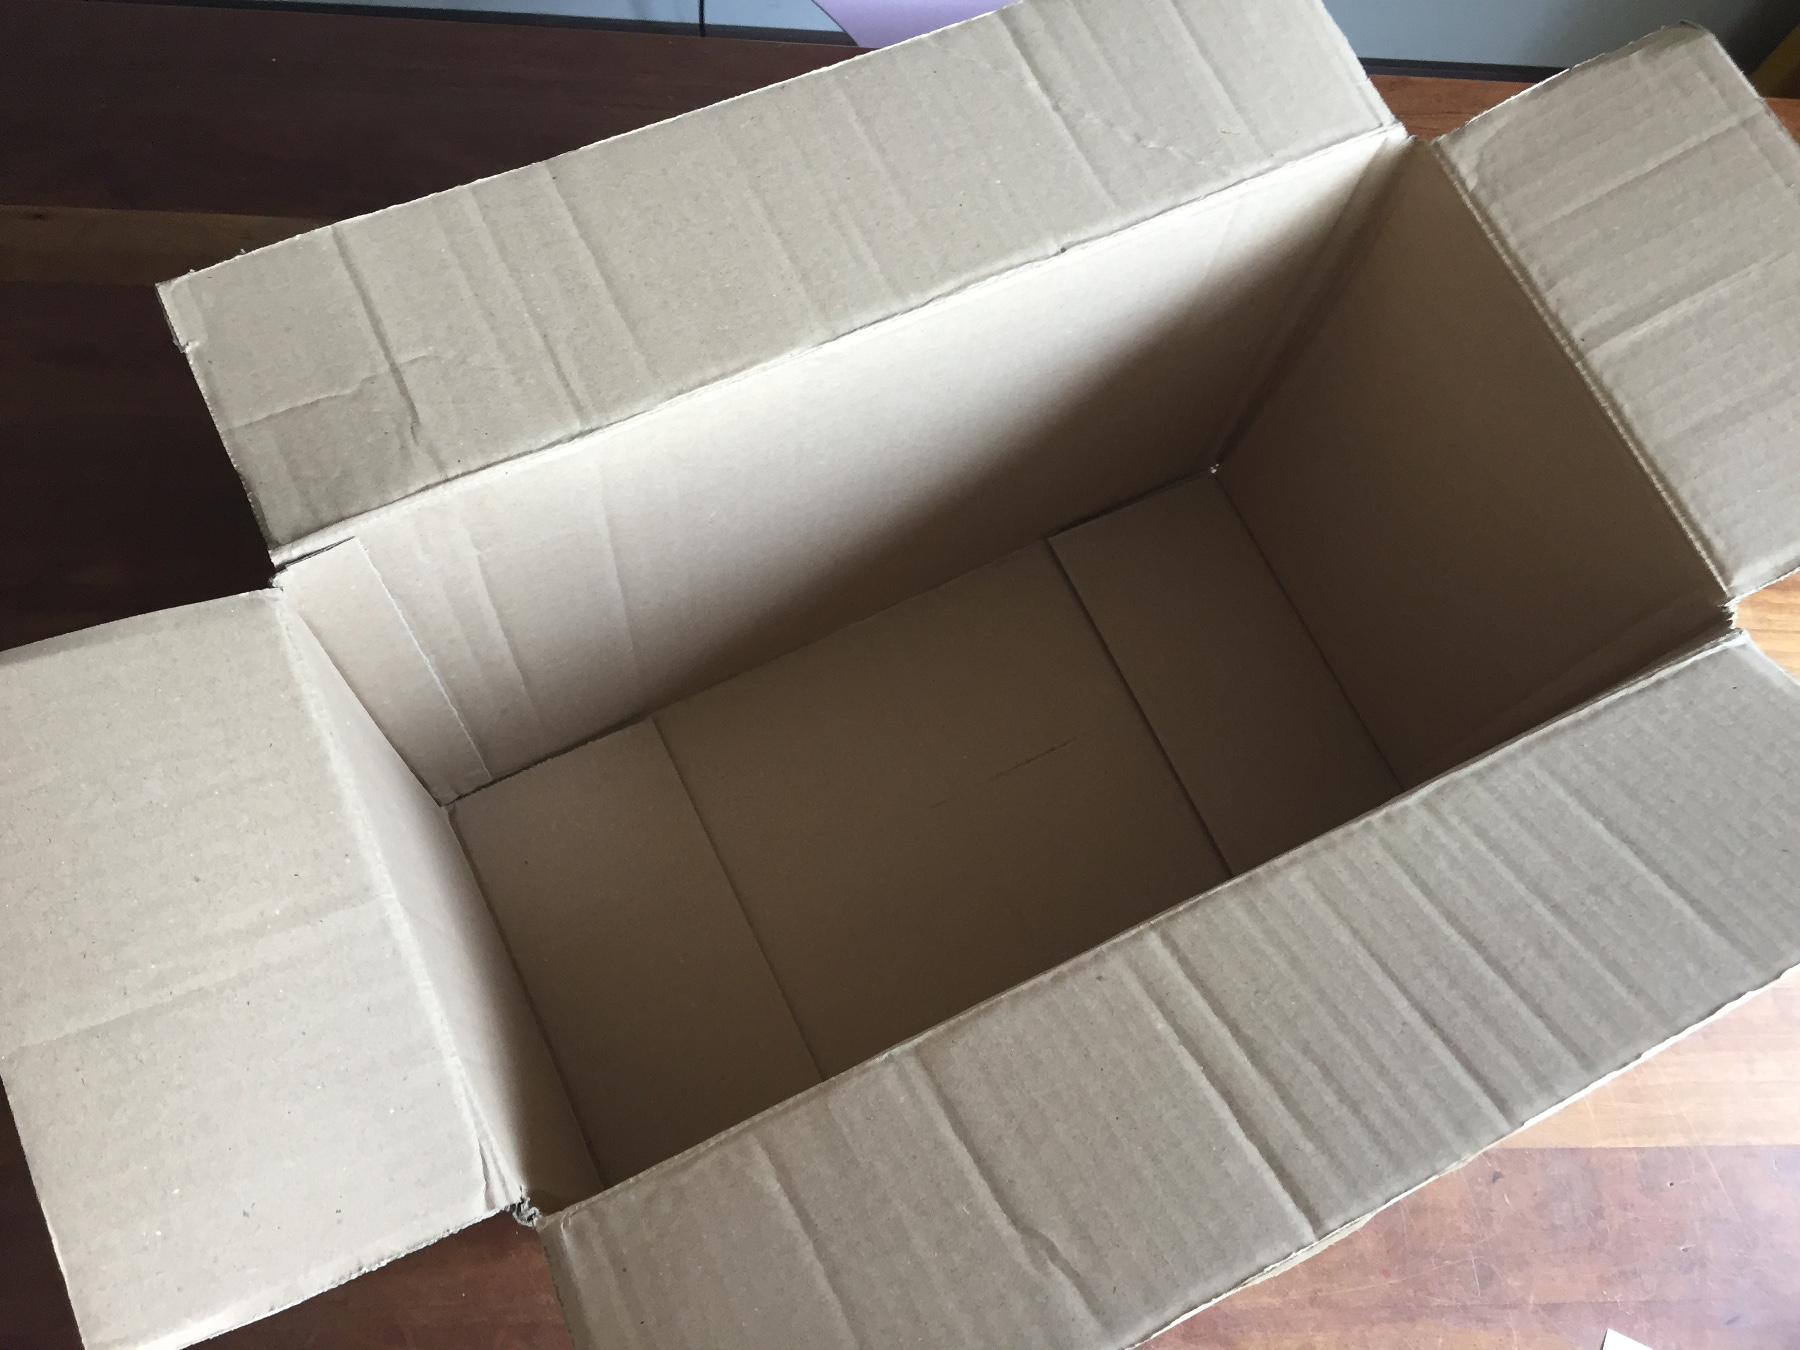
What do you need?
a cartboard box
2 cylindrical tubes (like from pringles)
bricks and roof tile paper
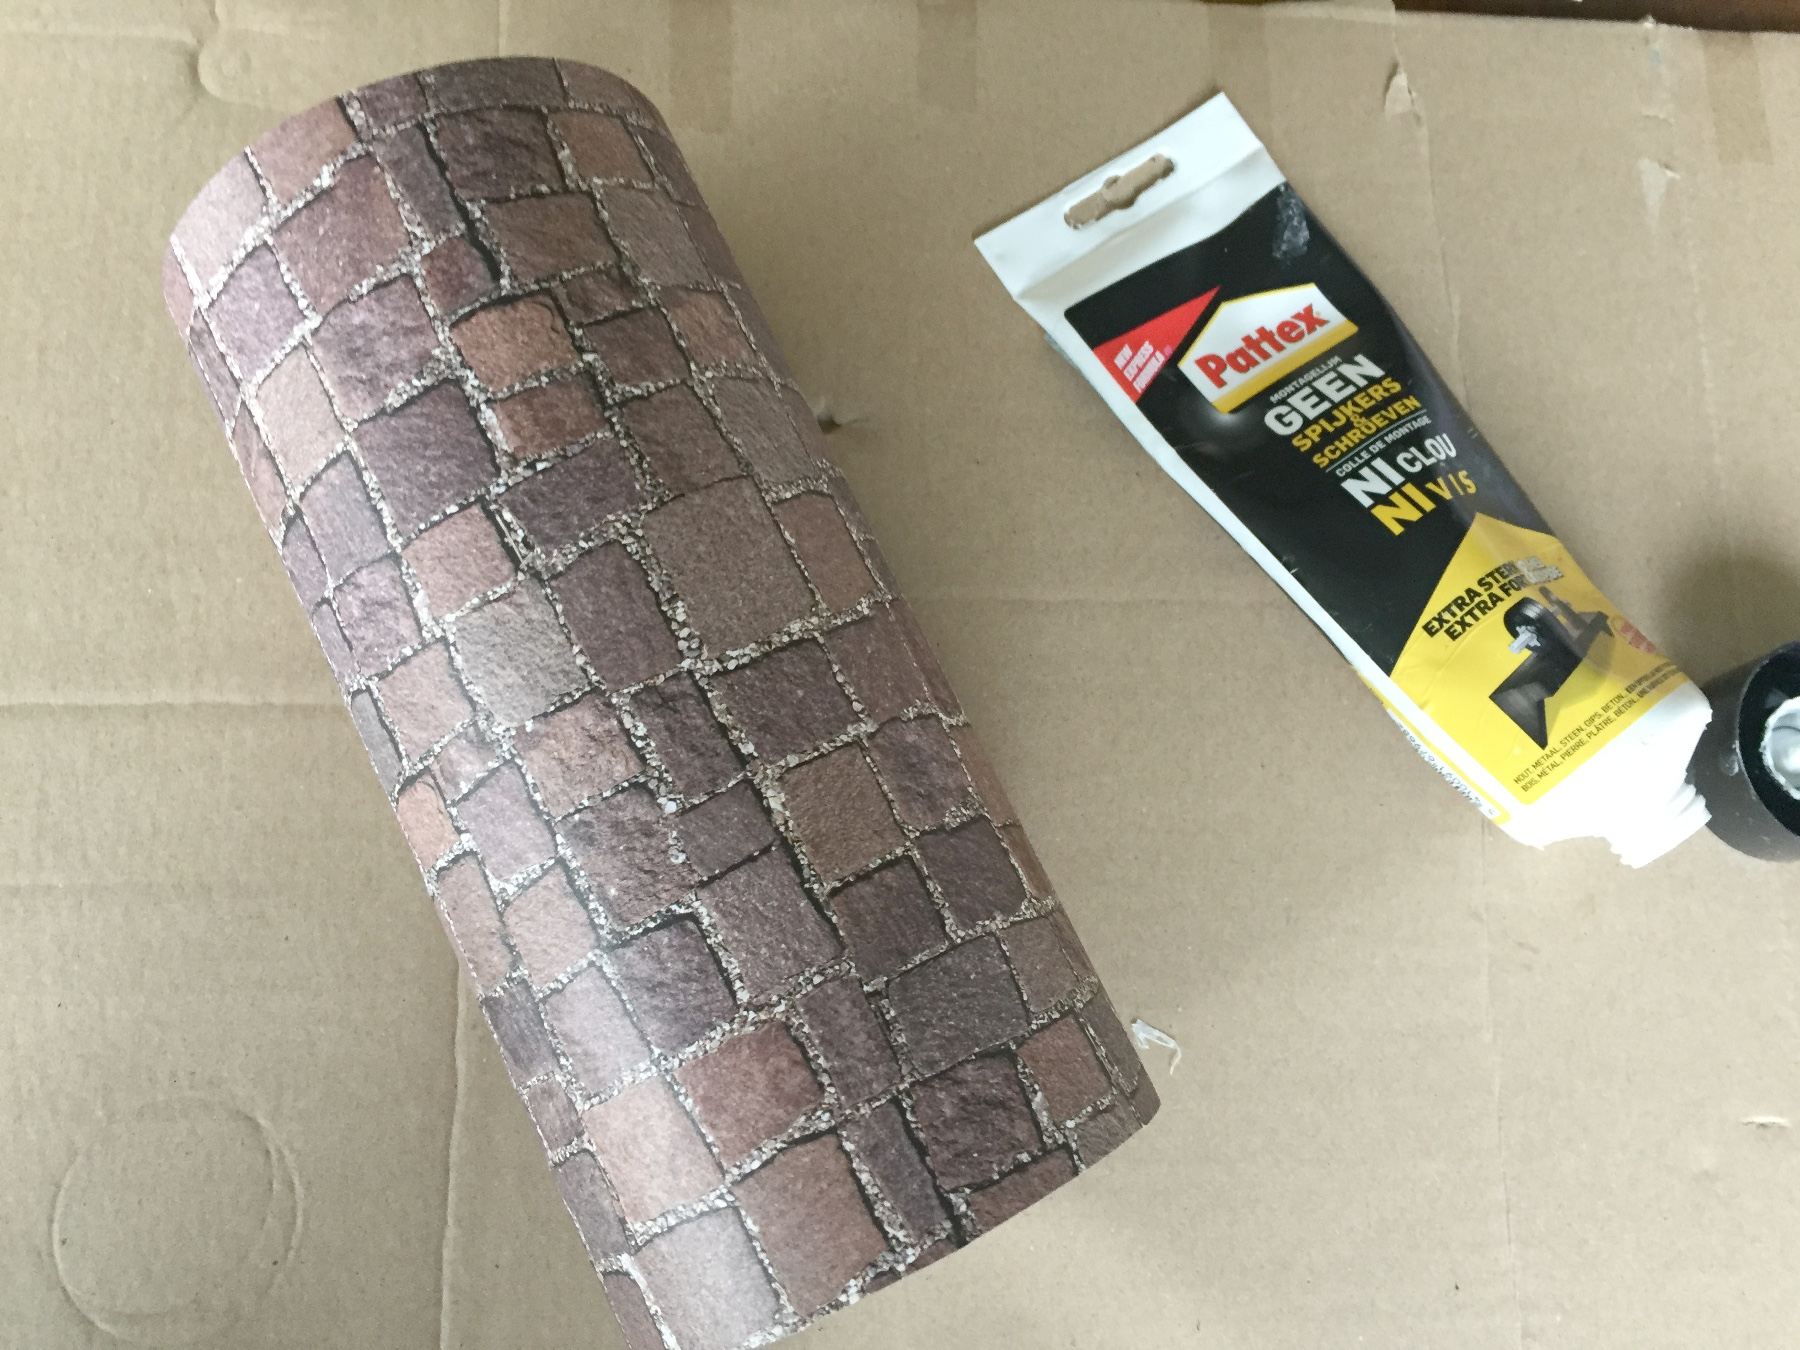
Strong glue
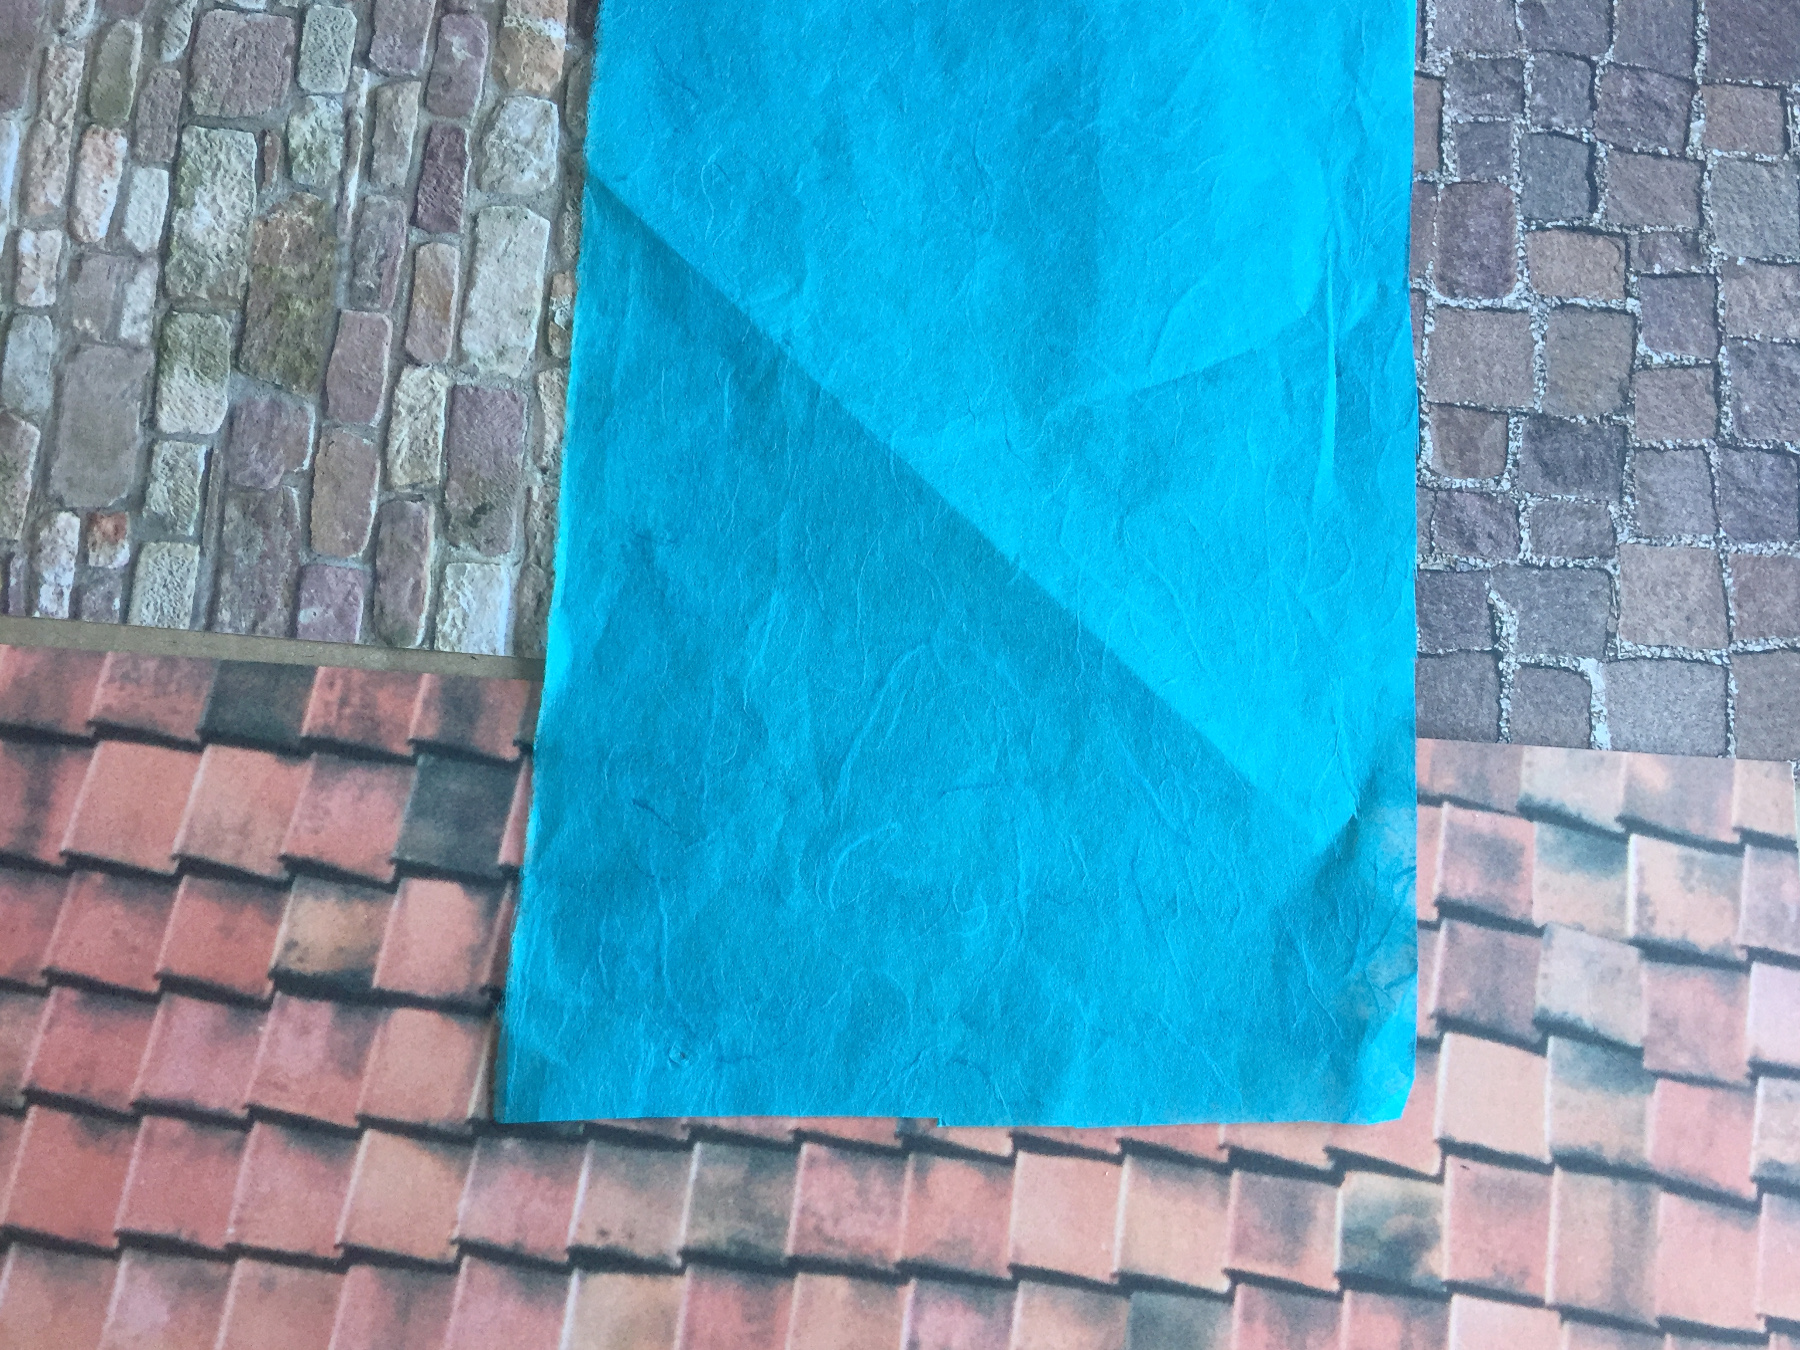
coloured paper
felt tip pens
string
large needle
scissors
Stanley knife (for adults only)
How to make the towers, they are quickly ready
The tubes in which hamster sand comes are very good but every other tube will do. If you not have on make your own out of cardboard with staples.
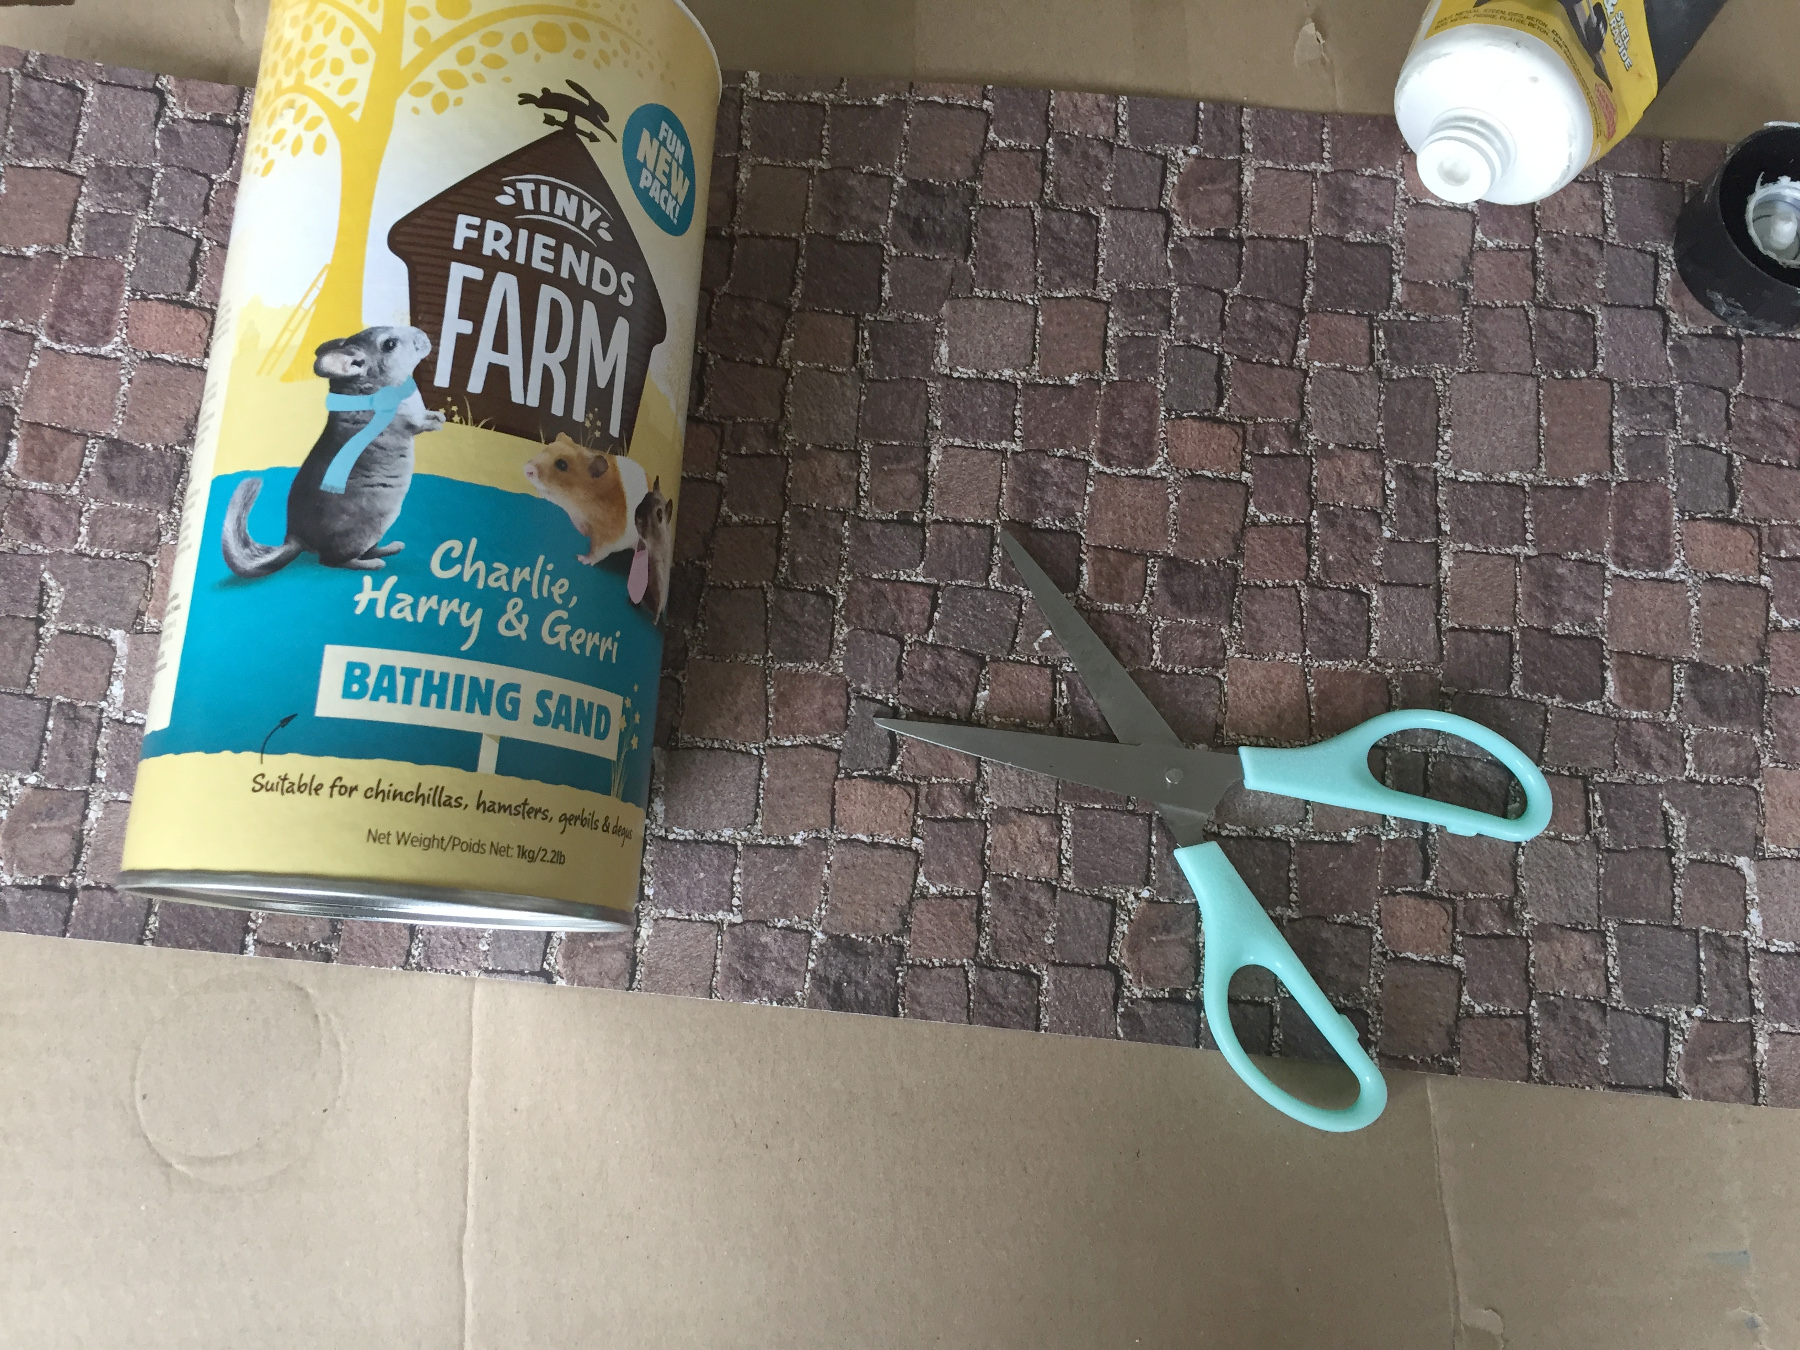
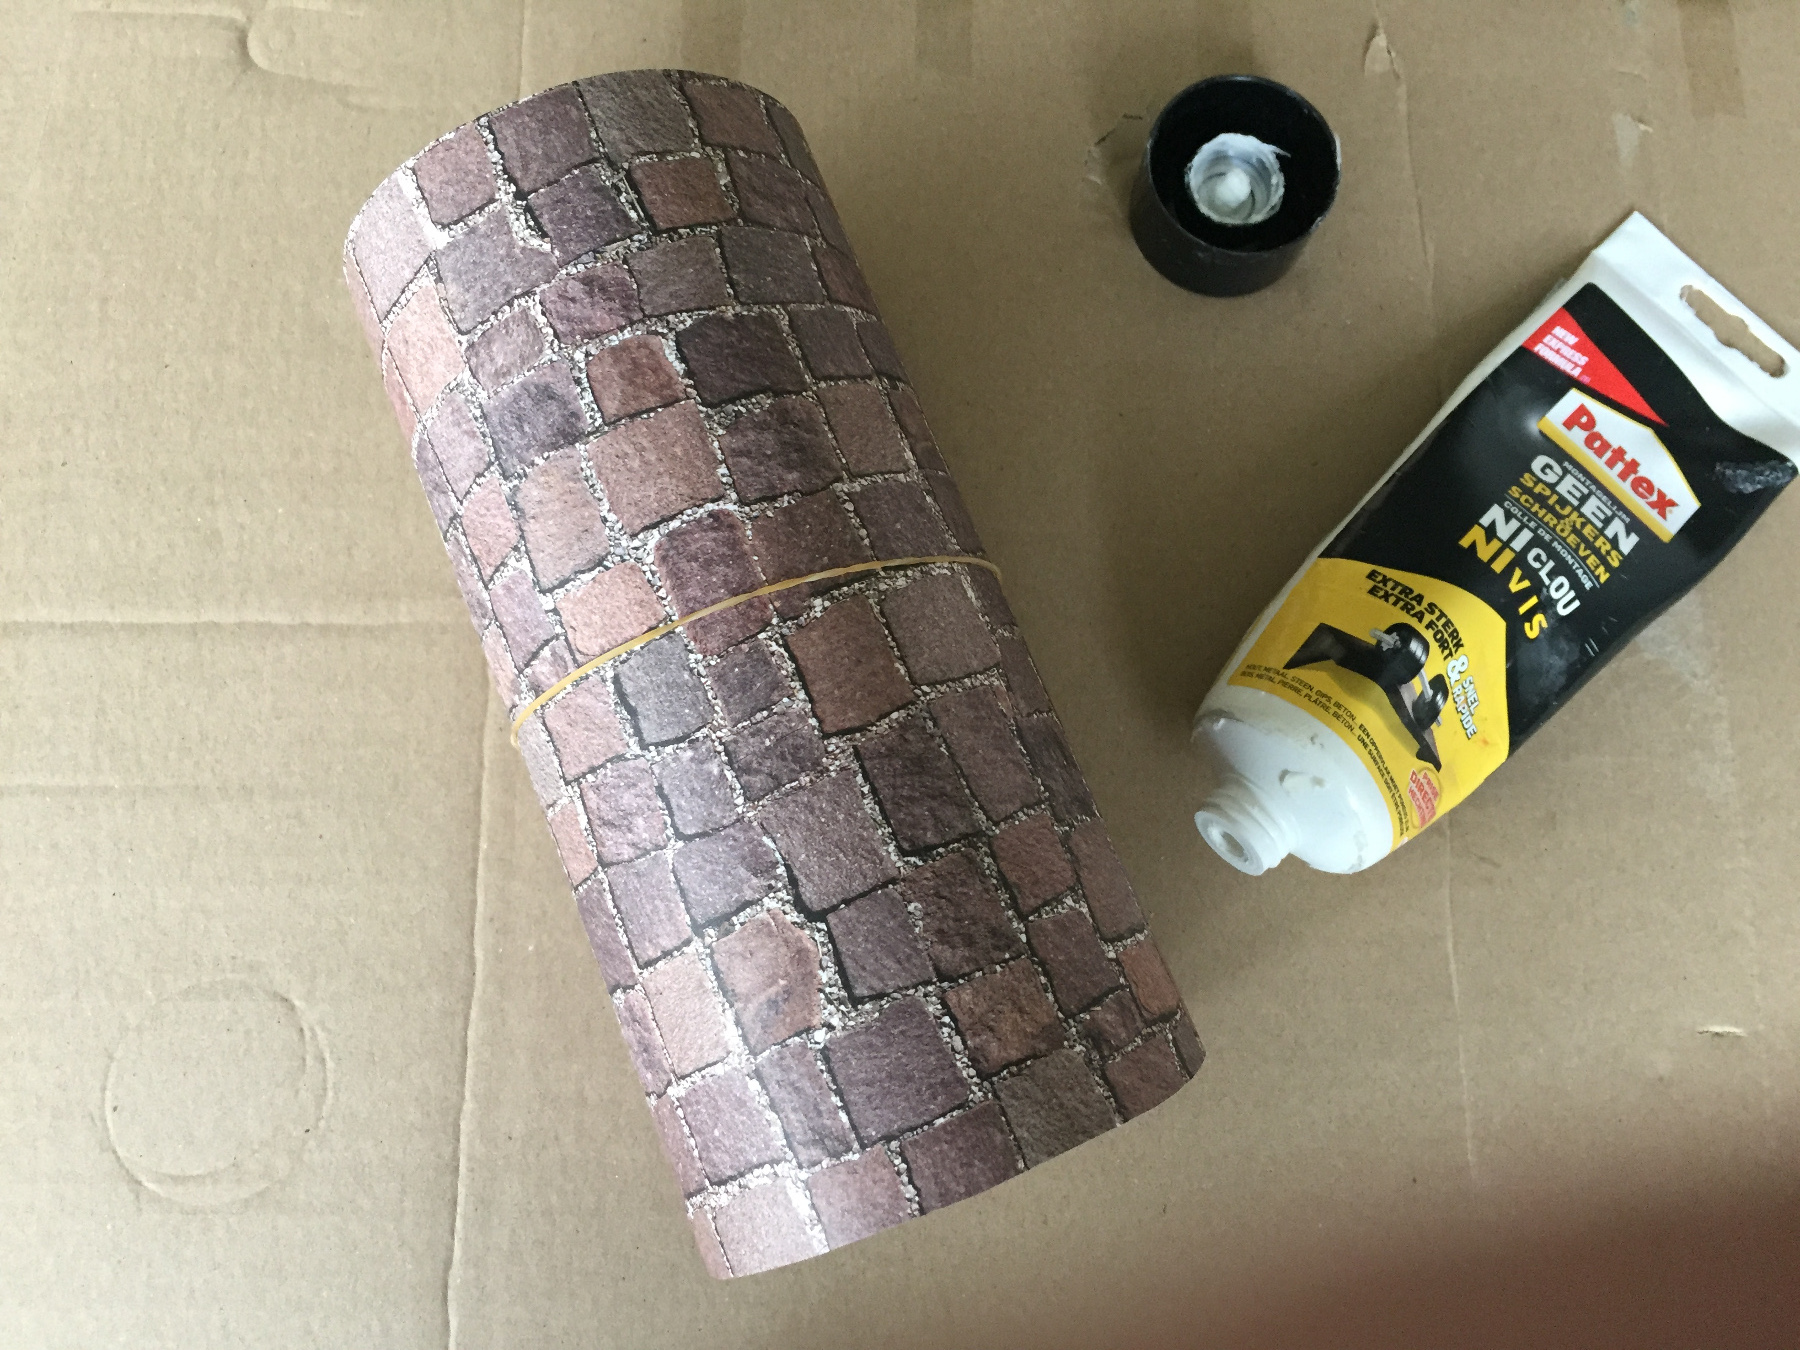
Measure the tube and cut the paper to size.
Roll the paper around the tube and stick it on.
Slide rubber band around the tubes and let the glue dry.
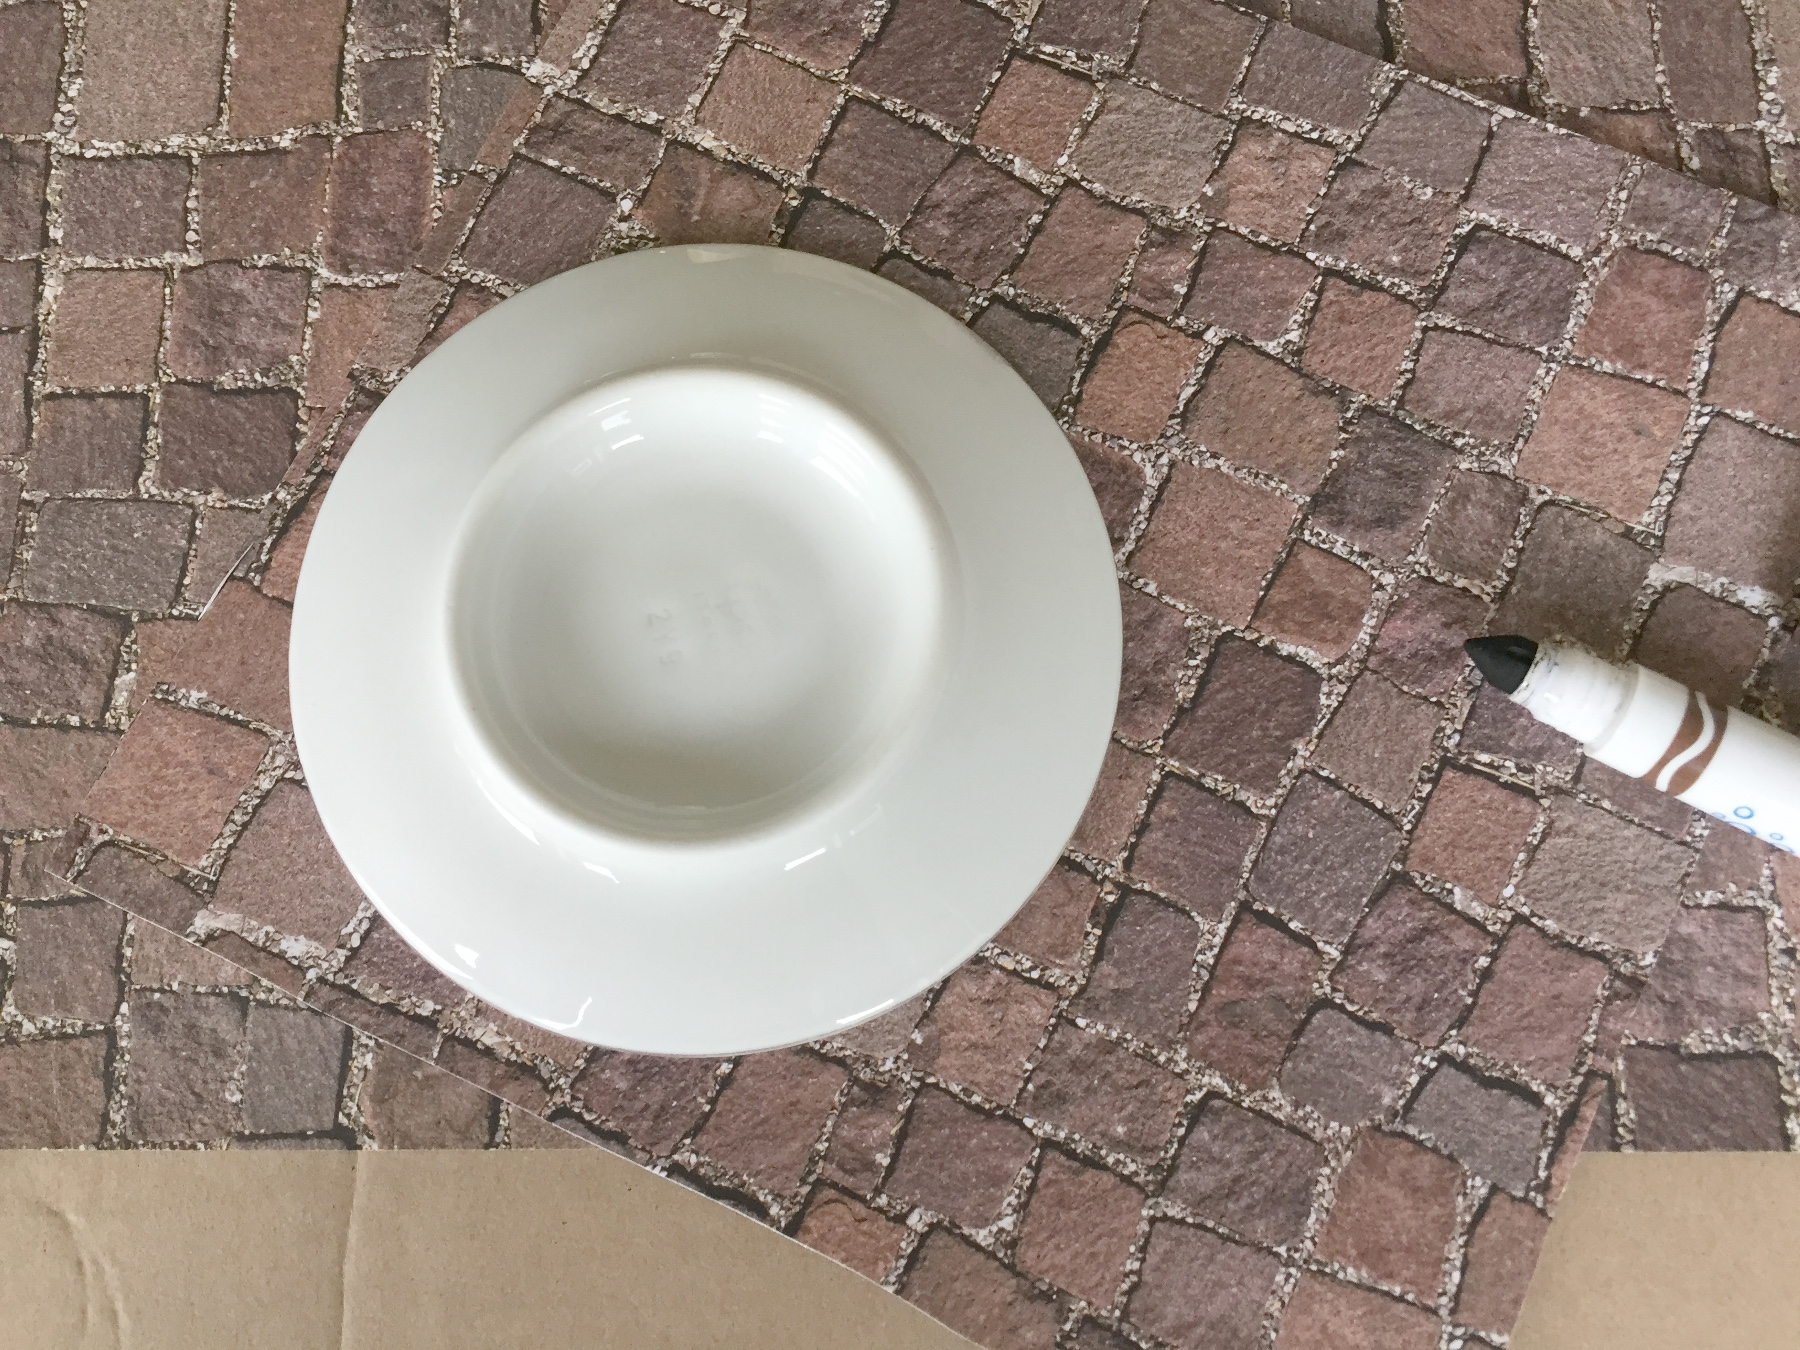
Trace a saucer slightly larger than the diameter of the tube.
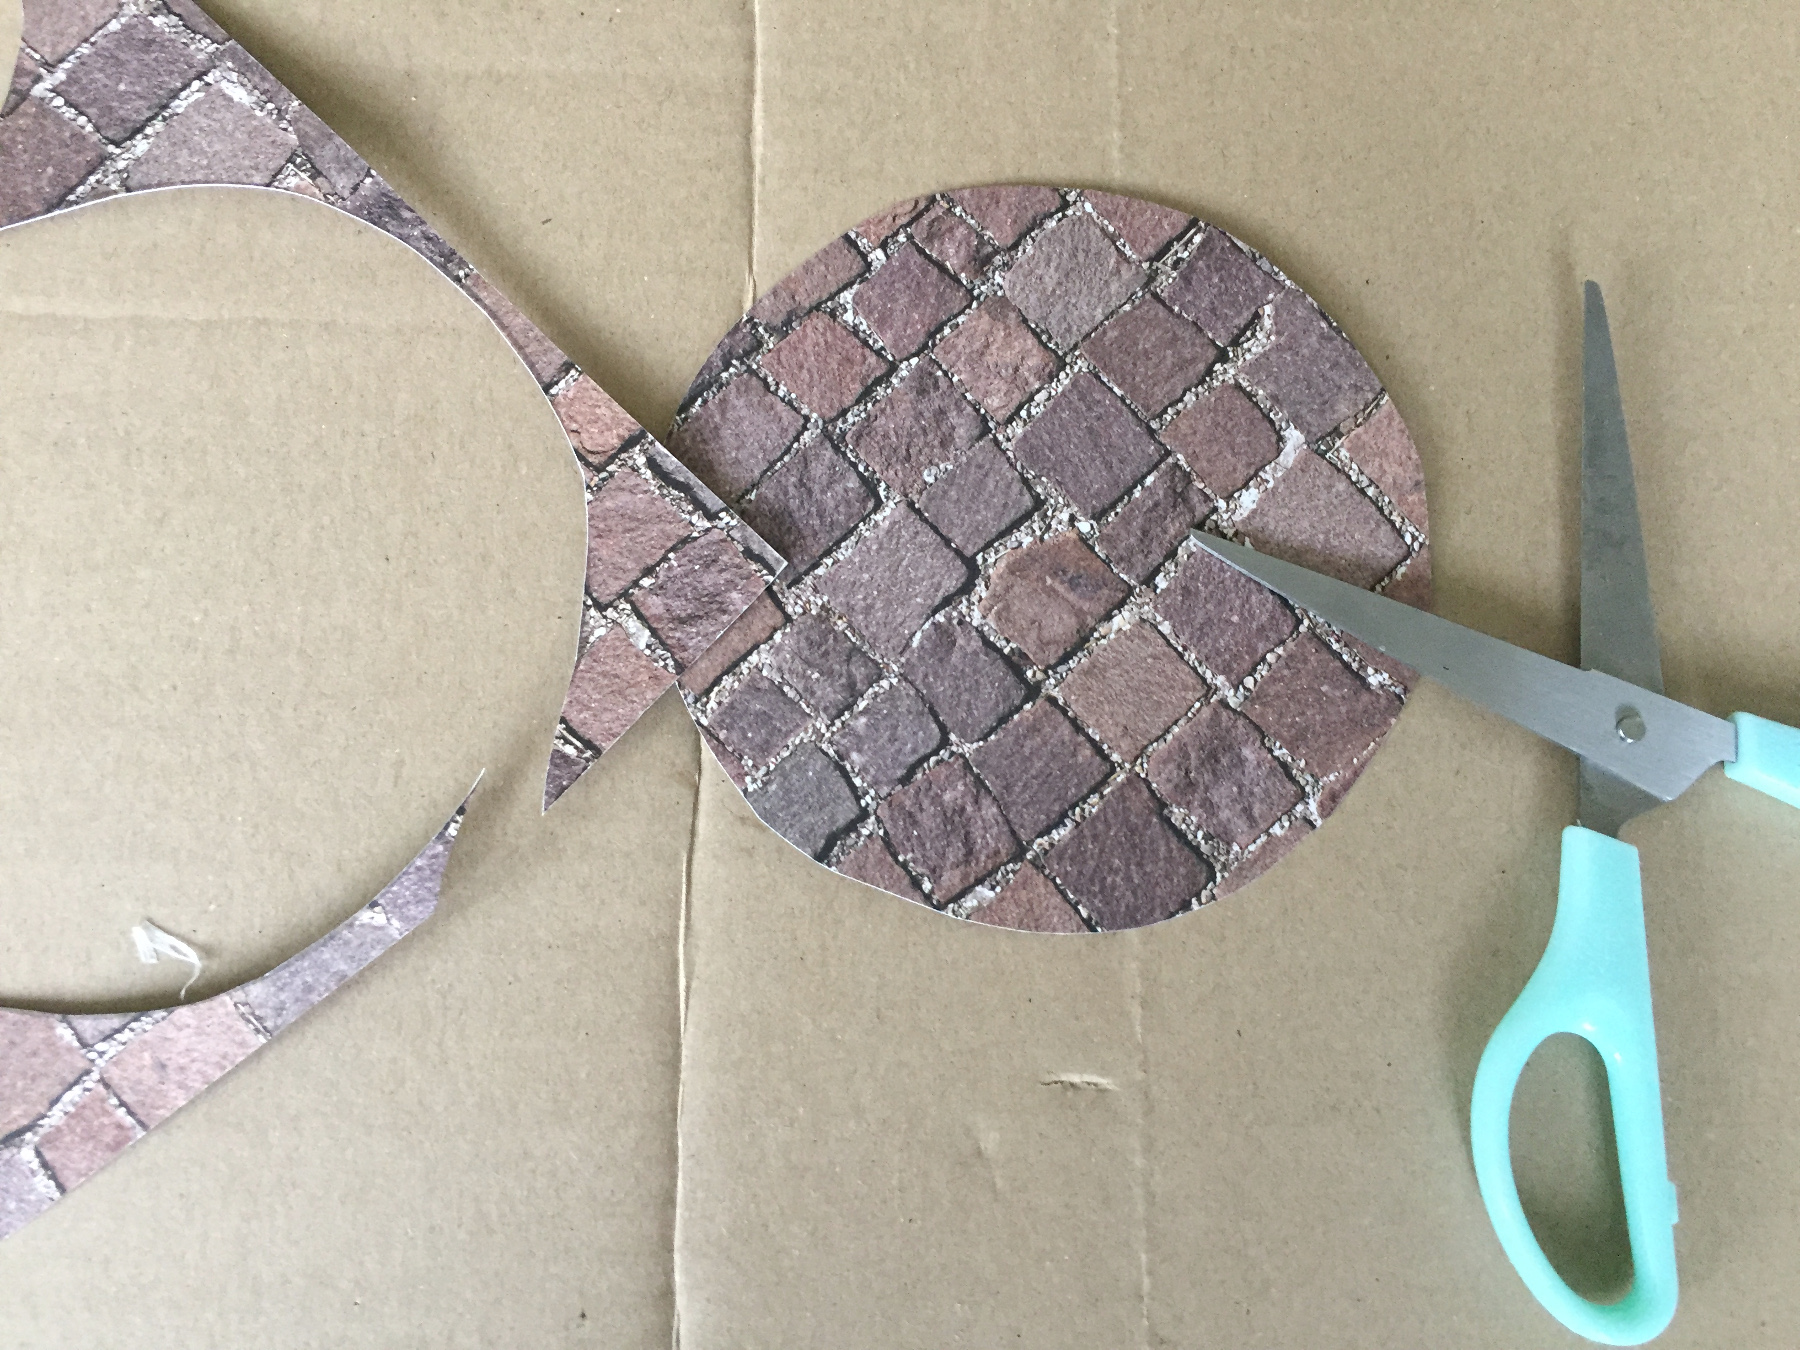

Trace it on bricks paper and cut the circles out.
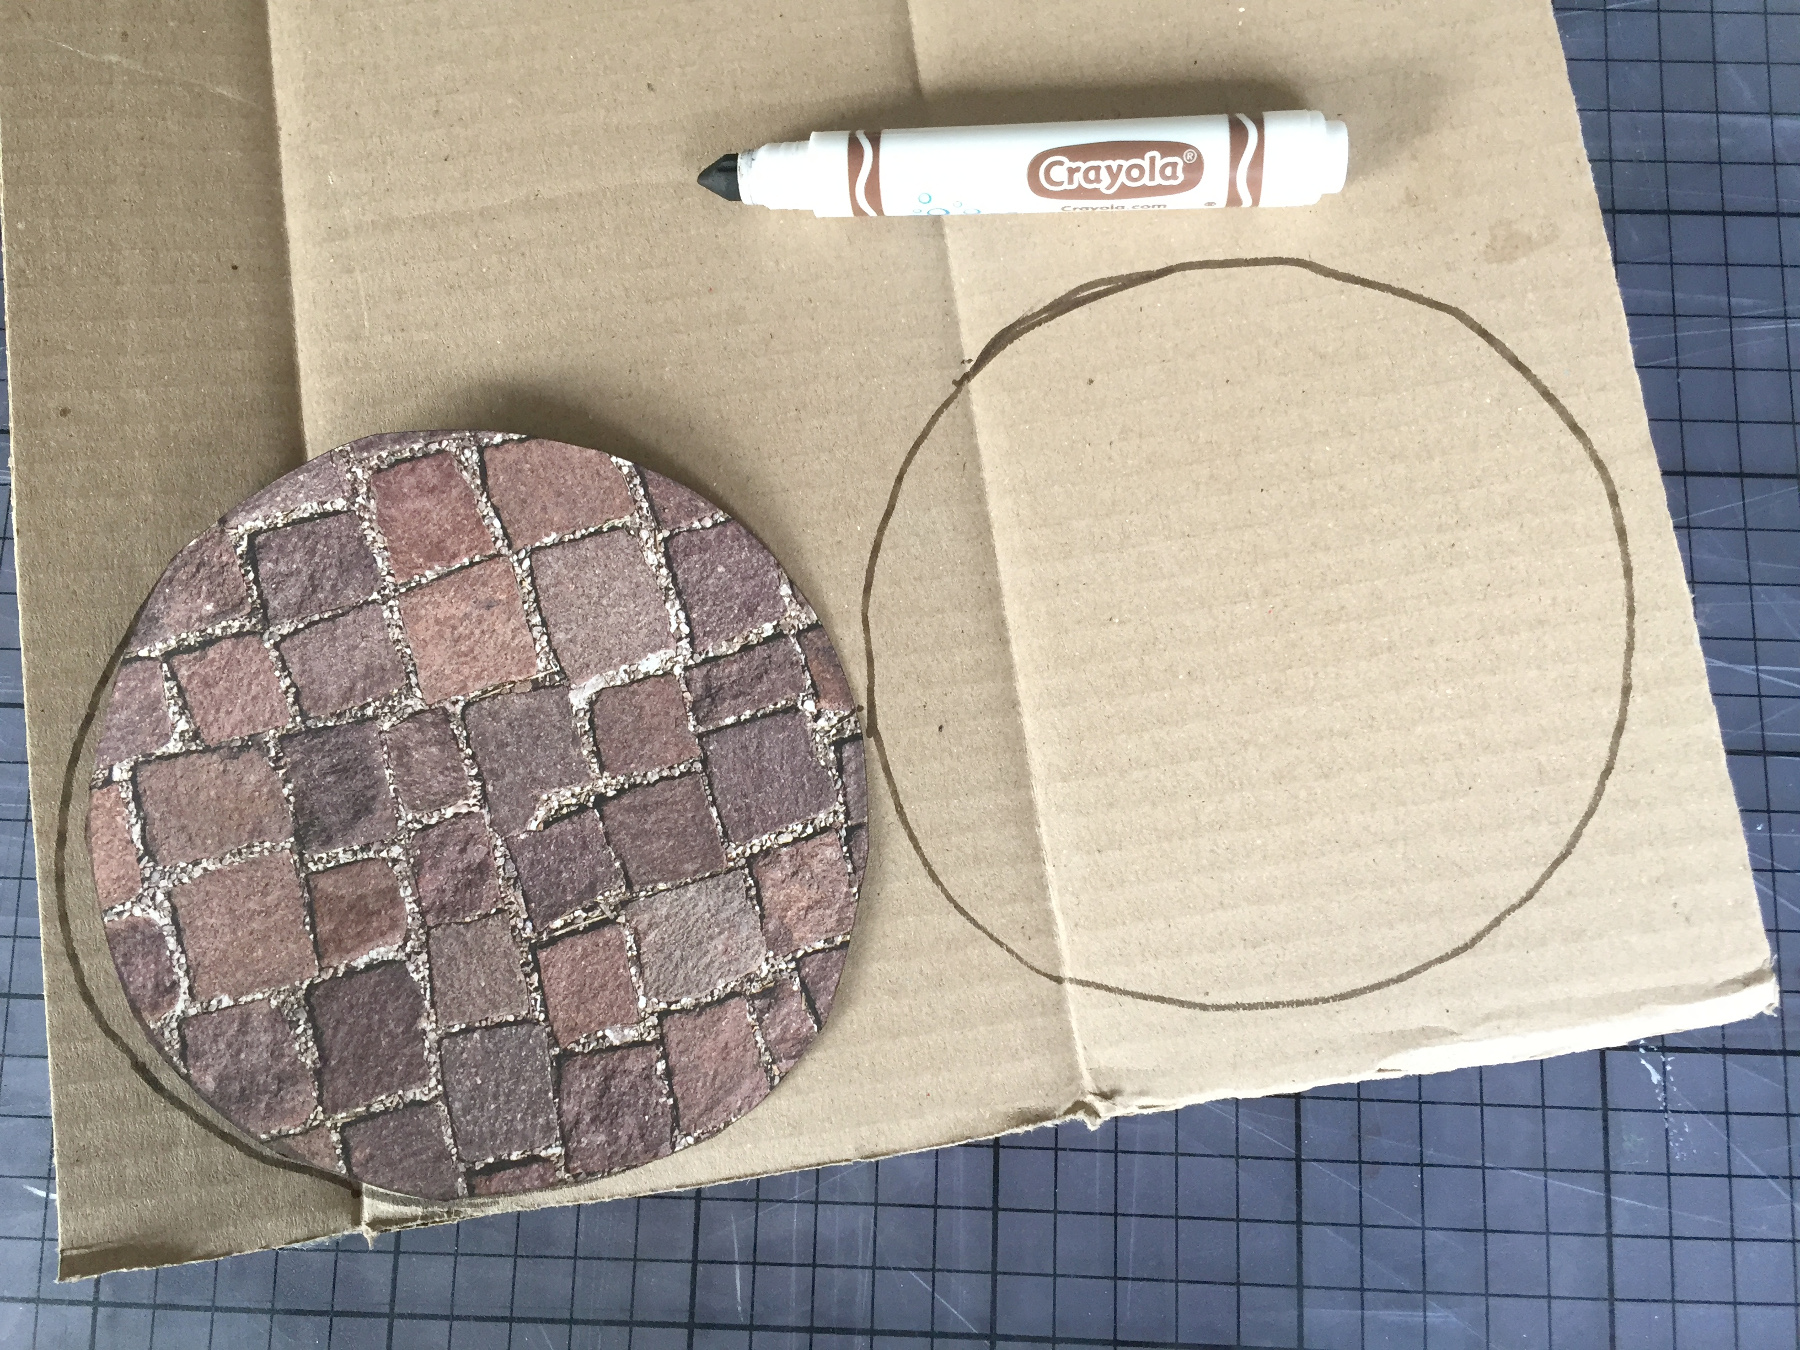
Trace the circles on thick cardboard, cut those out too.
Spread glue in between both circles.
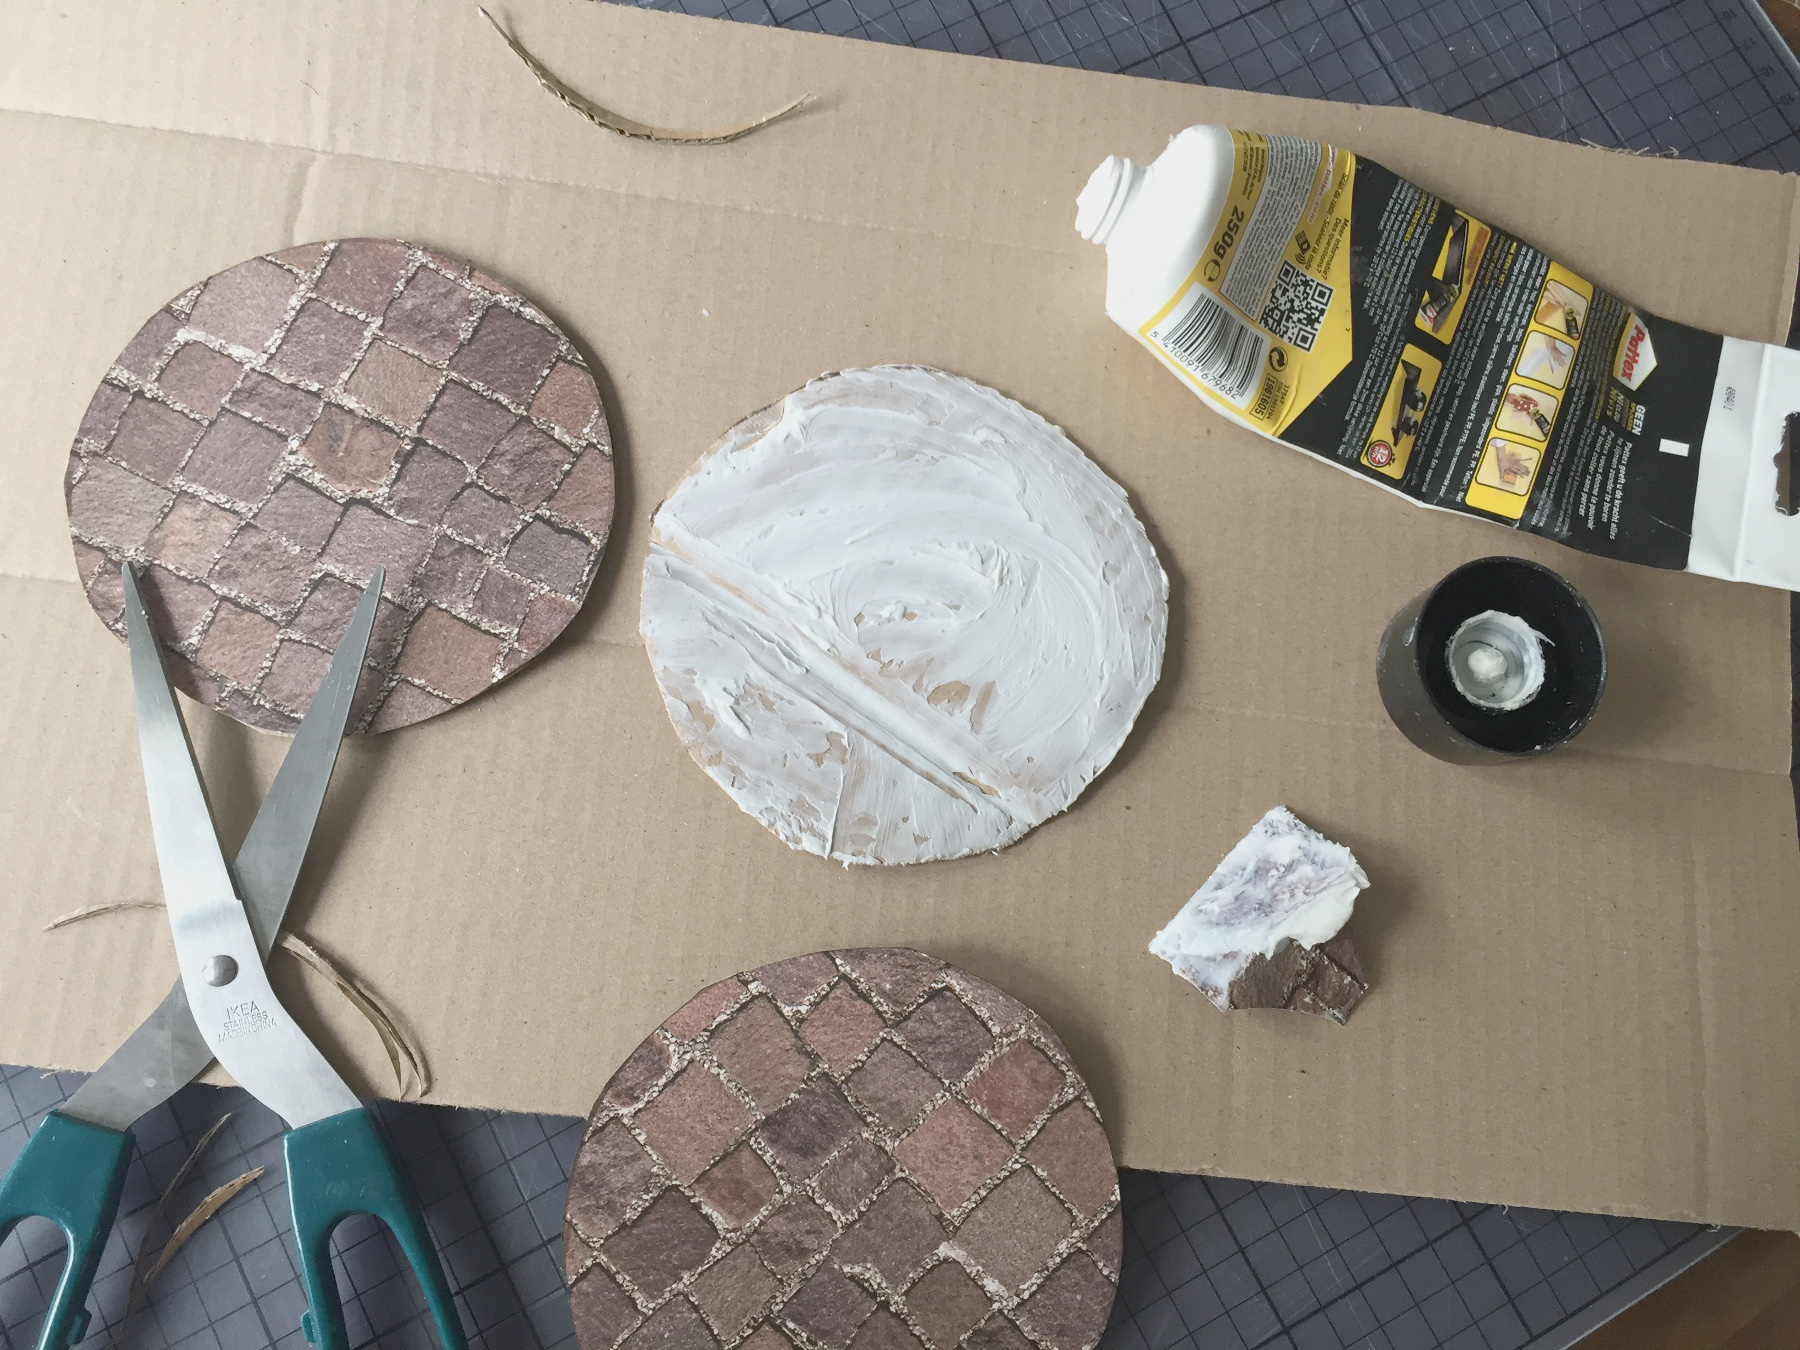

Press the circles together then let them dry.
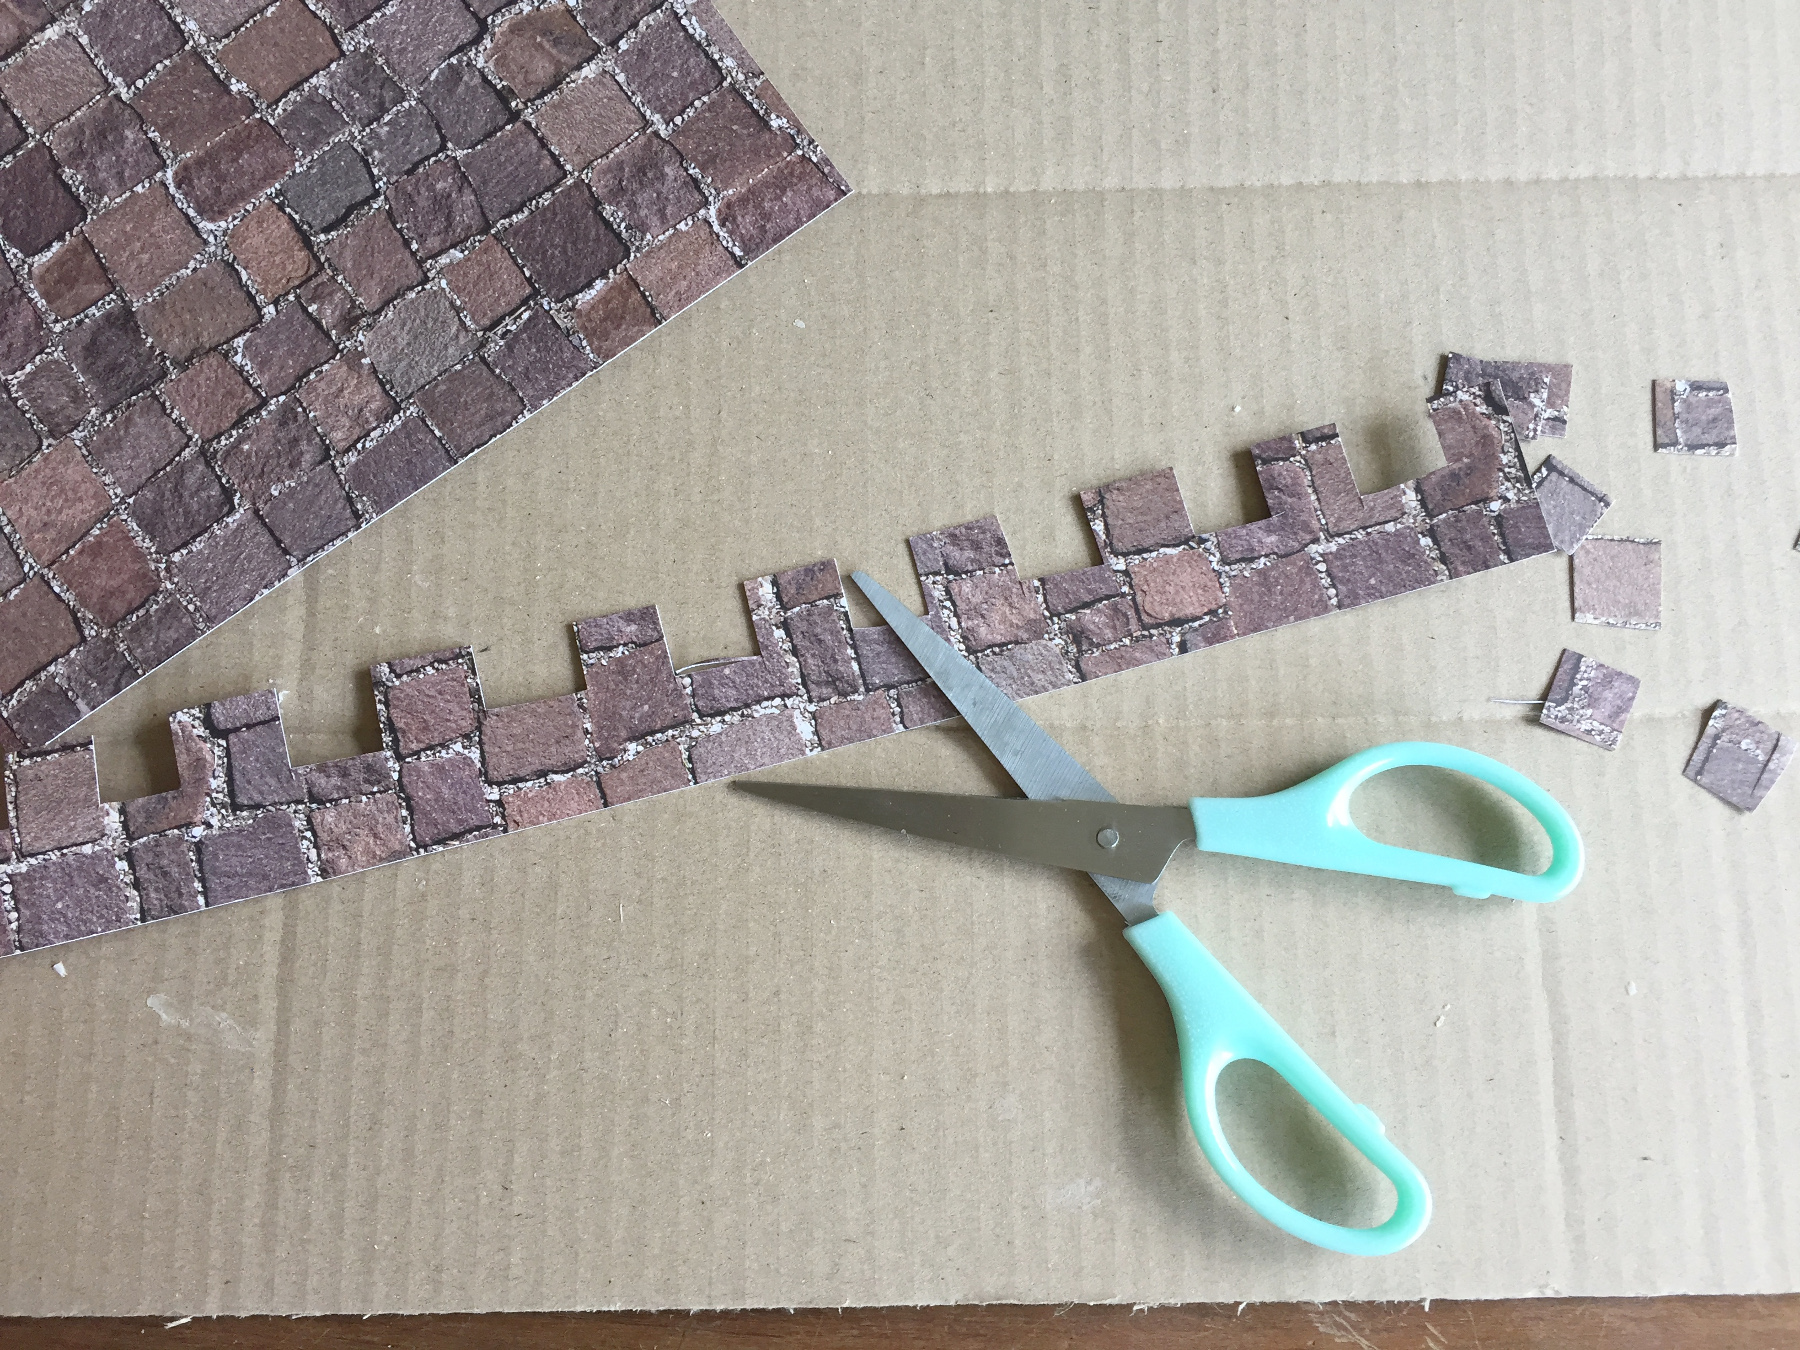
Meanwhile cut strips in which you cut out squares.
Stick the strips around the circles and let dry.
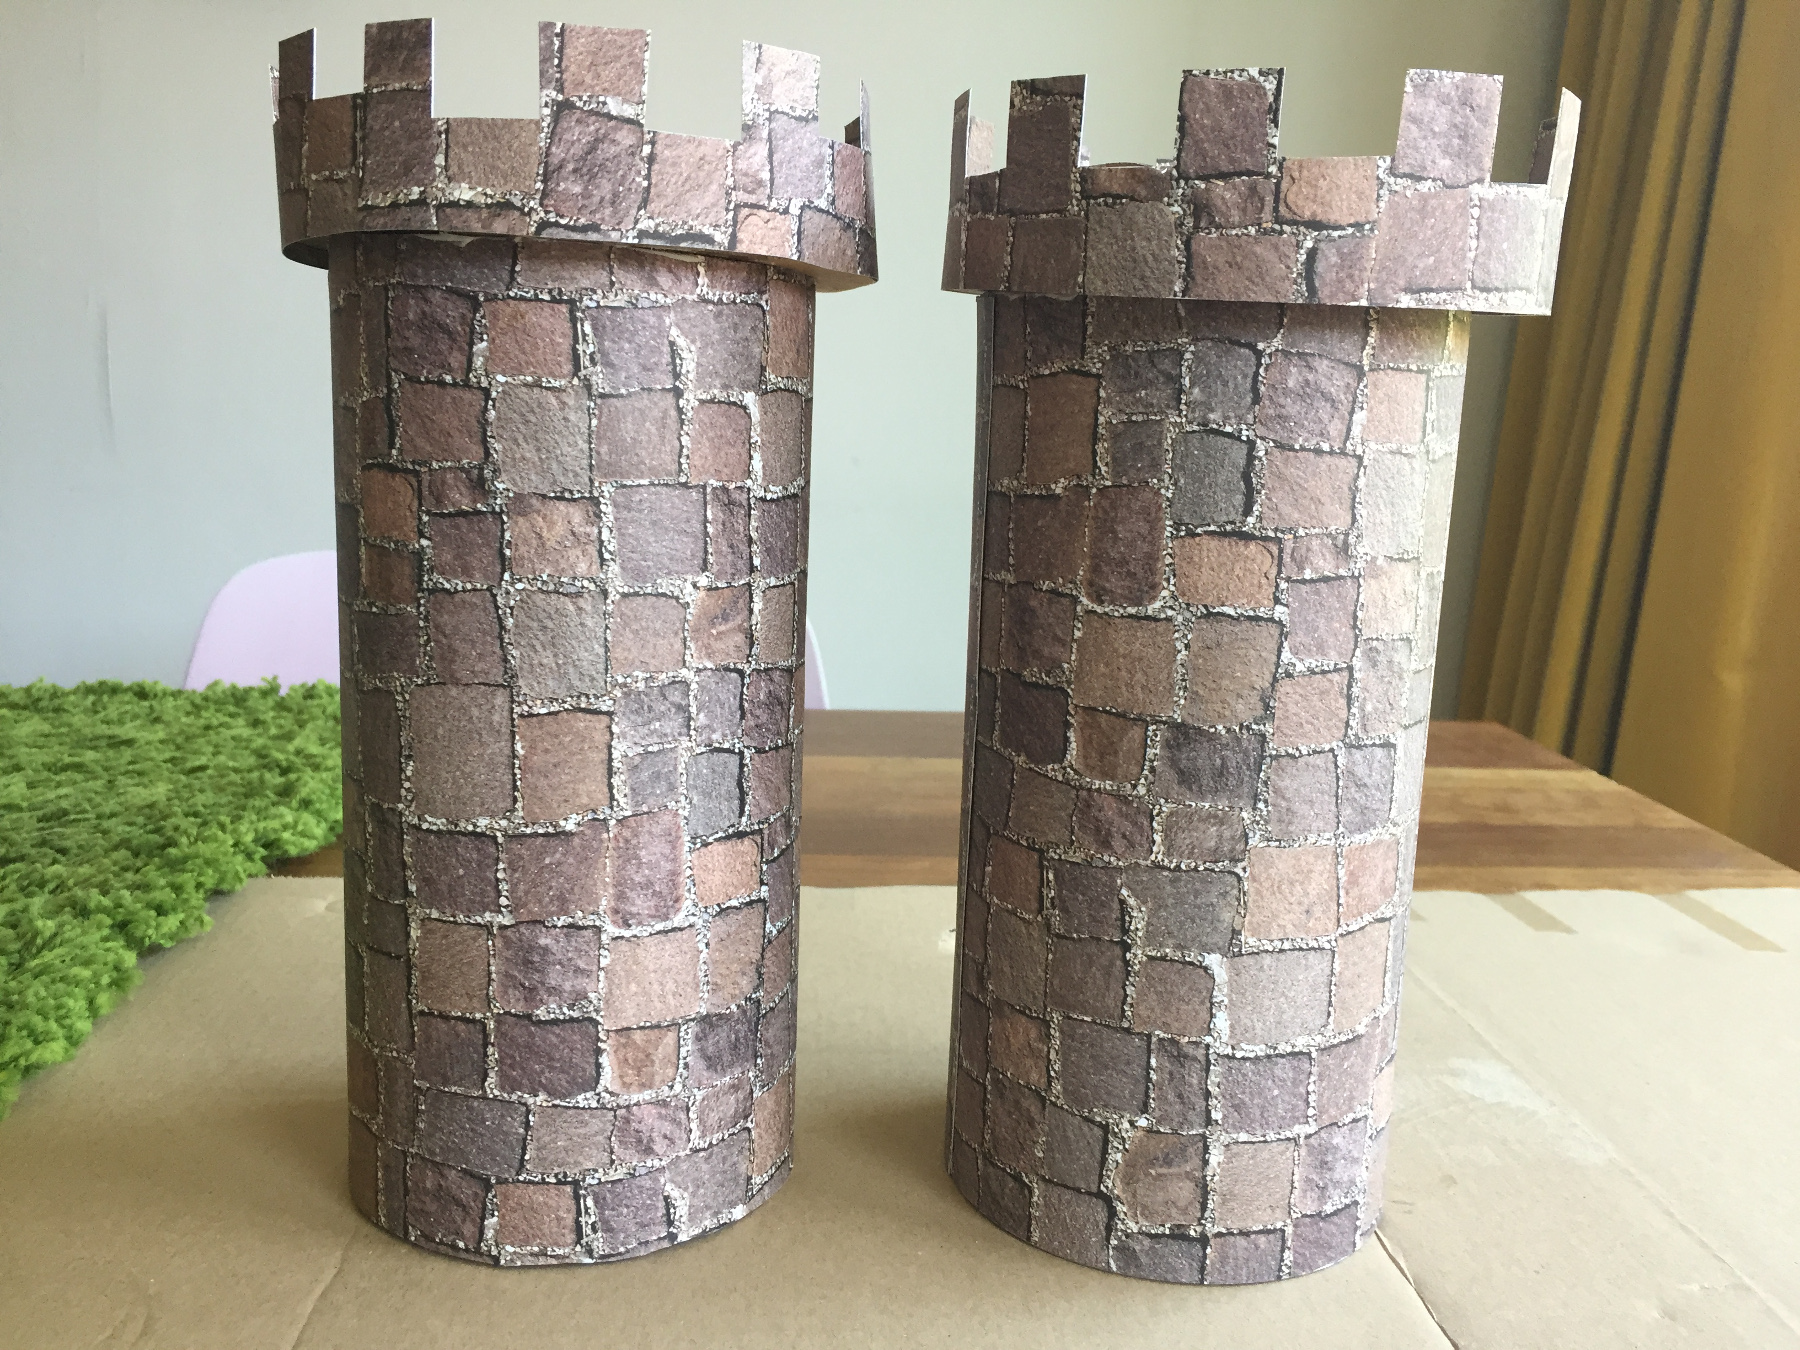
The towers are ready so they can dry really well.
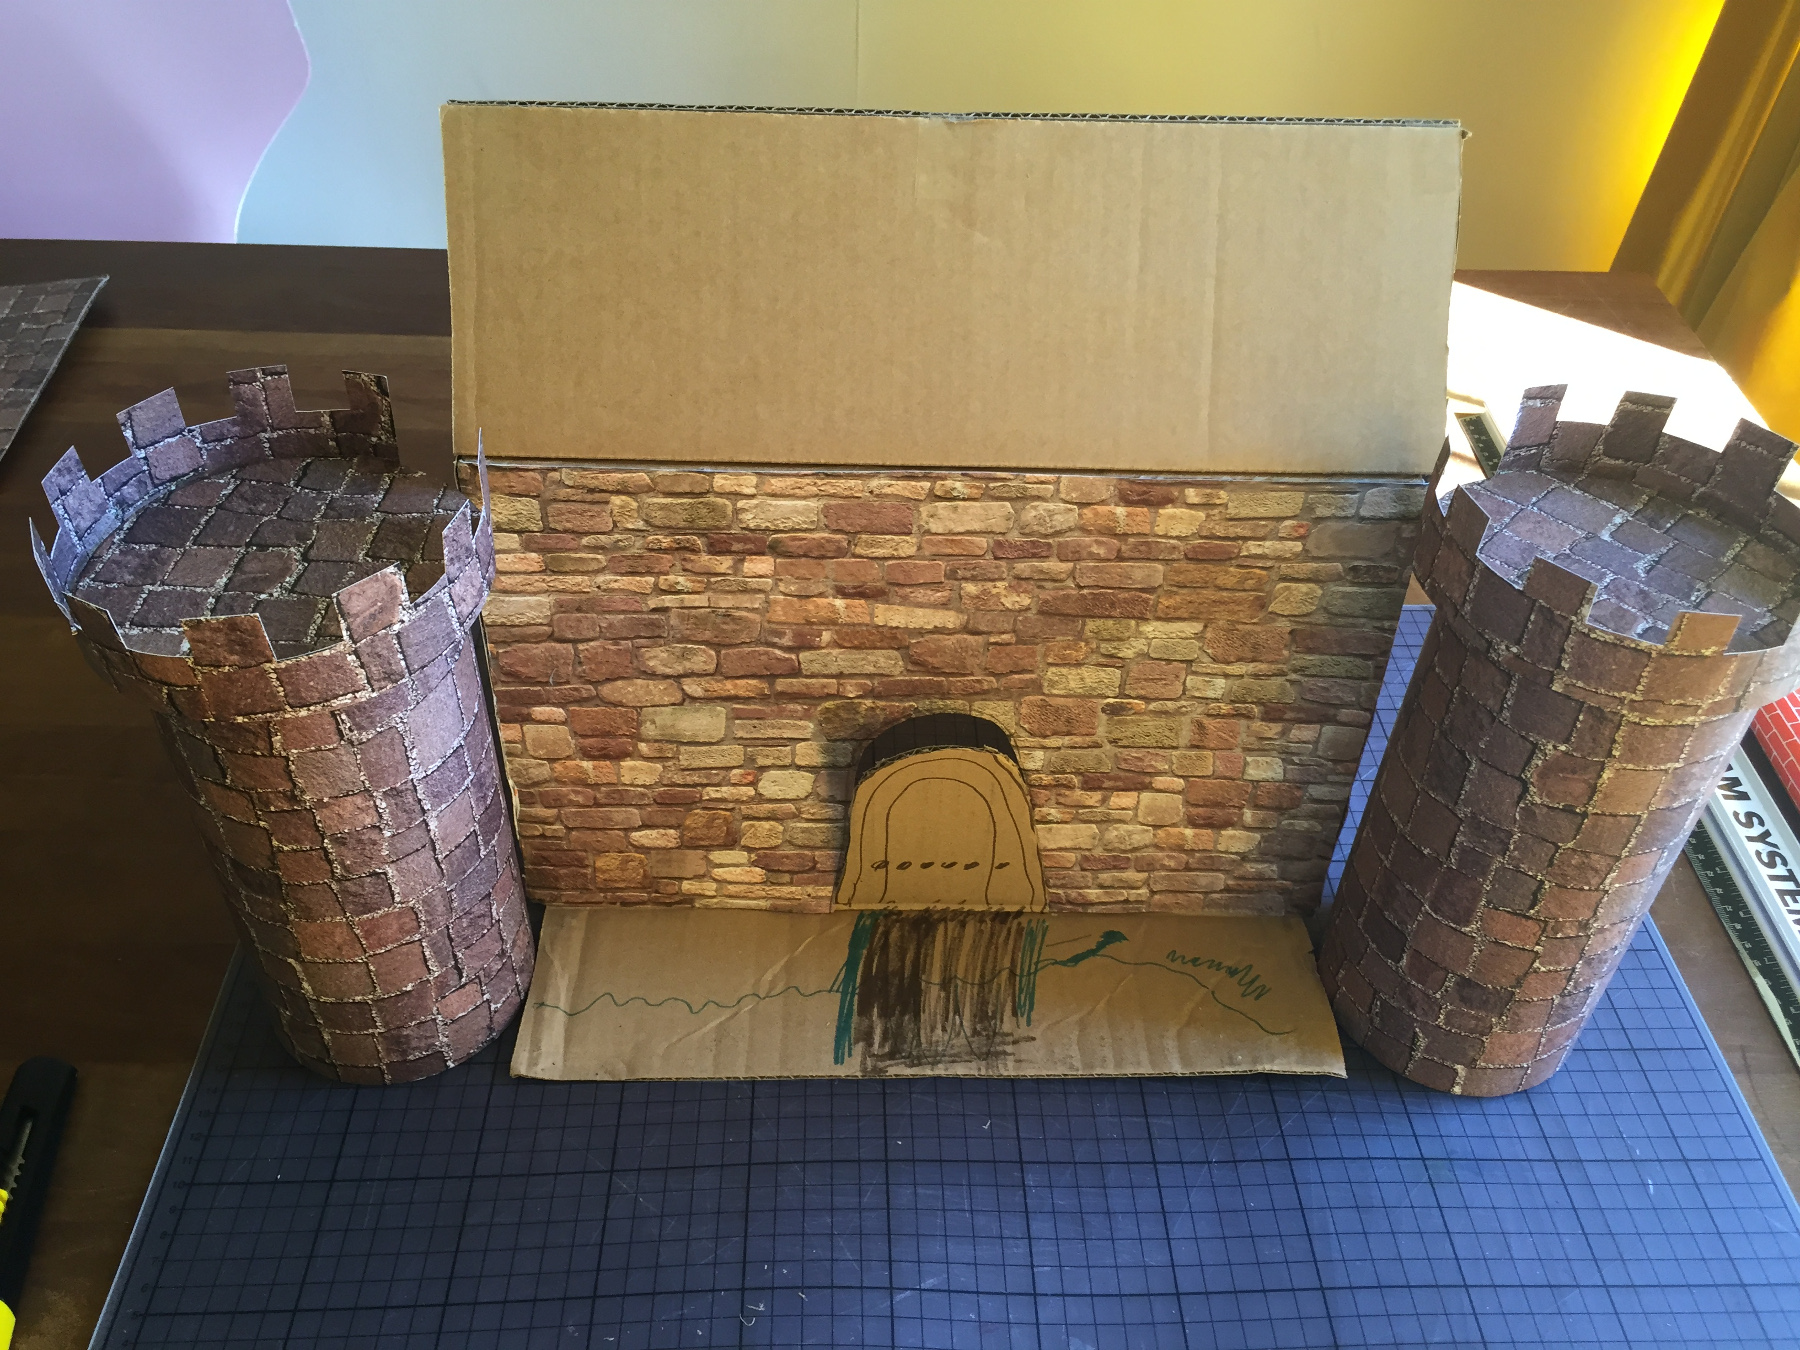
How to make the castle
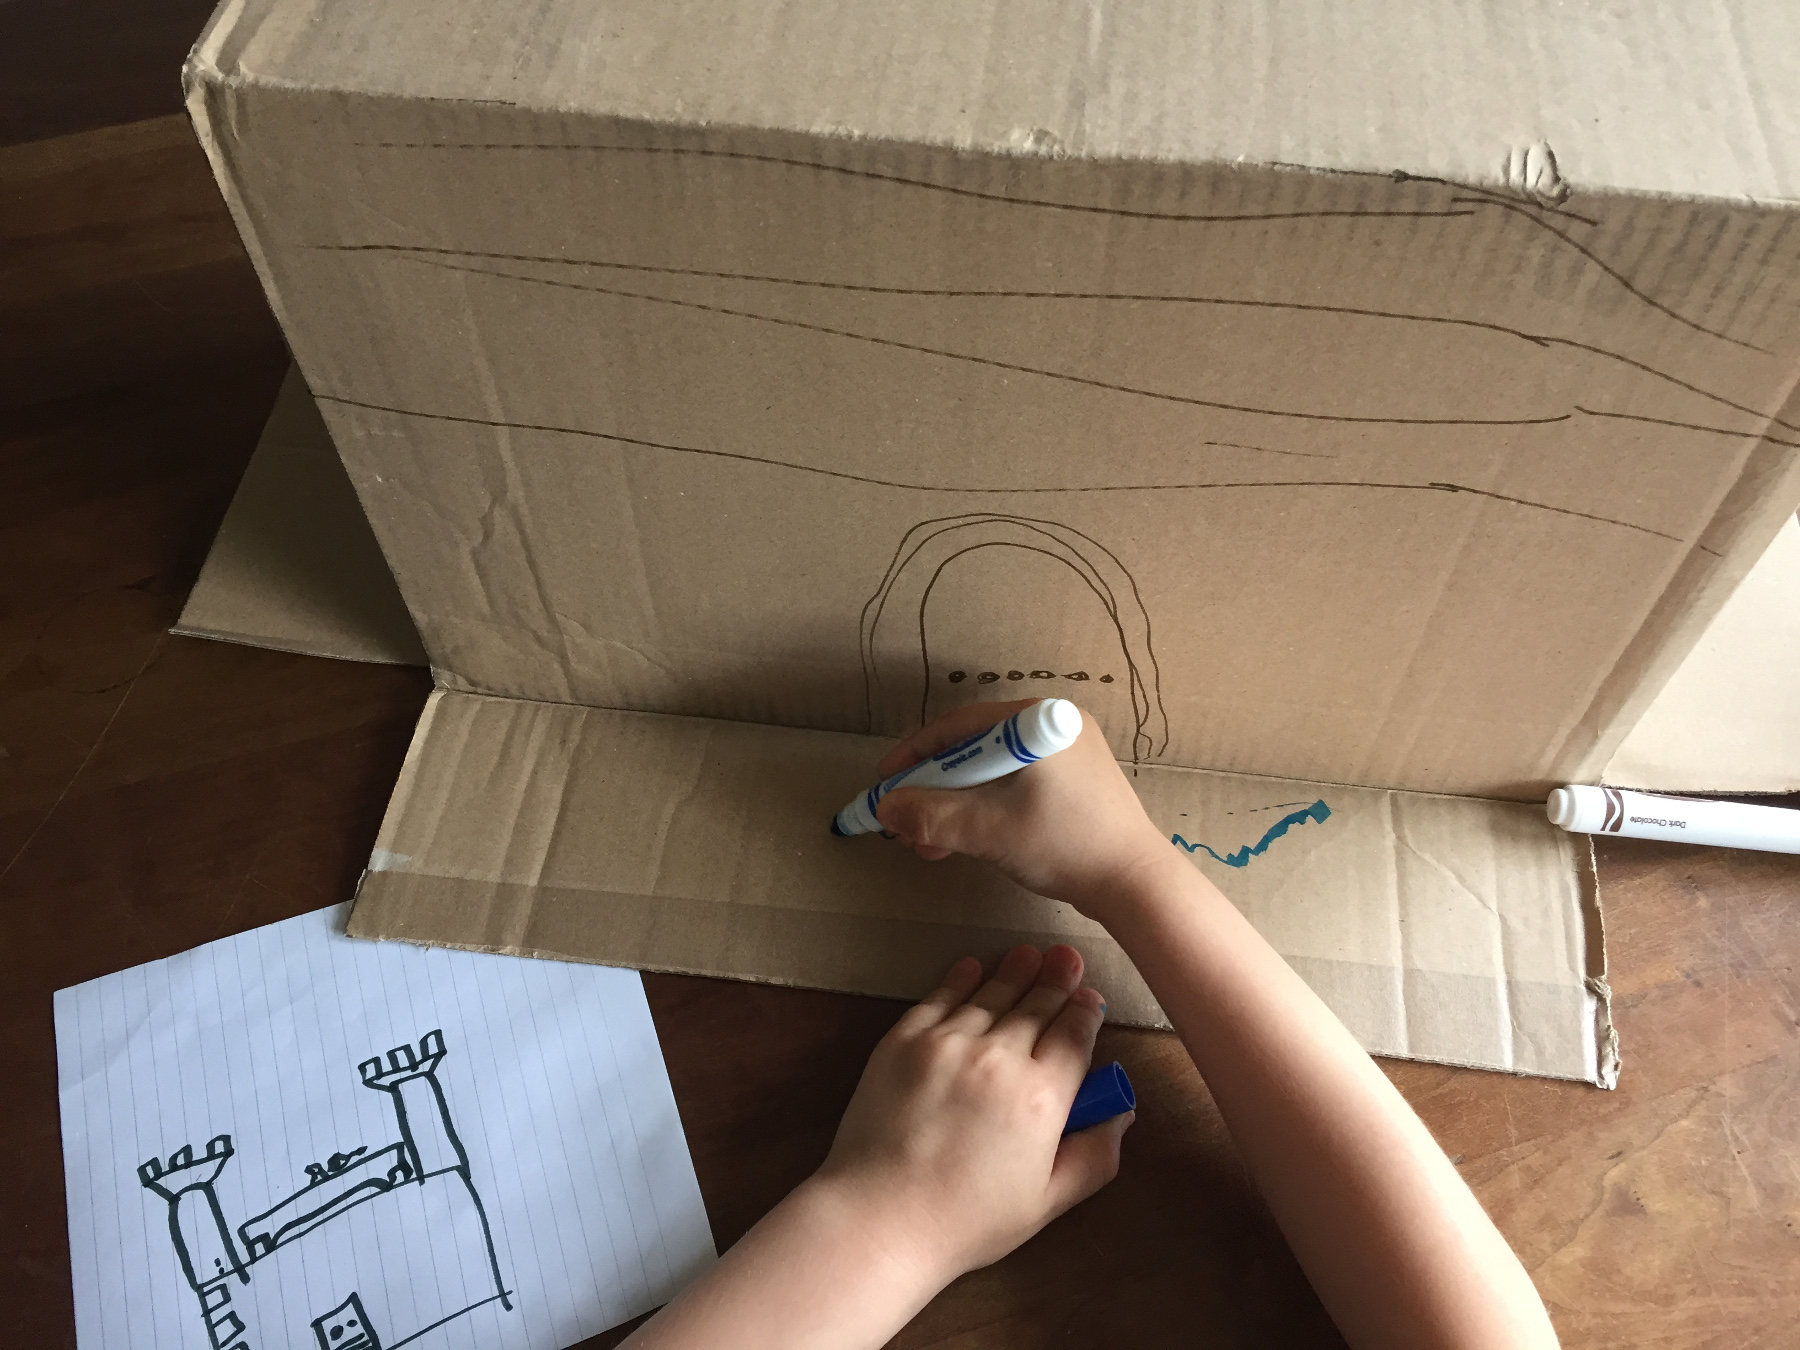
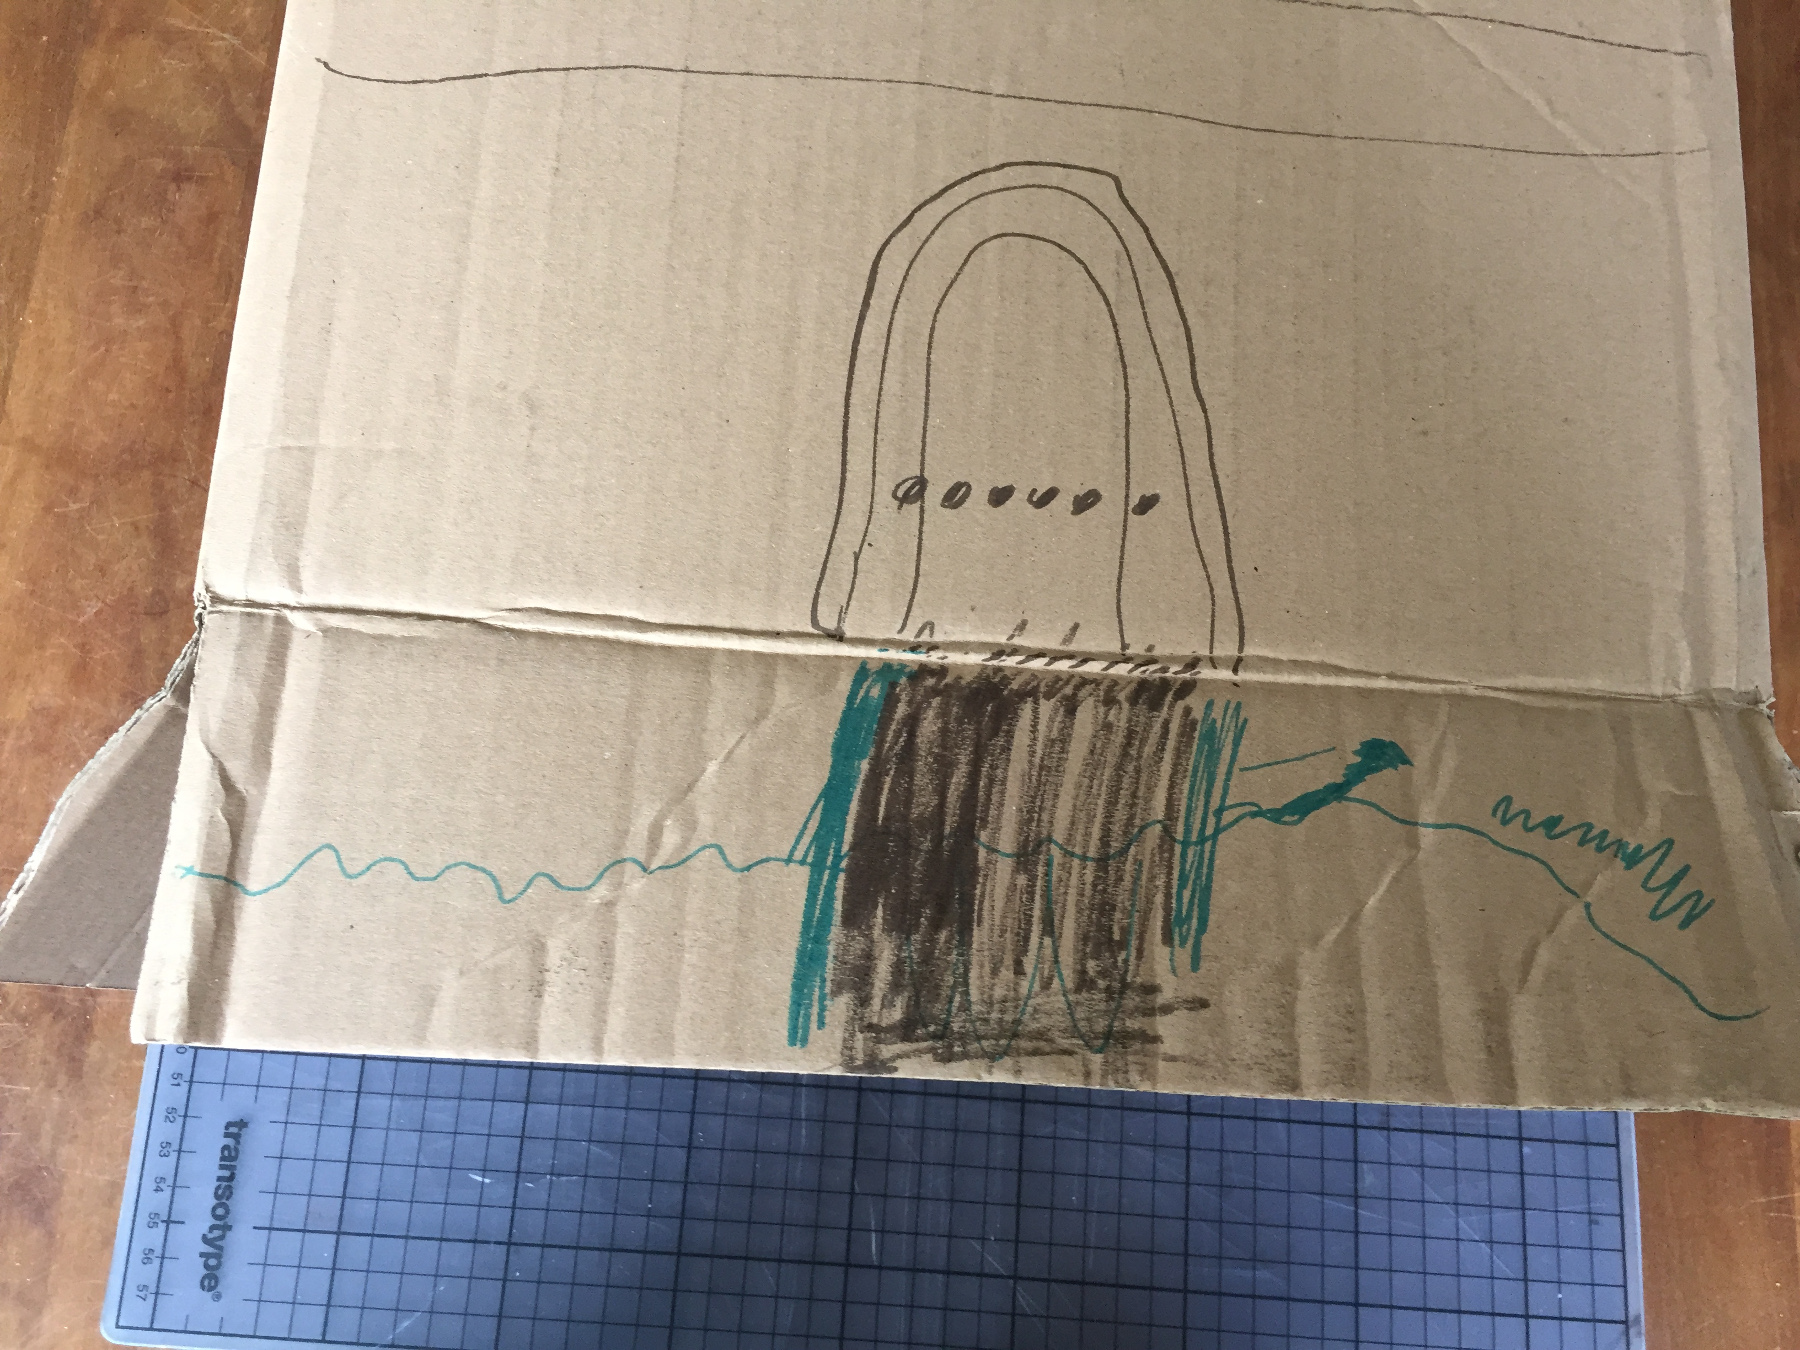
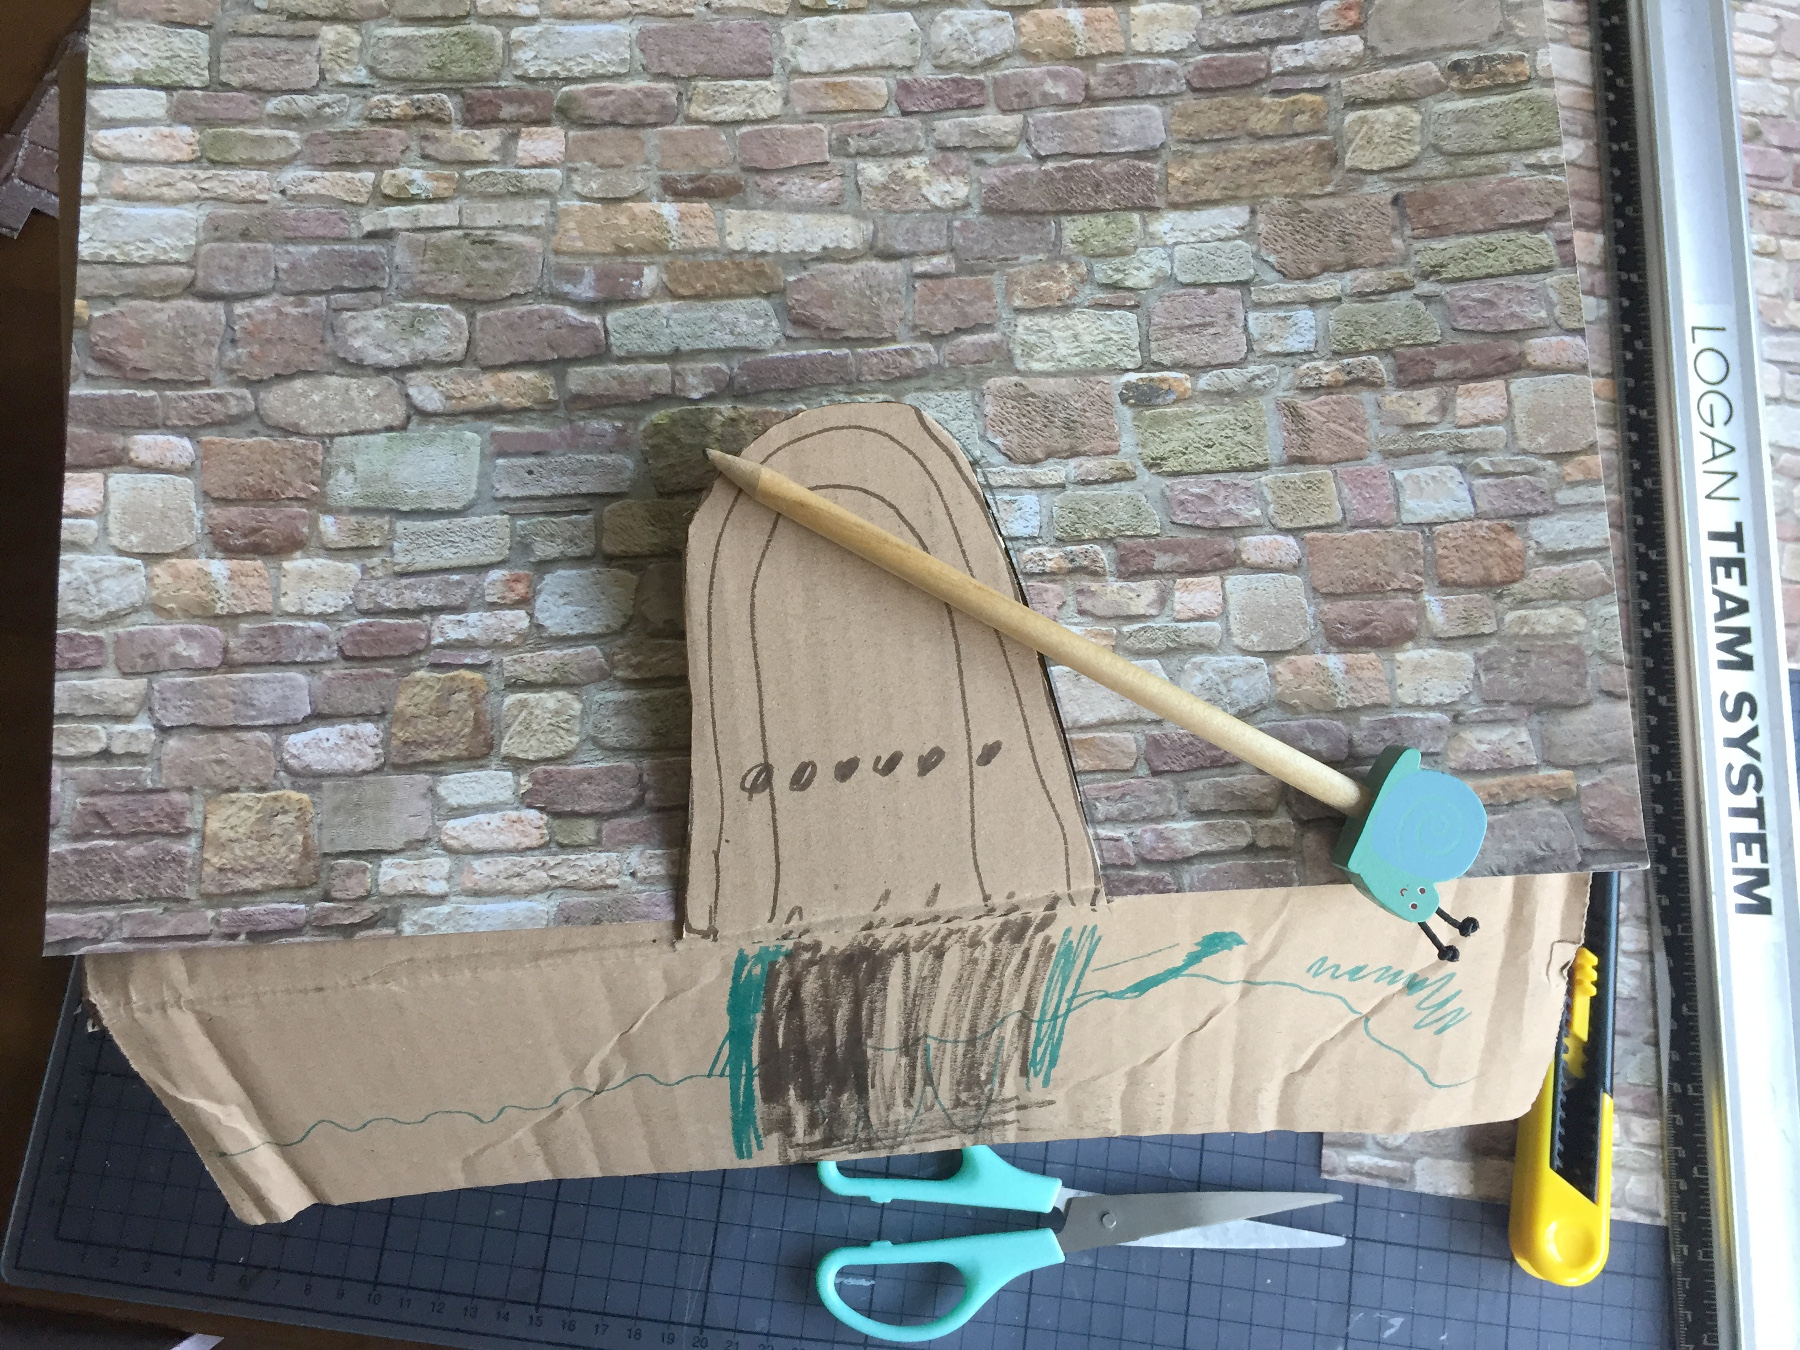
Puk draws a drawbridge and a moat in front of the castle
The bridge must be drawn up in case an enemy approaches.
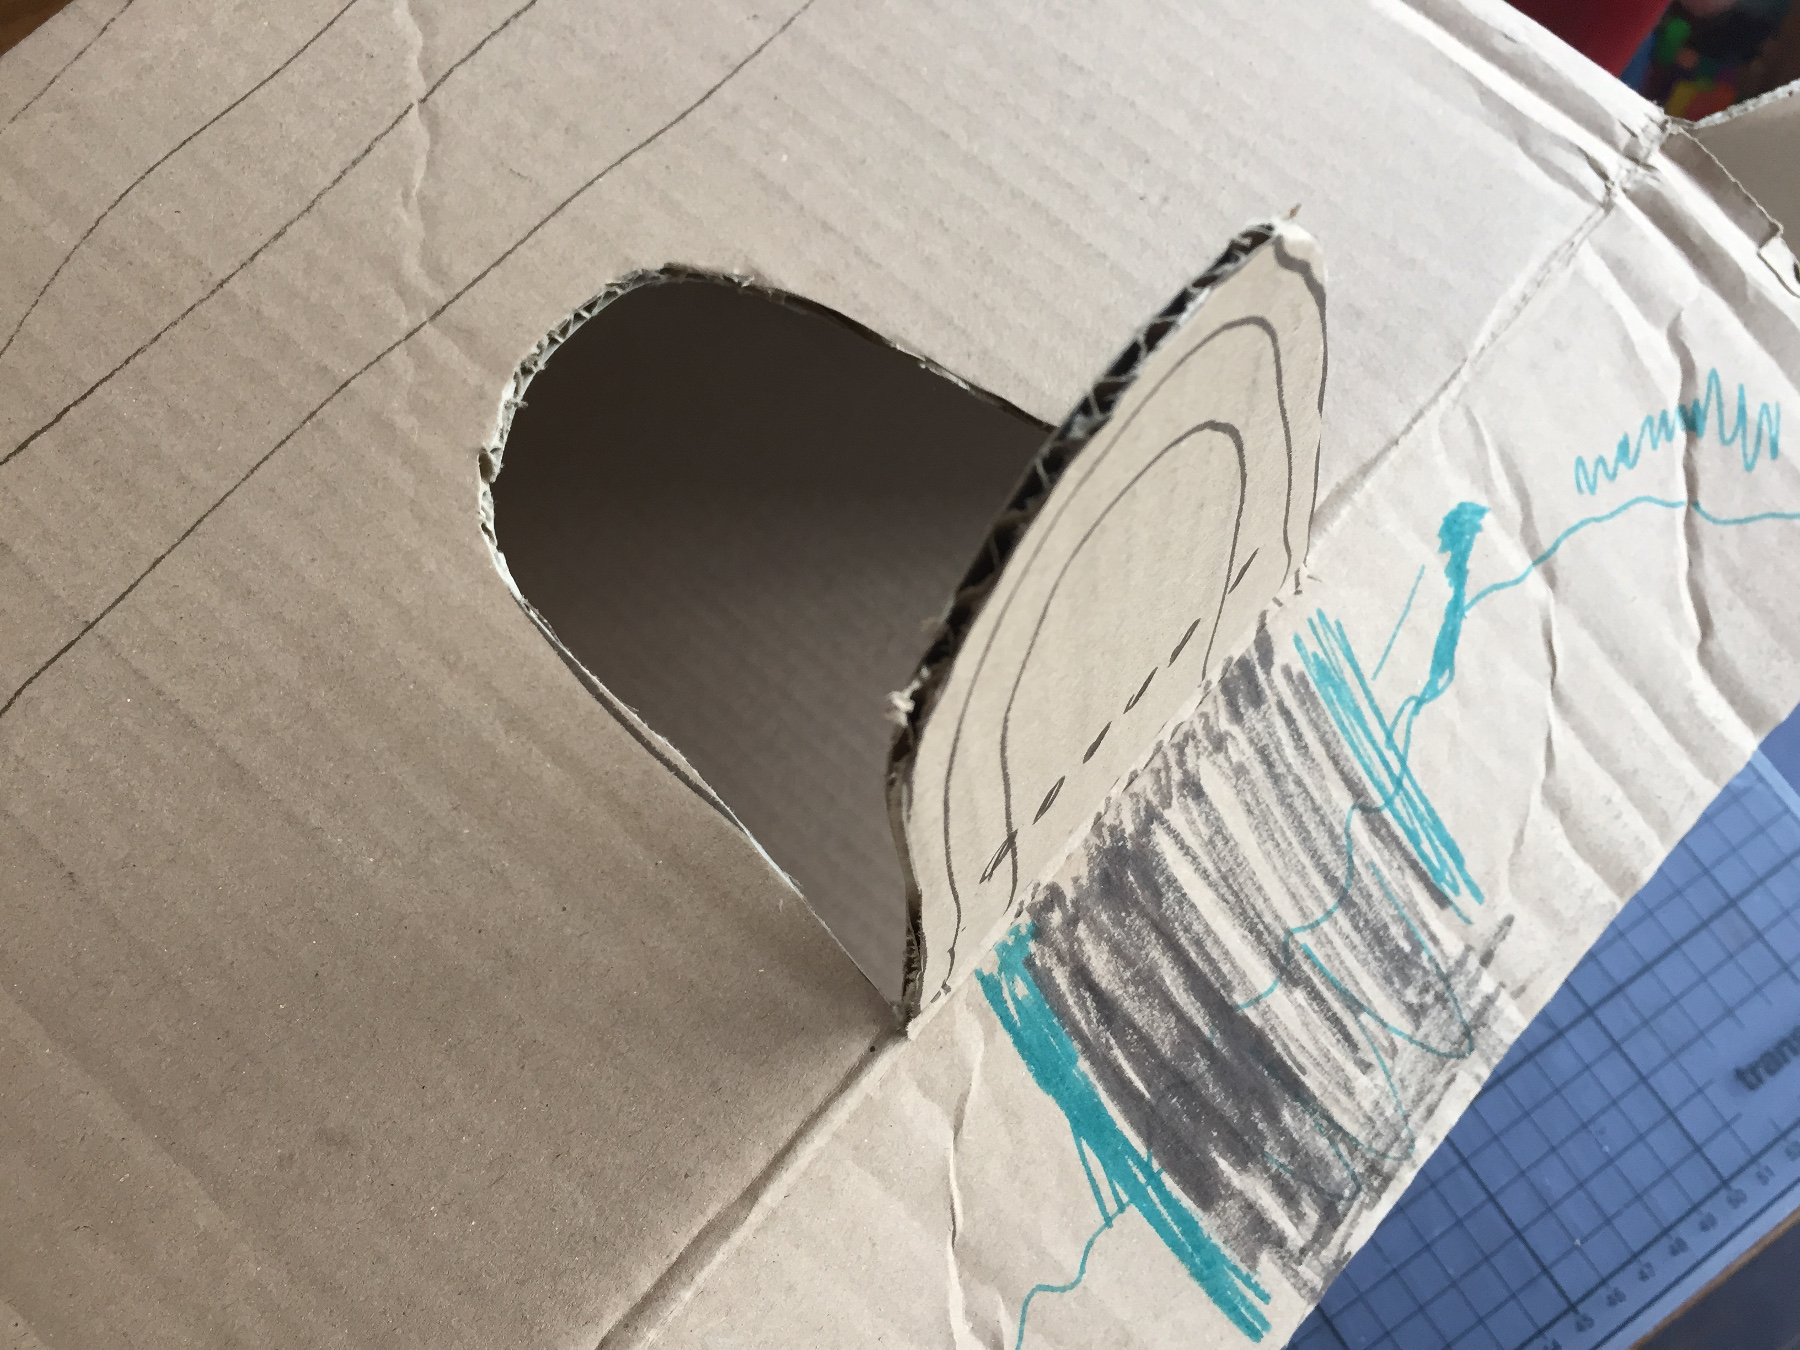
The draw bridge we cut out first.
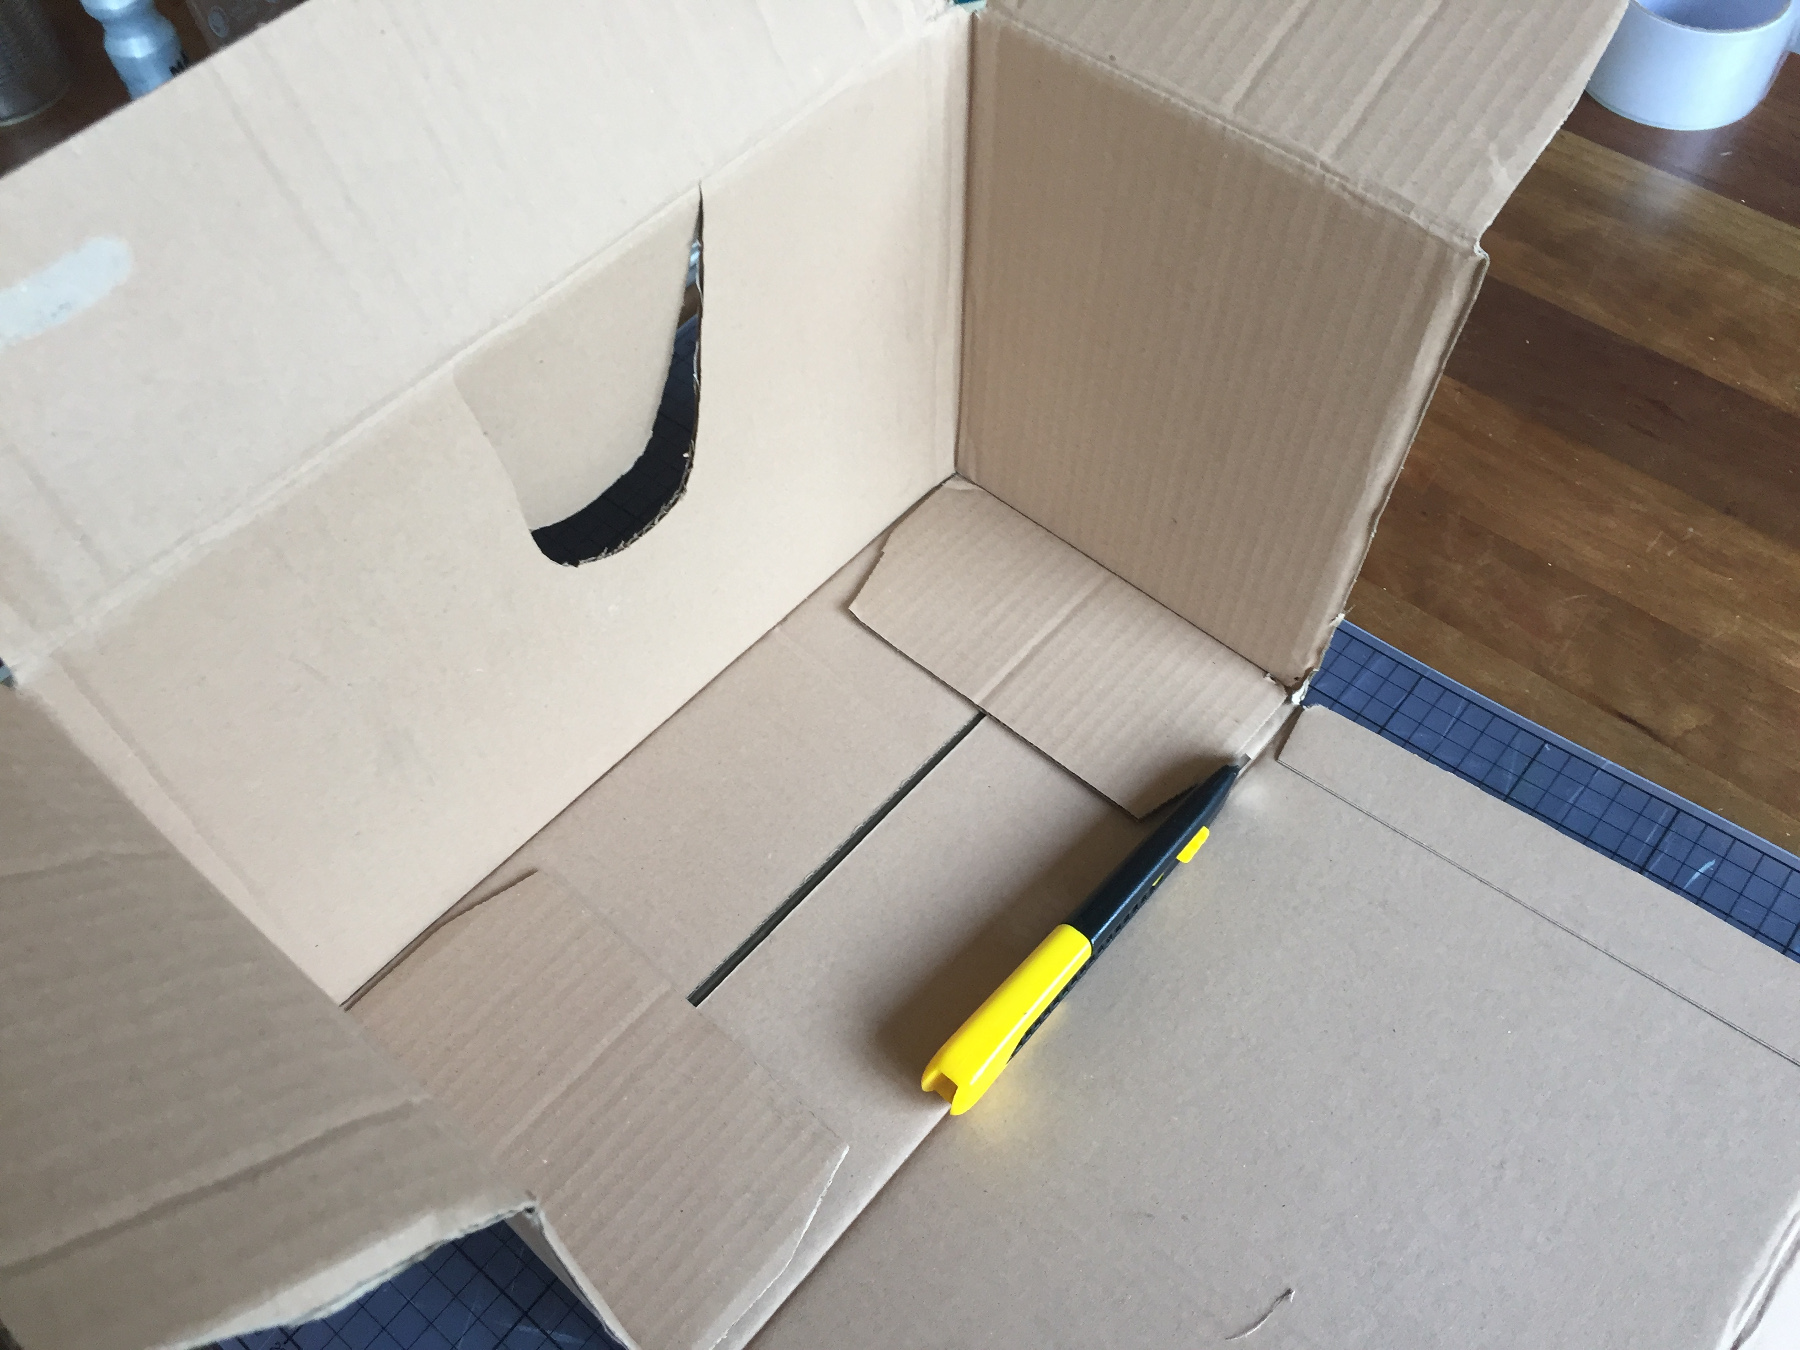
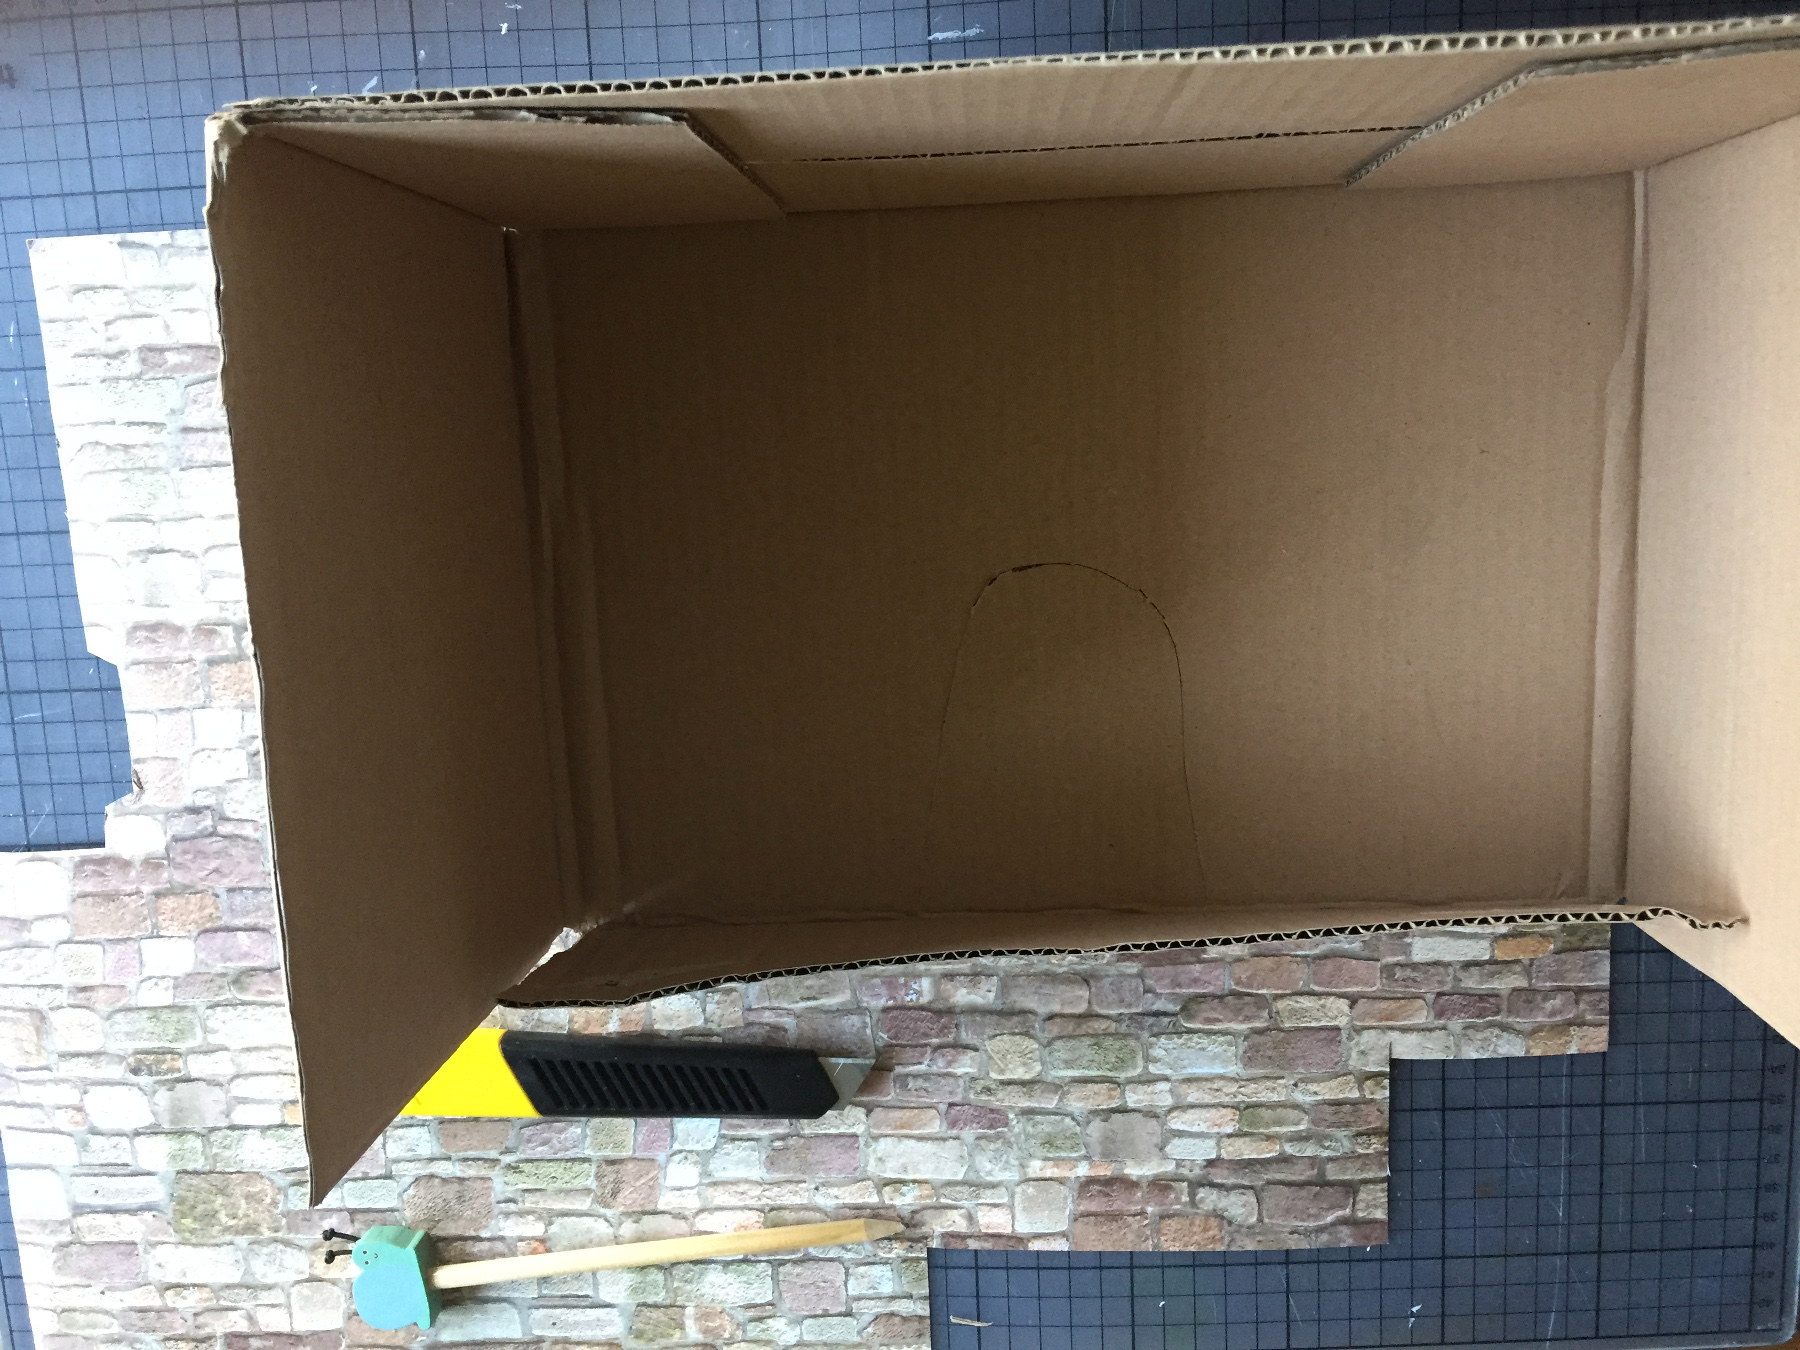
Remove the back of the box and the three flaps on top.
Spread glue on the back, not on the flap.
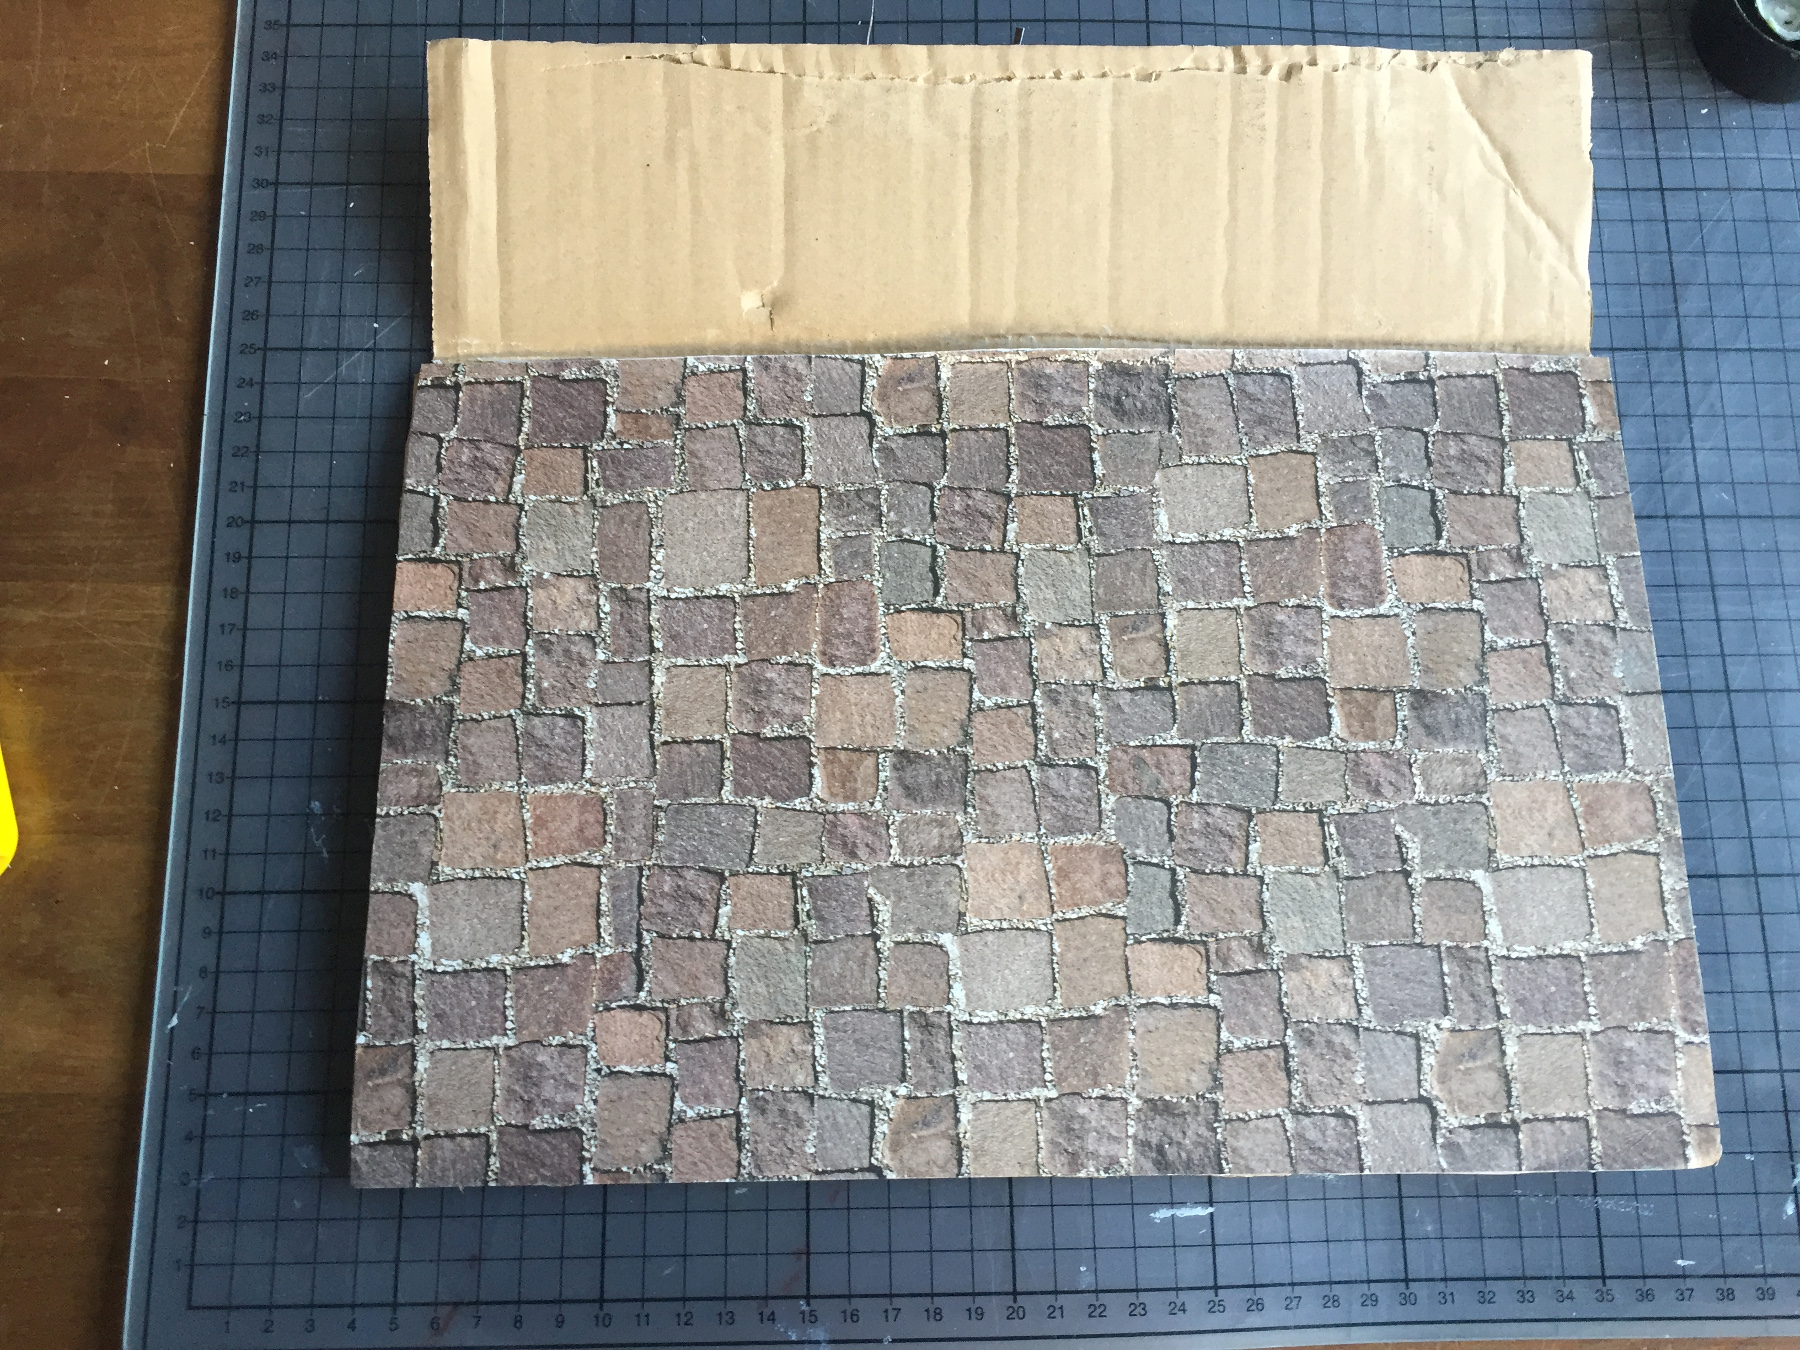
Cut bricks paper to fit and stick it on.
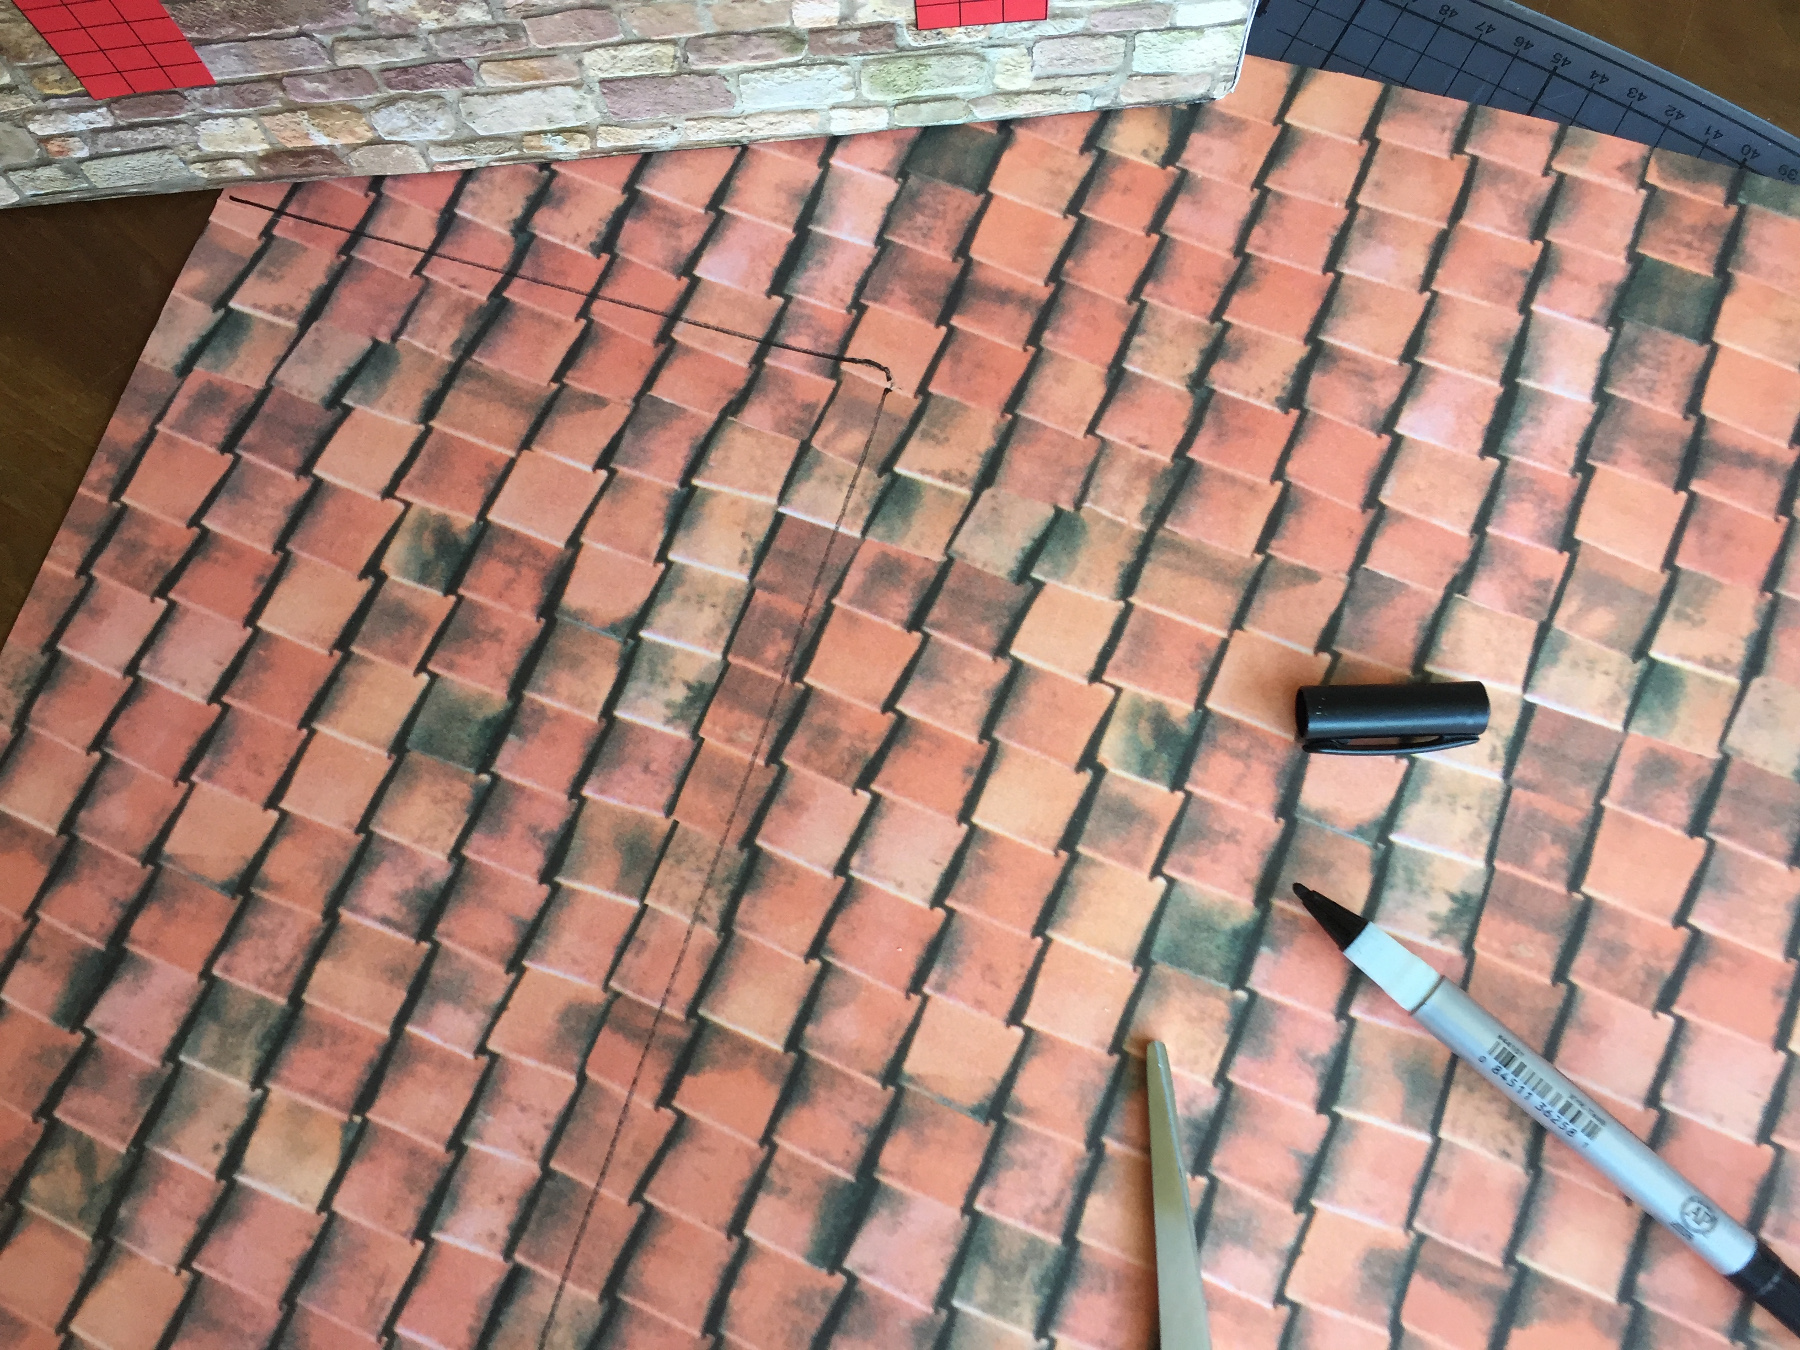
Trace the front of the box on bricks paper.
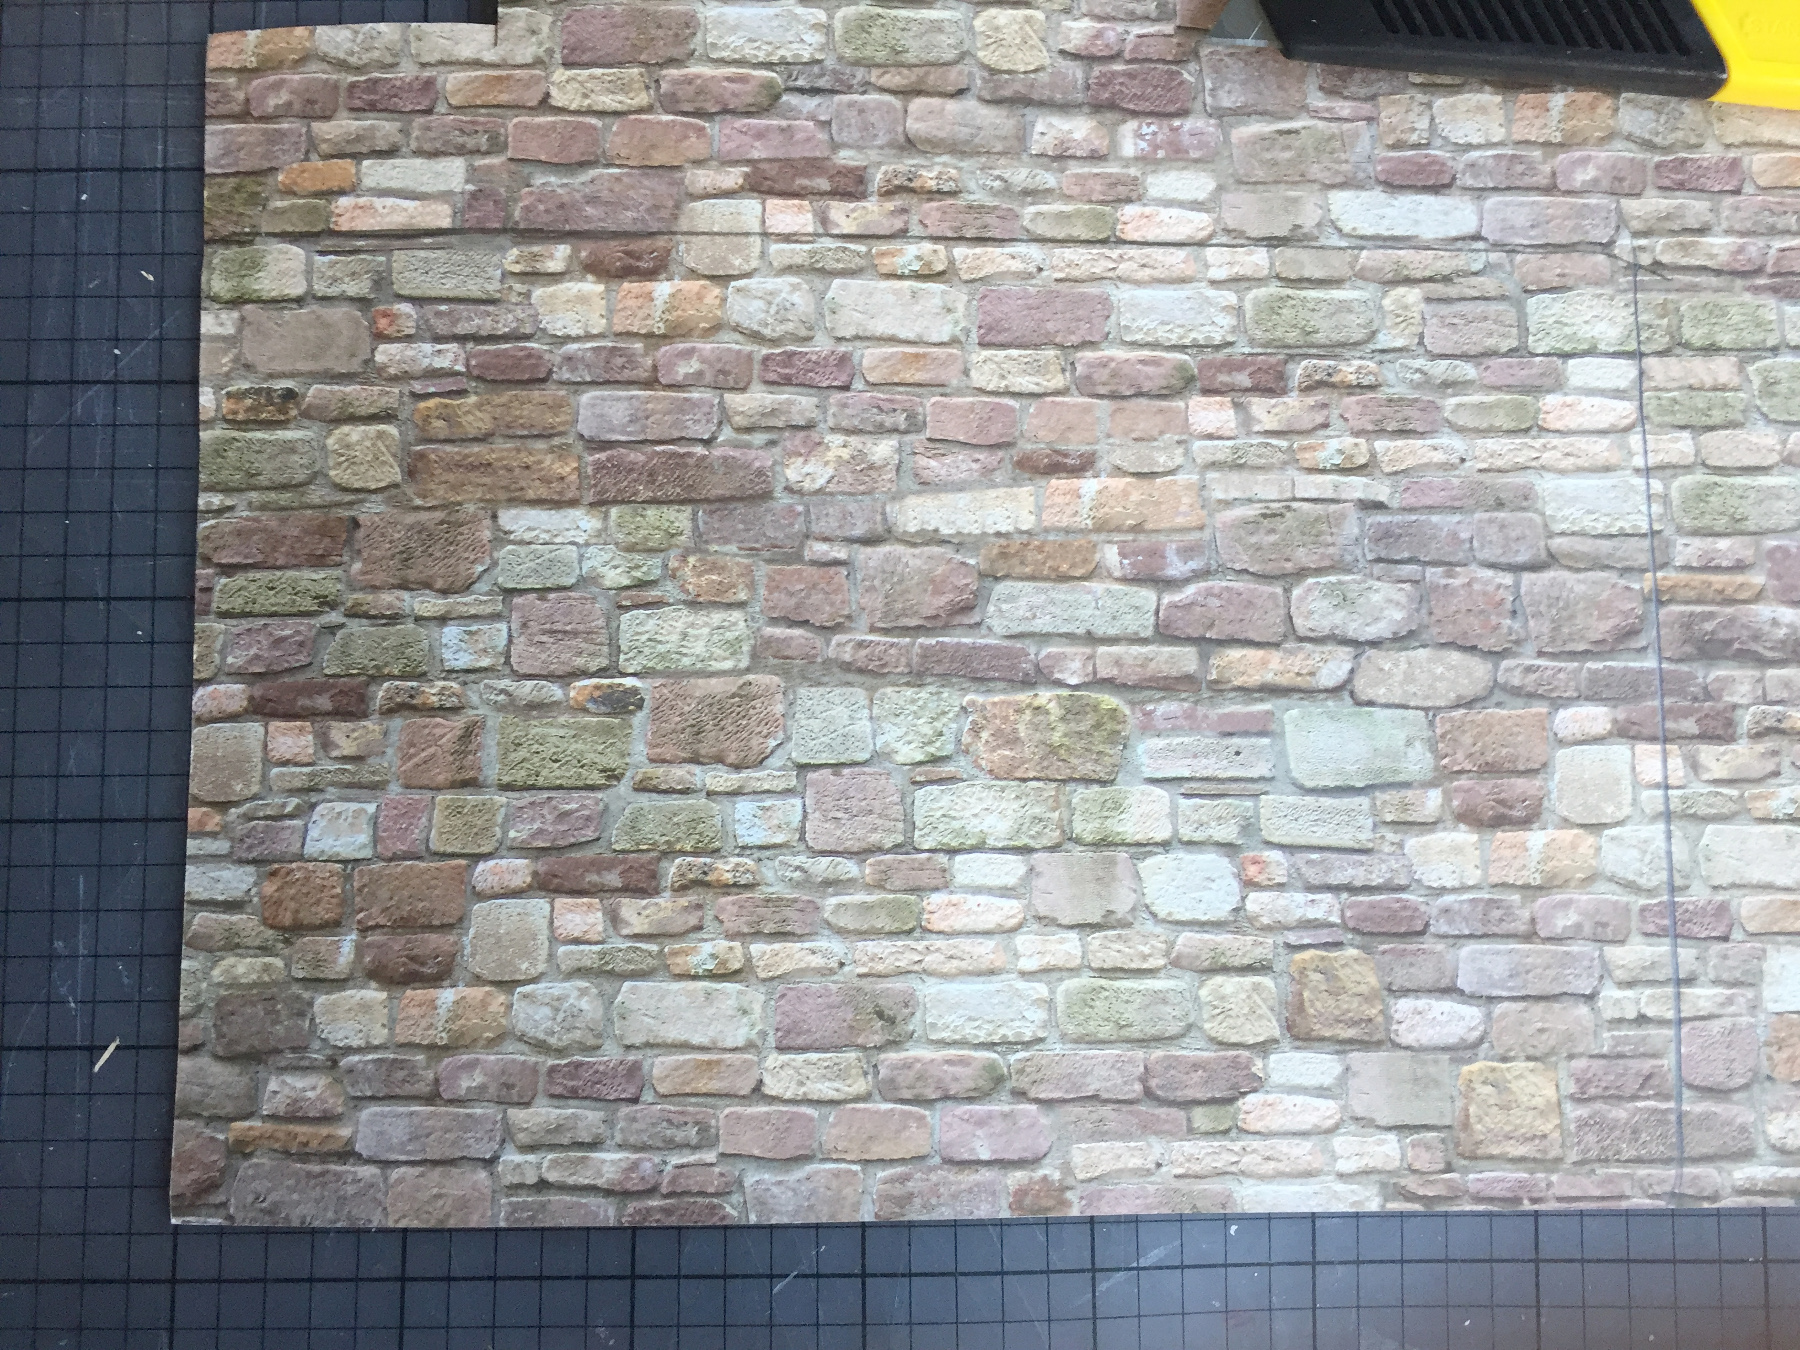
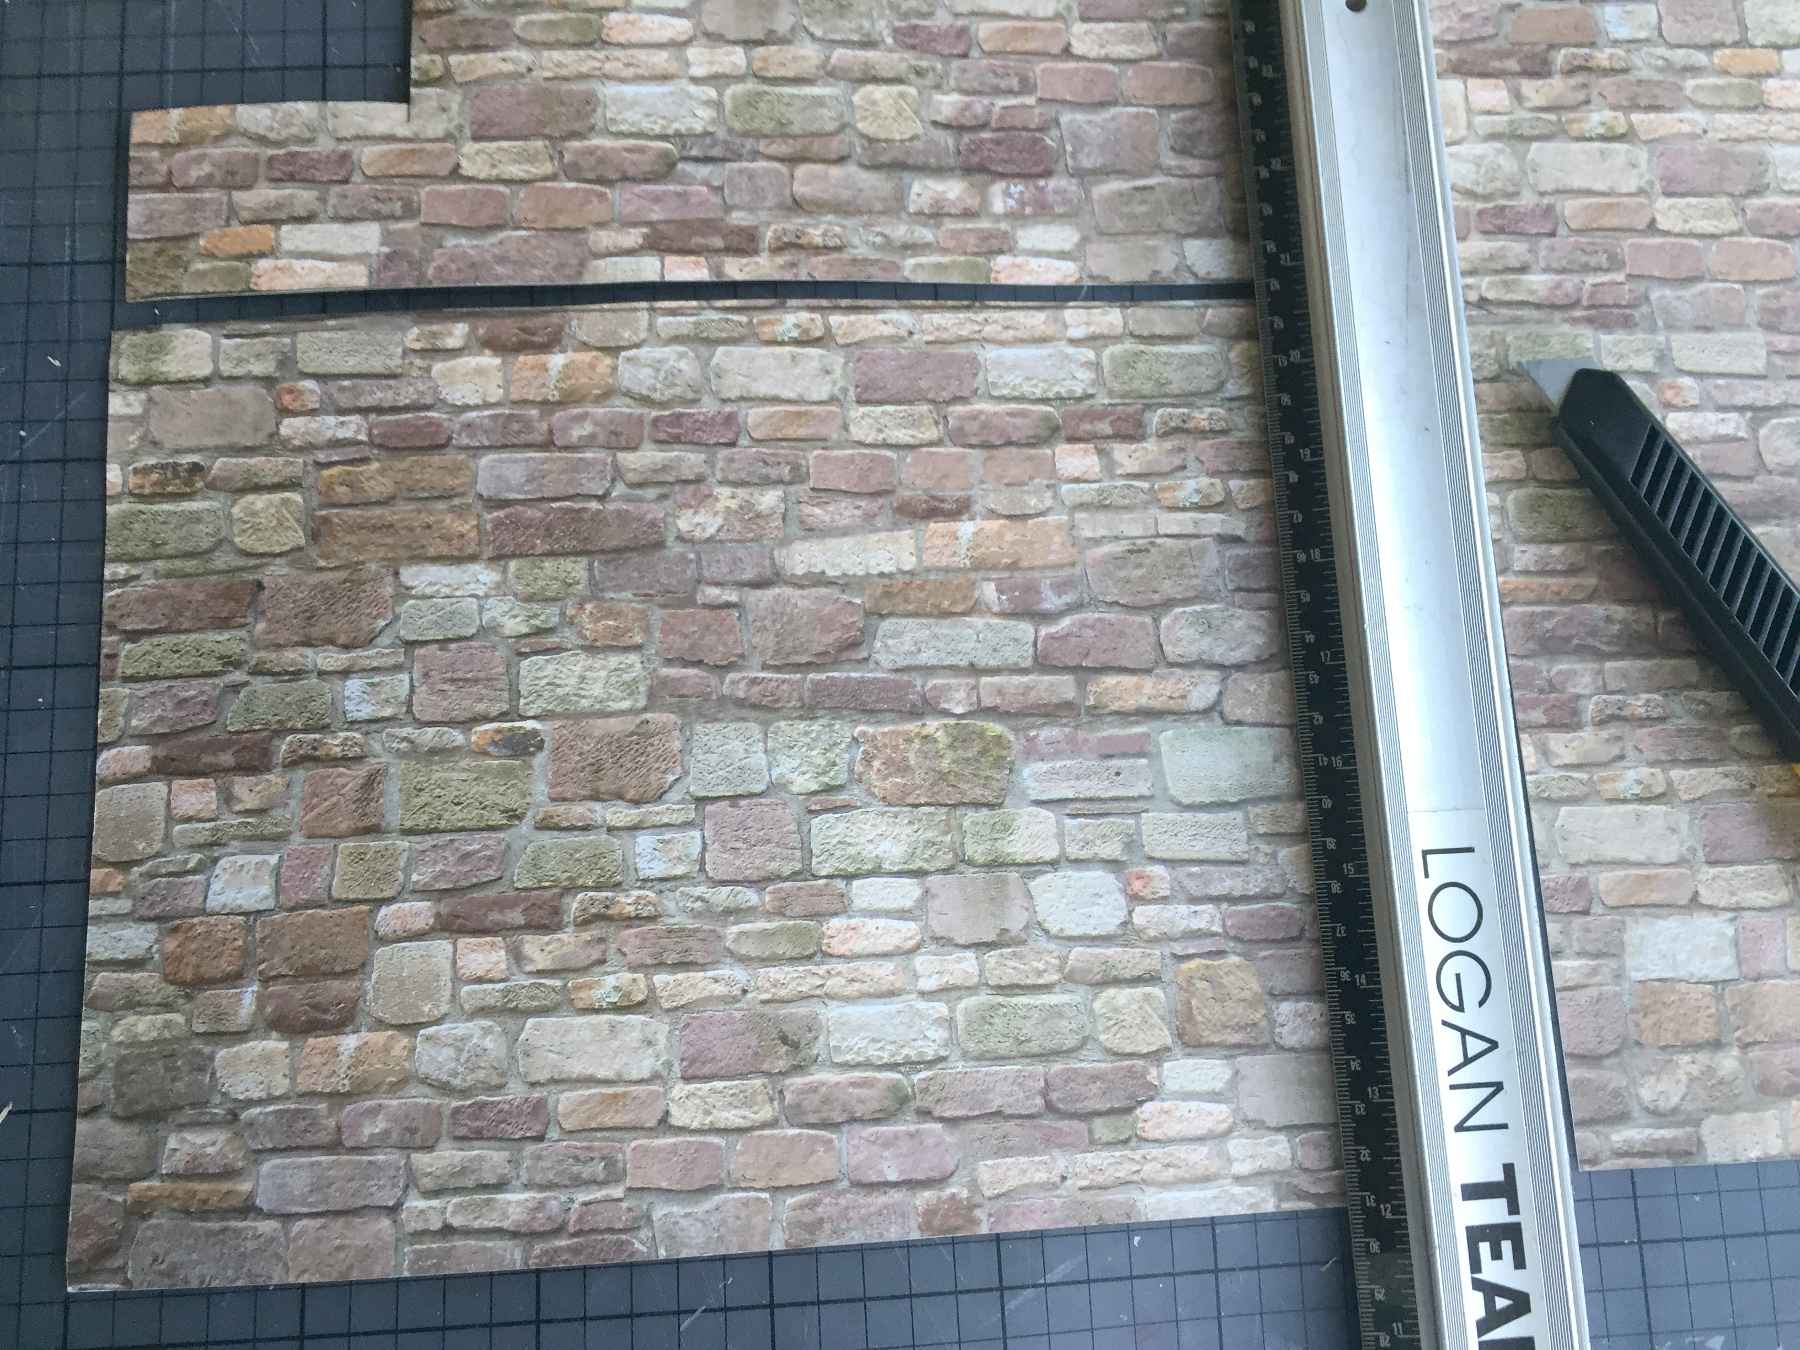
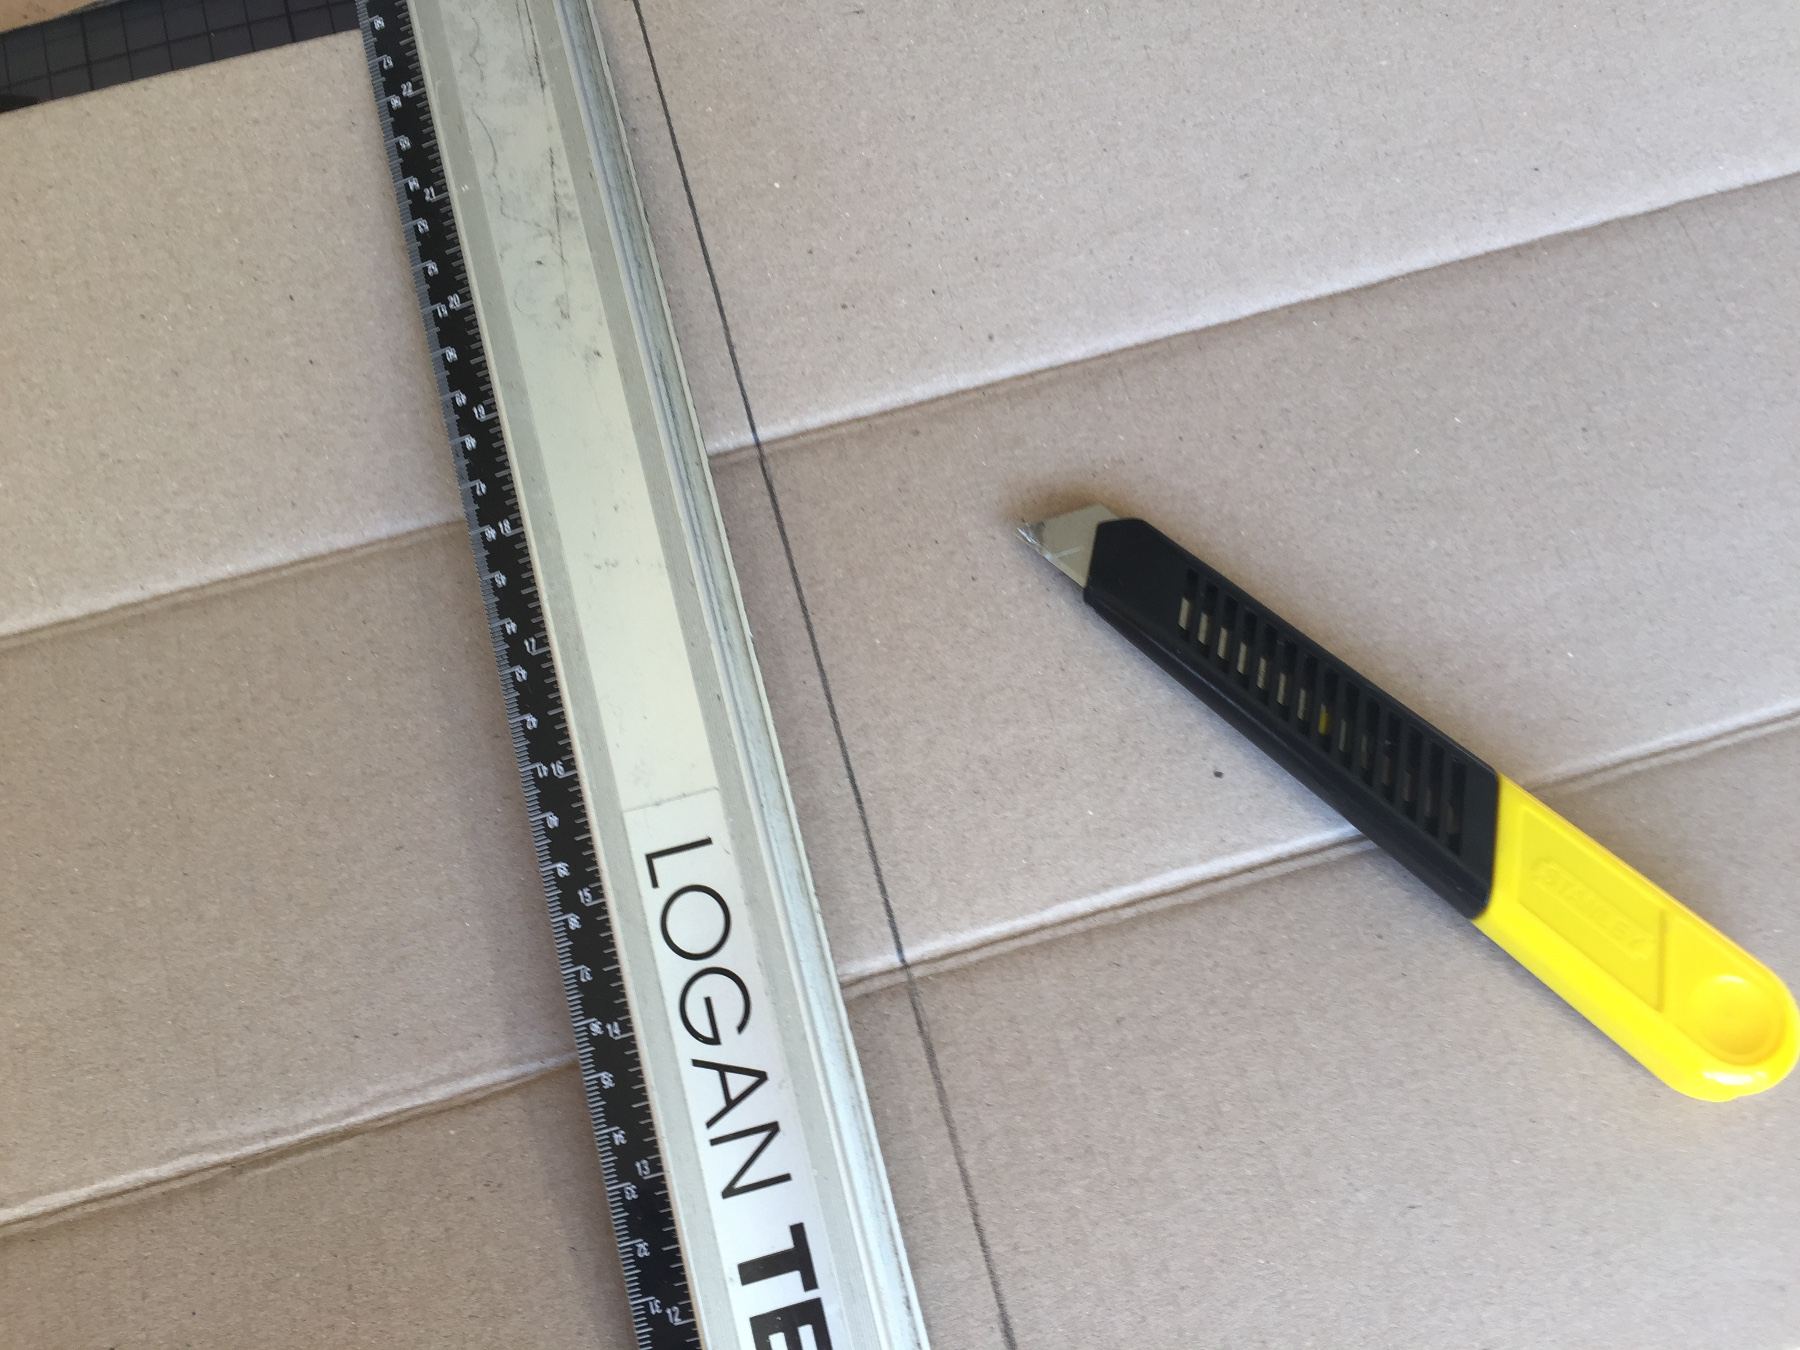
Cut the paper to fit along the pencil lines.
Use a metal ruler and a Stanley Knife.
Put the paper in place and trace the bridge.
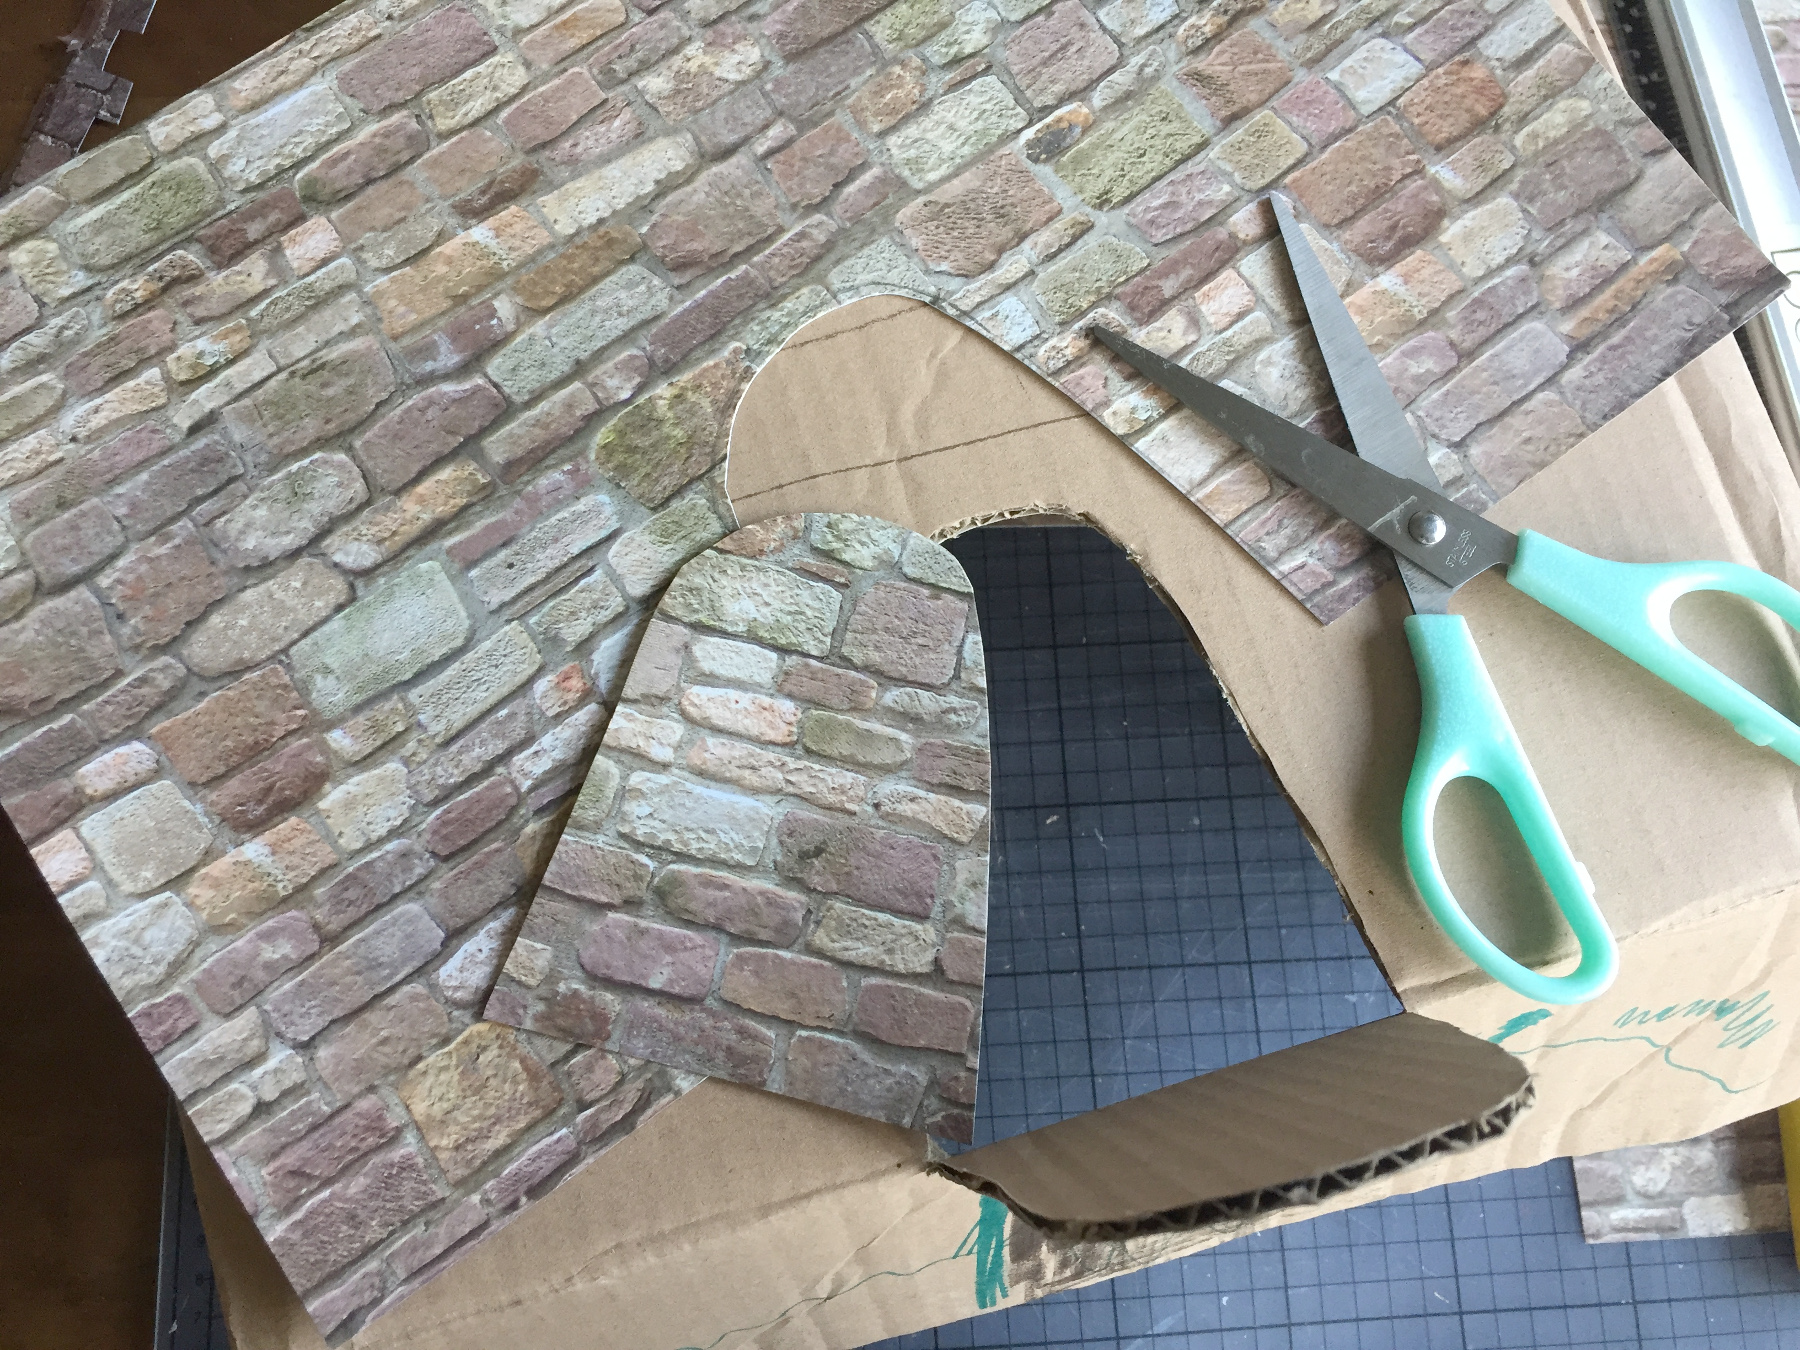
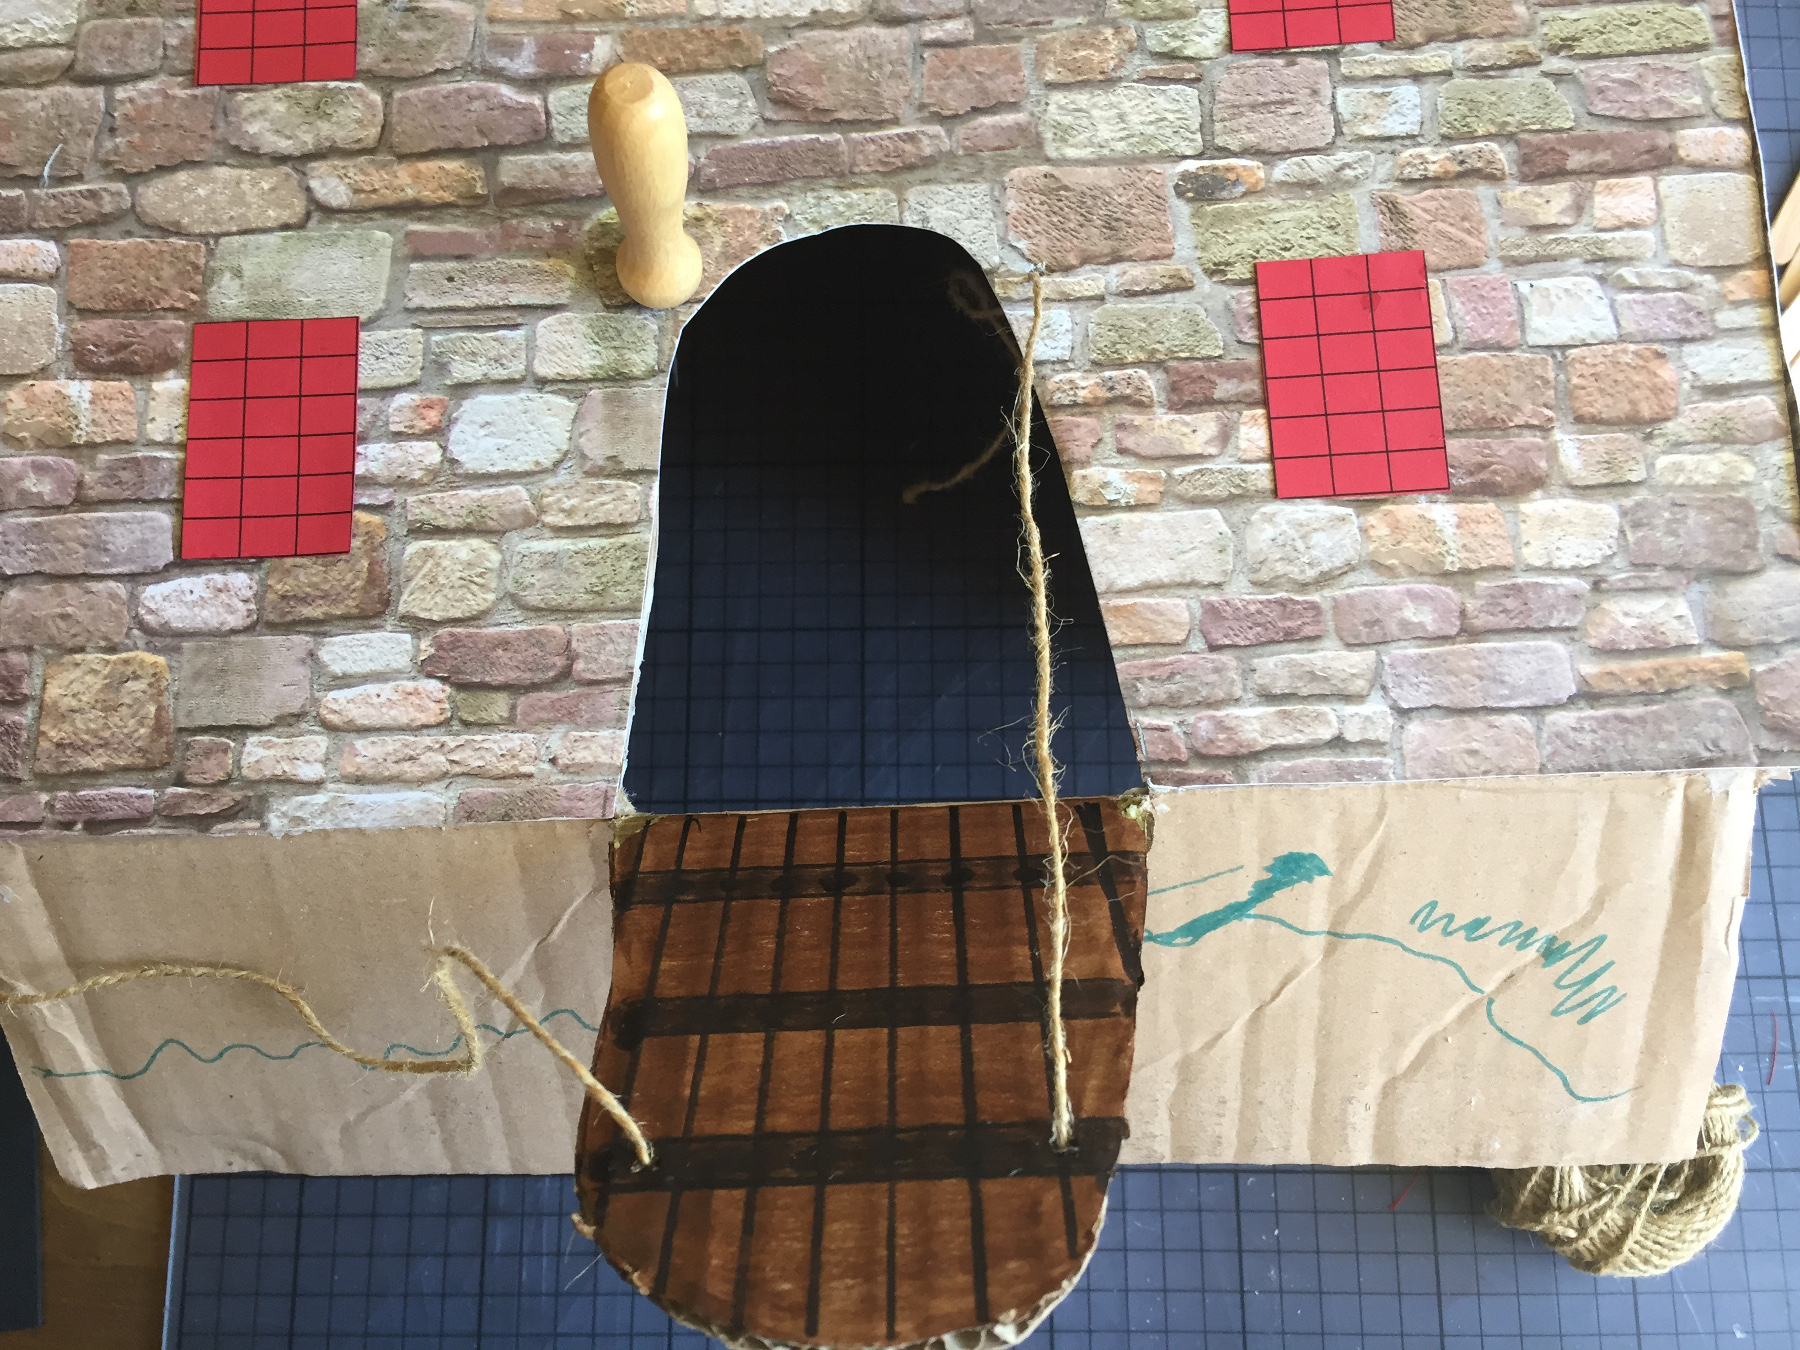
Cut out the bridge along the pencil line.
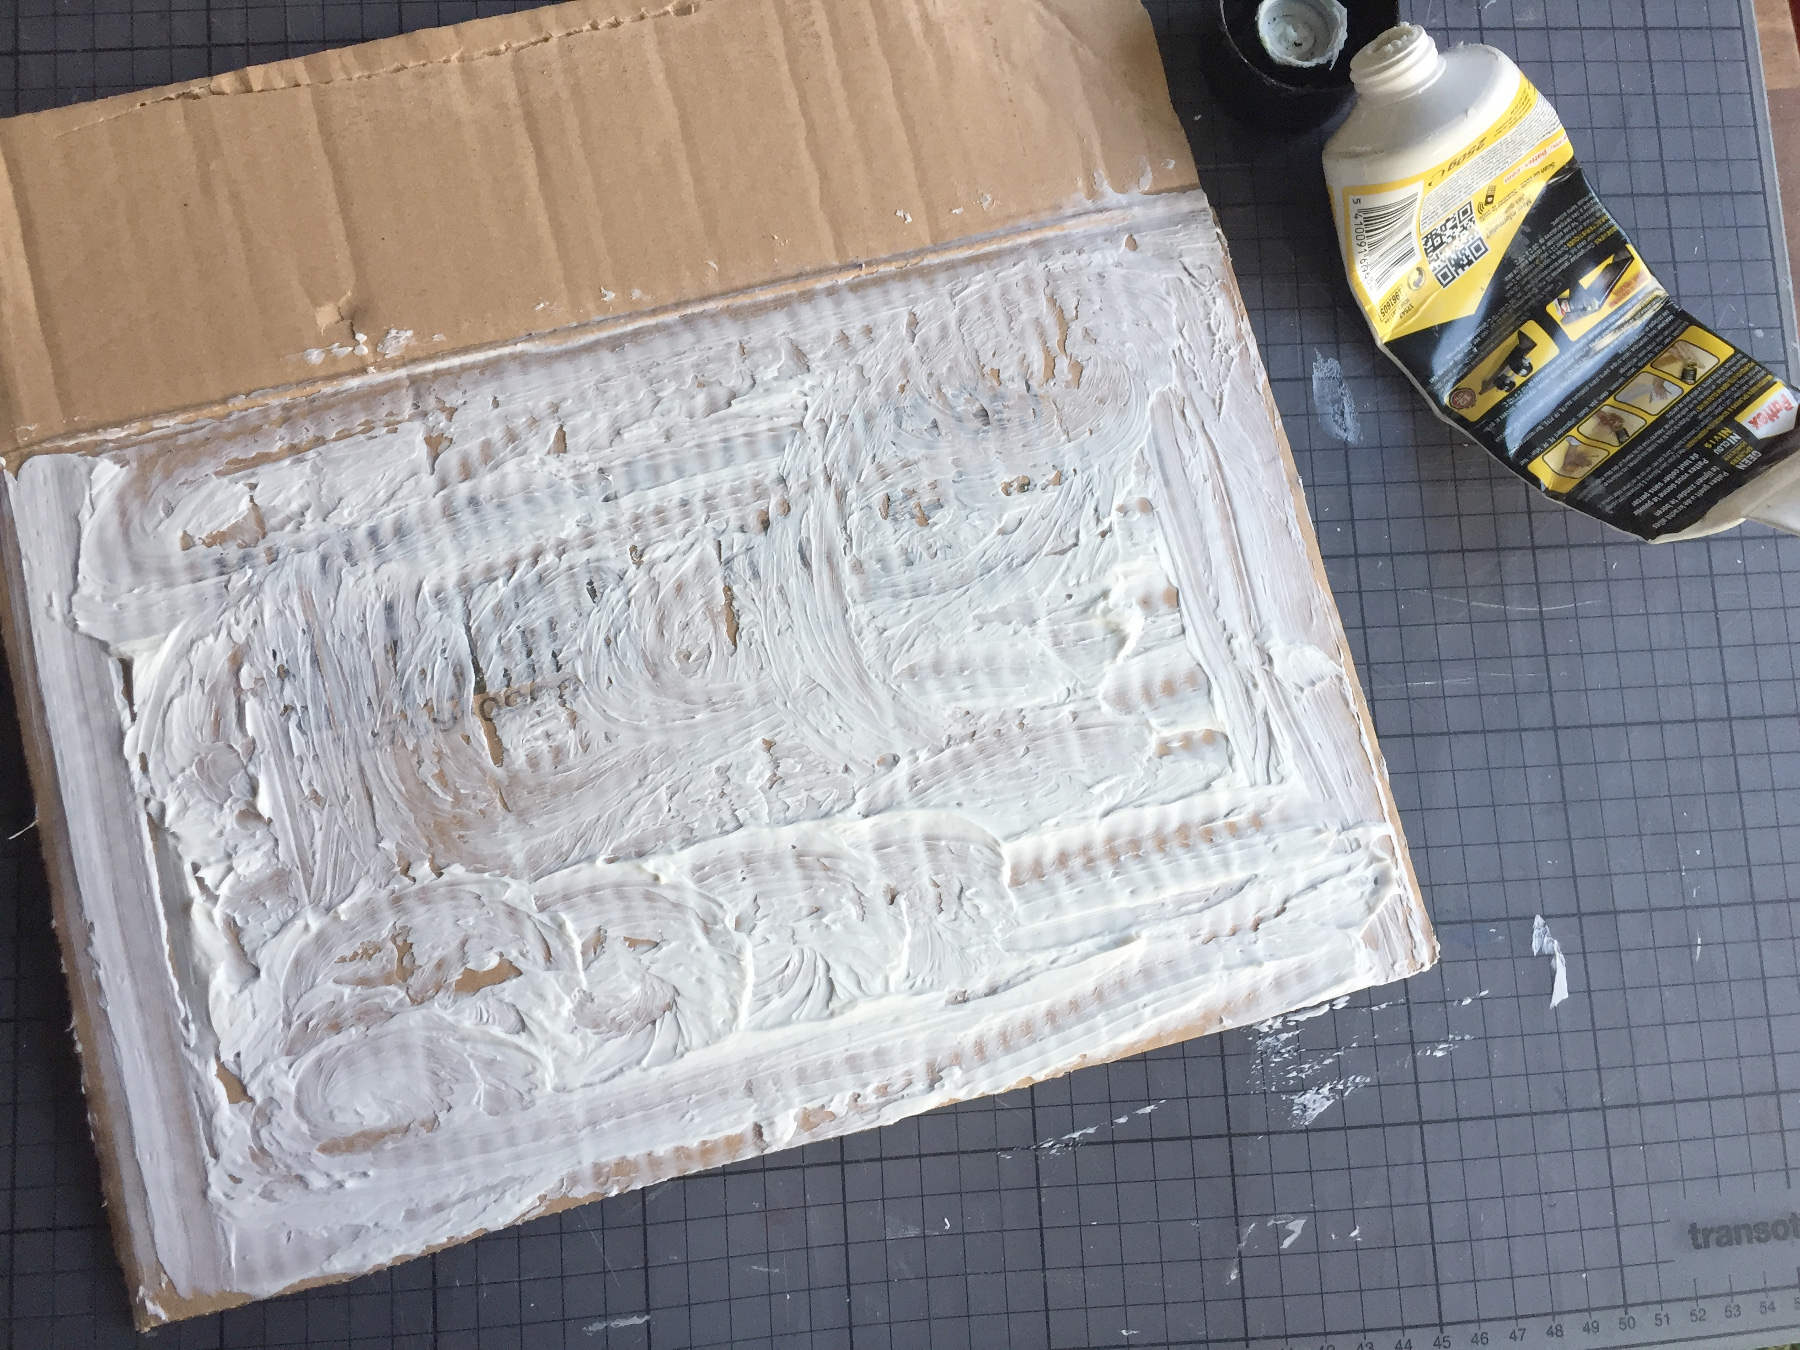
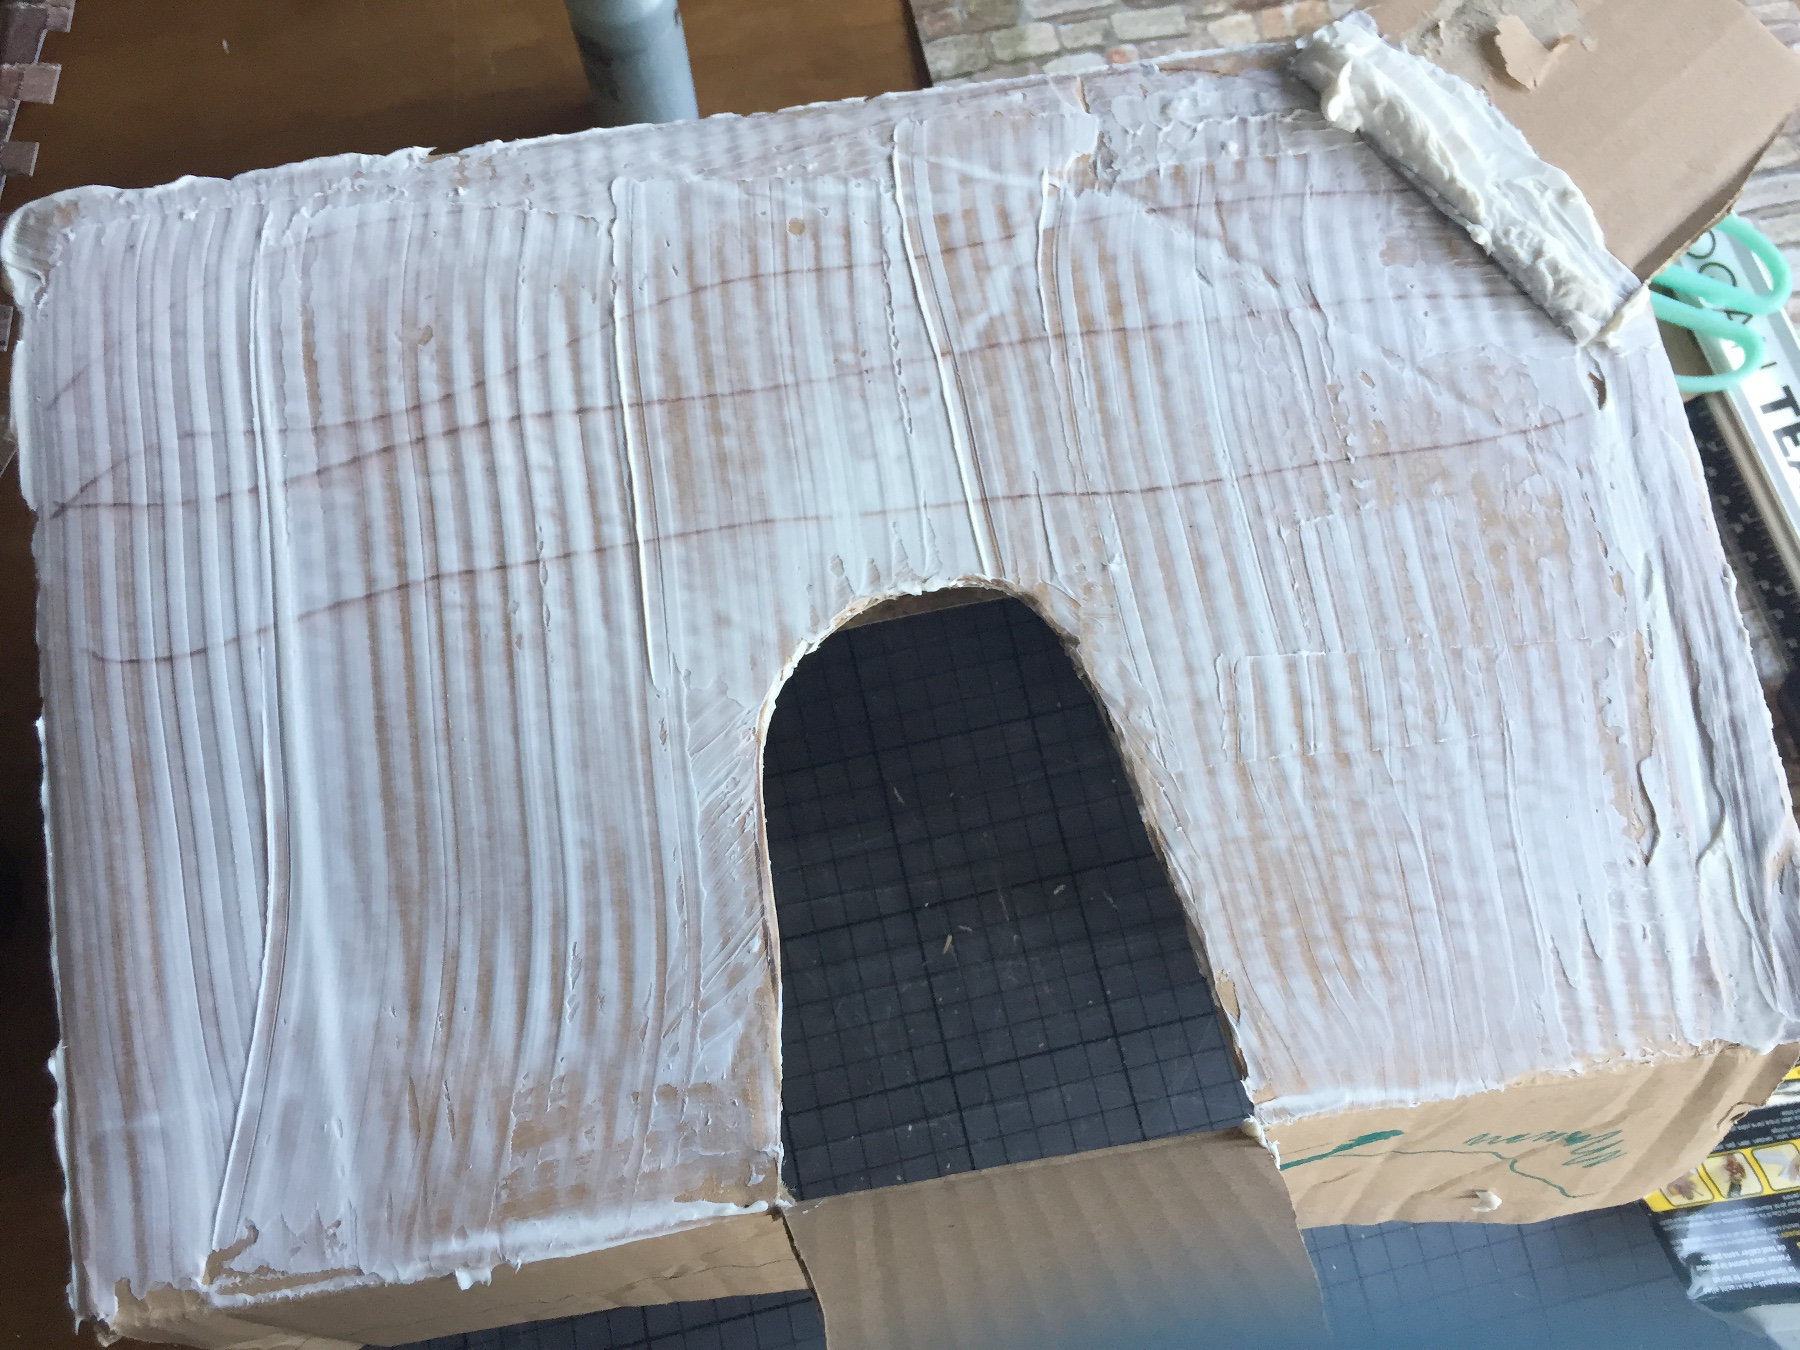
Spread glue on the front of the box.
Press the paper on, put something heavy on top and let dry.
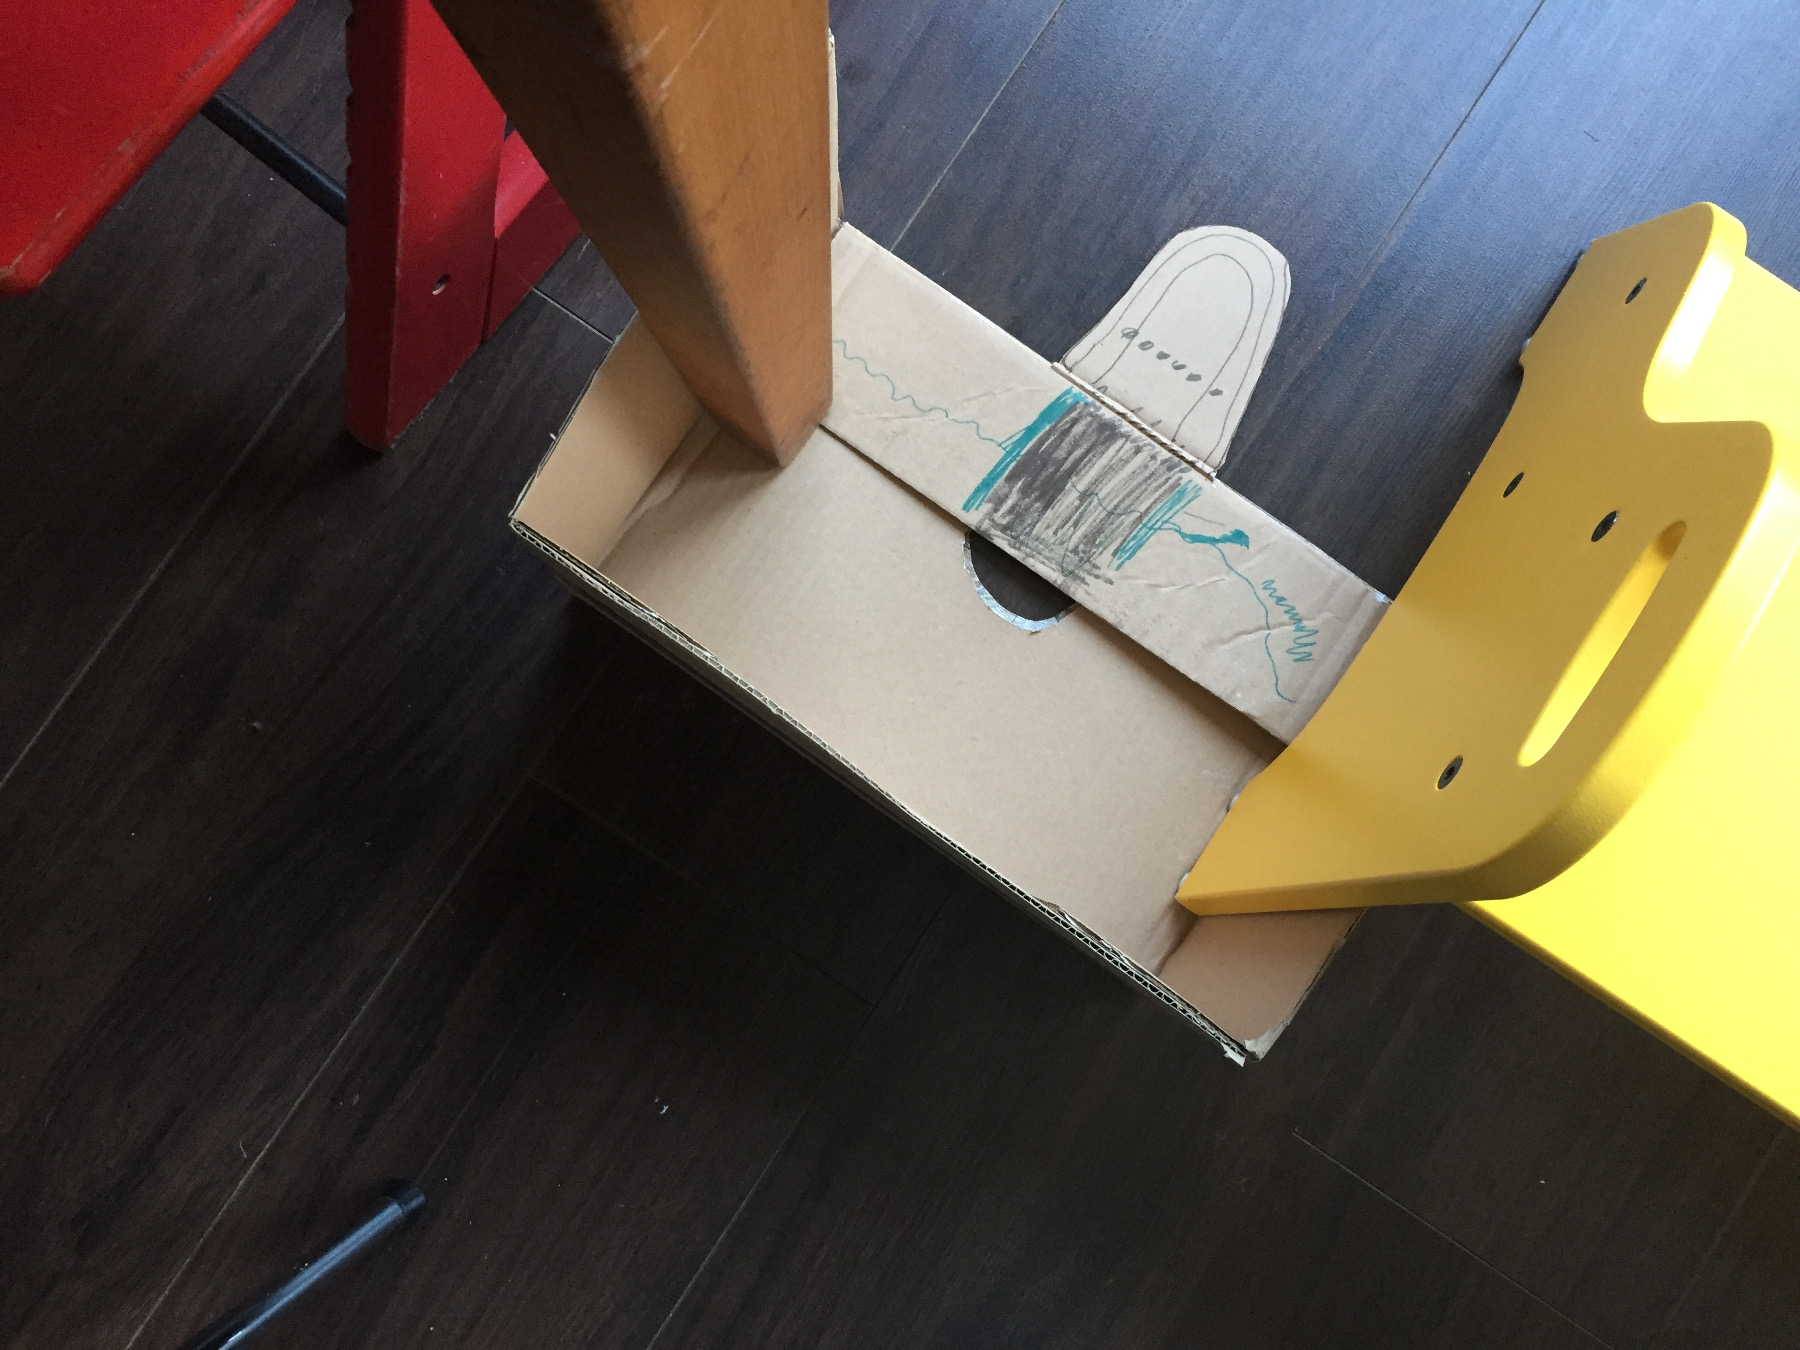
Pick holes and stick string through bridge and wall.
Now the brigdge can go up or down. Stick windows on the front of the castle and colour the drawbridge.
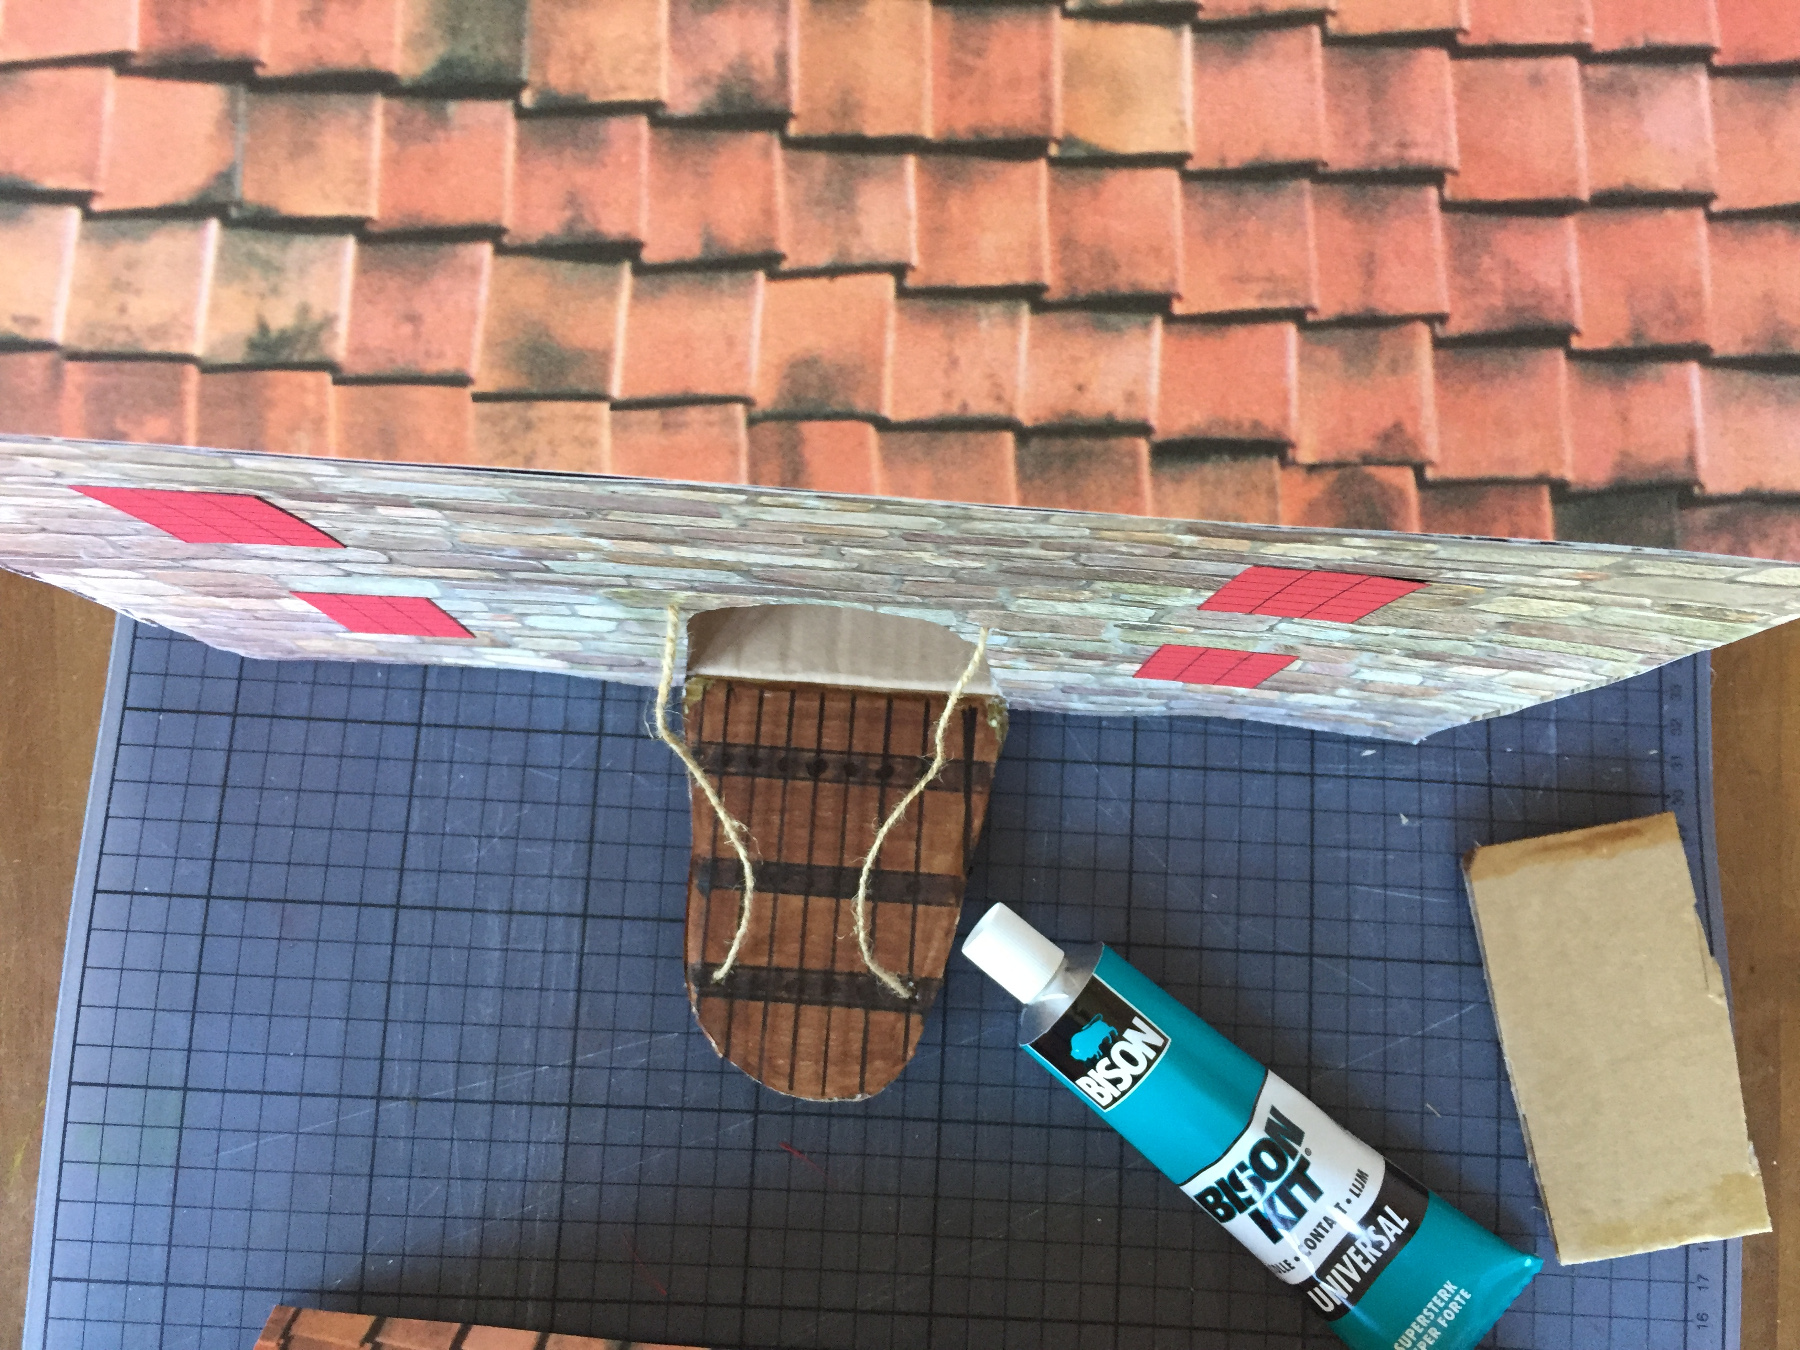
Trace the top of the box on roof tiles paper.
Cut it out and stick it on top of the box.
How to make the a loose, pointed castle roof
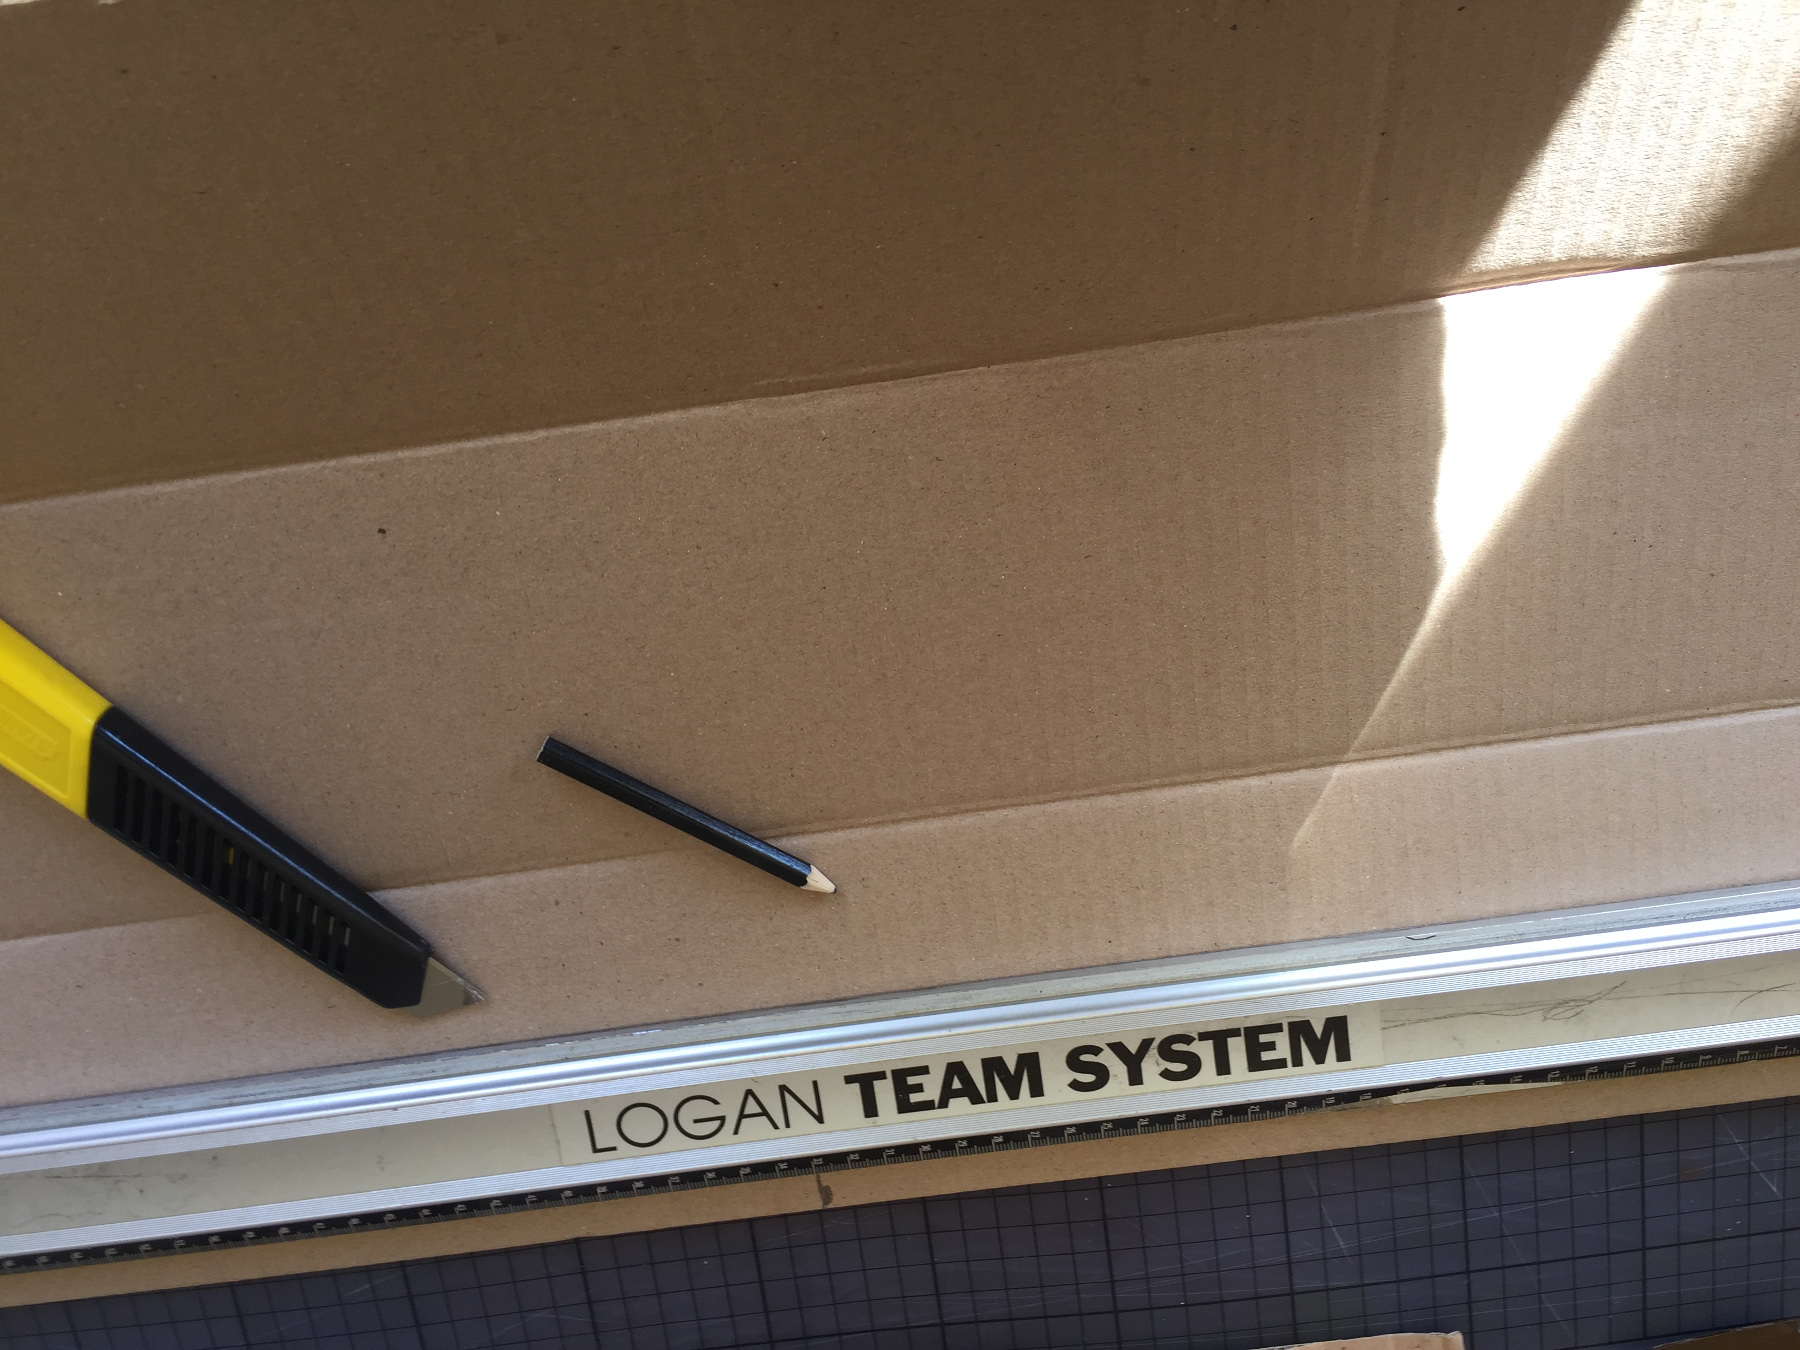
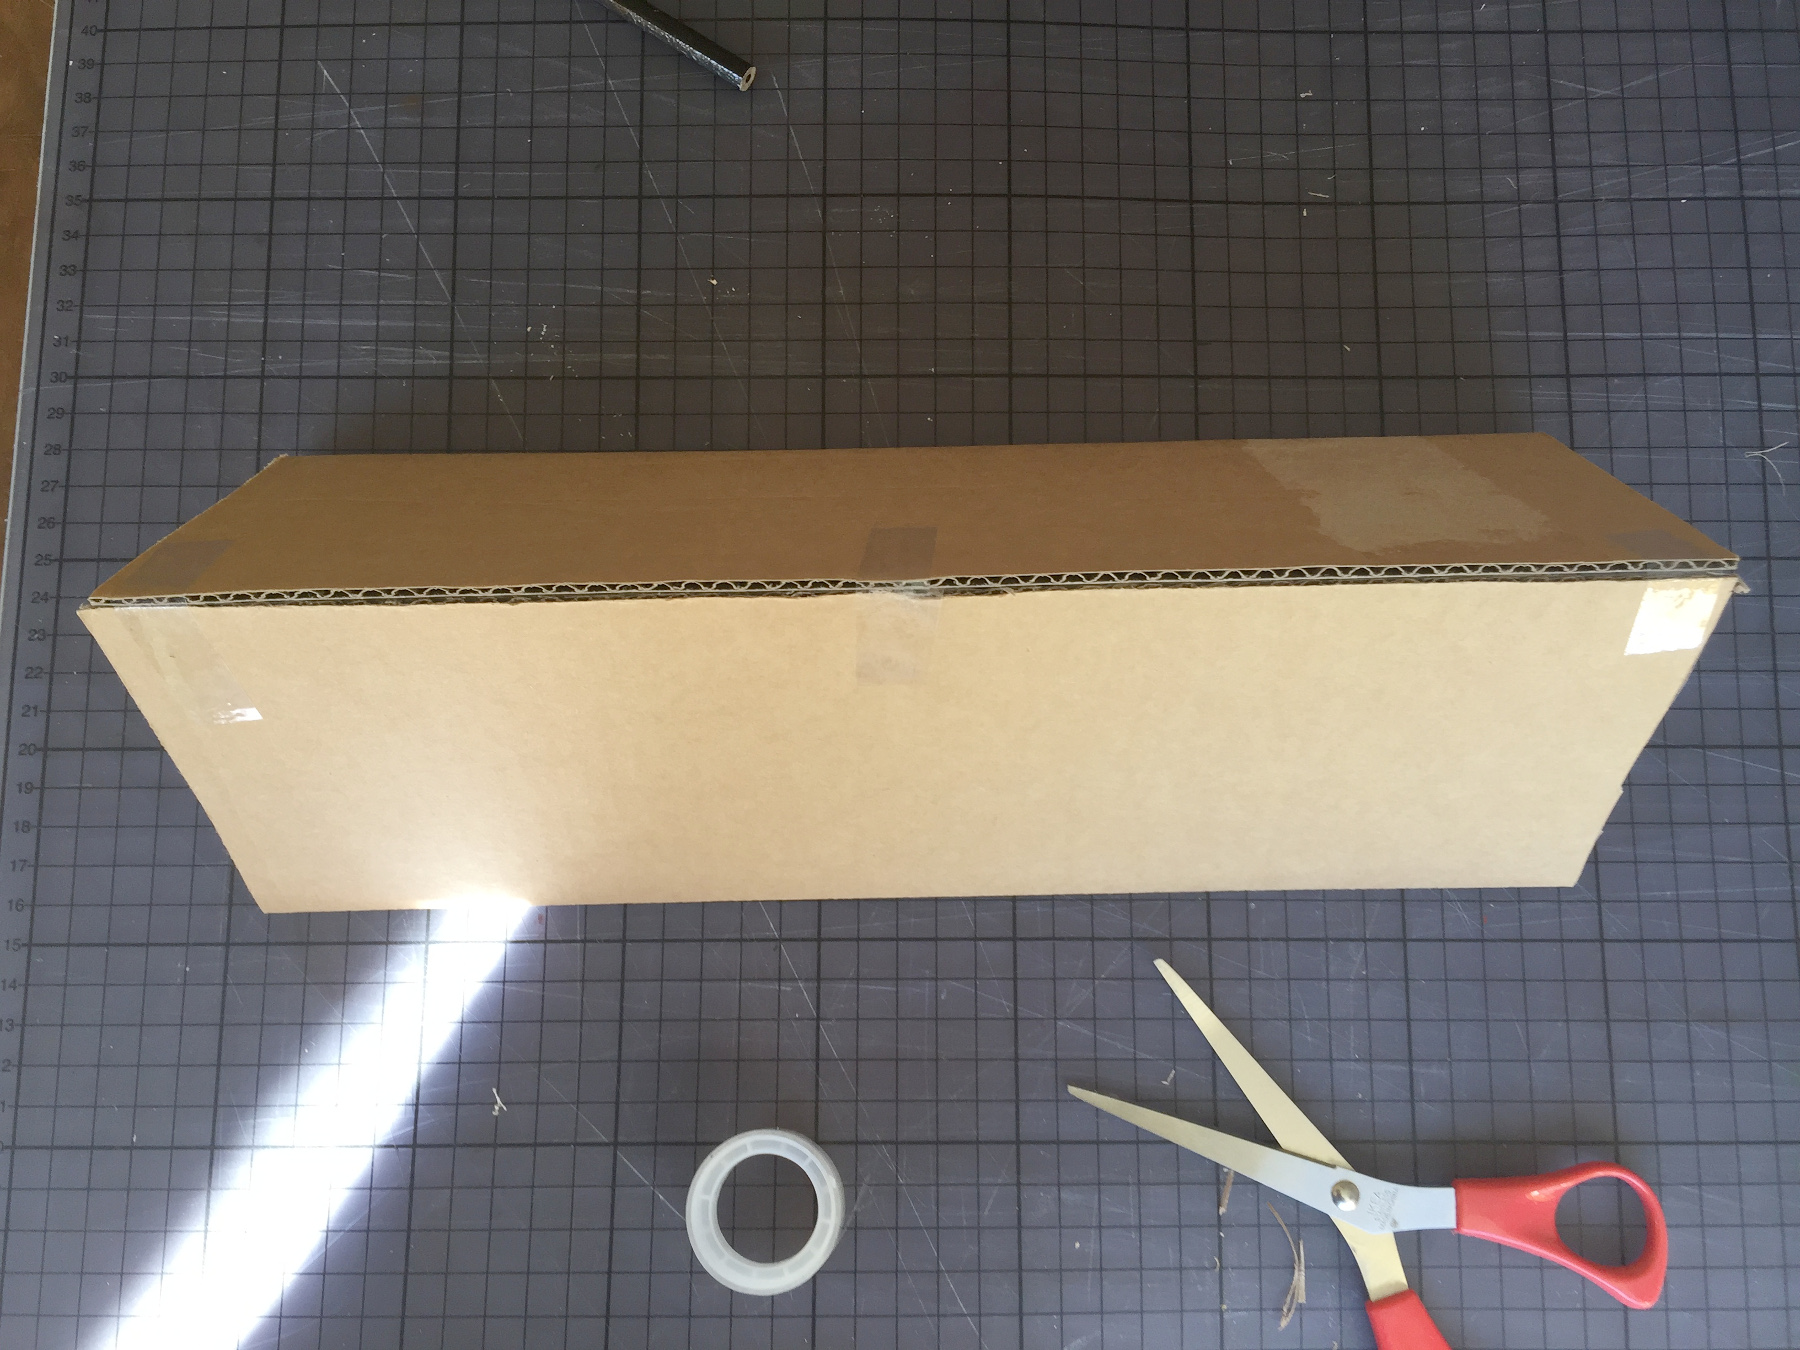
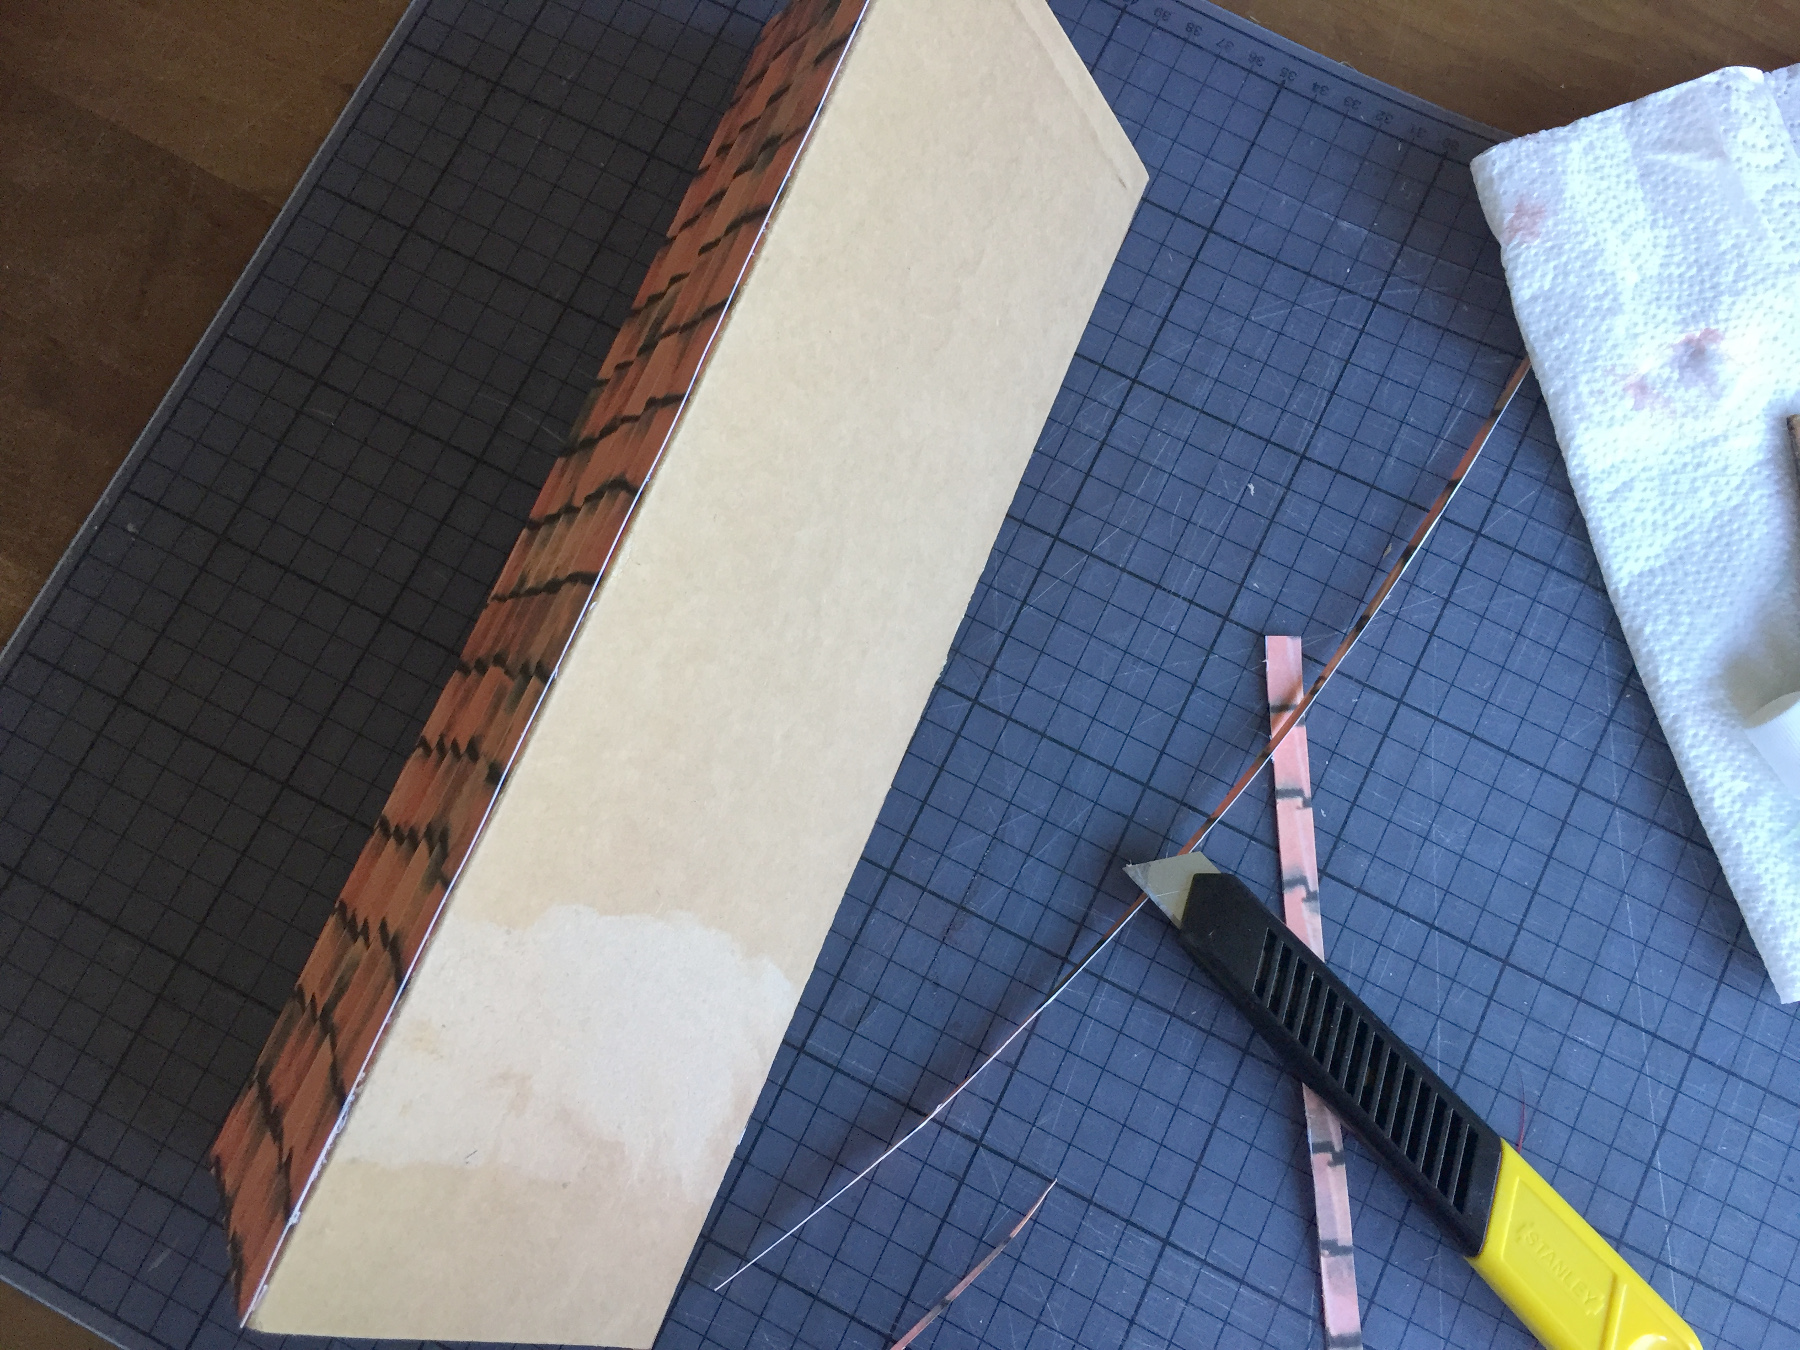
Score a large piece of cardboard in three equal parts
Cut it the size of the length of the box.
Fold the sides upward and stick them together.
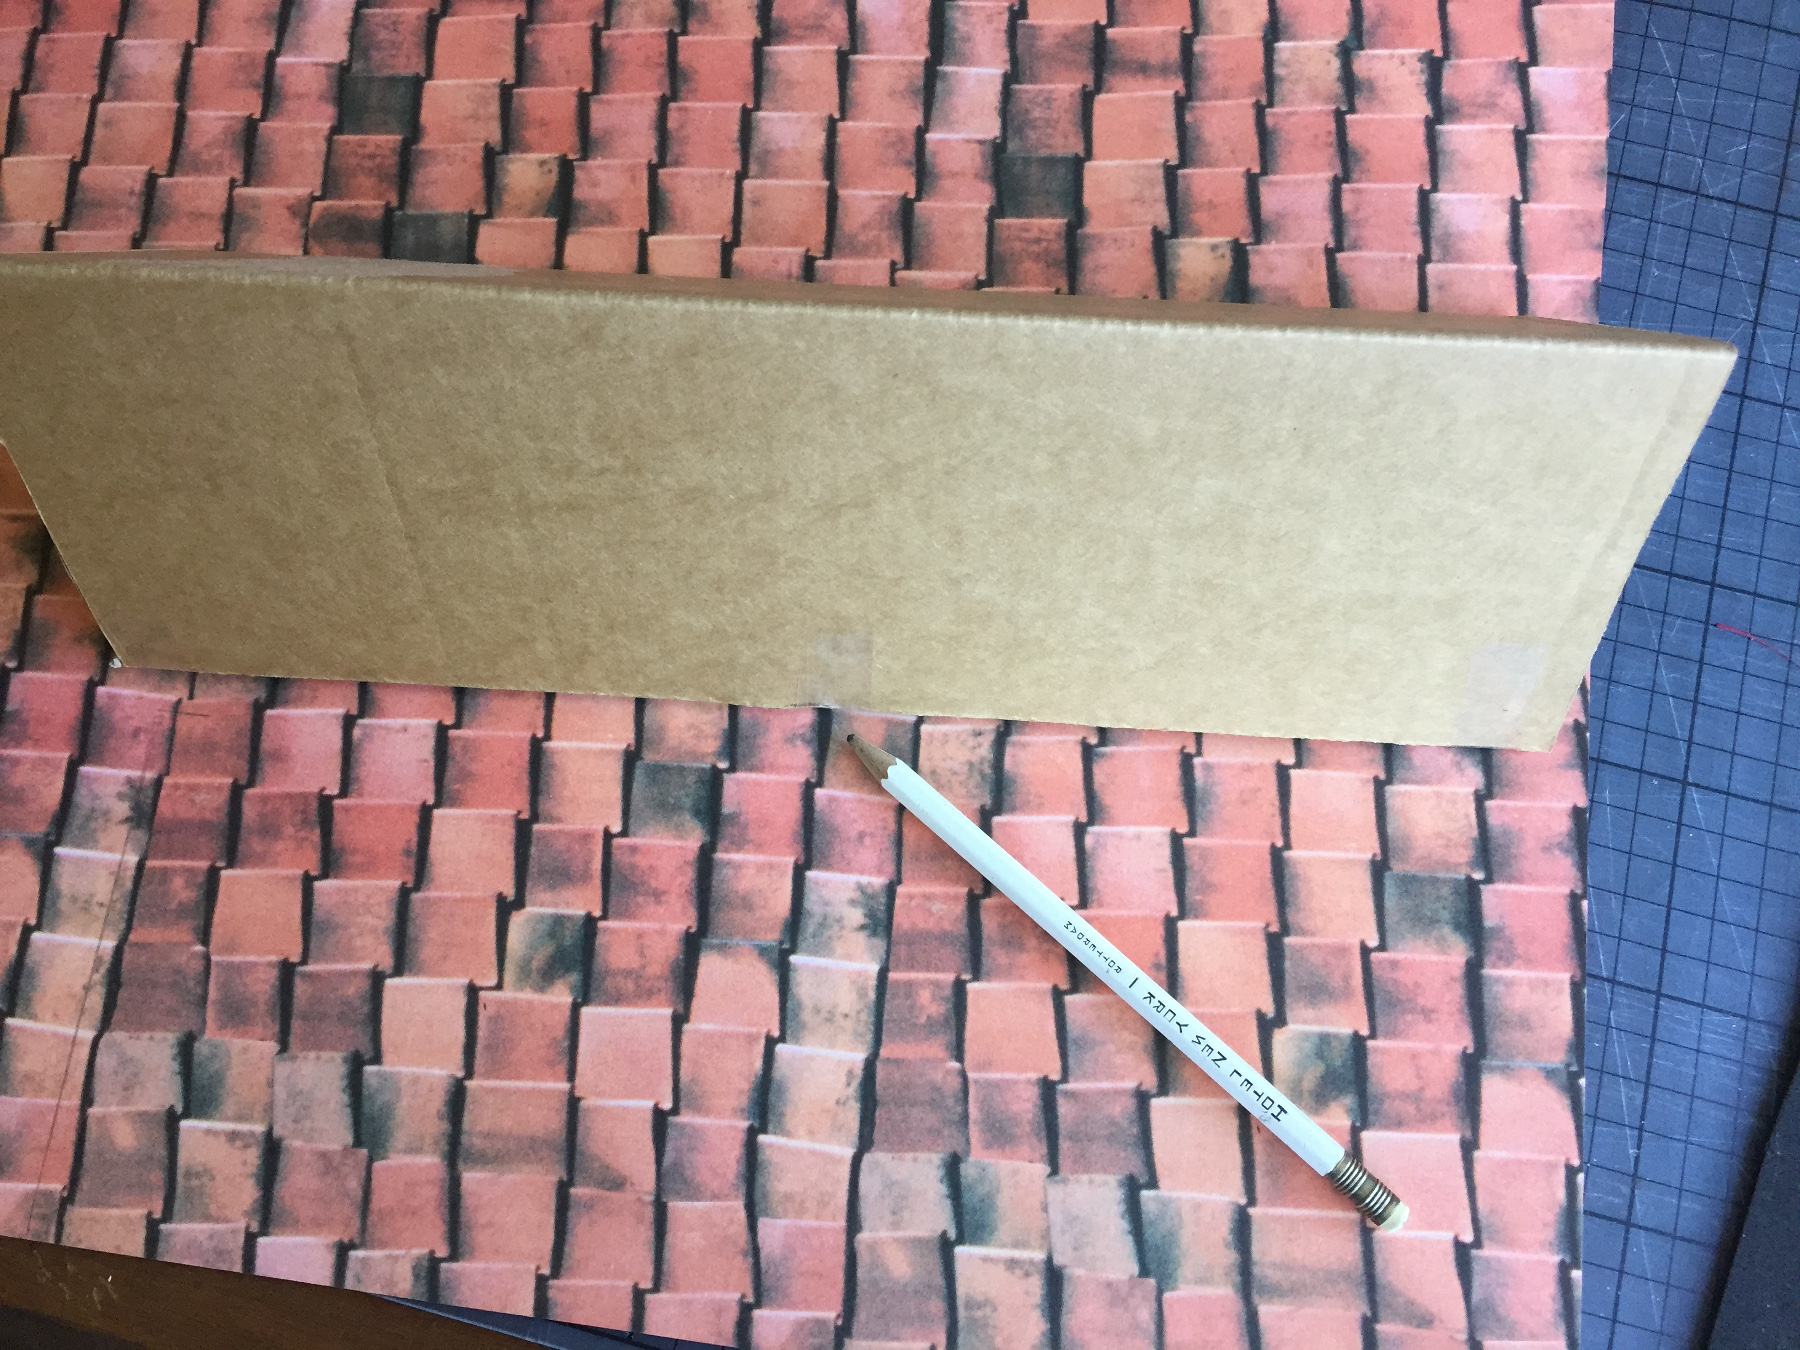

Try if the roof fits neatly, if not trim it to fit.
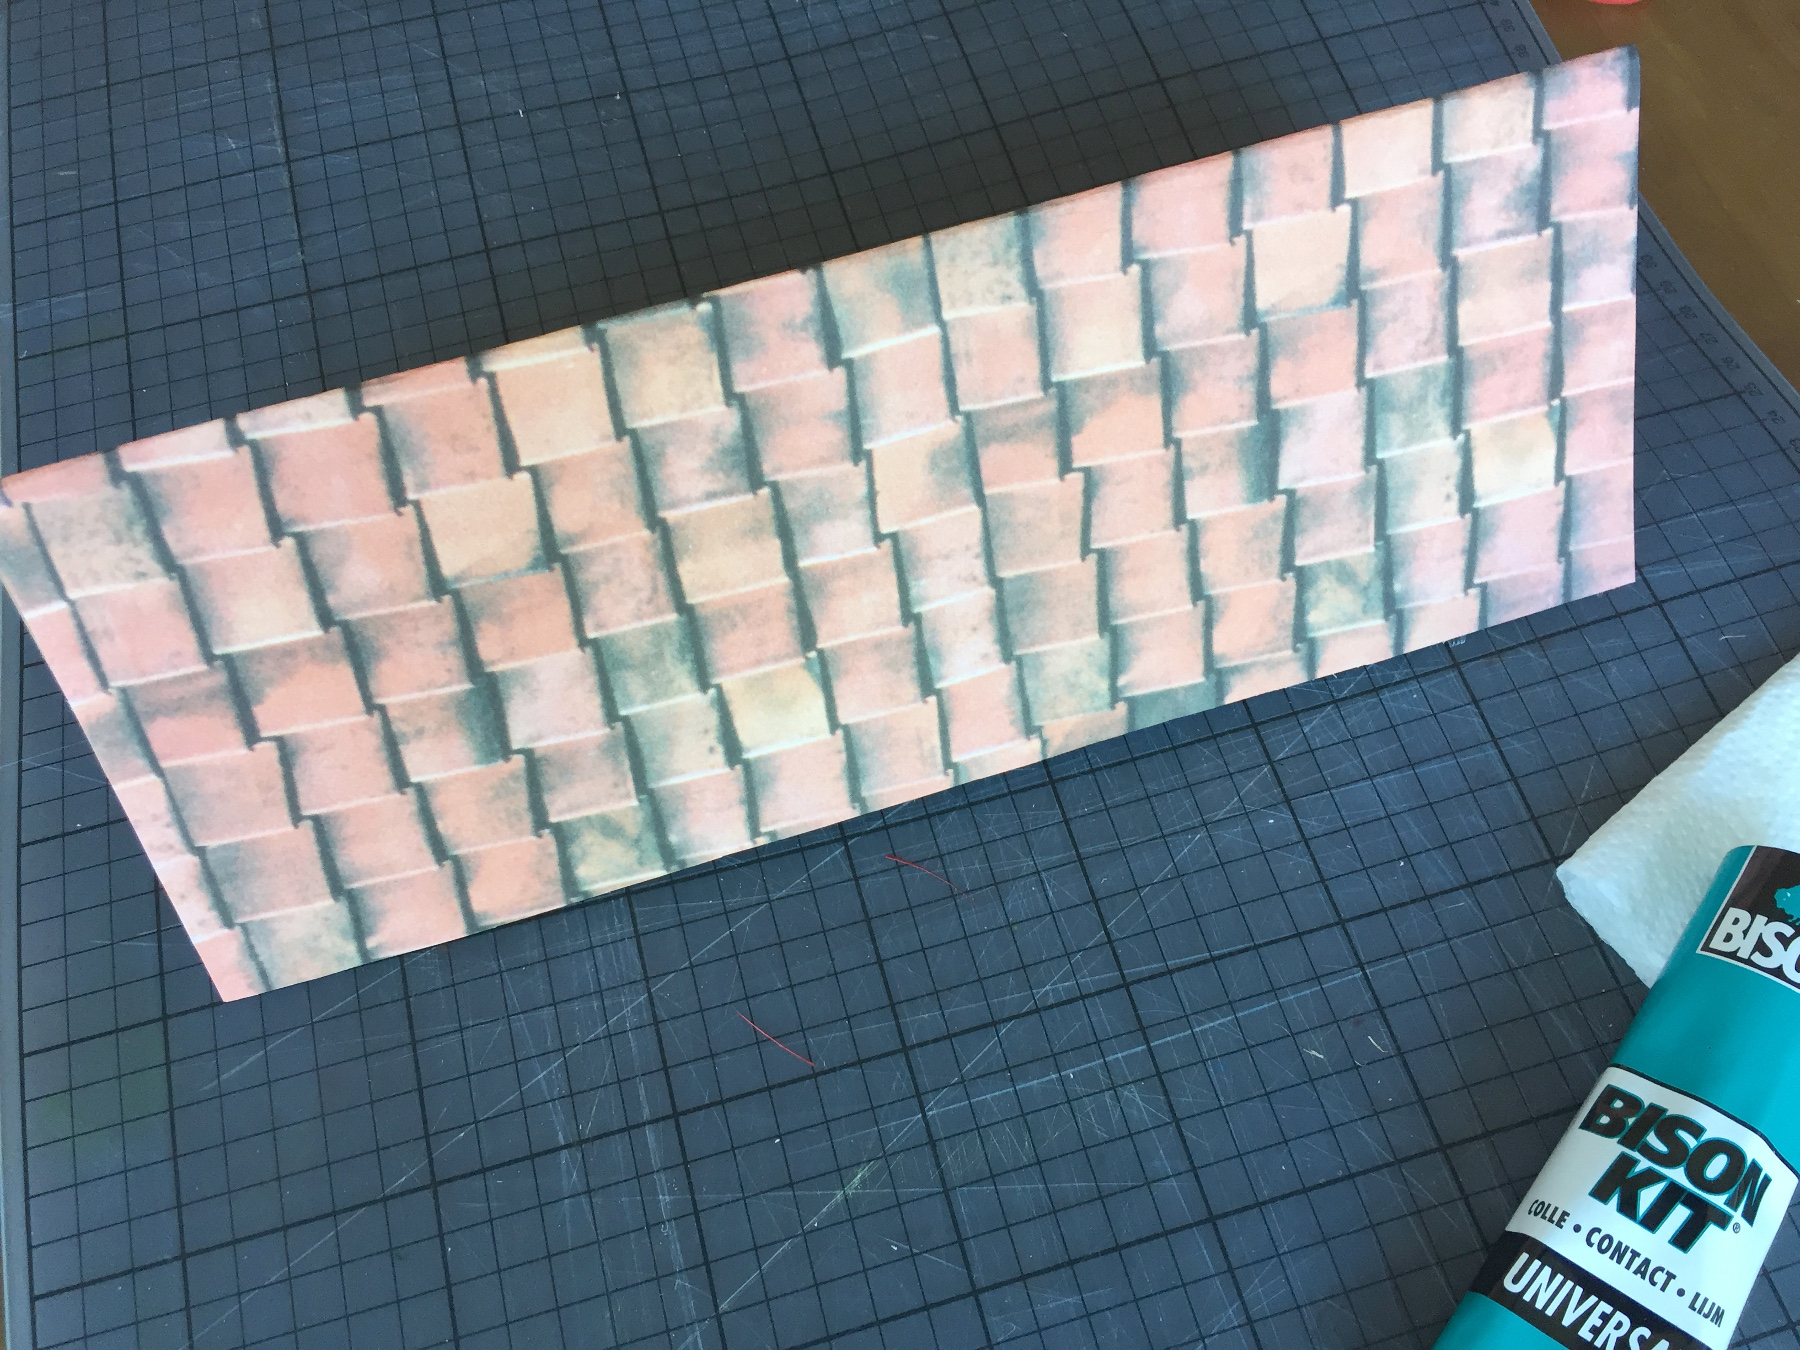
Measure the roof and cut the tile paper to fit.
Spread glue on the roof.
Stick the roof tile paper on the roof.
Allow the glue to dry really well!
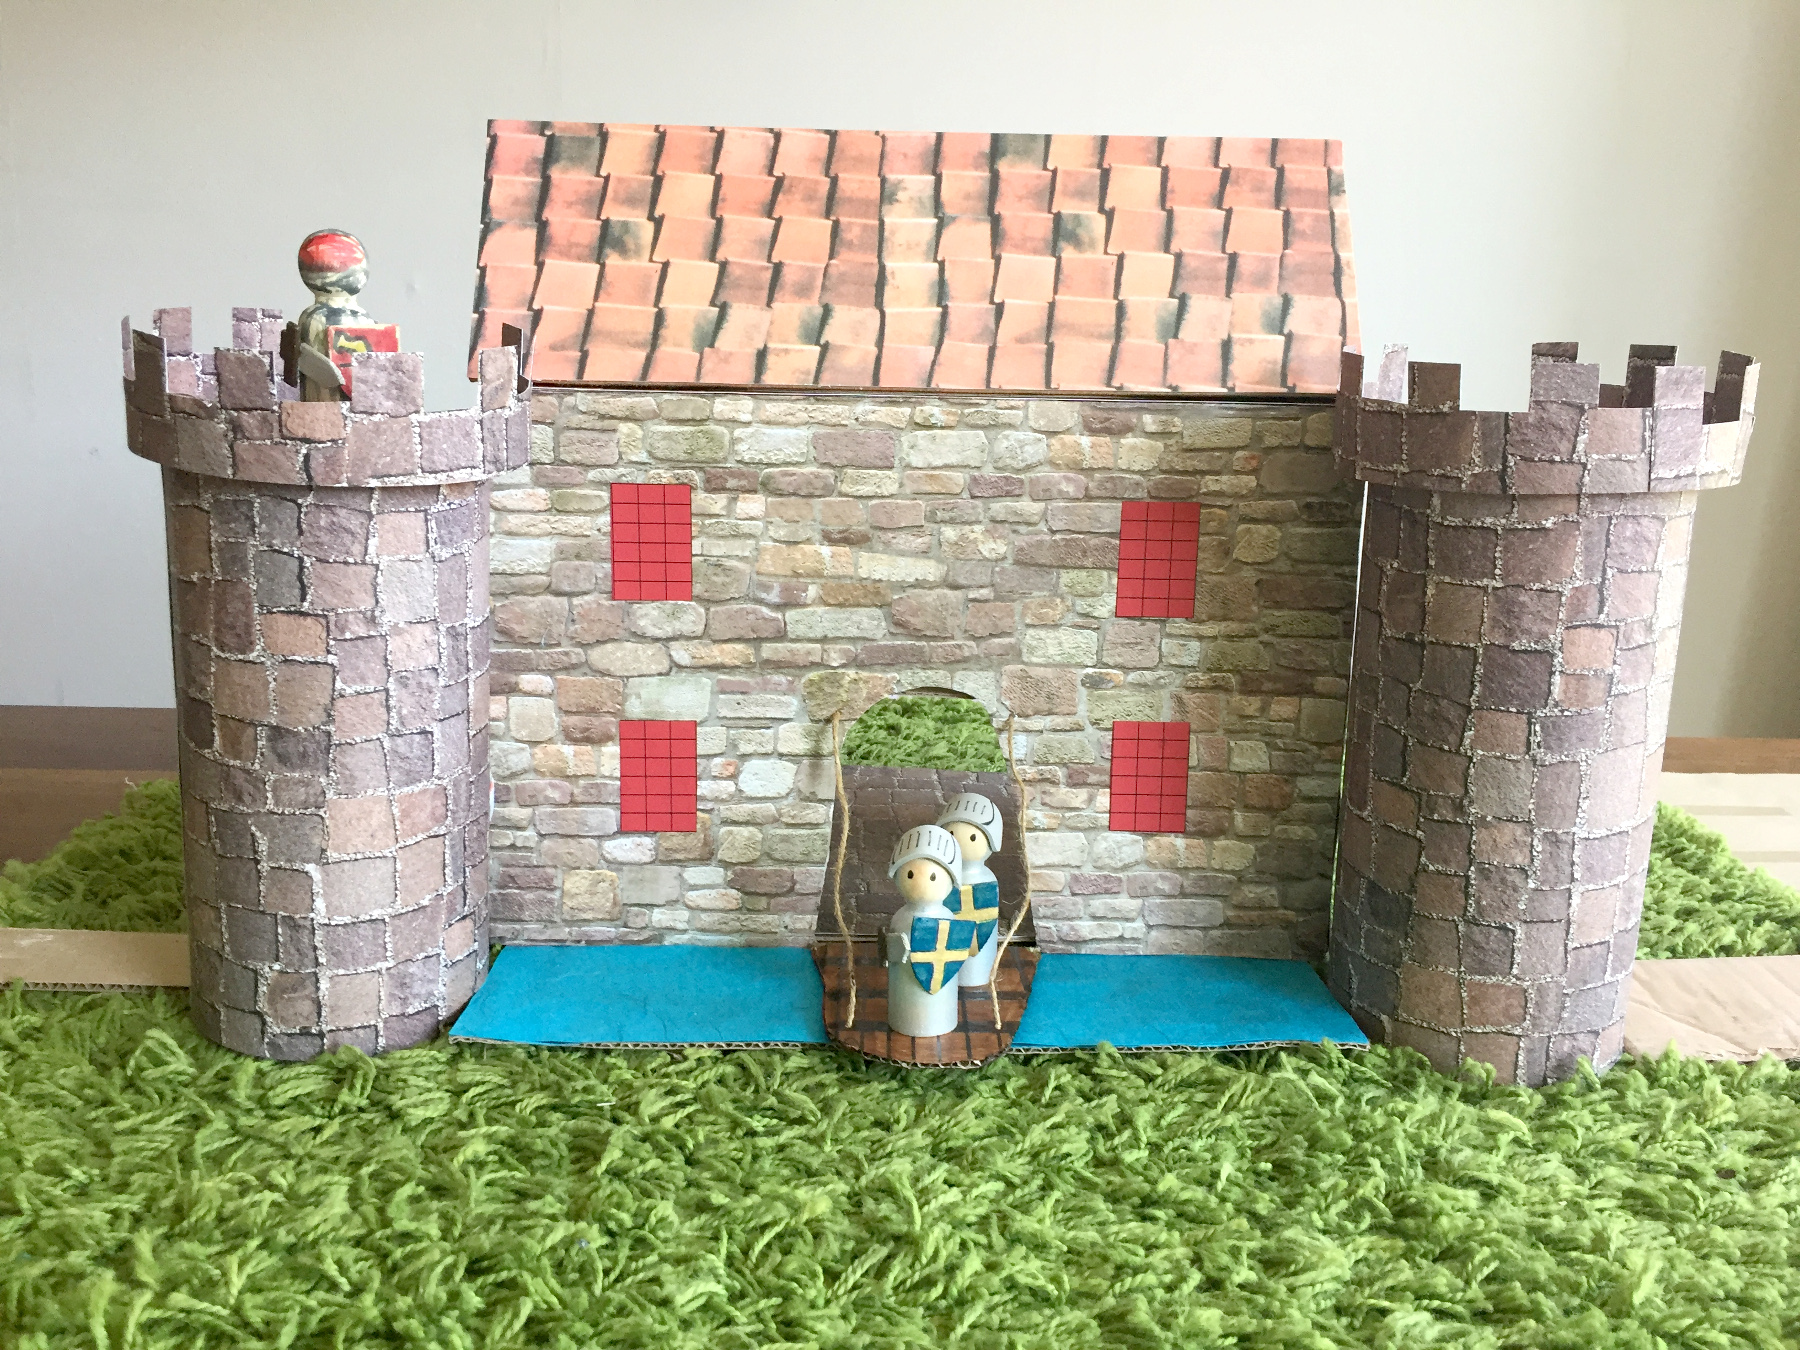
Stick a strip blue paper on the moat and the castle is ready!
Tomorrow we craft the knights and next week some things to put in the castle.