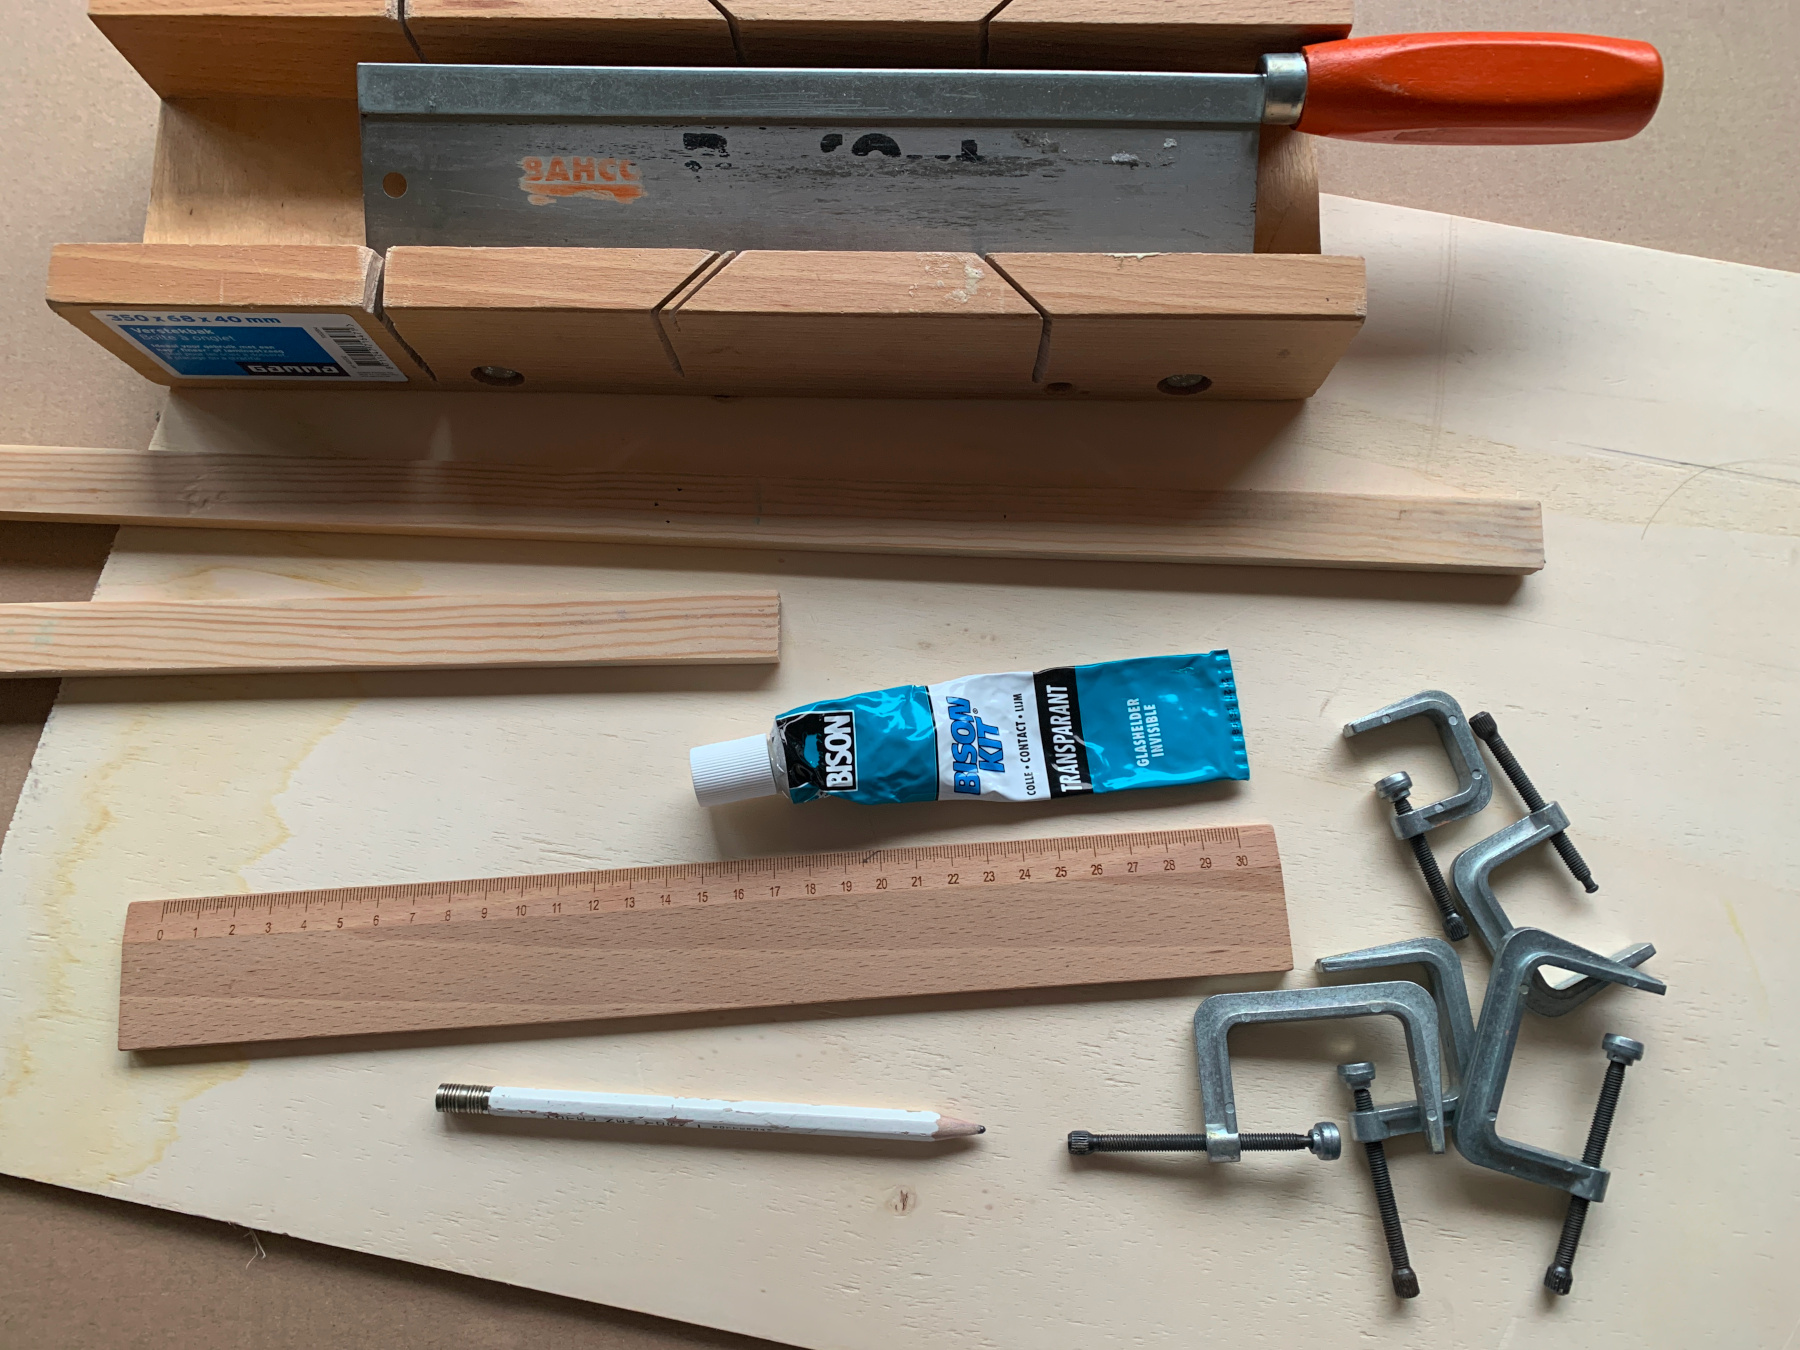
What do you need?
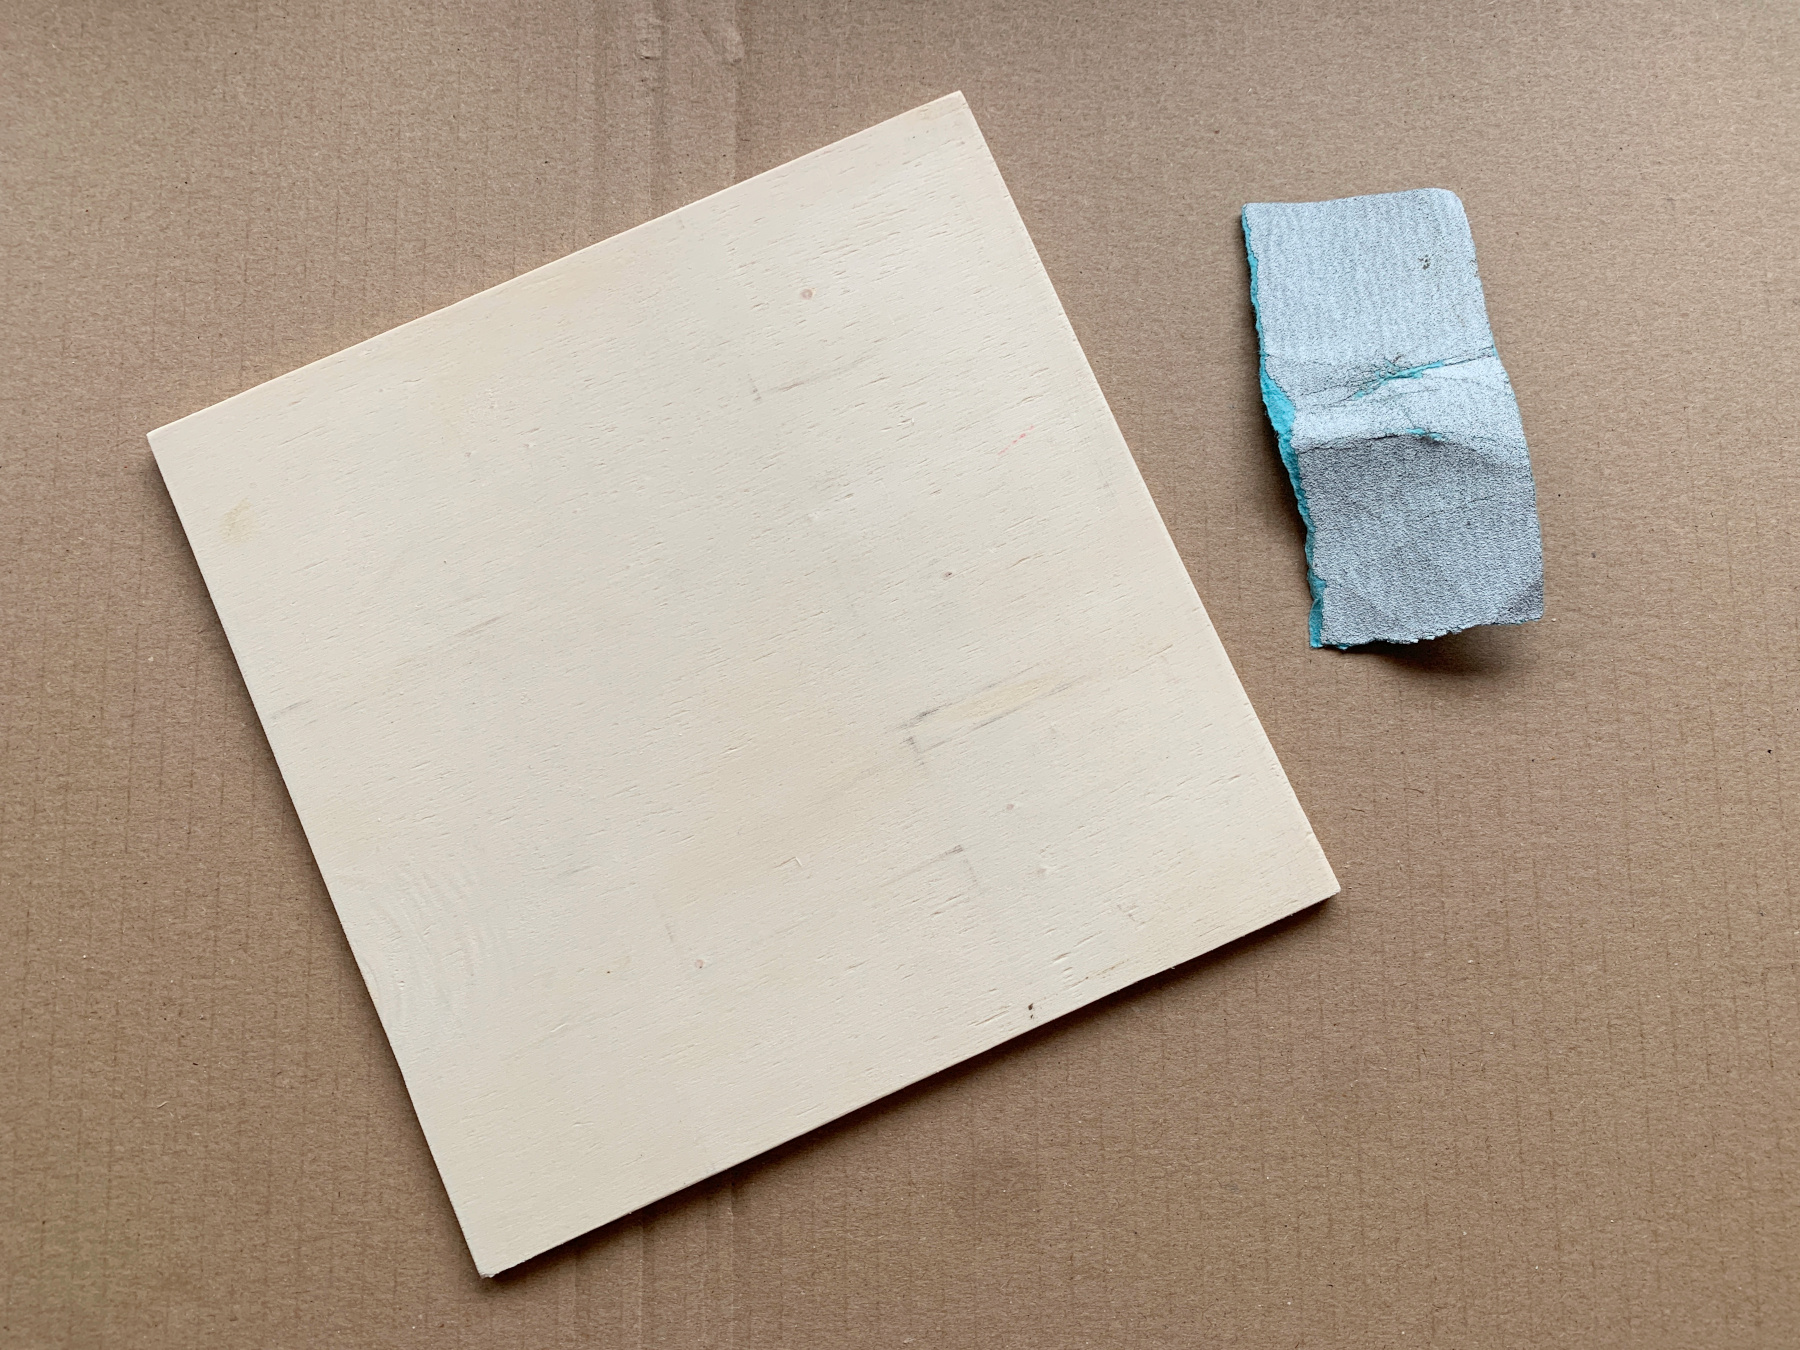
a piece of plywood of 20x20cm
a long wooden slat of 20x10mm
a miter box and a saw
sandpaper
Bison glue
glue clamps
Optional:
colourless, matte varnish
a paintbrush
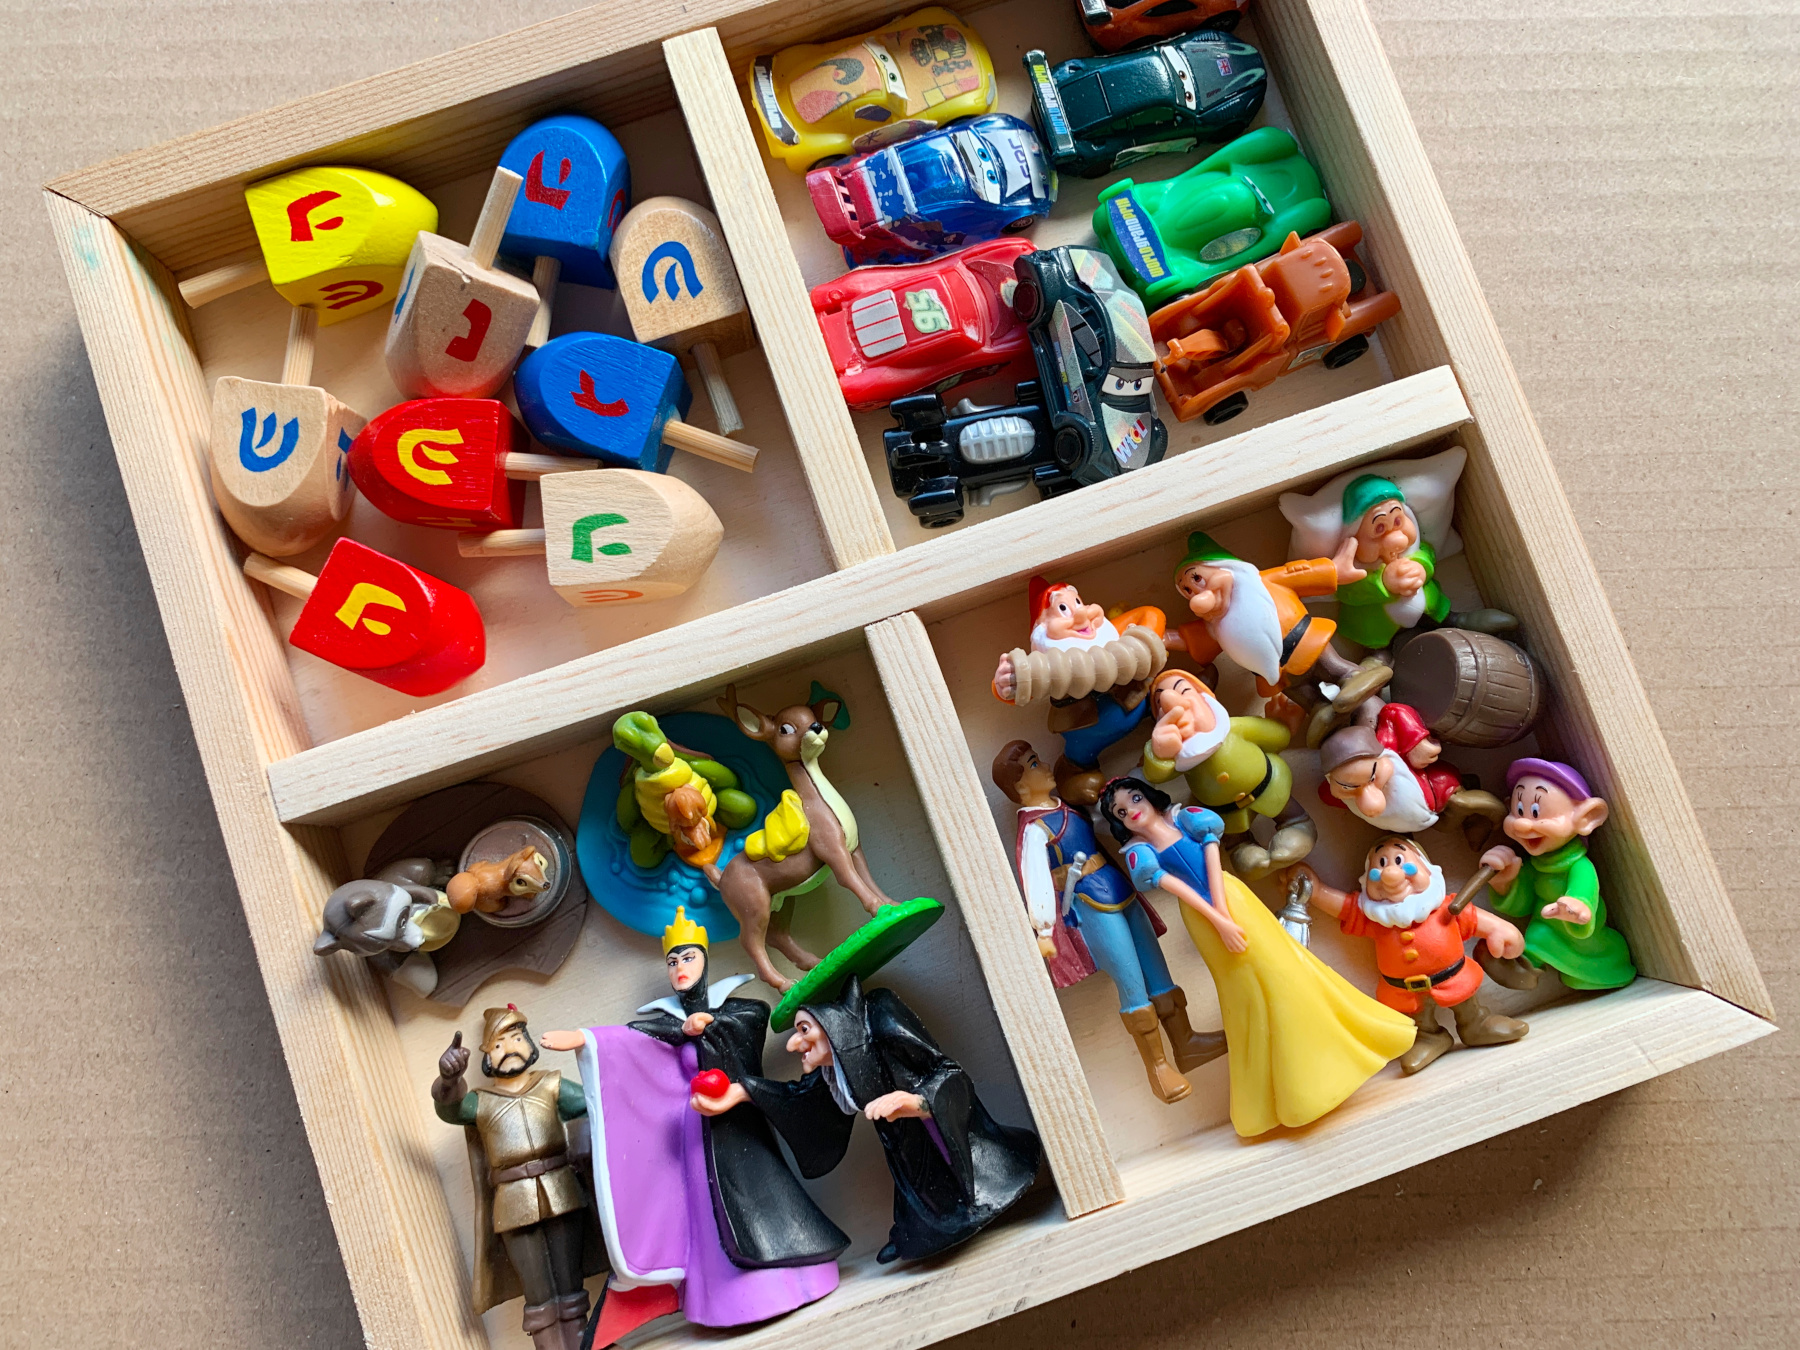
In last weeks craft blog we talked about the collecting hobby from our young mini-monsters. Then we also showed you how to make a simple Montessori inspired tray. Today we turn such a tray in a simple sorting tray. The little monsters love it!
How you turn your simple tray into a useful sorting tray


Saw a piece of plywood of 20x20cm, for the basic tray.
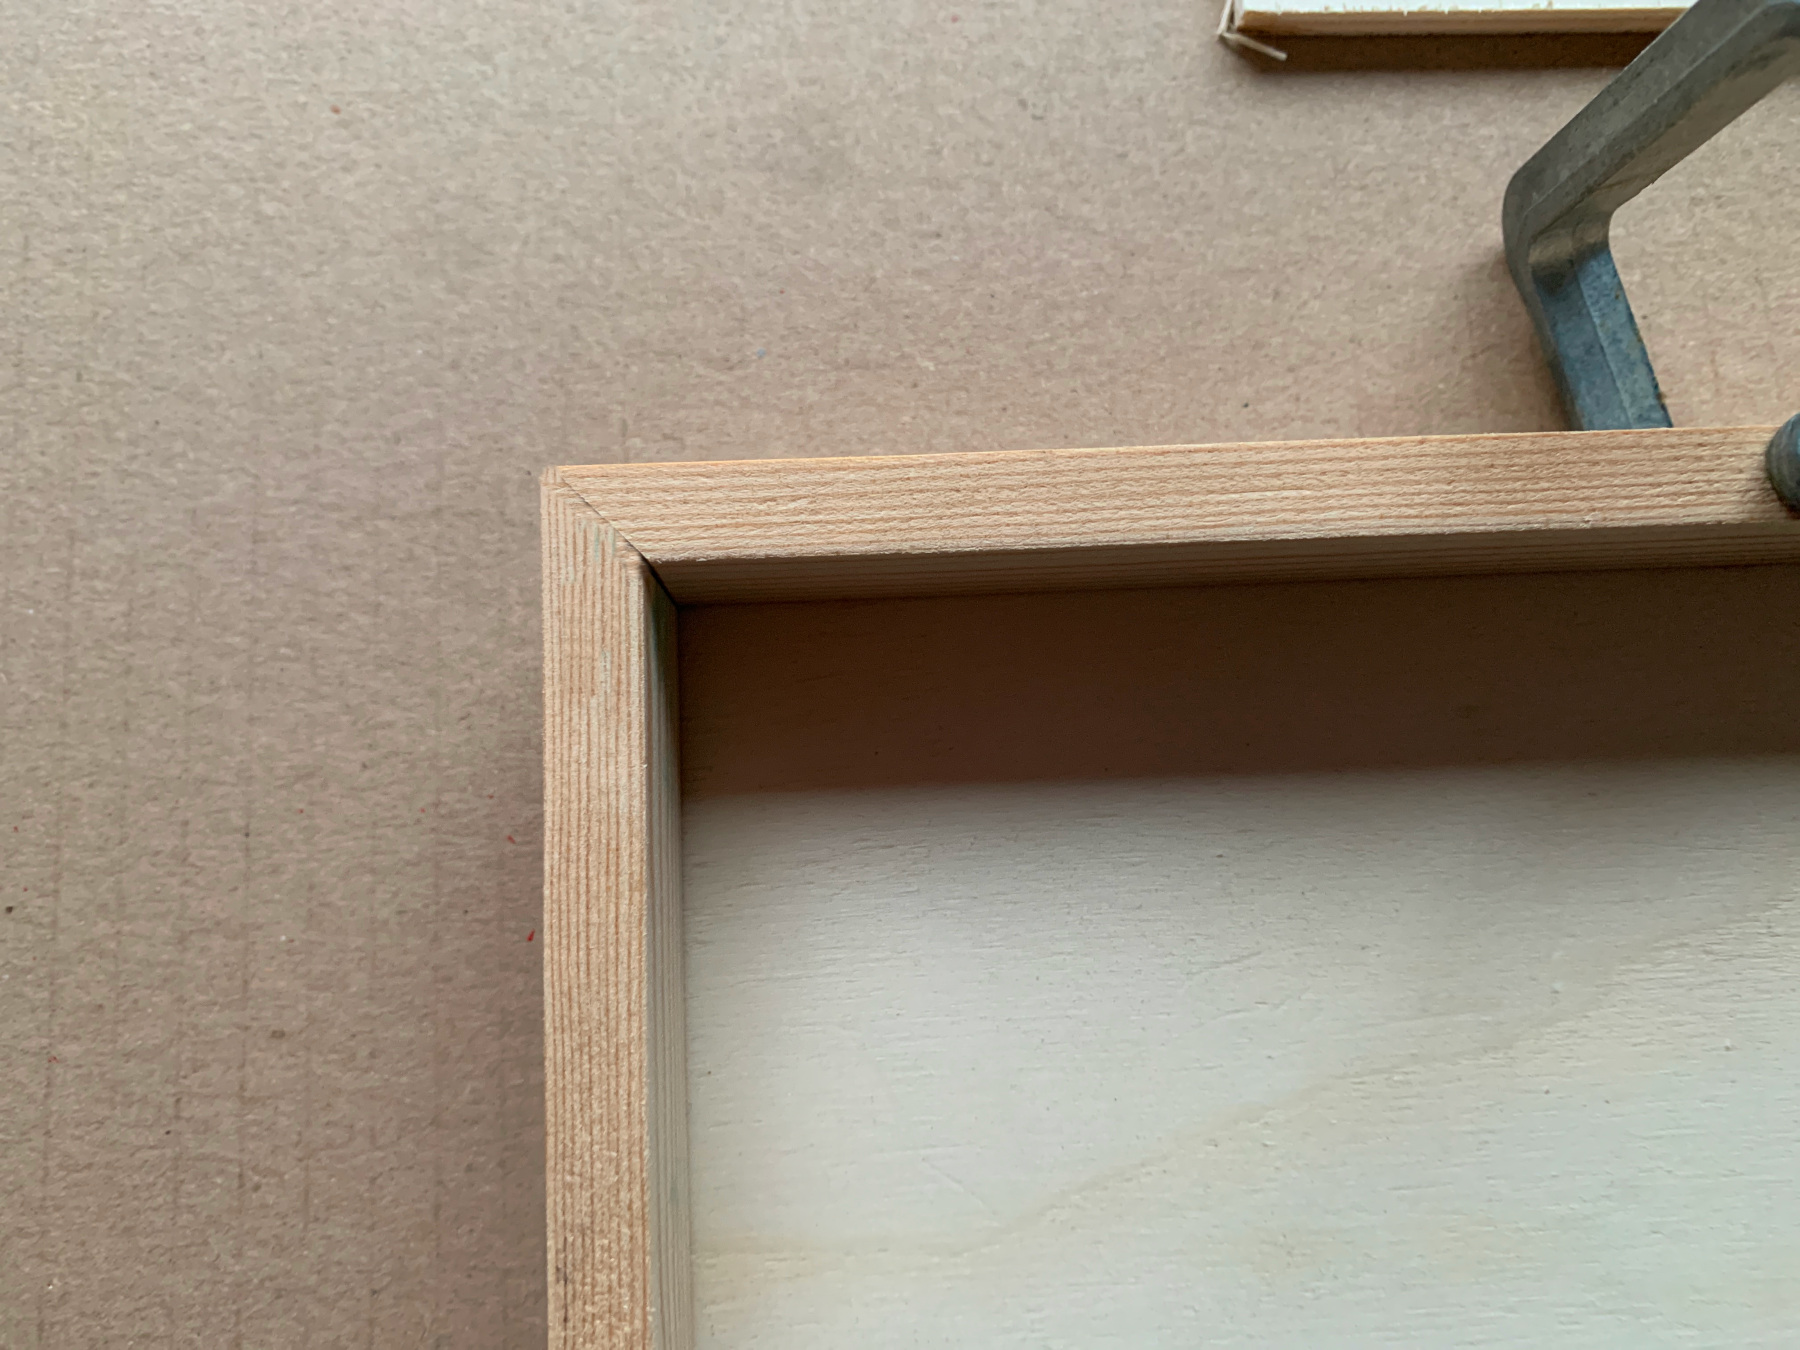
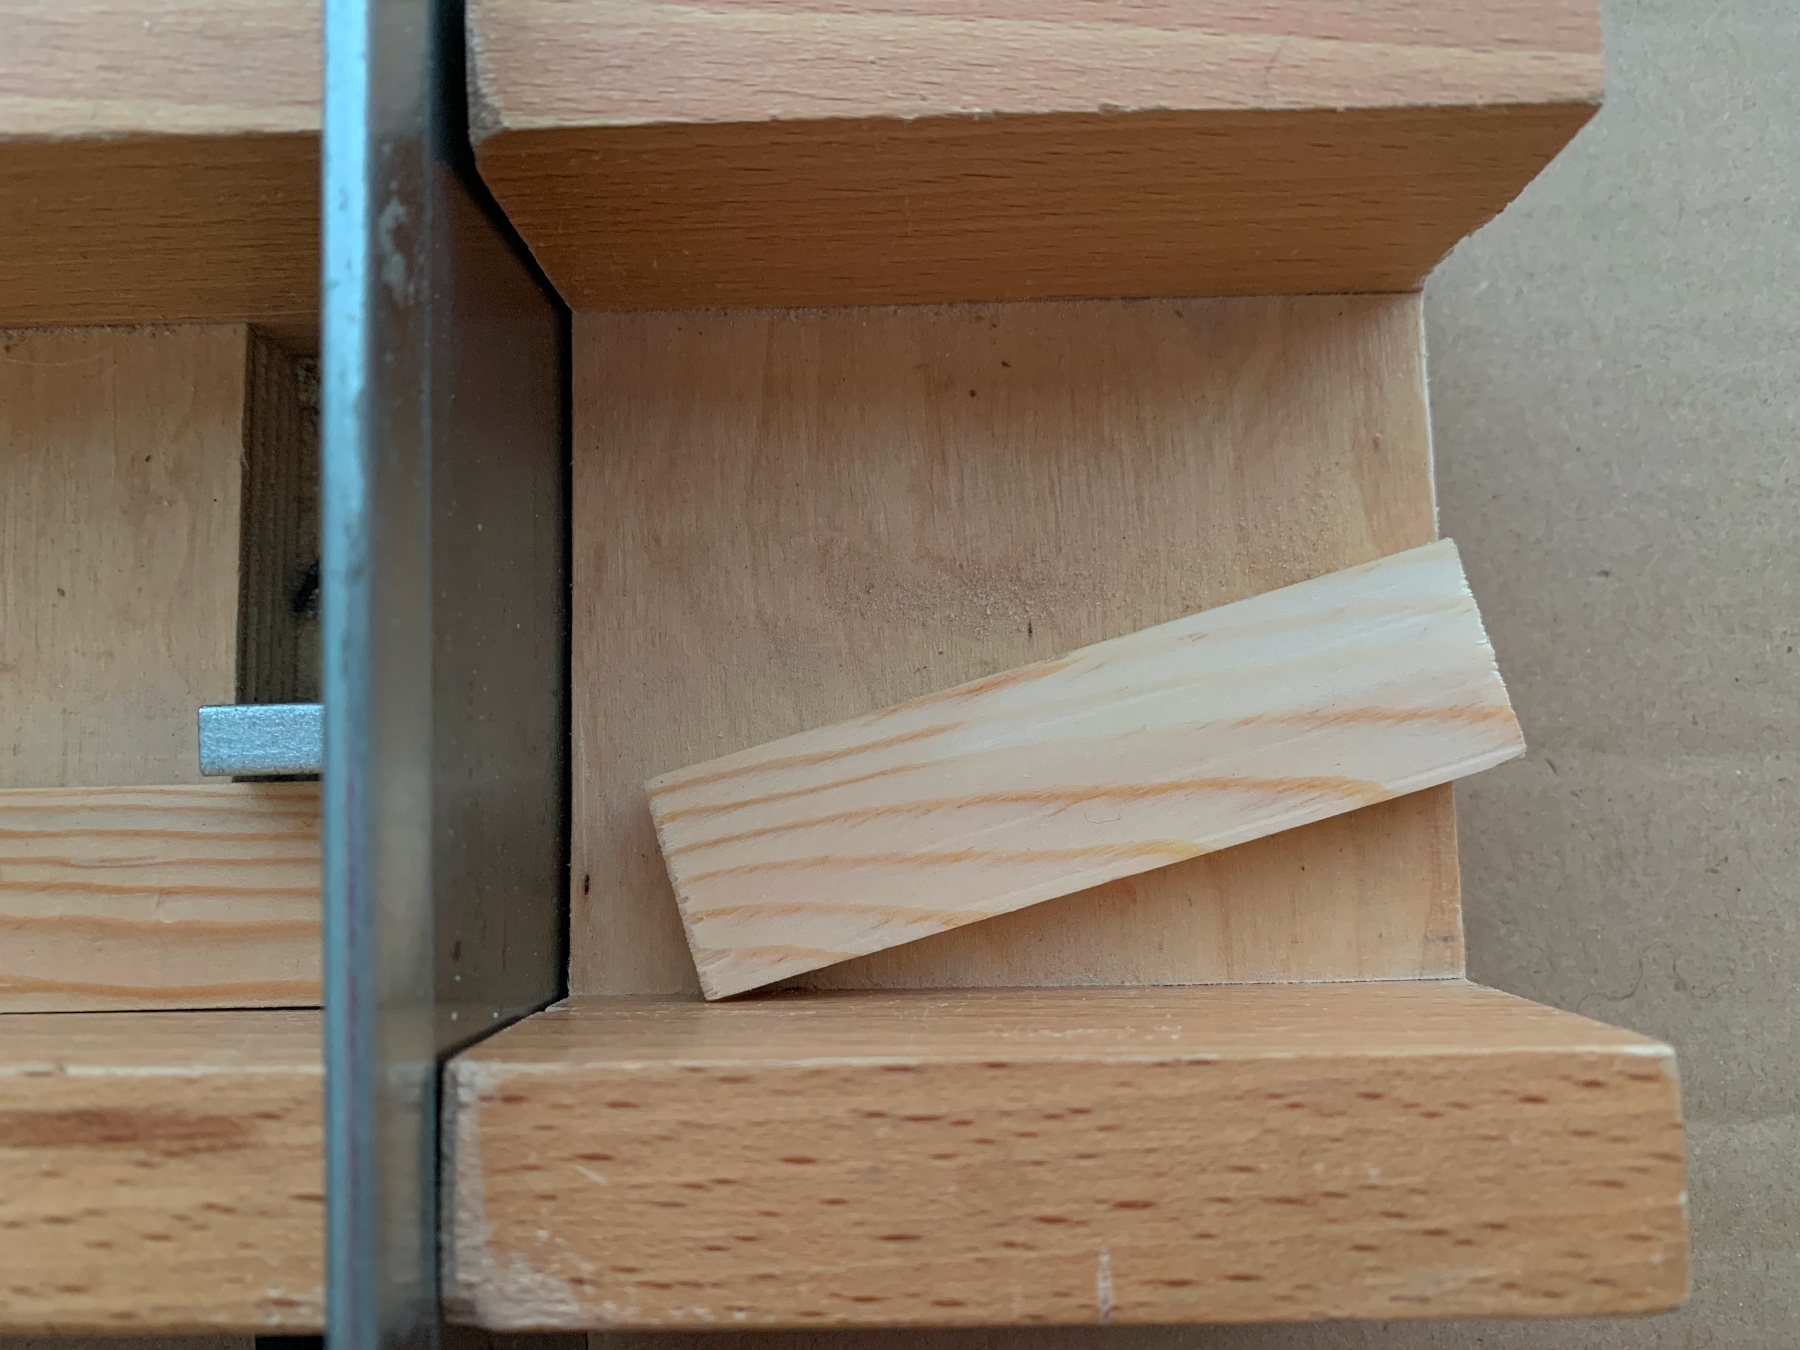
Saw 4 slats of 20x20cm and saw slanted in the miterbox
Sand all the sawed off sides and stick the slats on the bottom.
Press the corners firmly together and place clamps on the slats.
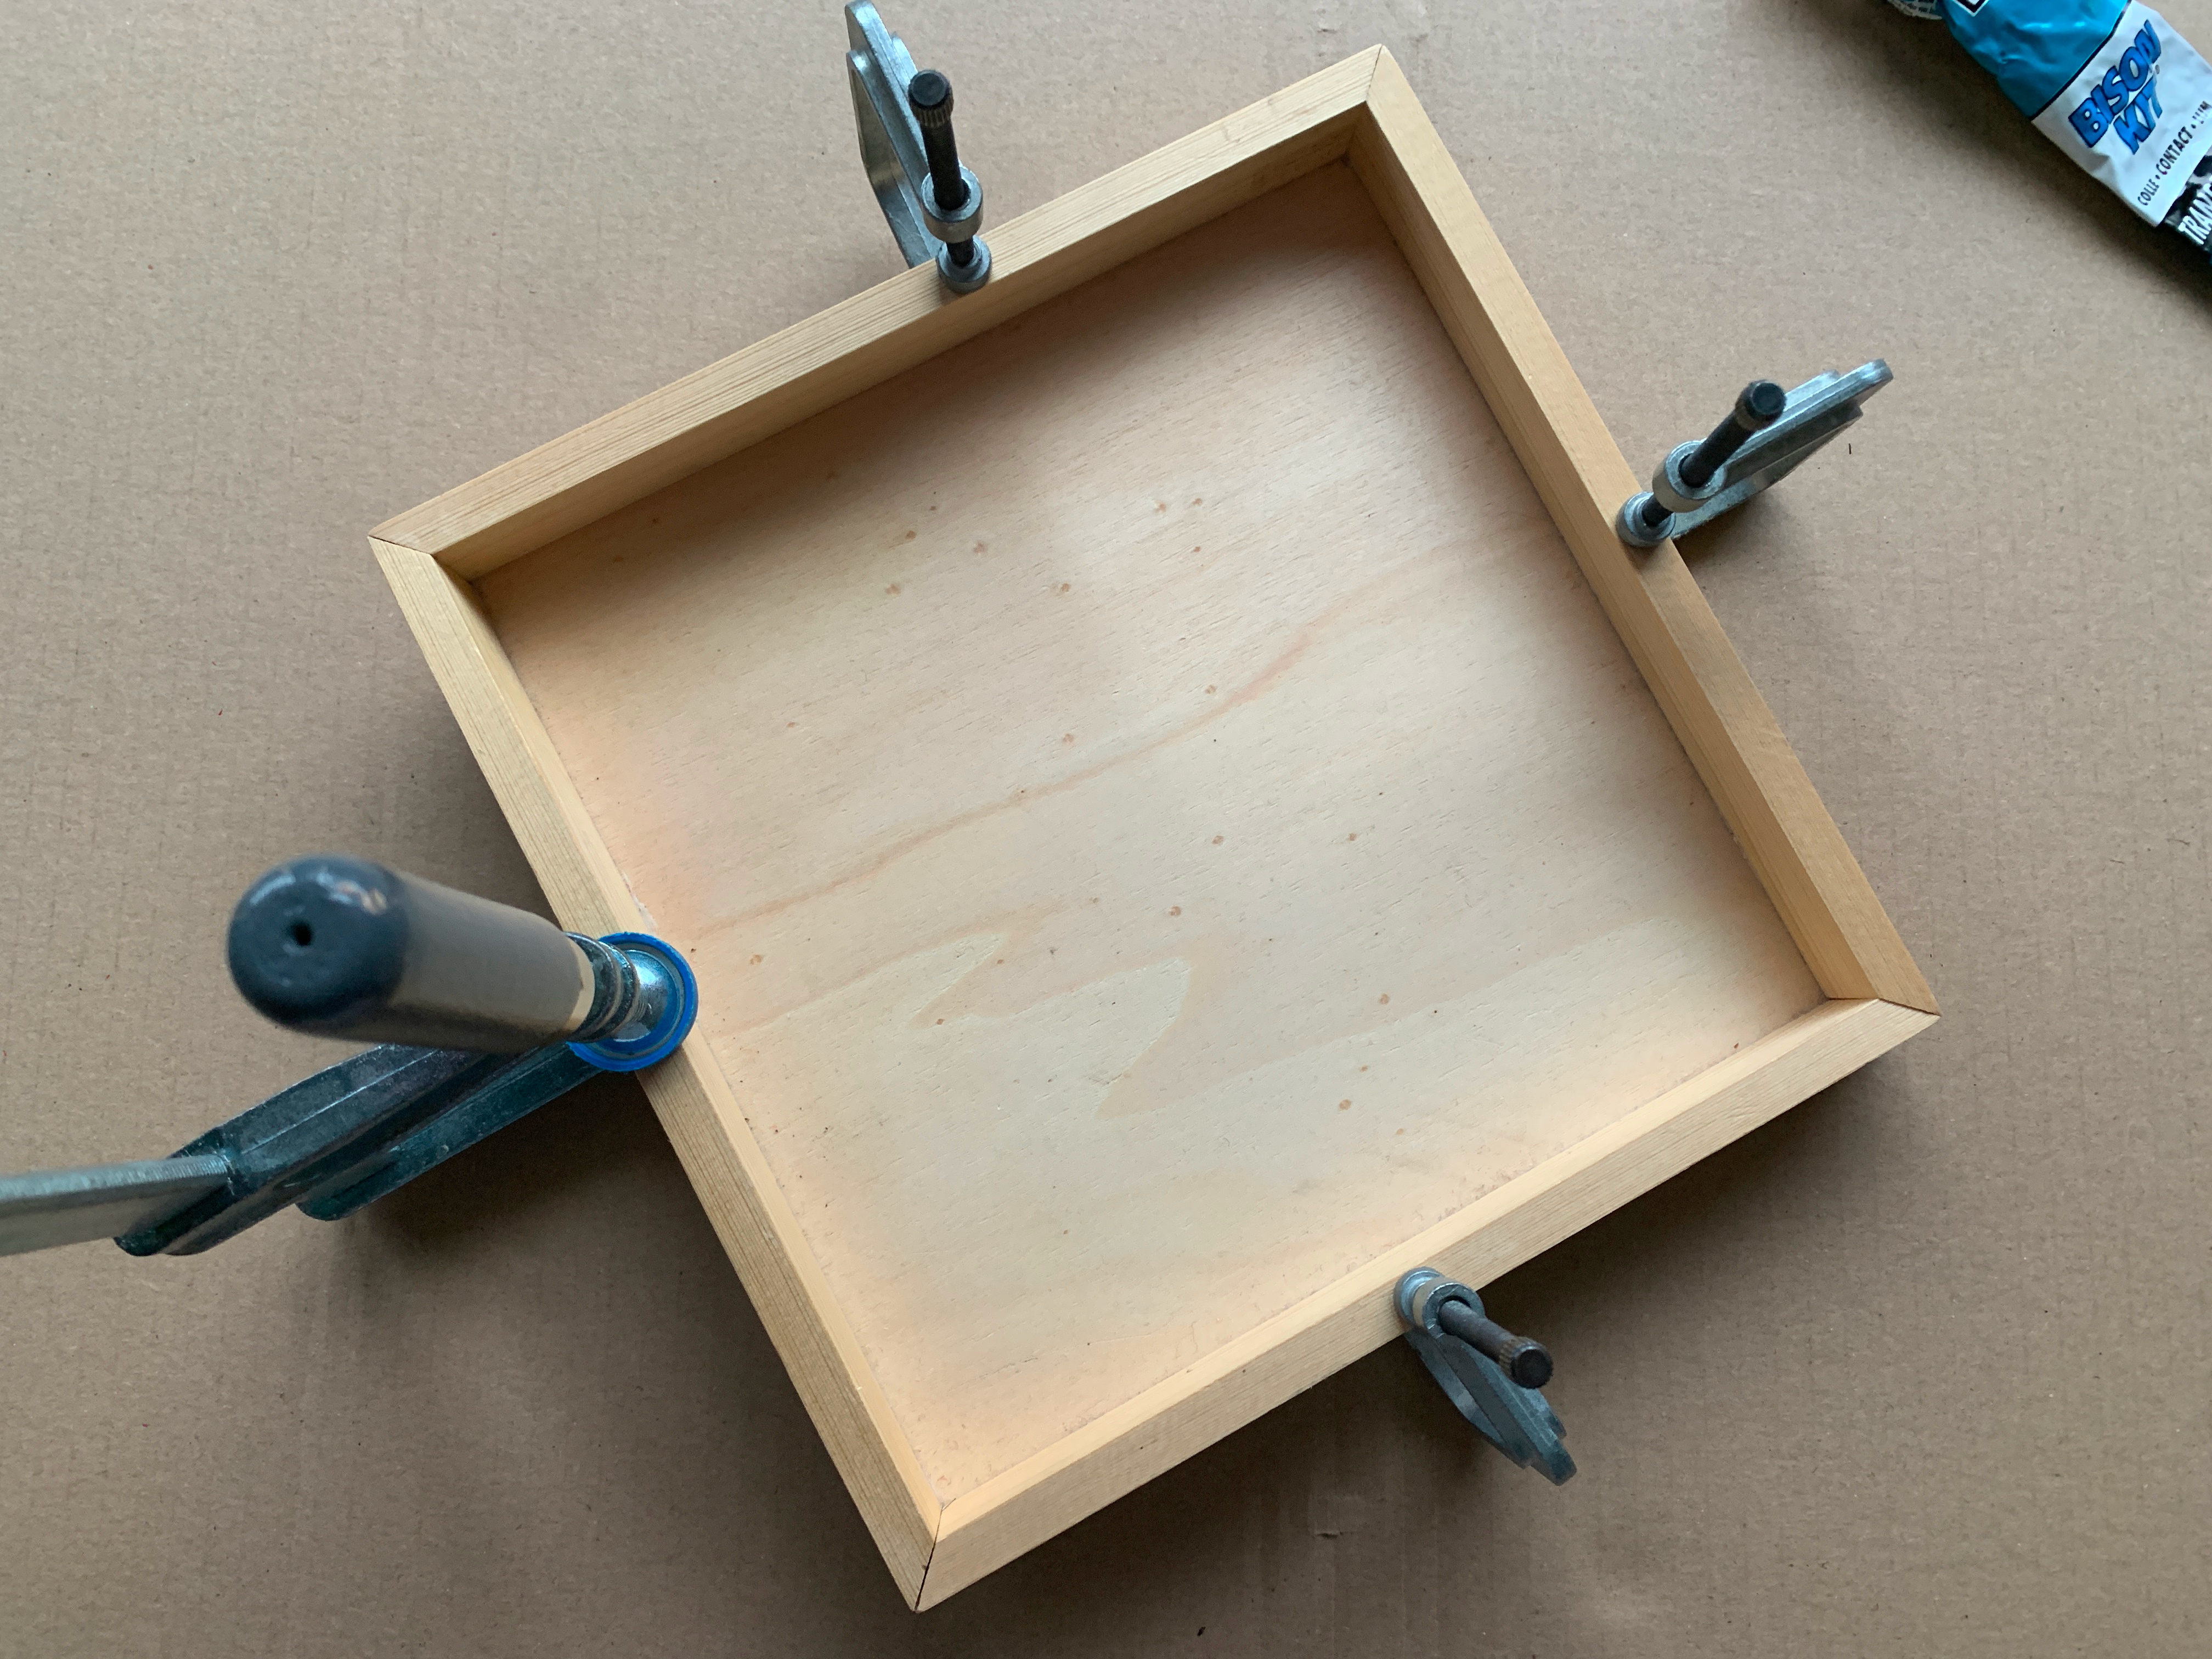
Let the glue dry overnight like this..
Saw 2 slats of 9cm and 1 of 18cm.
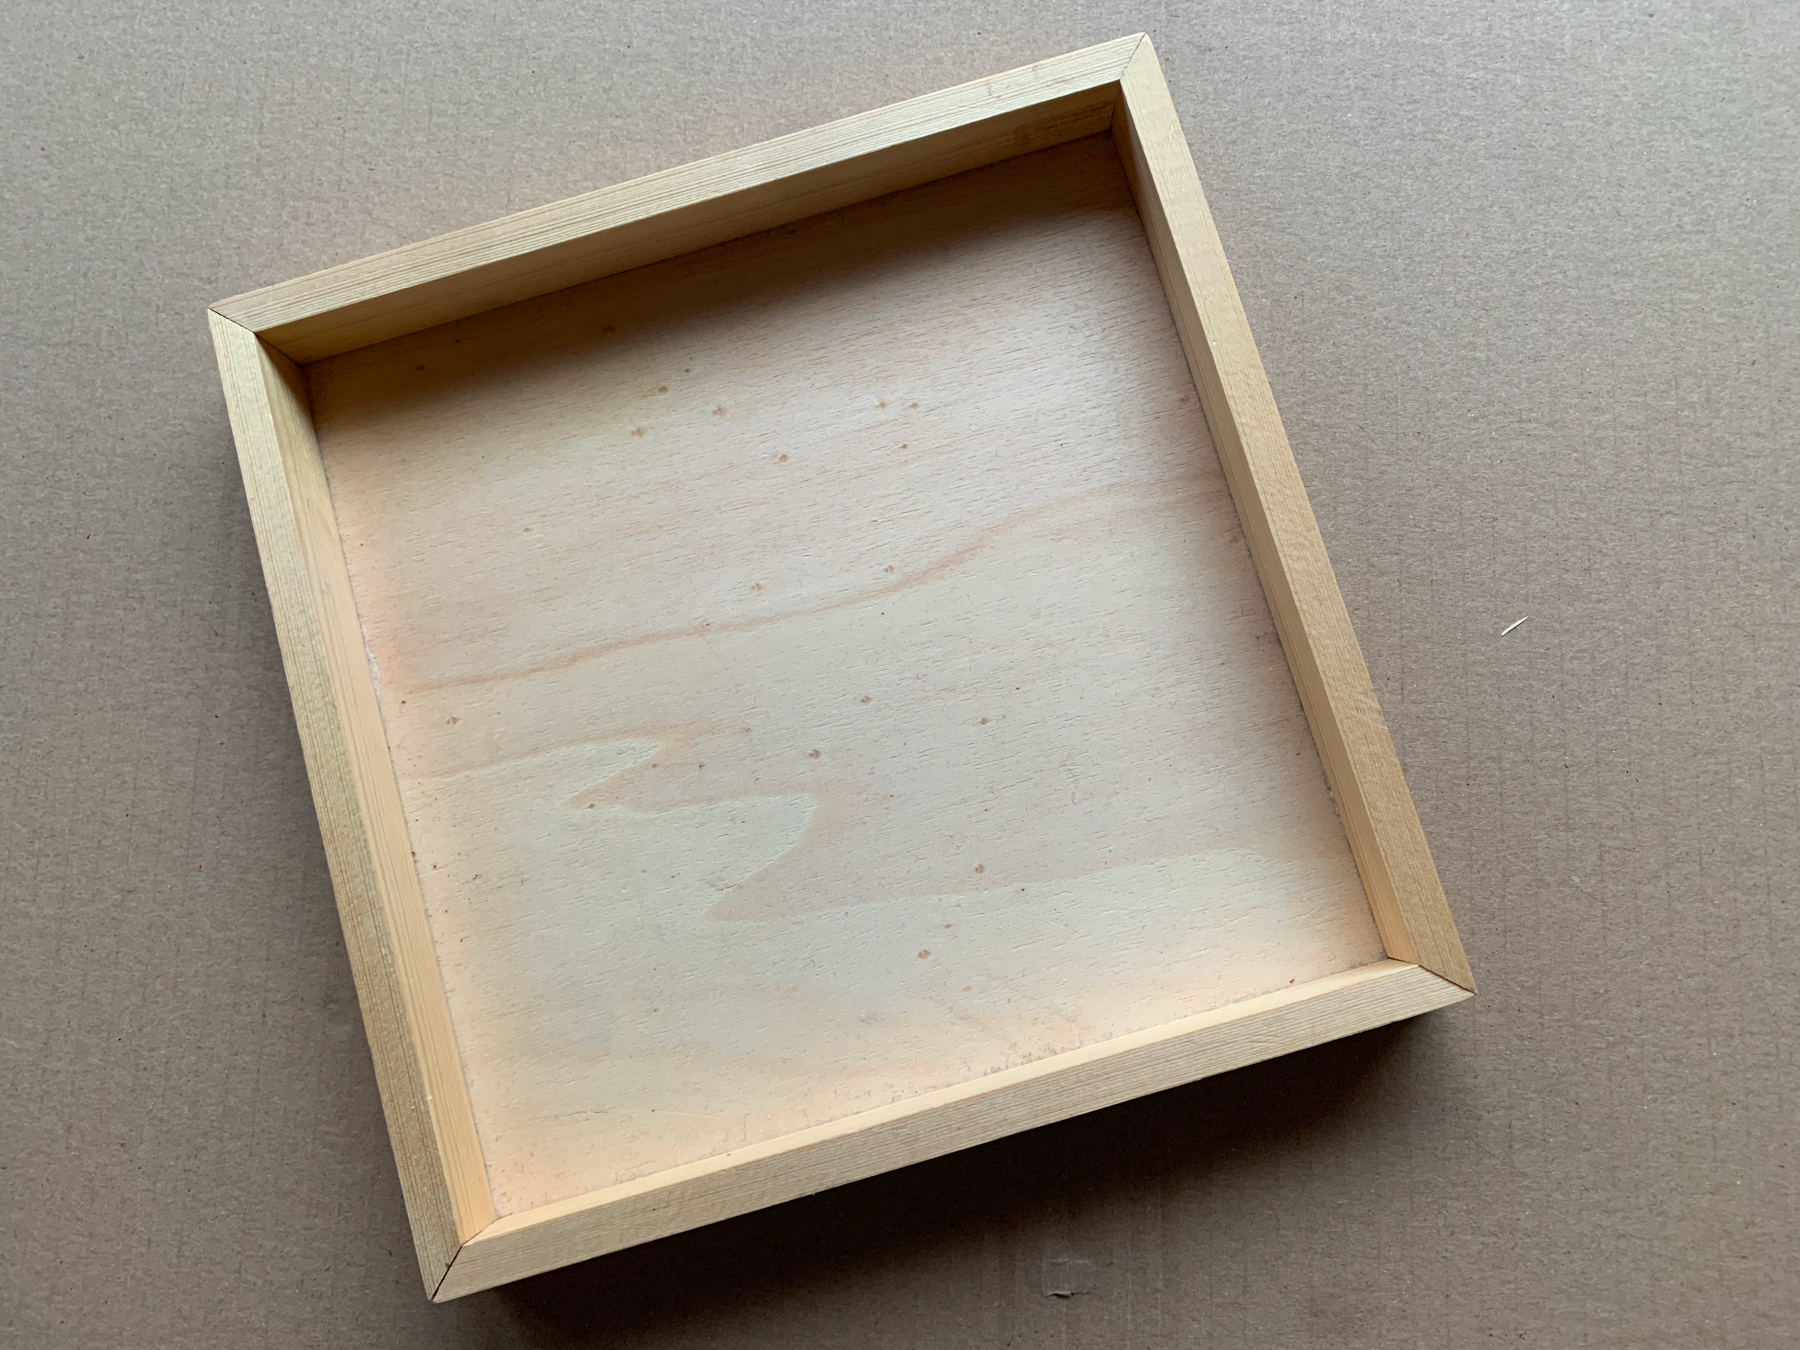
Remove the clamps from your tray.
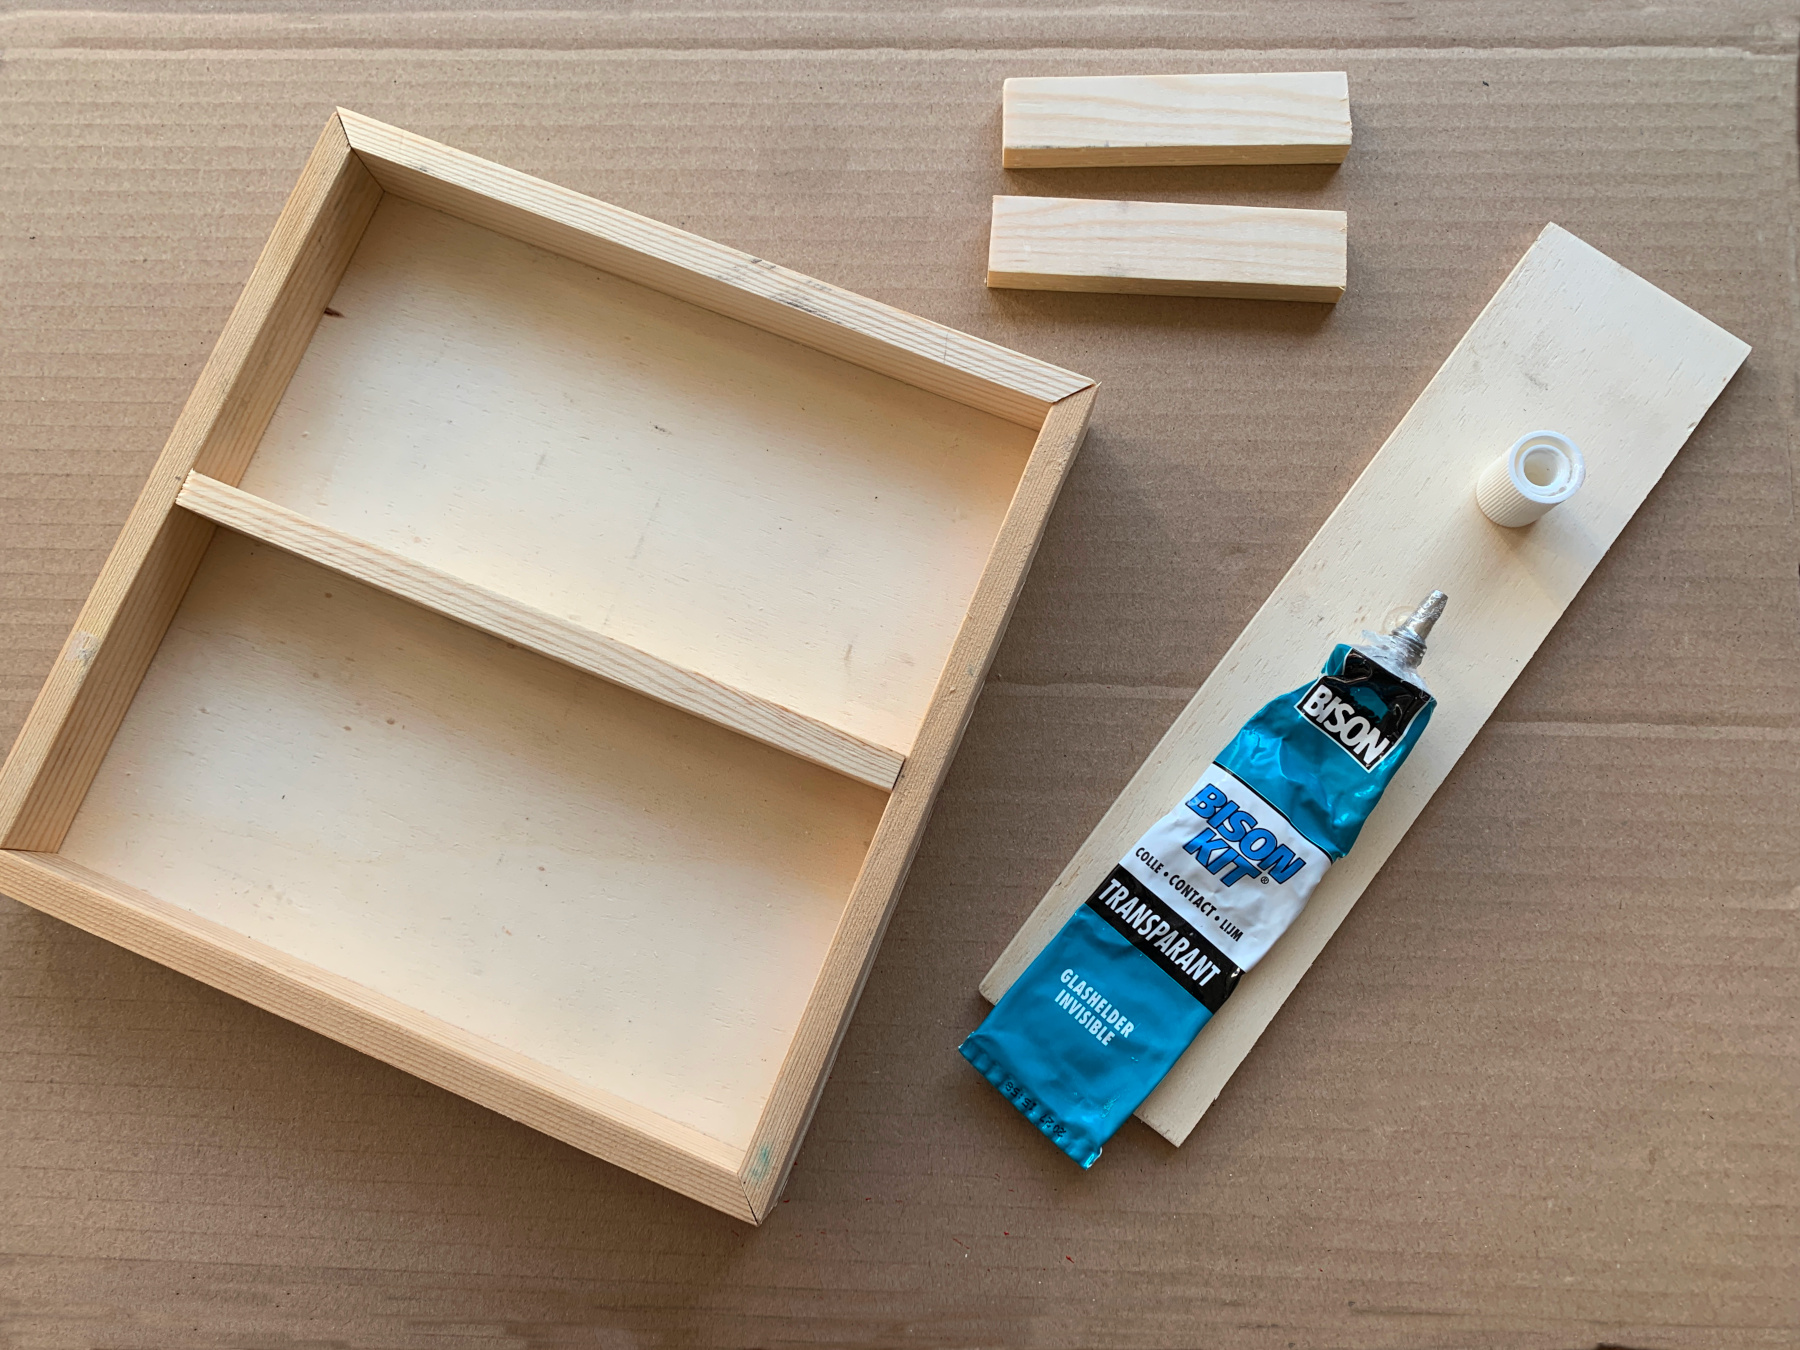
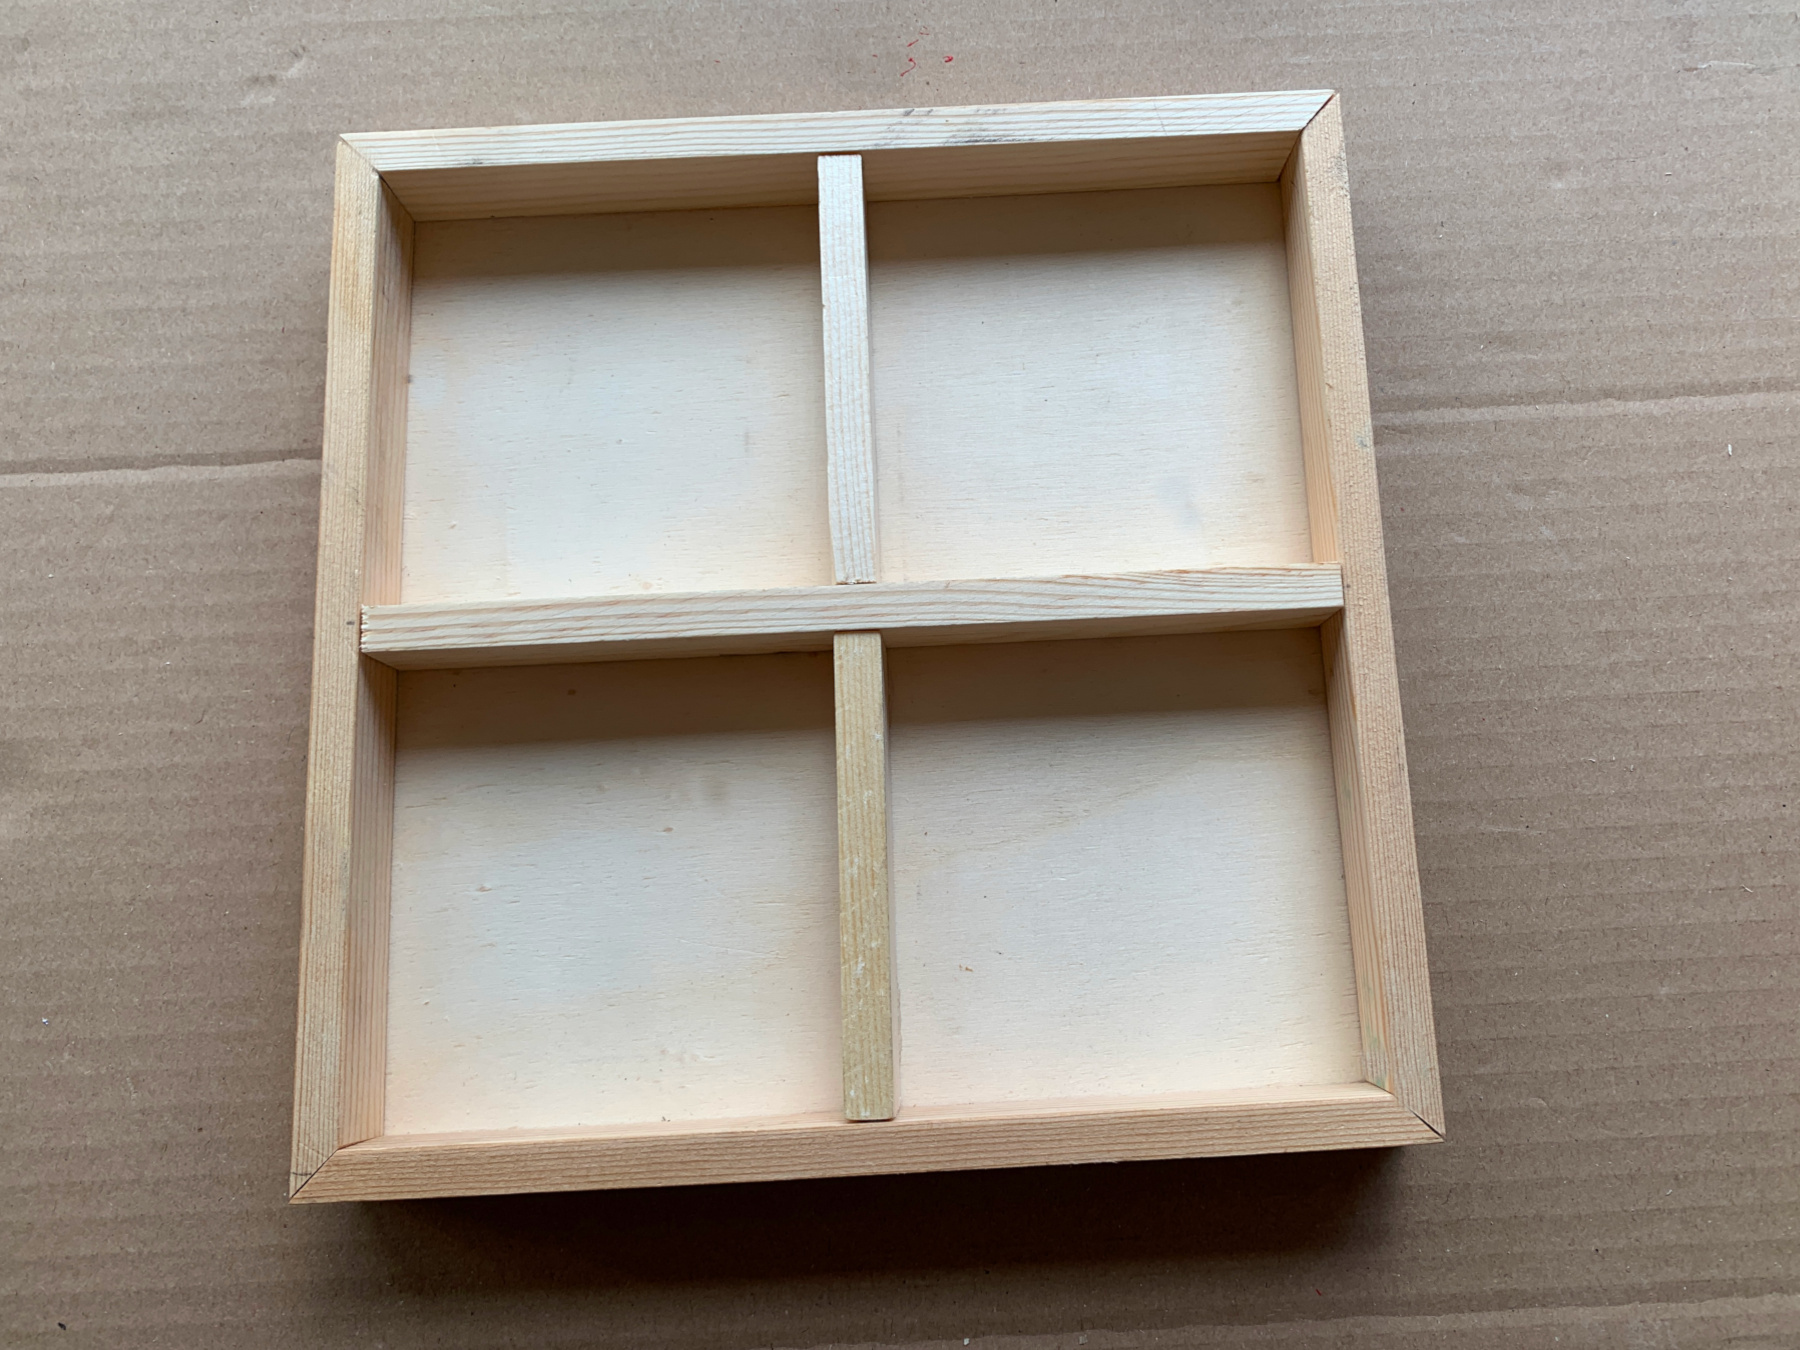
Sand the sawed off sides and glue the slats in the tray.
You could cover the tray in a thin layer of vanish, if you like.
What can't you sort into such a beautiful sorting tray? The little mini-monsters know it immediatly!